There’s nothing quite like the thrill of a summer hike—the sun warming your skin, the scent of pine in the air, and the promise of a stunning summit view. But as temperatures climb, that refreshing sip of cold water can quickly turn into a lukewarm disappointment. Keeping your water cold during a summer hike isn’t just about comfort; it’s about staying properly hydrated and motivated to drink enough fluids. When your water bottle feels like a thermos of soup, it’s all too easy to skip those crucial sips, leading to fatigue, headaches, or even heat exhaustion.
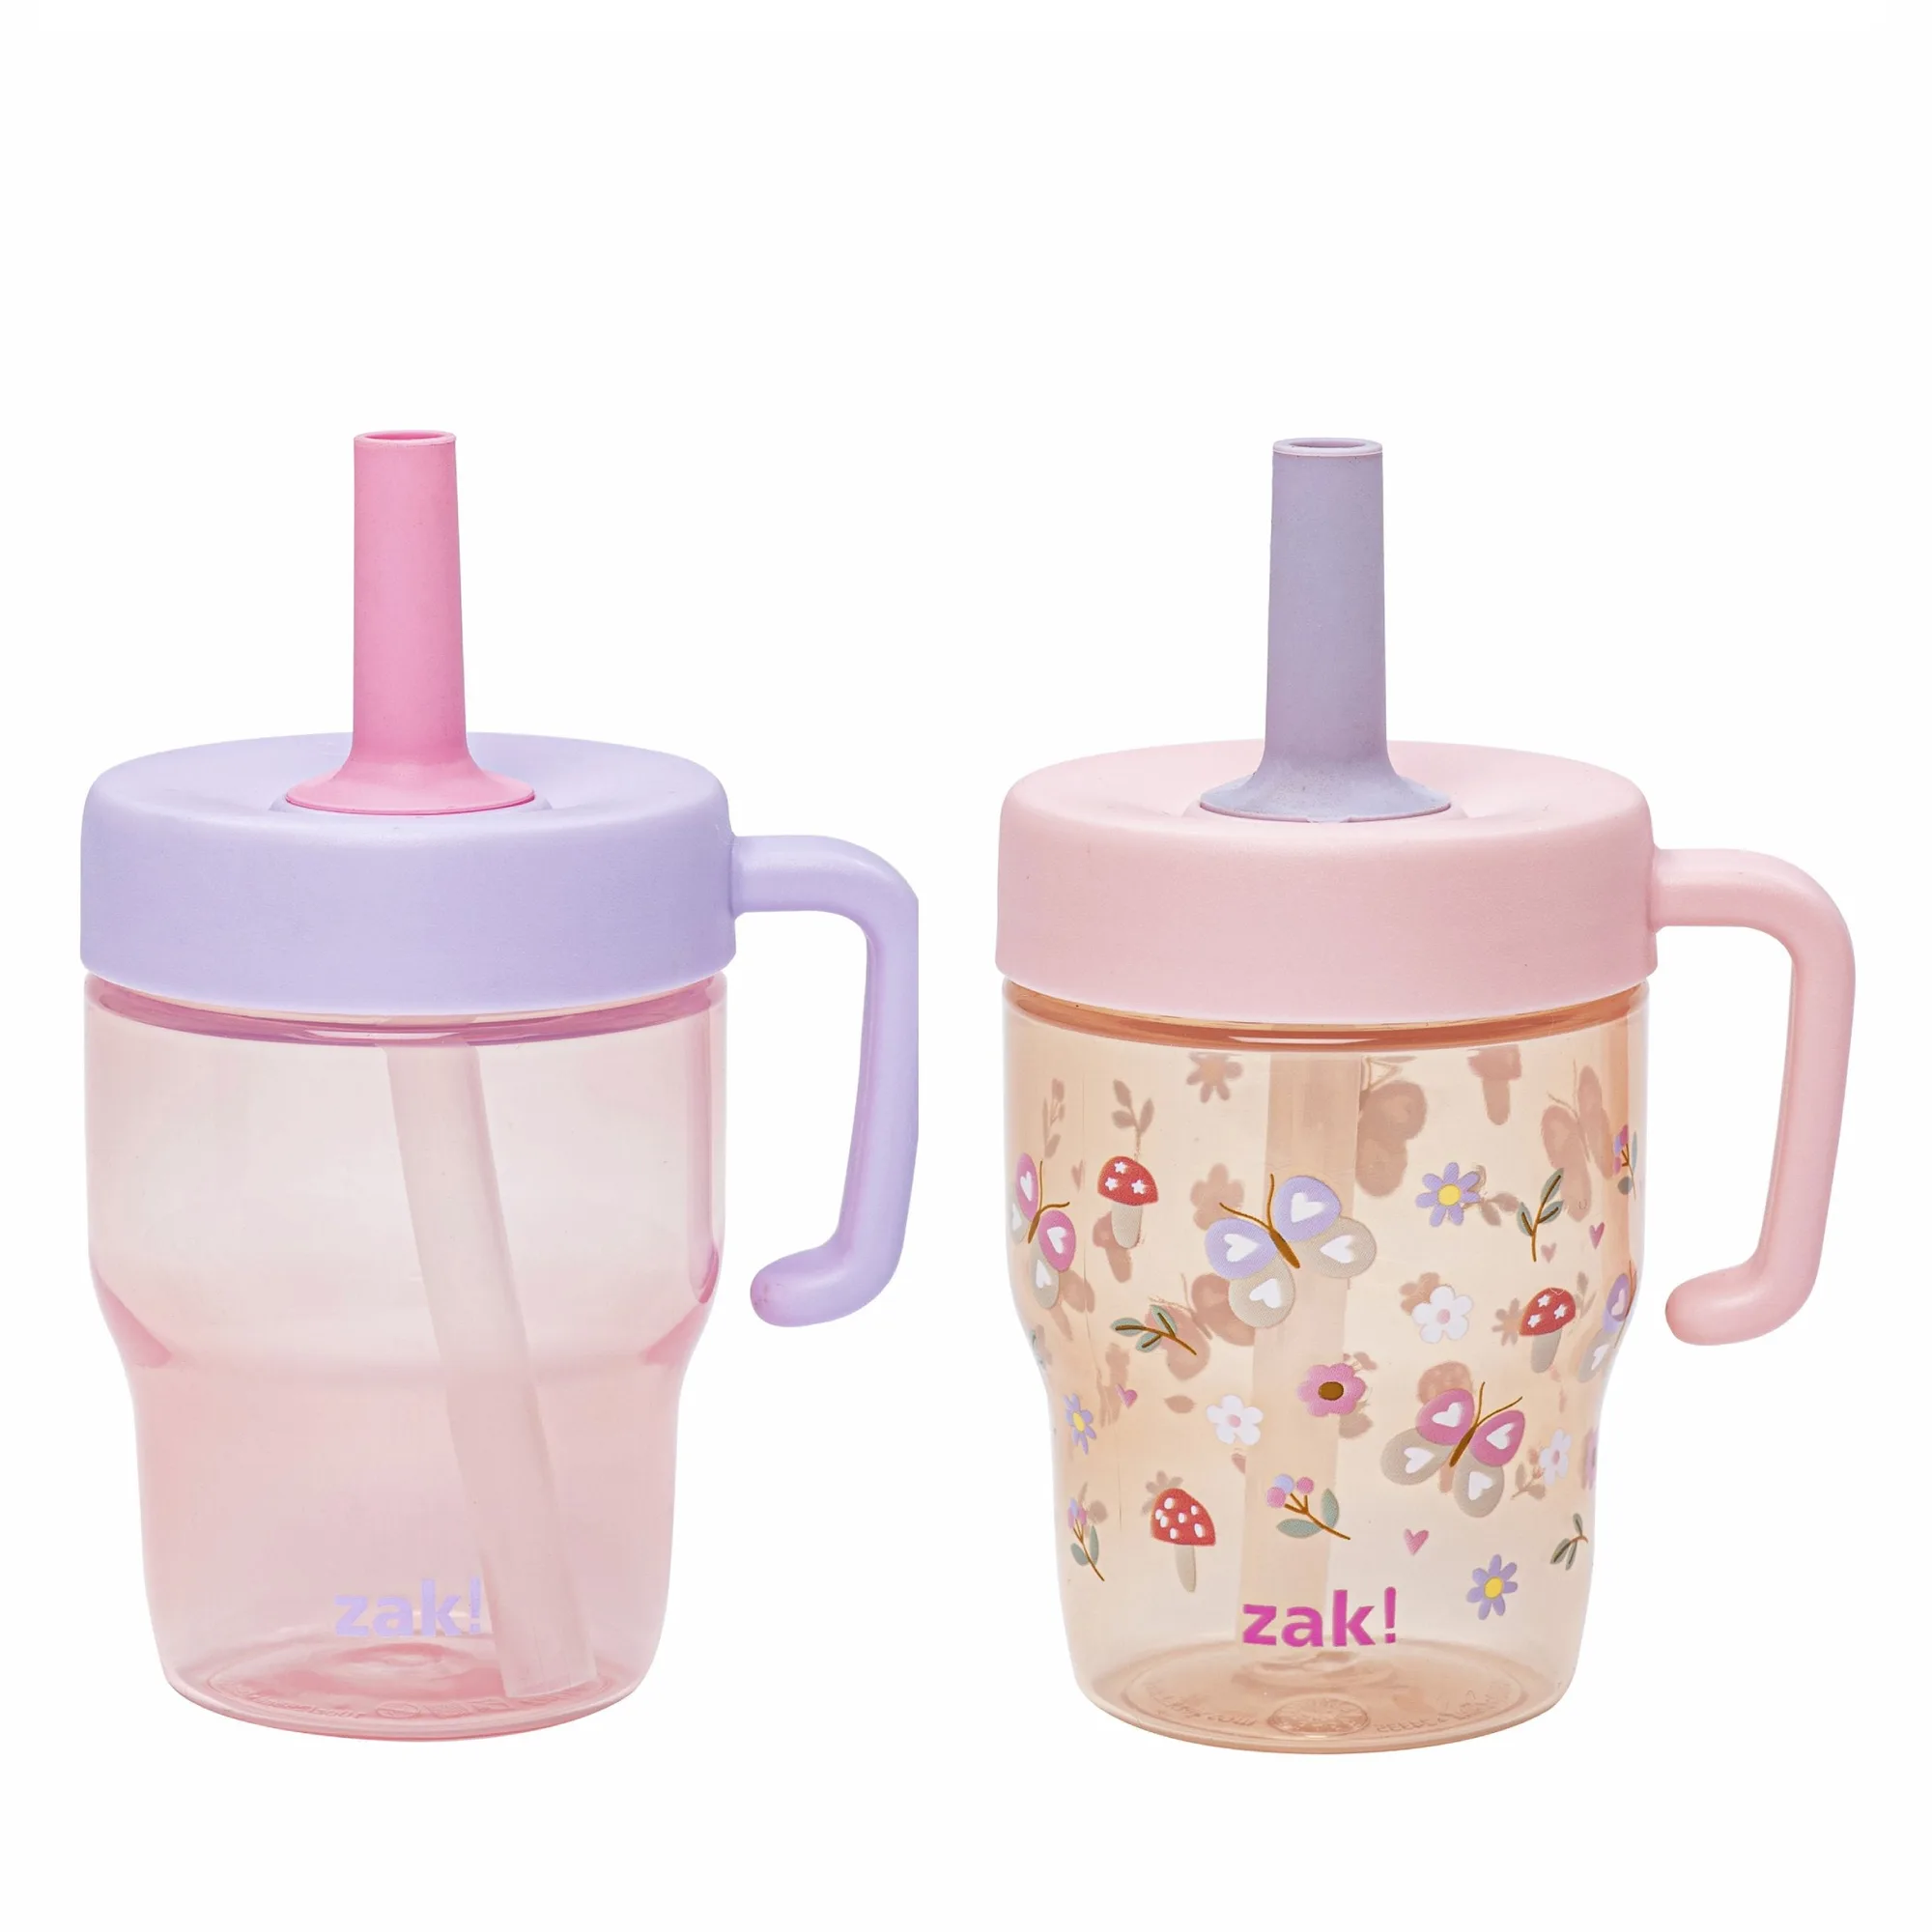
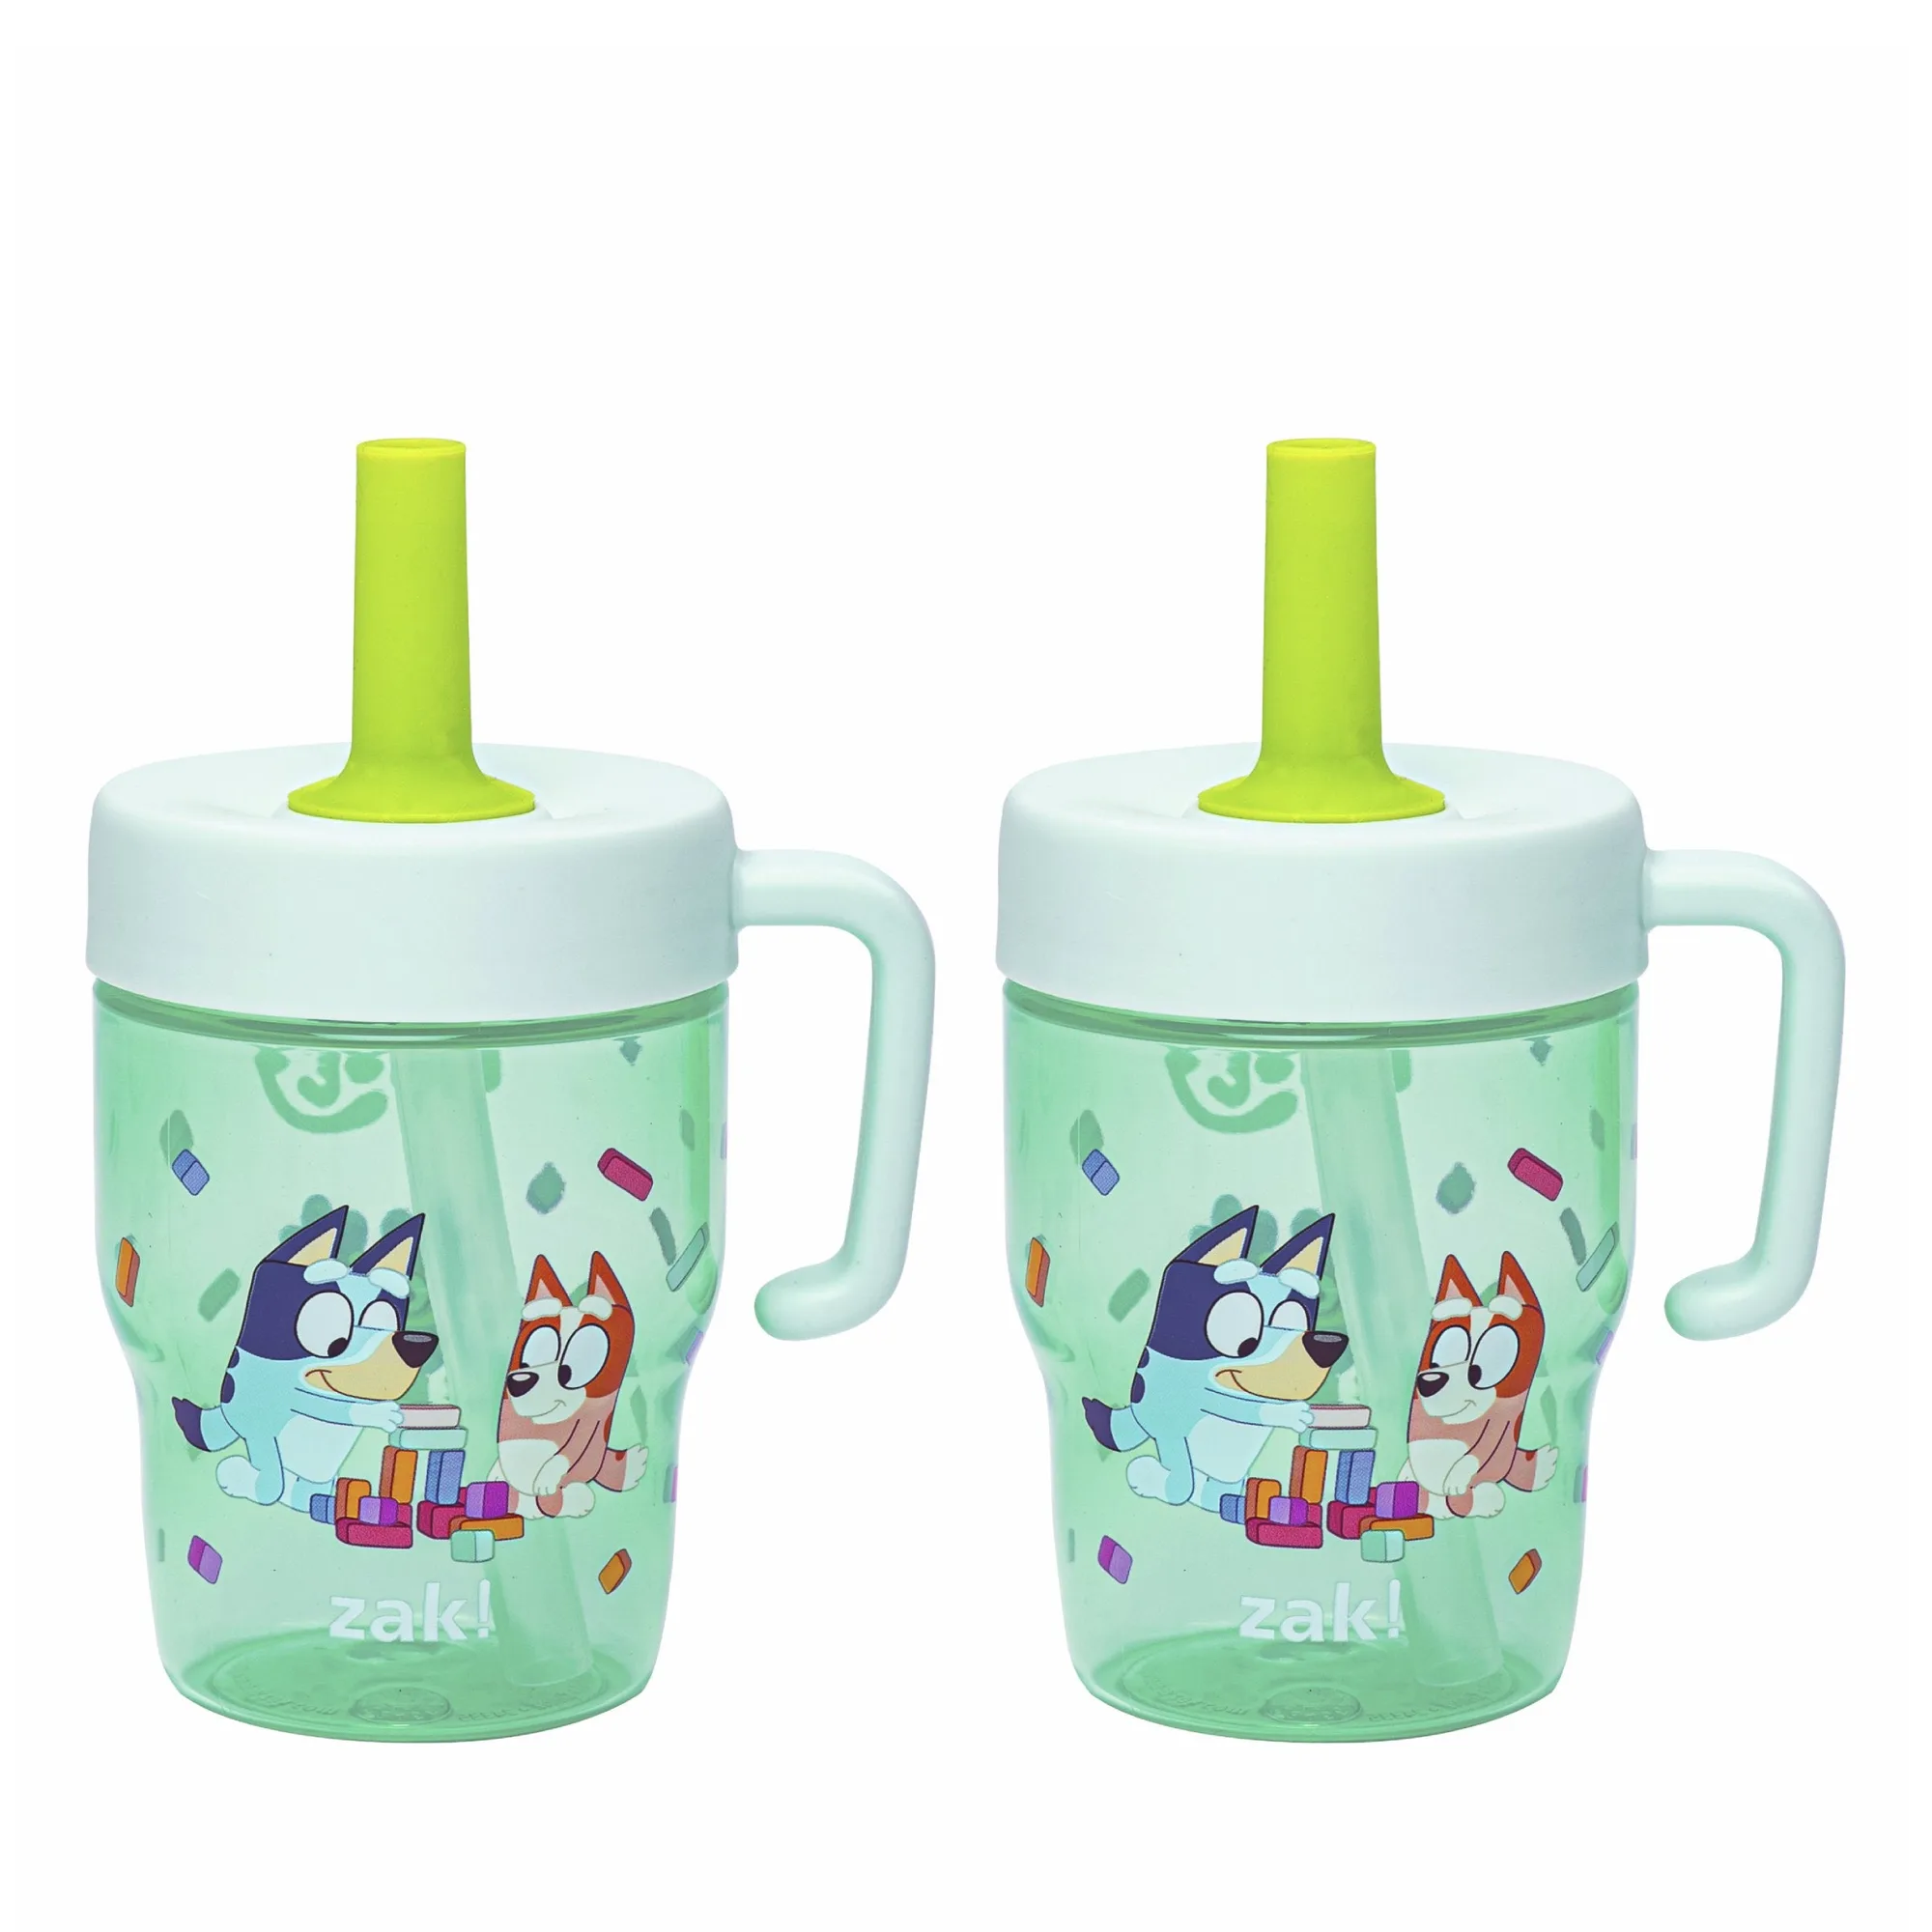
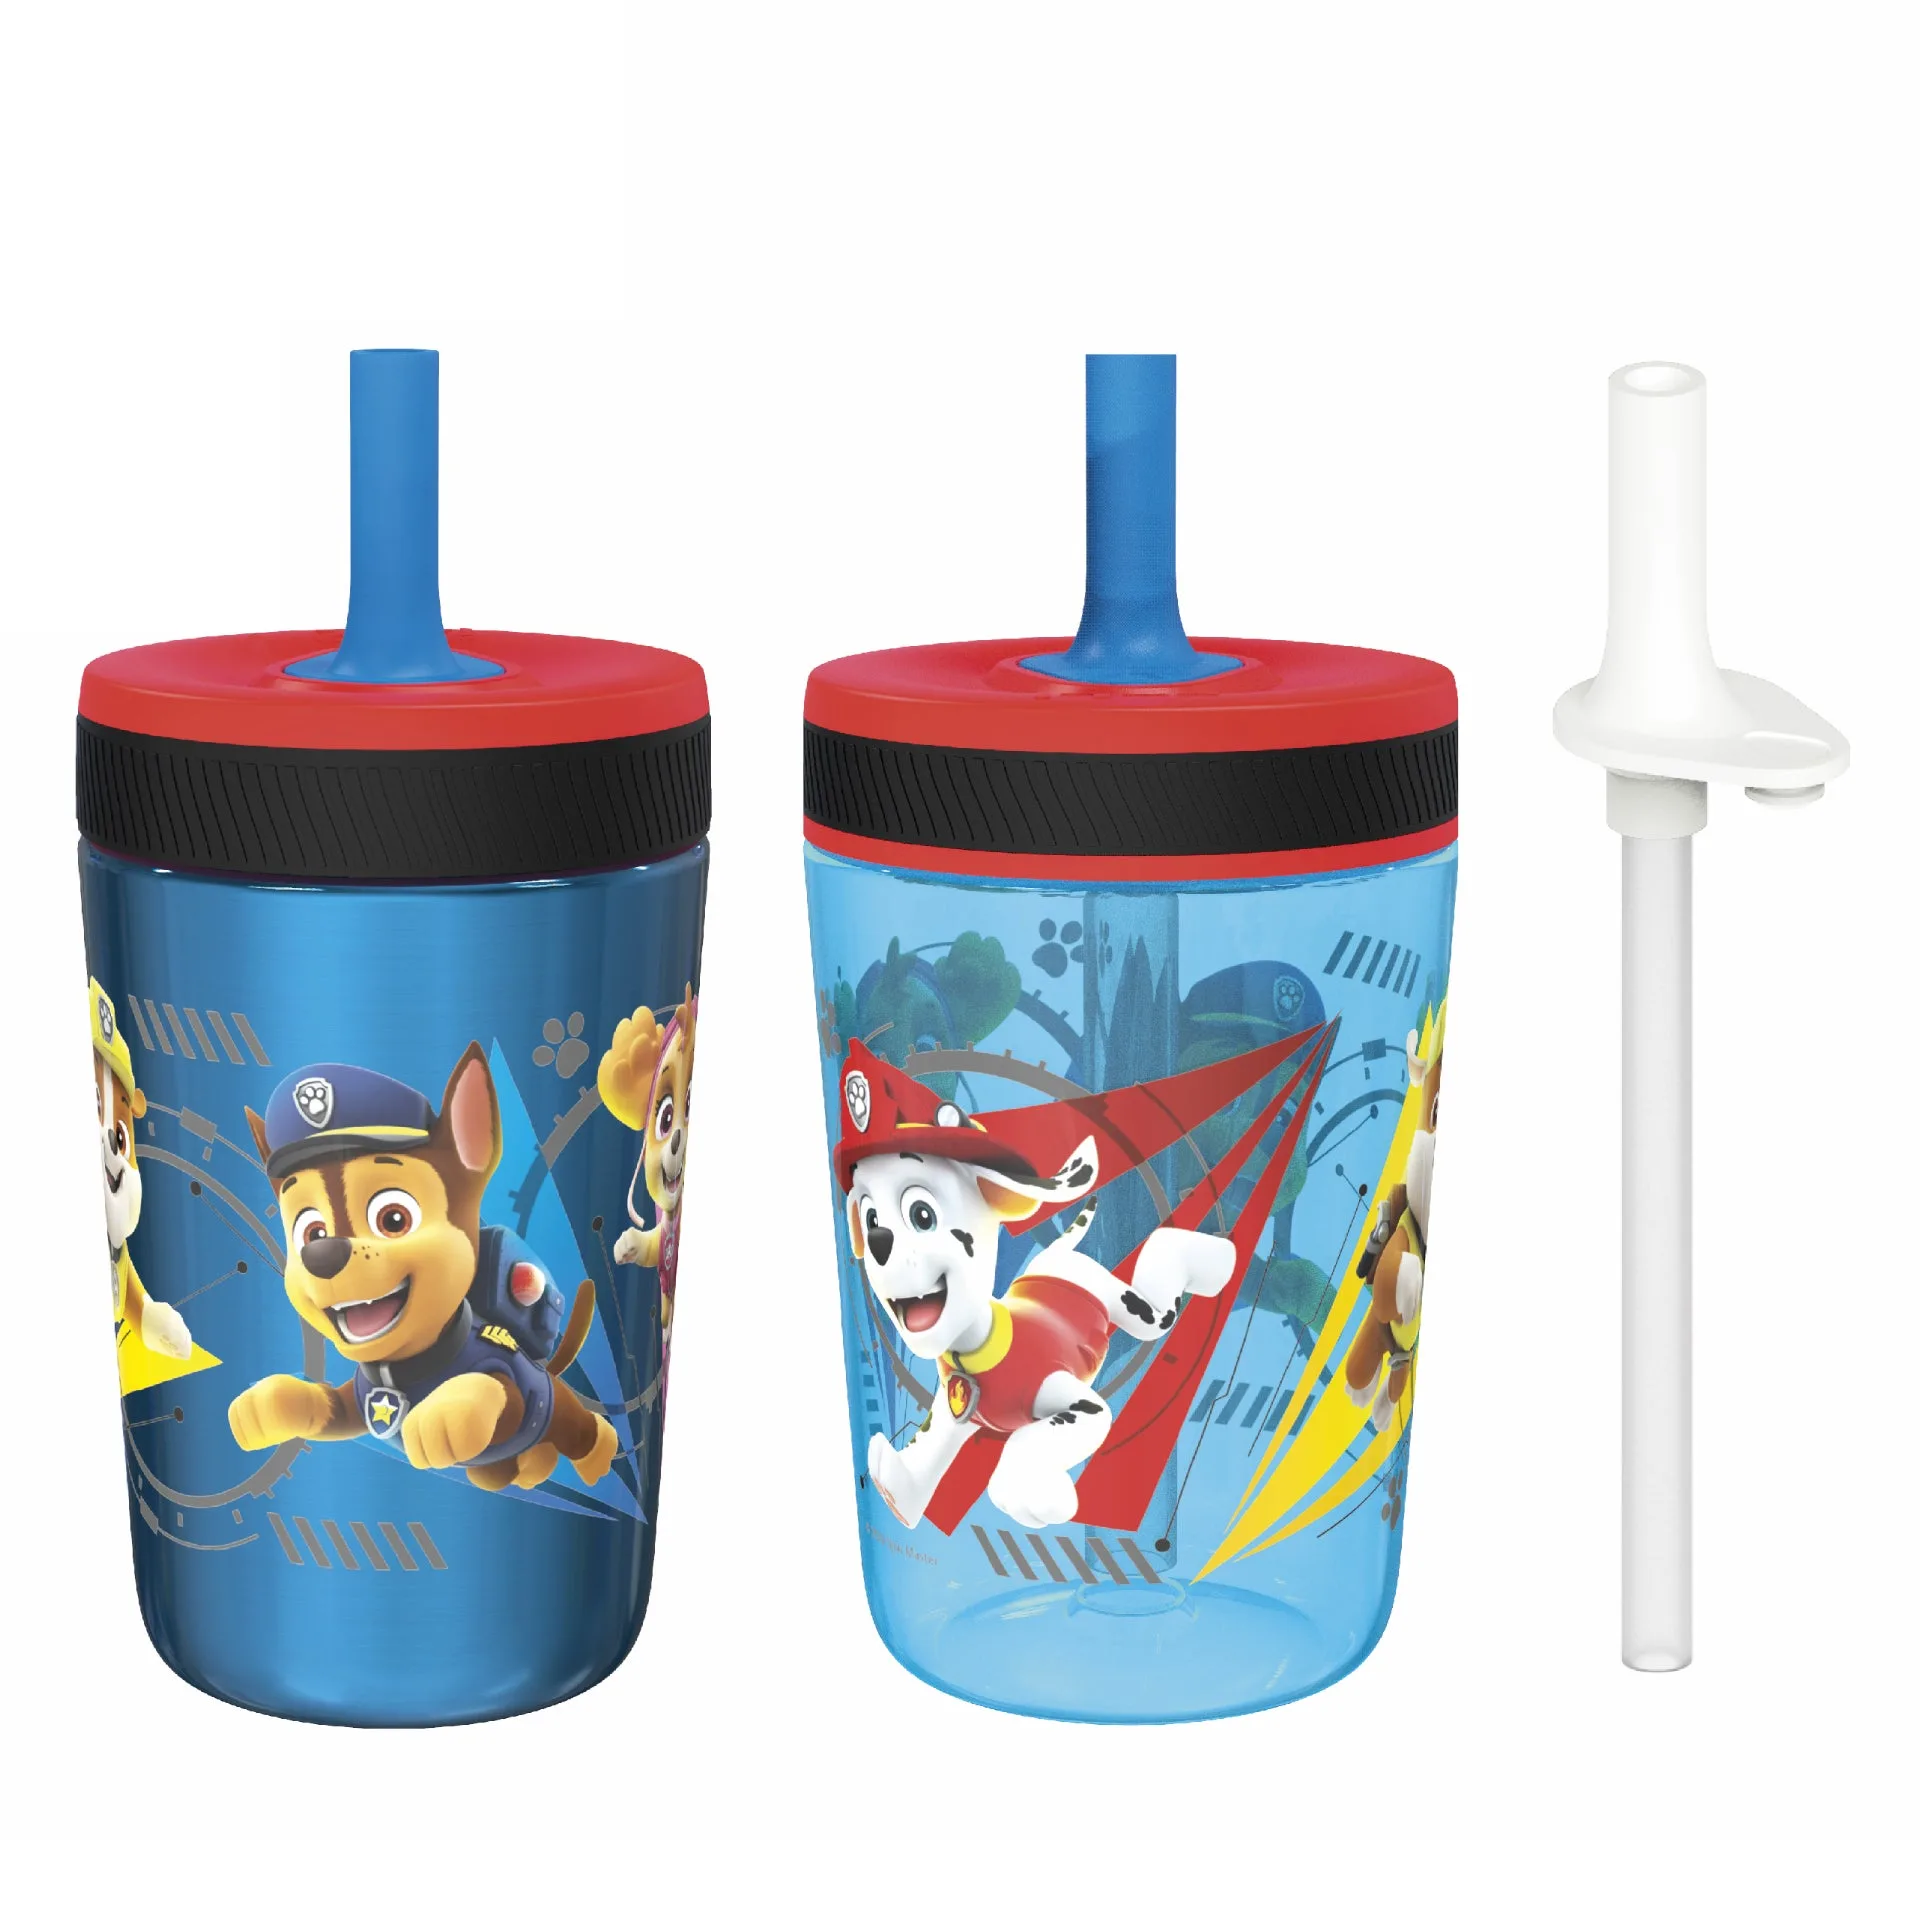
Fortunately, with a few smart strategies and the right gear, you can enjoy ice-cold water from trailhead to summit. Whether you’re tackling a short loop or an all-day adventure, staying hydrated doesn’t have to mean drinking warm water. In this guide, we’ll walk you through proven techniques to keep your water cold, plus highlight the best outdoor water bottle options—like the versatile https://zak-us.com/products/kelso-tumbler-15-oz-2-pack-78790https://zak-us.com/products/kelso-tumbler-15-oz-2-pack-78793https://zak-us.com/products/kelso-tumbler-15-oz-2-pack-78799https://zak-us.com/products/kelso-tumbler-15-oz-2-pack-78804Kelso Tumbler, 15 oz. (2 Pack)—that make summer hiking a breeze.
Why Cold Water Matters on the Trail
When you’re sweating under the summer sun, your body craves fluids to regulate temperature and maintain performance. Cold water isn’t just a luxury—it’s a physiological advantage. Studies show that drinking cold water during exercise can help lower your core body temperature, reduce perceived exertion, and encourage you to drink more. In fact, research published in the Journal of the International Society of Sports Nutrition found that athletes who consumed cold fluids during exercise maintained better hydration levels and performed longer than those drinking warm liquids.
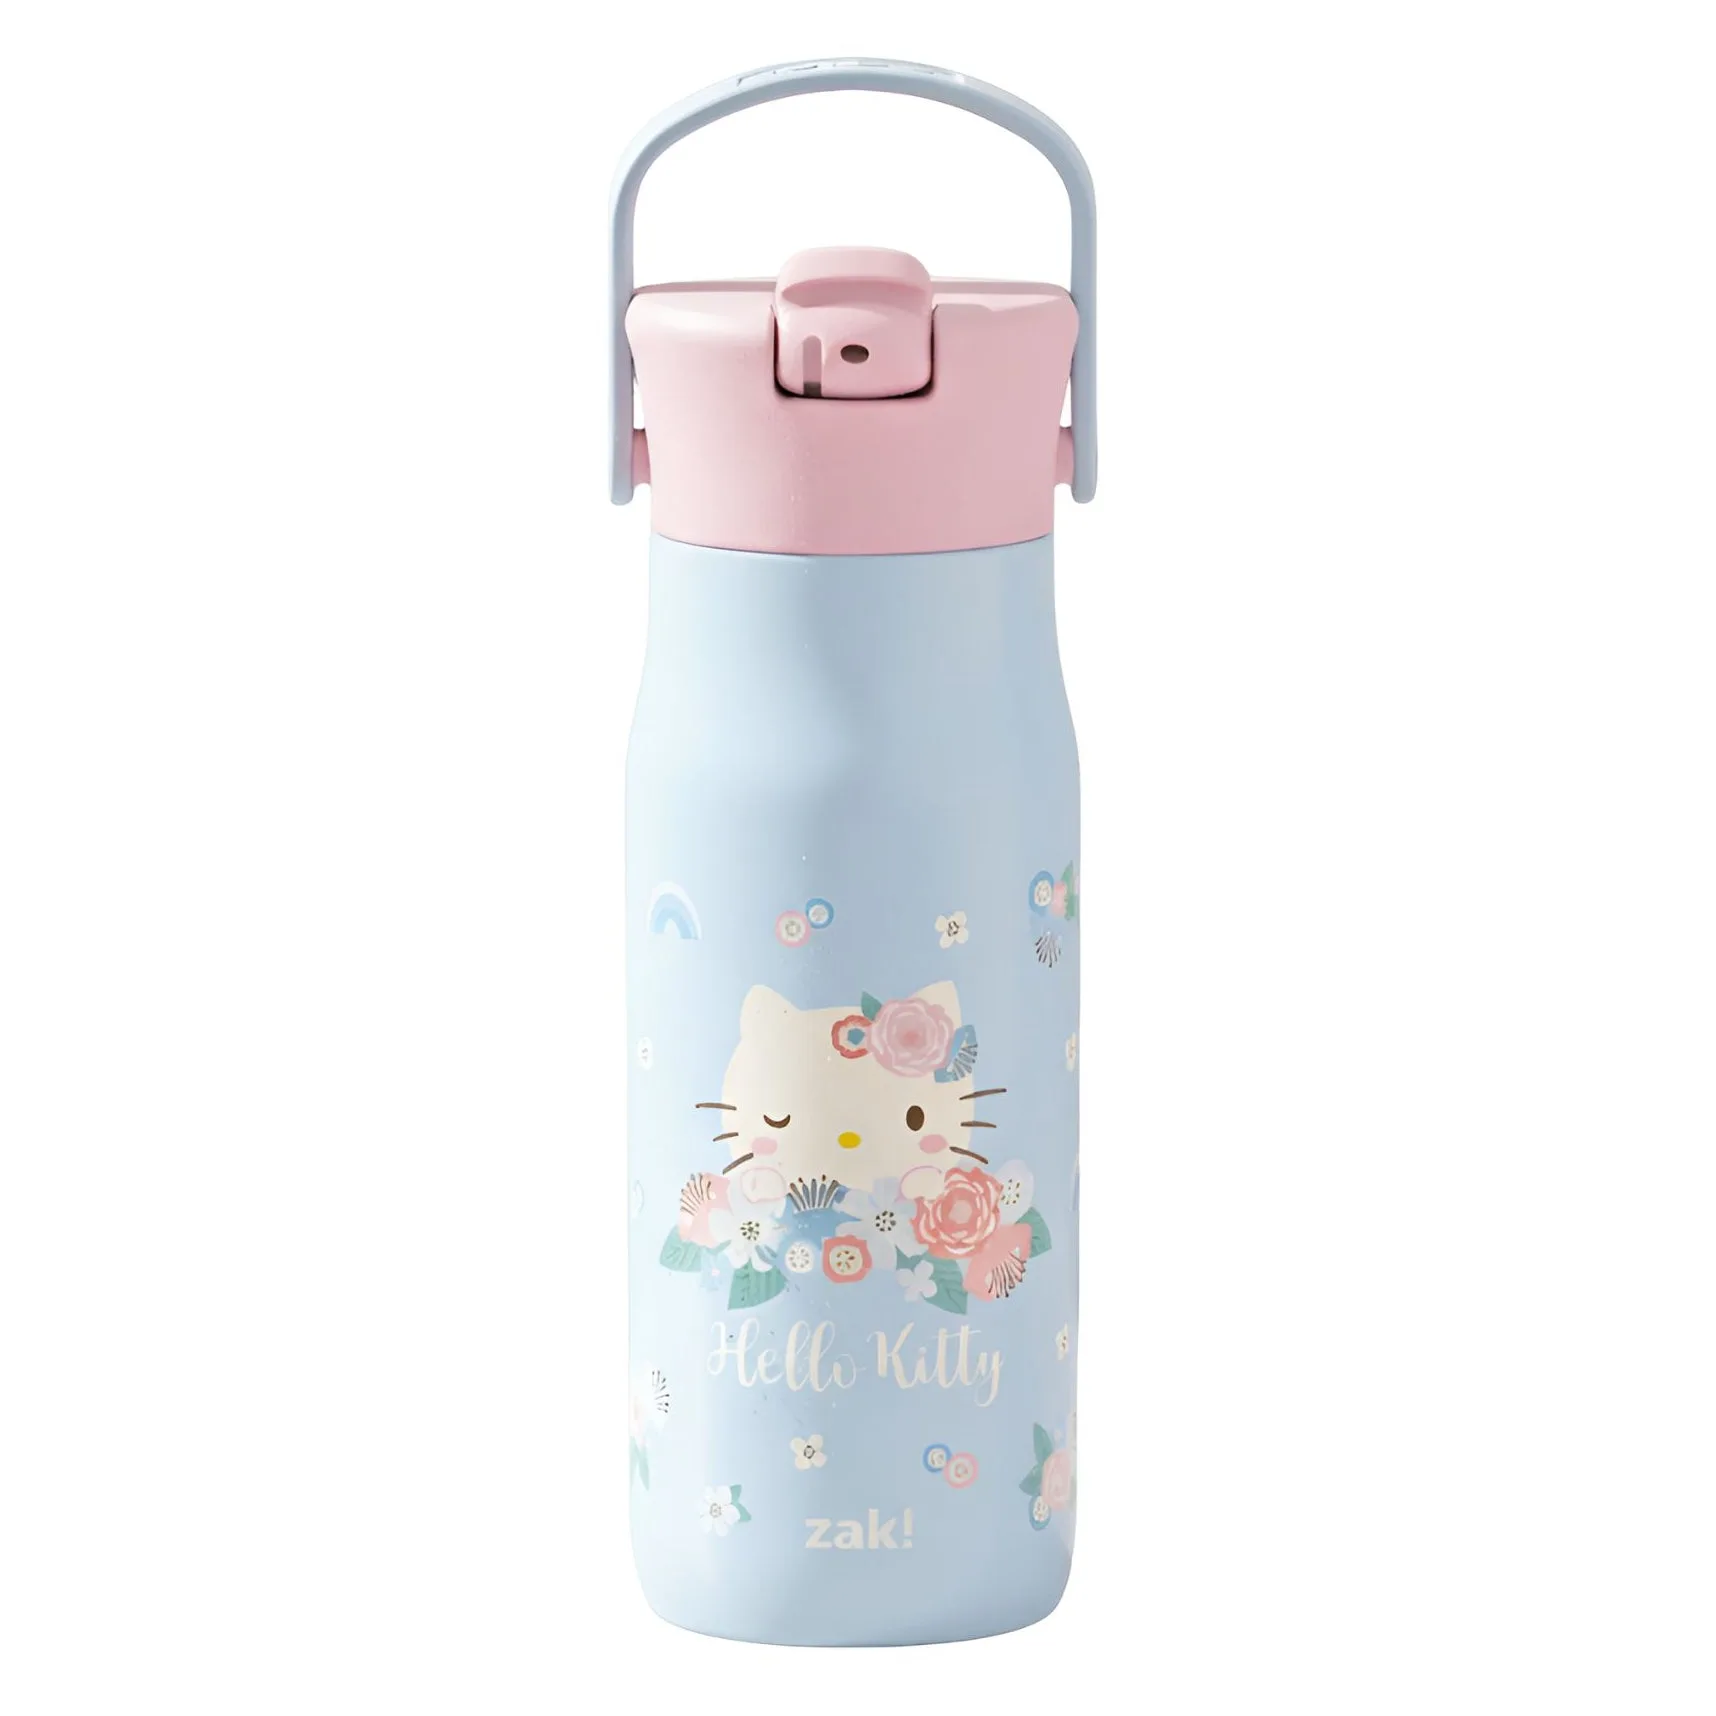
Beyond performance, cold water simply tastes better. When your drink is refreshingly cool, you’re more likely to take regular sips, keeping dehydration at bay. On a hot summer hike, every ounce counts. That’s why investing in a high-quality insulated bottle for hiking, such as the Harmony Insulated Bottle, 14 oz., can make a real difference. Its double-wall vacuum insulation keeps water icy for hours, so you never have to settle for a lukewarm sip.
- Cold water helps lower core body temperature during exercise.
- Improved taste encourages more frequent hydration.
- Proper hydration reduces risk of heat-related illnesses.
Pre-Hike Preparation: Chill Your Bottle the Night Before
One of the simplest yet most effective ways to keep your water cold is to start with a chilled bottle. Fill your insulated bottle with ice cubes or cold water and place it in the refrigerator overnight. For maximum cooling, fill the bottle about one-third full with ice, then top off with cold water just before you head out. This method ensures your drink stays cold for hours, even in direct sunlight.
Another pro tip: freeze a separate bottle of water and use it as an ice pack in your pack. As it melts, you’ll have an extra source of cold water. If you’re using a bottle like the Beacon Insulated Bottle, 14 oz., its compact size fits easily in a side pocket, and the pre-chilling technique works beautifully with its vacuum insulation. Just remember to leave a little air space for the ice to expand.
- Fill bottle one-third with ice, then add cold water.
- Freeze a backup water bottle to use as a cooling pack.
- Store your insulated bottle in the fridge overnight.
On-the-Trail Tactics to Maintain Cold Temperatures
Once you’re on the trail, a few simple habits can help preserve that icy freshness. First, keep your water bottle out of direct sunlight. Tuck it into a pack pocket or use a carabiner to attach it to the outside but in the shade of your body. If you stop for a break, place the bottle in a cool stream or snow patch (if available) for a quick chill. Just make sure the cap is tightly sealed to avoid contamination.
Another effective trick is to wrap your bottle in a wet bandana or sock. As the fabric evaporates, it creates a cooling effect similar to a swamp cooler. This works especially well with stainless steel bottles that conduct temperature. For longer hikes, consider carrying a second bottle like the Kelso Tumbler, 15 oz. (2 Pack), which allows you to rotate between a chilled and a room-temperature drink. The dual-wall insulation keeps each serving at its ideal temperature.
- Keep bottle shaded in your pack or under clothing.
- Use evaporative cooling with a wet cloth wrap.
- Carry two bottles to rotate between cold and ambient.
Choosing the Best Insulated Bottle for Hiking
Not all water bottles are created equal when it comes to keeping your drink cold. The best outdoor water bottle for summer hikes features double-wall vacuum insulation, a durable stainless steel construction, and a leak-proof lid. Look for bottles with a wide mouth for easy ice insertion and cleaning, as well as a powder-coated finish that resists scratches and sweat. Size matters too—a 14 to 16 ounce bottle is perfect for short to medium hikes, while larger options suit all-day adventures.
Zak Designs offers several excellent choices for hikers. The Sage Bottle, 16 oz. is a lightweight yet insulated option that fits most backpack side pockets. Its sleek design and reliable insulation make it a favorite among day hikers. For those who prefer a tumbler-style drinking experience on the trail, the Kelso Insulated Tumbler, 12 oz. provides a secure grip and fits in standard cup holders, making it ideal for car-to-trail transitions. Whichever you choose, look for BPA-free materials and easy-clean features.
- Double-wall vacuum insulation is essential for long-lasting cold.
- Wide mouths simplify adding ice and cleaning.
- Consider size based on hike duration and pack space.
Bonus Tips for Extreme Heat Conditions
When the mercury soars above 90°F (32°C), standard cooling methods may not be enough. In these conditions, try filling your bottle with ice cubes made from electrolyte-rich drinks or coconut water. Not only will they keep your water cold, but they’ll also replenish lost minerals as they melt. Another advanced technique is to pre-cool your entire hydration system—including the bottle and any tubes—by placing them in the freezer for 15 minutes before filling.
You can also use a insulated bottle sleeve or cozy to add an extra layer of thermal protection. Some hikers swear by the “ice block” method: freeze a large block of ice in a silicone mold that fits your bottle’s diameter, then slide it in. This provides slow-melting cold that lasts all day. Pair these strategies with a reliable bottle like the Kelso 3 Piece Tumbler Set, which gives you multiple sizes for different needs, and you’ll be prepared for even the hottest trails.
- Use electrolyte ice cubes for dual cooling and hydration.
- Pre-freeze your bottle and accessories for a head start.
- Add a neoprene sleeve for extra insulation in extreme heat.
Keeping your water cold during summer hikes is all about preparation and the right gear. By pre-chilling your bottle, using on-trail cooling tricks, and choosing a high-quality insulated bottle for hiking, you can enjoy refreshing sips every step of the way. Ready to upgrade your hydration game? Check out the Kelso Tumbler, 15 oz. (2 Pack) for a durable, double-wall insulated option that’s perfect for summer adventures. Stay cool, stay hydrated, and hit the trail with confidence.