Quick answer
Start with a thin, moisture-wicking base layer against your skin, add a breathable midlayer if needed, and choose a snow jacket with ventilation you can open on the move. The goal is to move sweat away from your body and let heat escape before you overheat. Adjust layers as your activity level and the weather change.
Why overheating happens under a snow jacket
Overheating usually comes from trapped moisture, not from the jacket itself. When you ski or snowboard, your body produces sweat. If that sweat can't escape, it soaks your base layer, kills insulation, and leaves you cold once you stop moving. The fix is a layering system that wicks sweat away and vents excess heat. That means choosing the right base layer fabric, adding midlayers only when needed, and using your jacket's ventilation.
Pick the right base layer fabric and fit
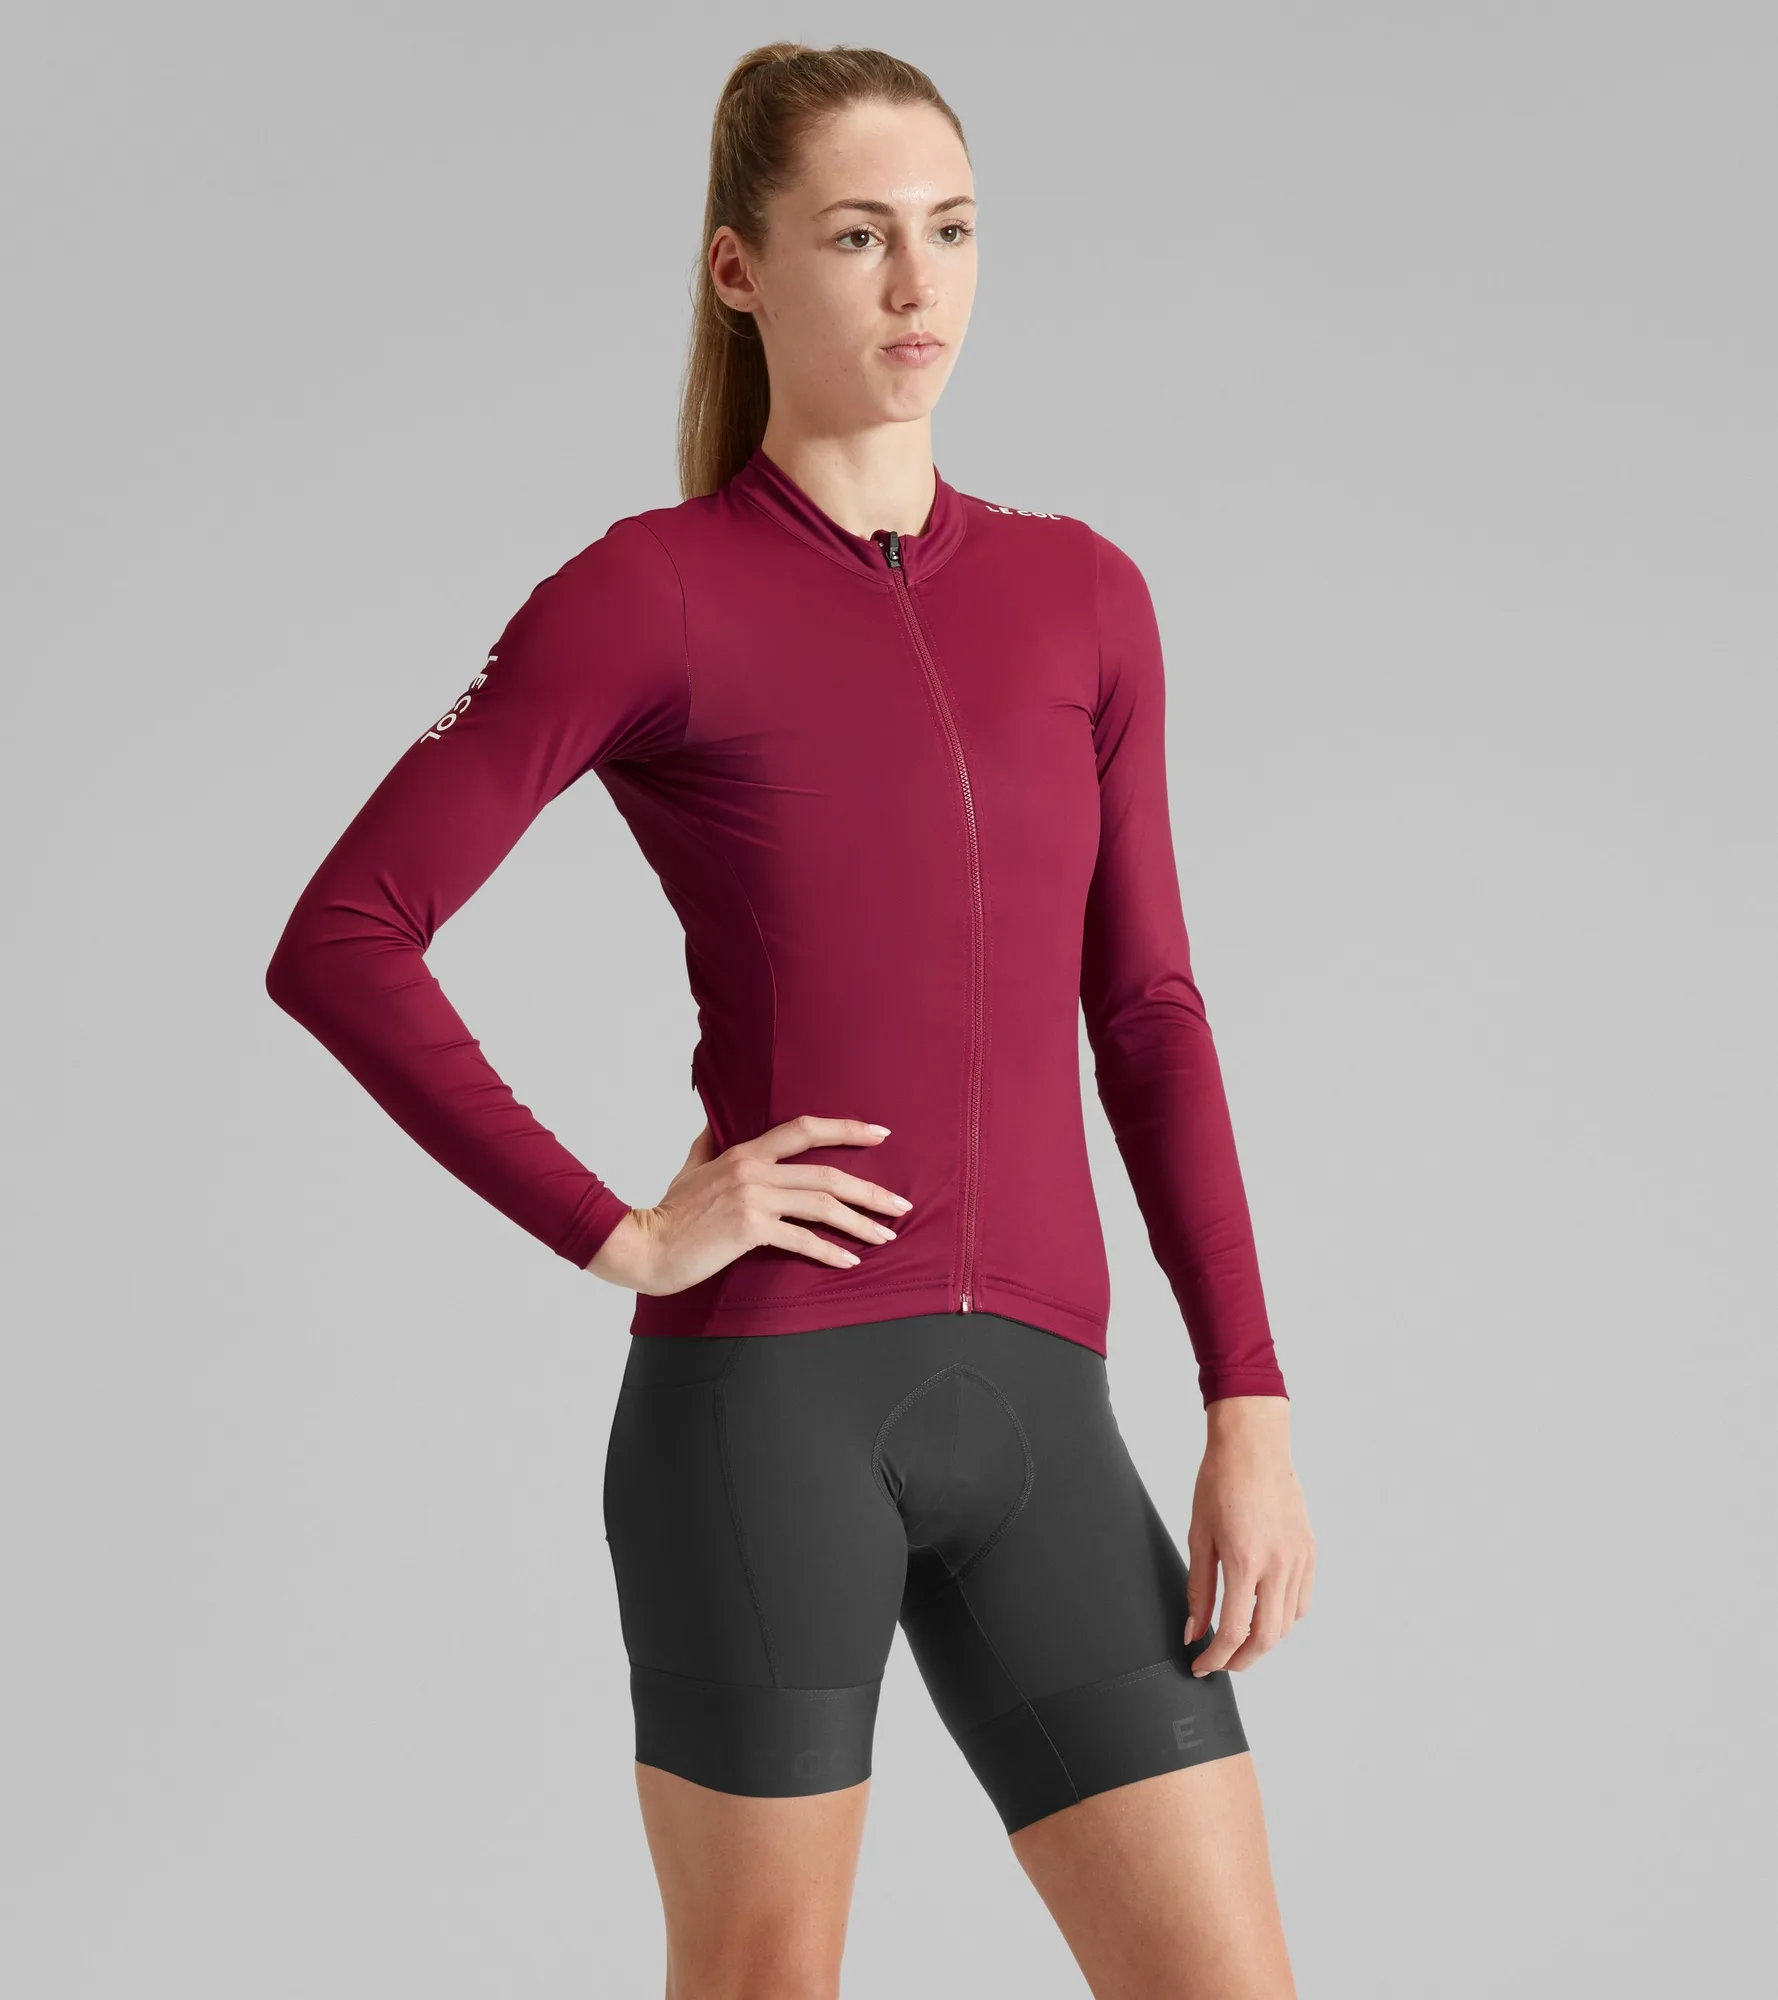
A moisture wicking base layer should sit close to your skin without feeling tight. Look for synthetic fabrics or merino wool—both move sweat away from your body. Cotton is a poor choice because it holds moisture and dries slowly. Fit matters too: a snug but not restrictive base layer allows the fabric to touch your skin and transfer moisture. If it's baggy, it can't do its job. For snowboarding layering, start with a thin base layer and adjust from there.
Add midlayers strategically
Your midlayer is your adjustable warmth. On cold days, a fleece or light synthetic jacket works well. On milder days, you might skip it entirely. The key is to avoid wearing too much from the start. It's easier to add a layer than to cool down once you're sweaty. If you're touring or hiking to a run, start with fewer layers and add them at the top. Remember that your snow jacket itself provides insulation and weather protection, so you don't need to bulk up underneath.
Use your jacket's ventilation
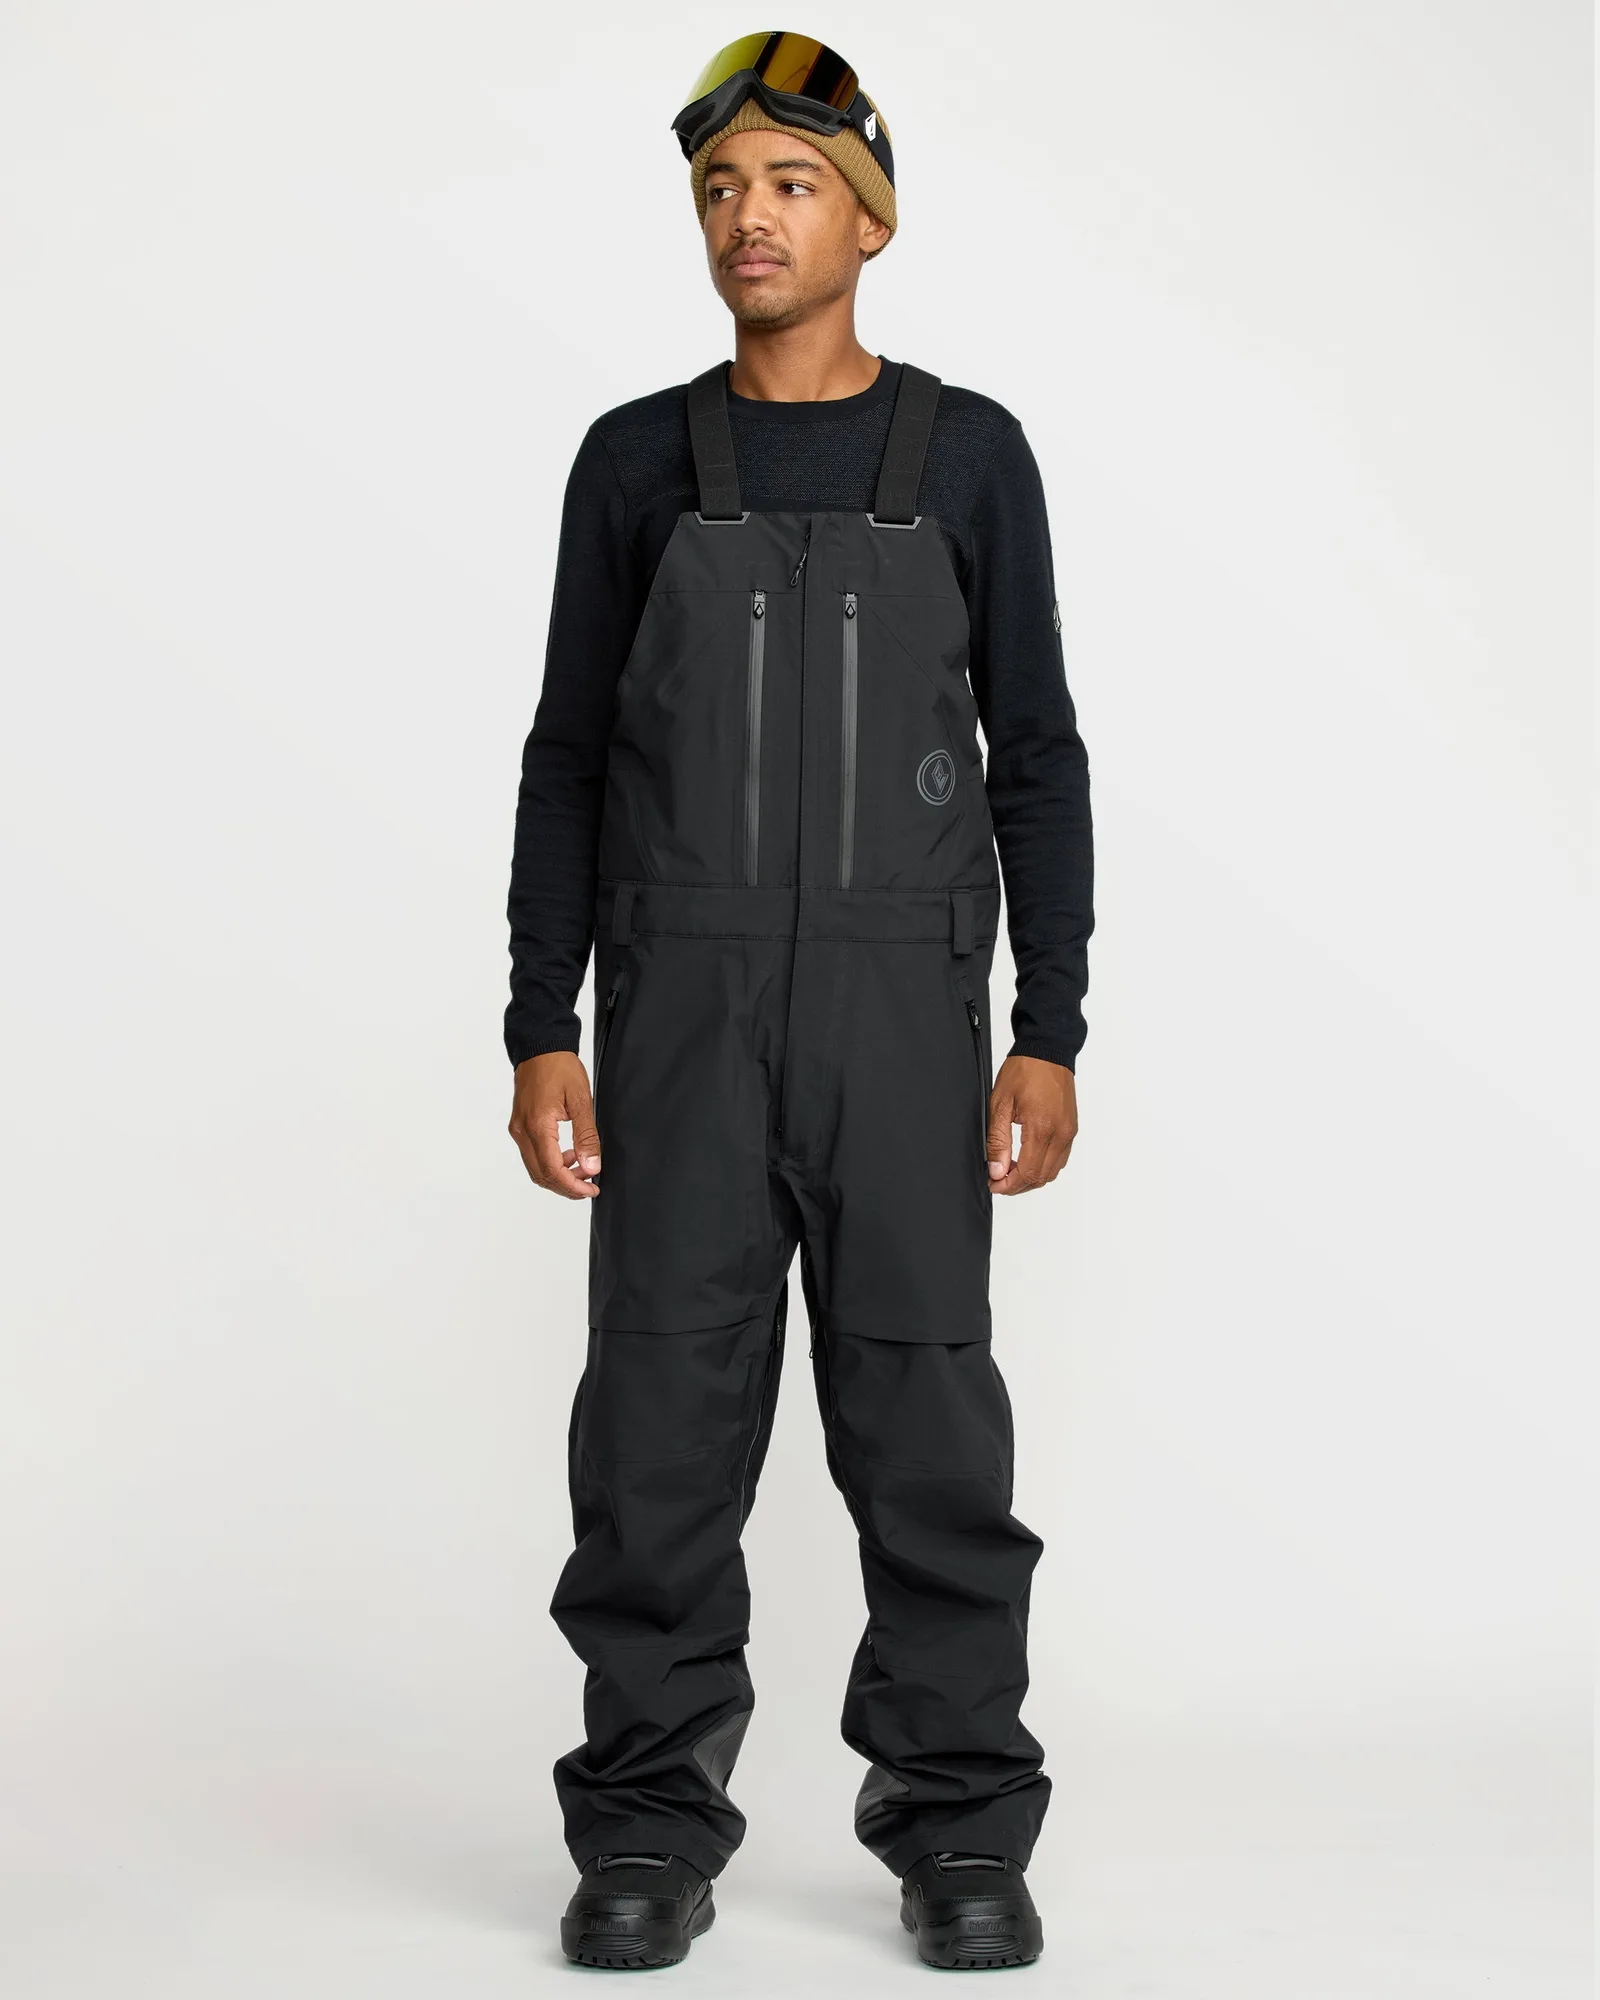
Most snow jackets have pit zips or core vents. Open them when you're working hard—like hiking or riding in mild temperatures—and close them on the lift or when you stop. This simple habit releases heat before you overheat. If your jacket doesn't have vents, consider unzipping the front or removing your midlayer. Also, make sure your jacket's collar and cuffs aren't sealed too tight; a little airflow helps. For bib-style pants like the Men's Anyox Gore-Tex Pro Shell Bib, the bib top adds coverage but doesn't replace jacket ventilation.
Step-by-step layering process
- Start with a clean, dry base layer: Put on a moisture-wicking base layer before you get dressed. Make sure it's fresh—not the one you wore yesterday. A clean base layer moves sweat more effectively. Checkpoint: Your base layer should feel snug but not tight, and it should be made of synthetic or merino wool, not cotton.
- Add a midlayer only if it's cold: If temperatures are below freezing or you run cold, add a fleece or light synthetic midlayer. If it's mild or you'll be active, skip it or bring it in your pack. Checkpoint: You should feel slightly cool when you step outside. You'll warm up as you move.
- Put on your snow jacket and adjust vents: Zip up your jacket but leave pit zips or core vents open if you're about to hike or ride hard. Close them when you stop or ride the lift. Checkpoint: If you start sweating within the first 10 minutes, open vents or remove your midlayer.
- Monitor and adjust throughout the day: Check in with yourself on each lift ride. If you're damp, add a dry layer or open vents. If you're cold, close vents and add a midlayer. Checkpoint: Never let sweat soak your base layer. Change it if you have a spare.
Product facts
- Men's Anyox Gore-Tex Pro Shell Bib: Men's Anyox Gore-Tex Pro Shell Bib is a black, bib-style snow pant with a waterproof and breathable Gore-Tex Pro membrane, seam-taped and windproof construction, and adjustable suspenders. The bib's breathable membrane helps manage moisture from the inside, while the bib design keeps snow out and adds core warmth without extra bulk.