Blush is the ultimate secret to a fresh, youthful complexion. But achieving that perfect, natural-looking flush isn't just about swiping on one product—it's about layering. Layering blush allows you to build color gradually, create dimension, and ensure your blush lasts all day without fading or looking cakey. Whether you're a makeup novice or a seasoned pro, mastering this technique can transform your routine.
In this guide, we'll walk you through the step-by-step process of layering blush for a natural flush. From choosing the right formulas to placement tips, you'll learn how to customize your look using products like the Major Skin Soft Blur Brightening Concealer and the Dual-Ended Blush Brush. Get ready to glow from within.
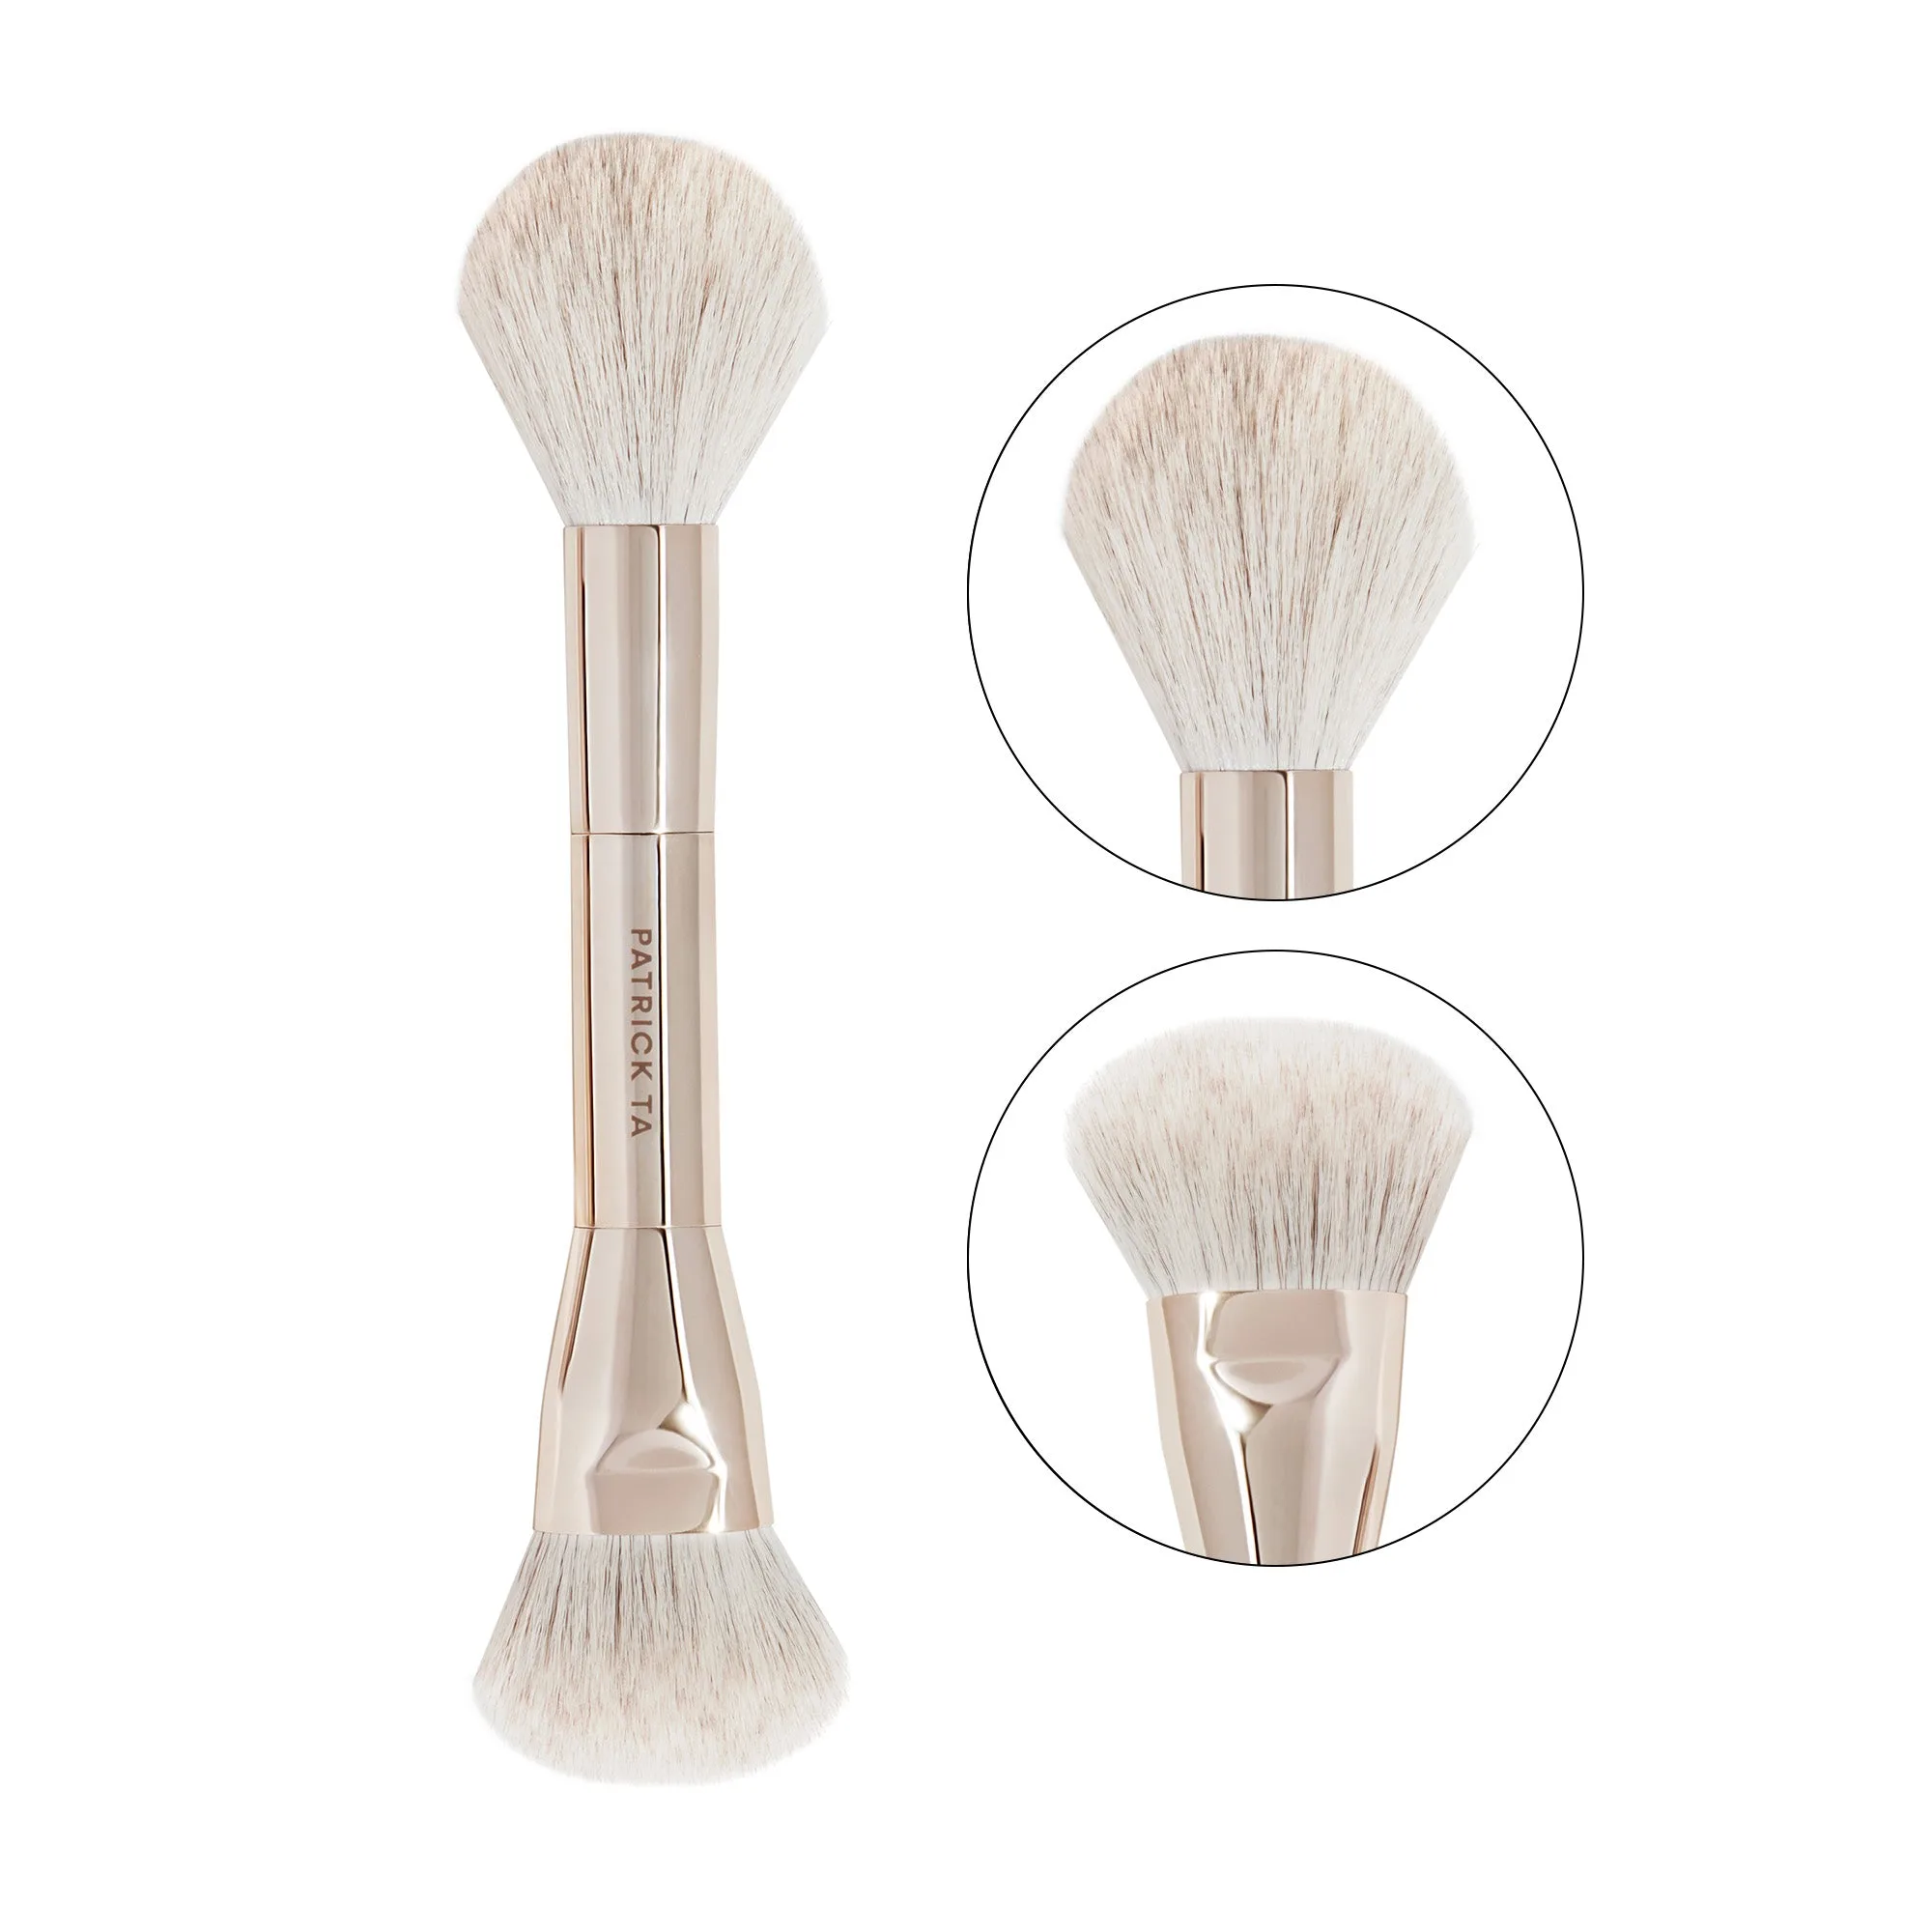
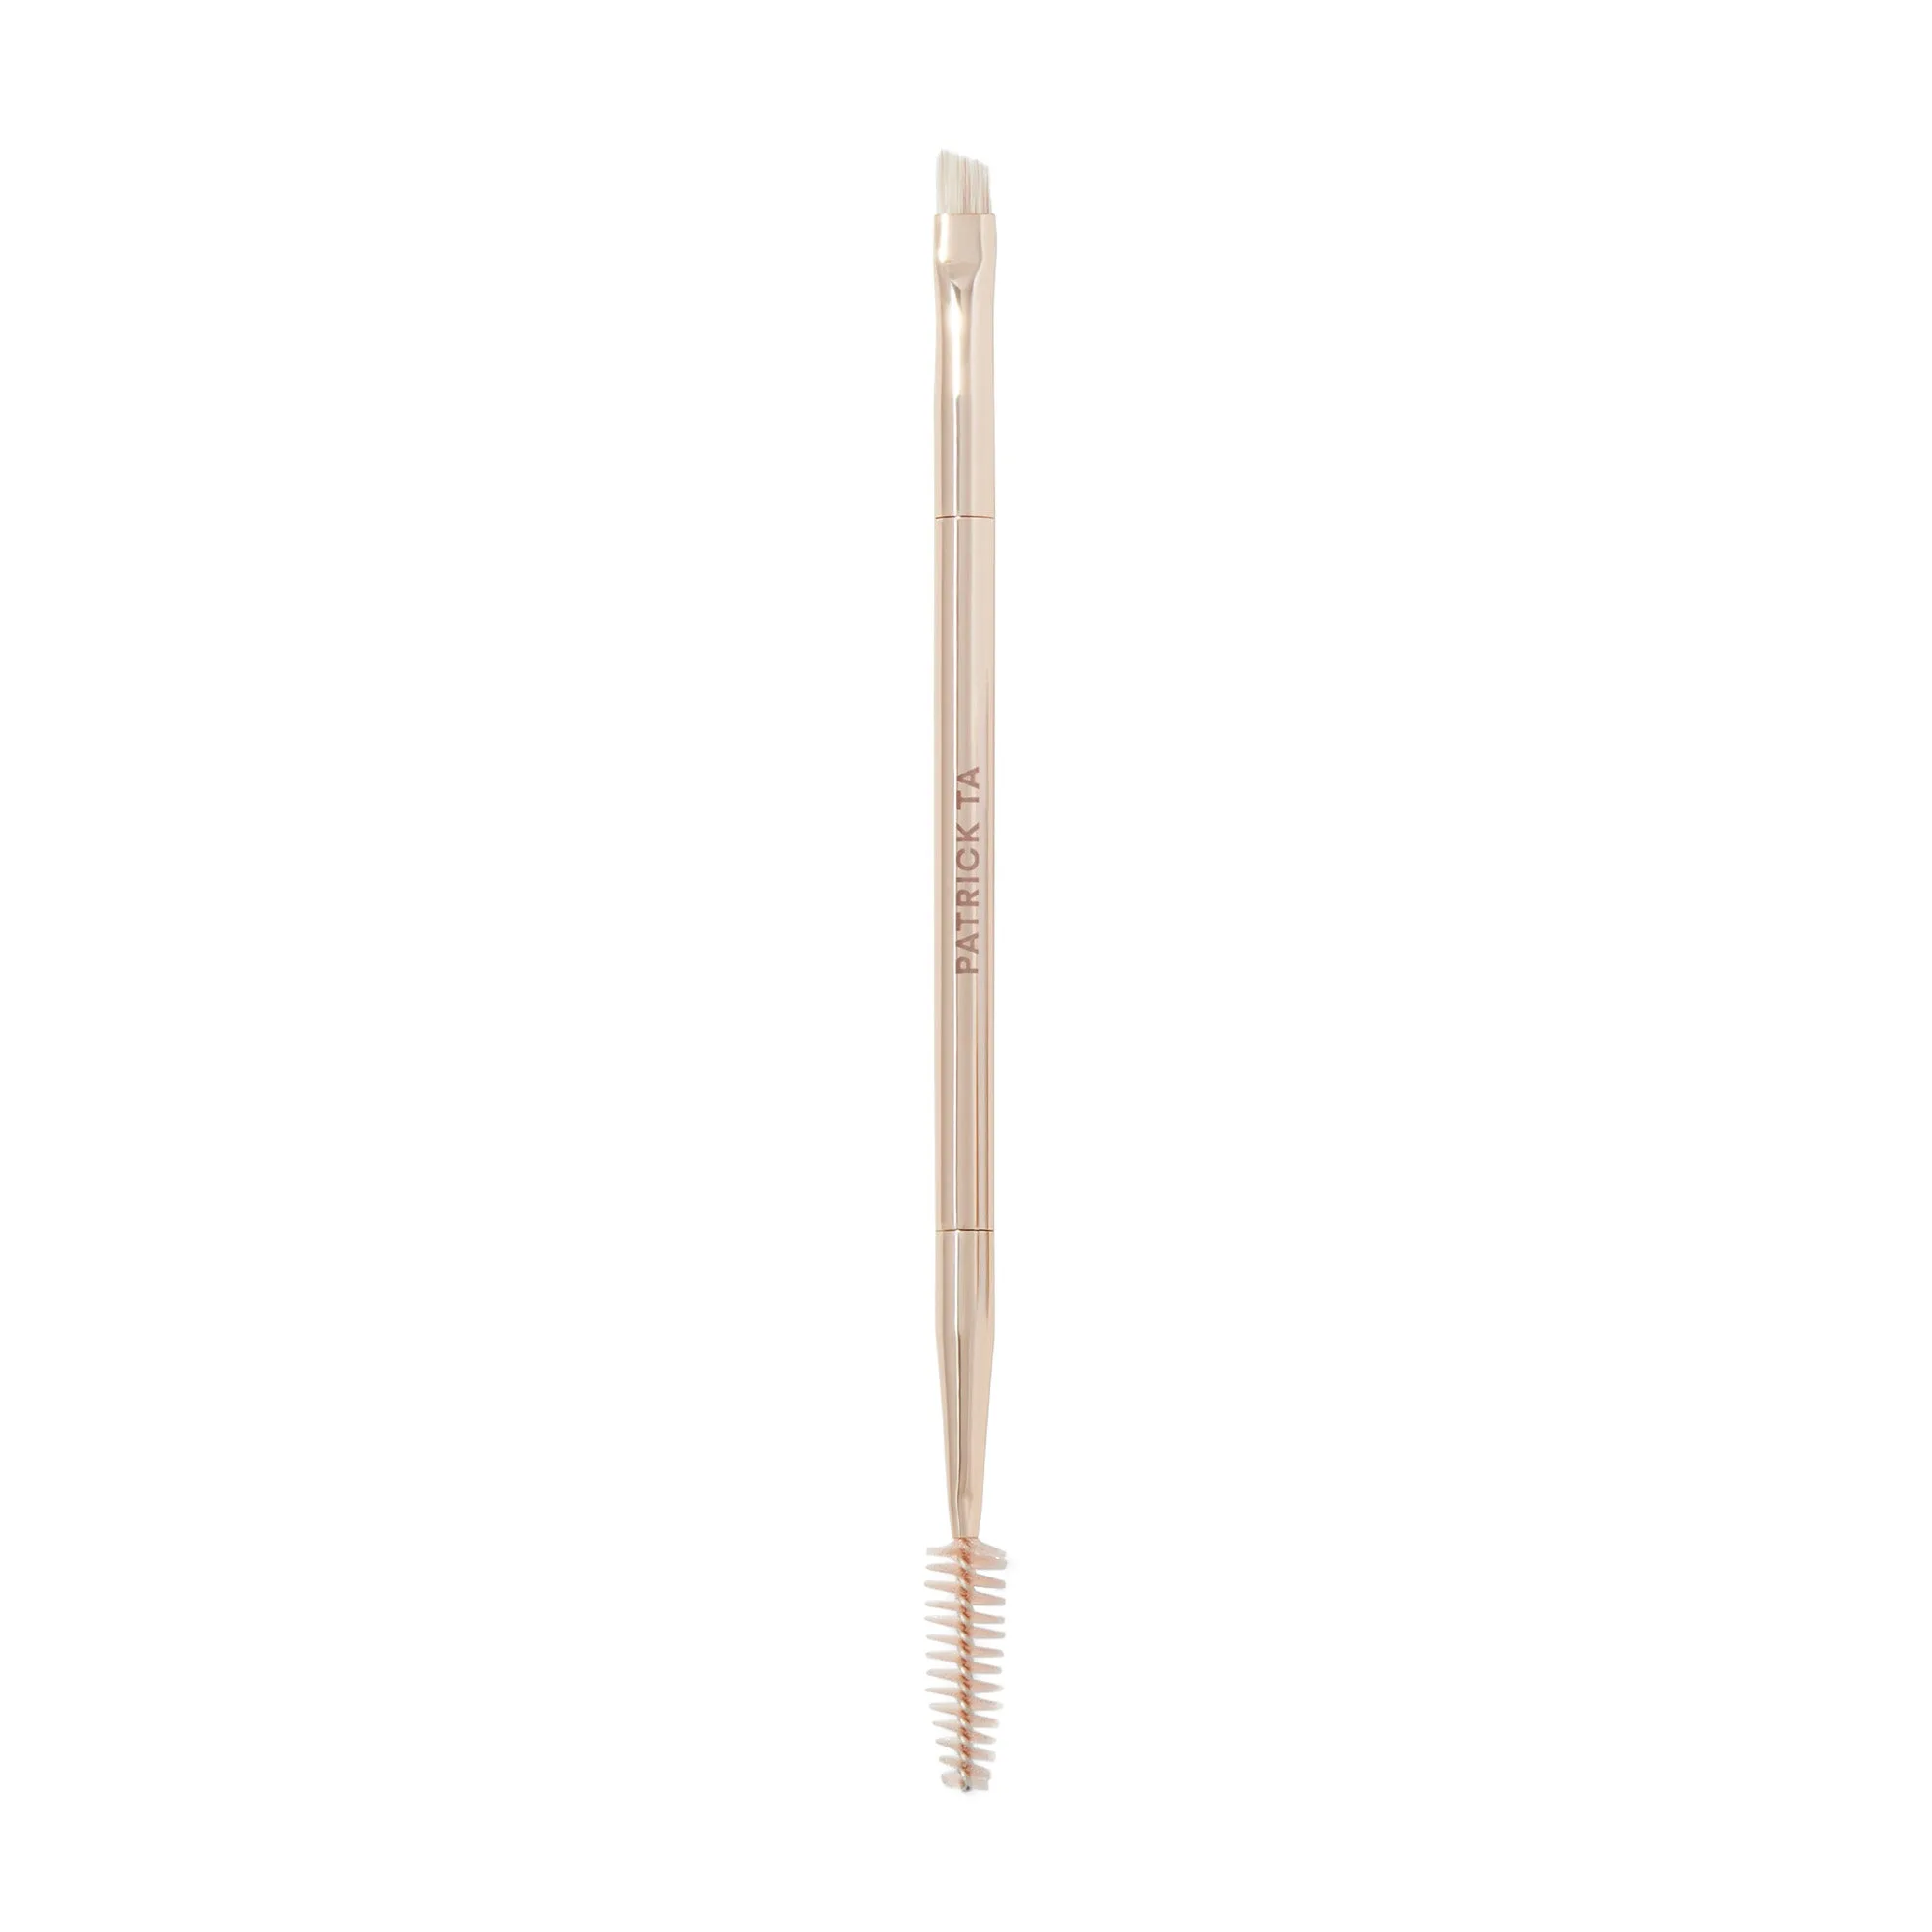
Dual-Ended Blush Brush
Why Layering Blush Creates a More Natural Look
Layering blush mimics the way blood naturally rushes to your cheeks, creating a subtle, believable flush. By using multiple textures—like cream, powder, or liquid—you can build intensity without overwhelming your skin. This technique also helps blush blend seamlessly into your foundation, avoiding harsh lines or patchiness.
Another key benefit is longevity. A cream blush base provides a dewy, skin-like finish, while a powder blush on top sets the color for all-day wear. This dual-layer approach ensures your flush stays vibrant from morning to night, even in humid conditions. Plus, layering lets you play with color mixing for a truly custom shade.
- Start with a cream or liquid blush for a natural, dewy base.
- Use a powder blush in a similar shade to set and intensify the color.
- Apply blush in thin layers, building up gradually for control.
Step 1: Prep Your Skin for a Smooth Canvas
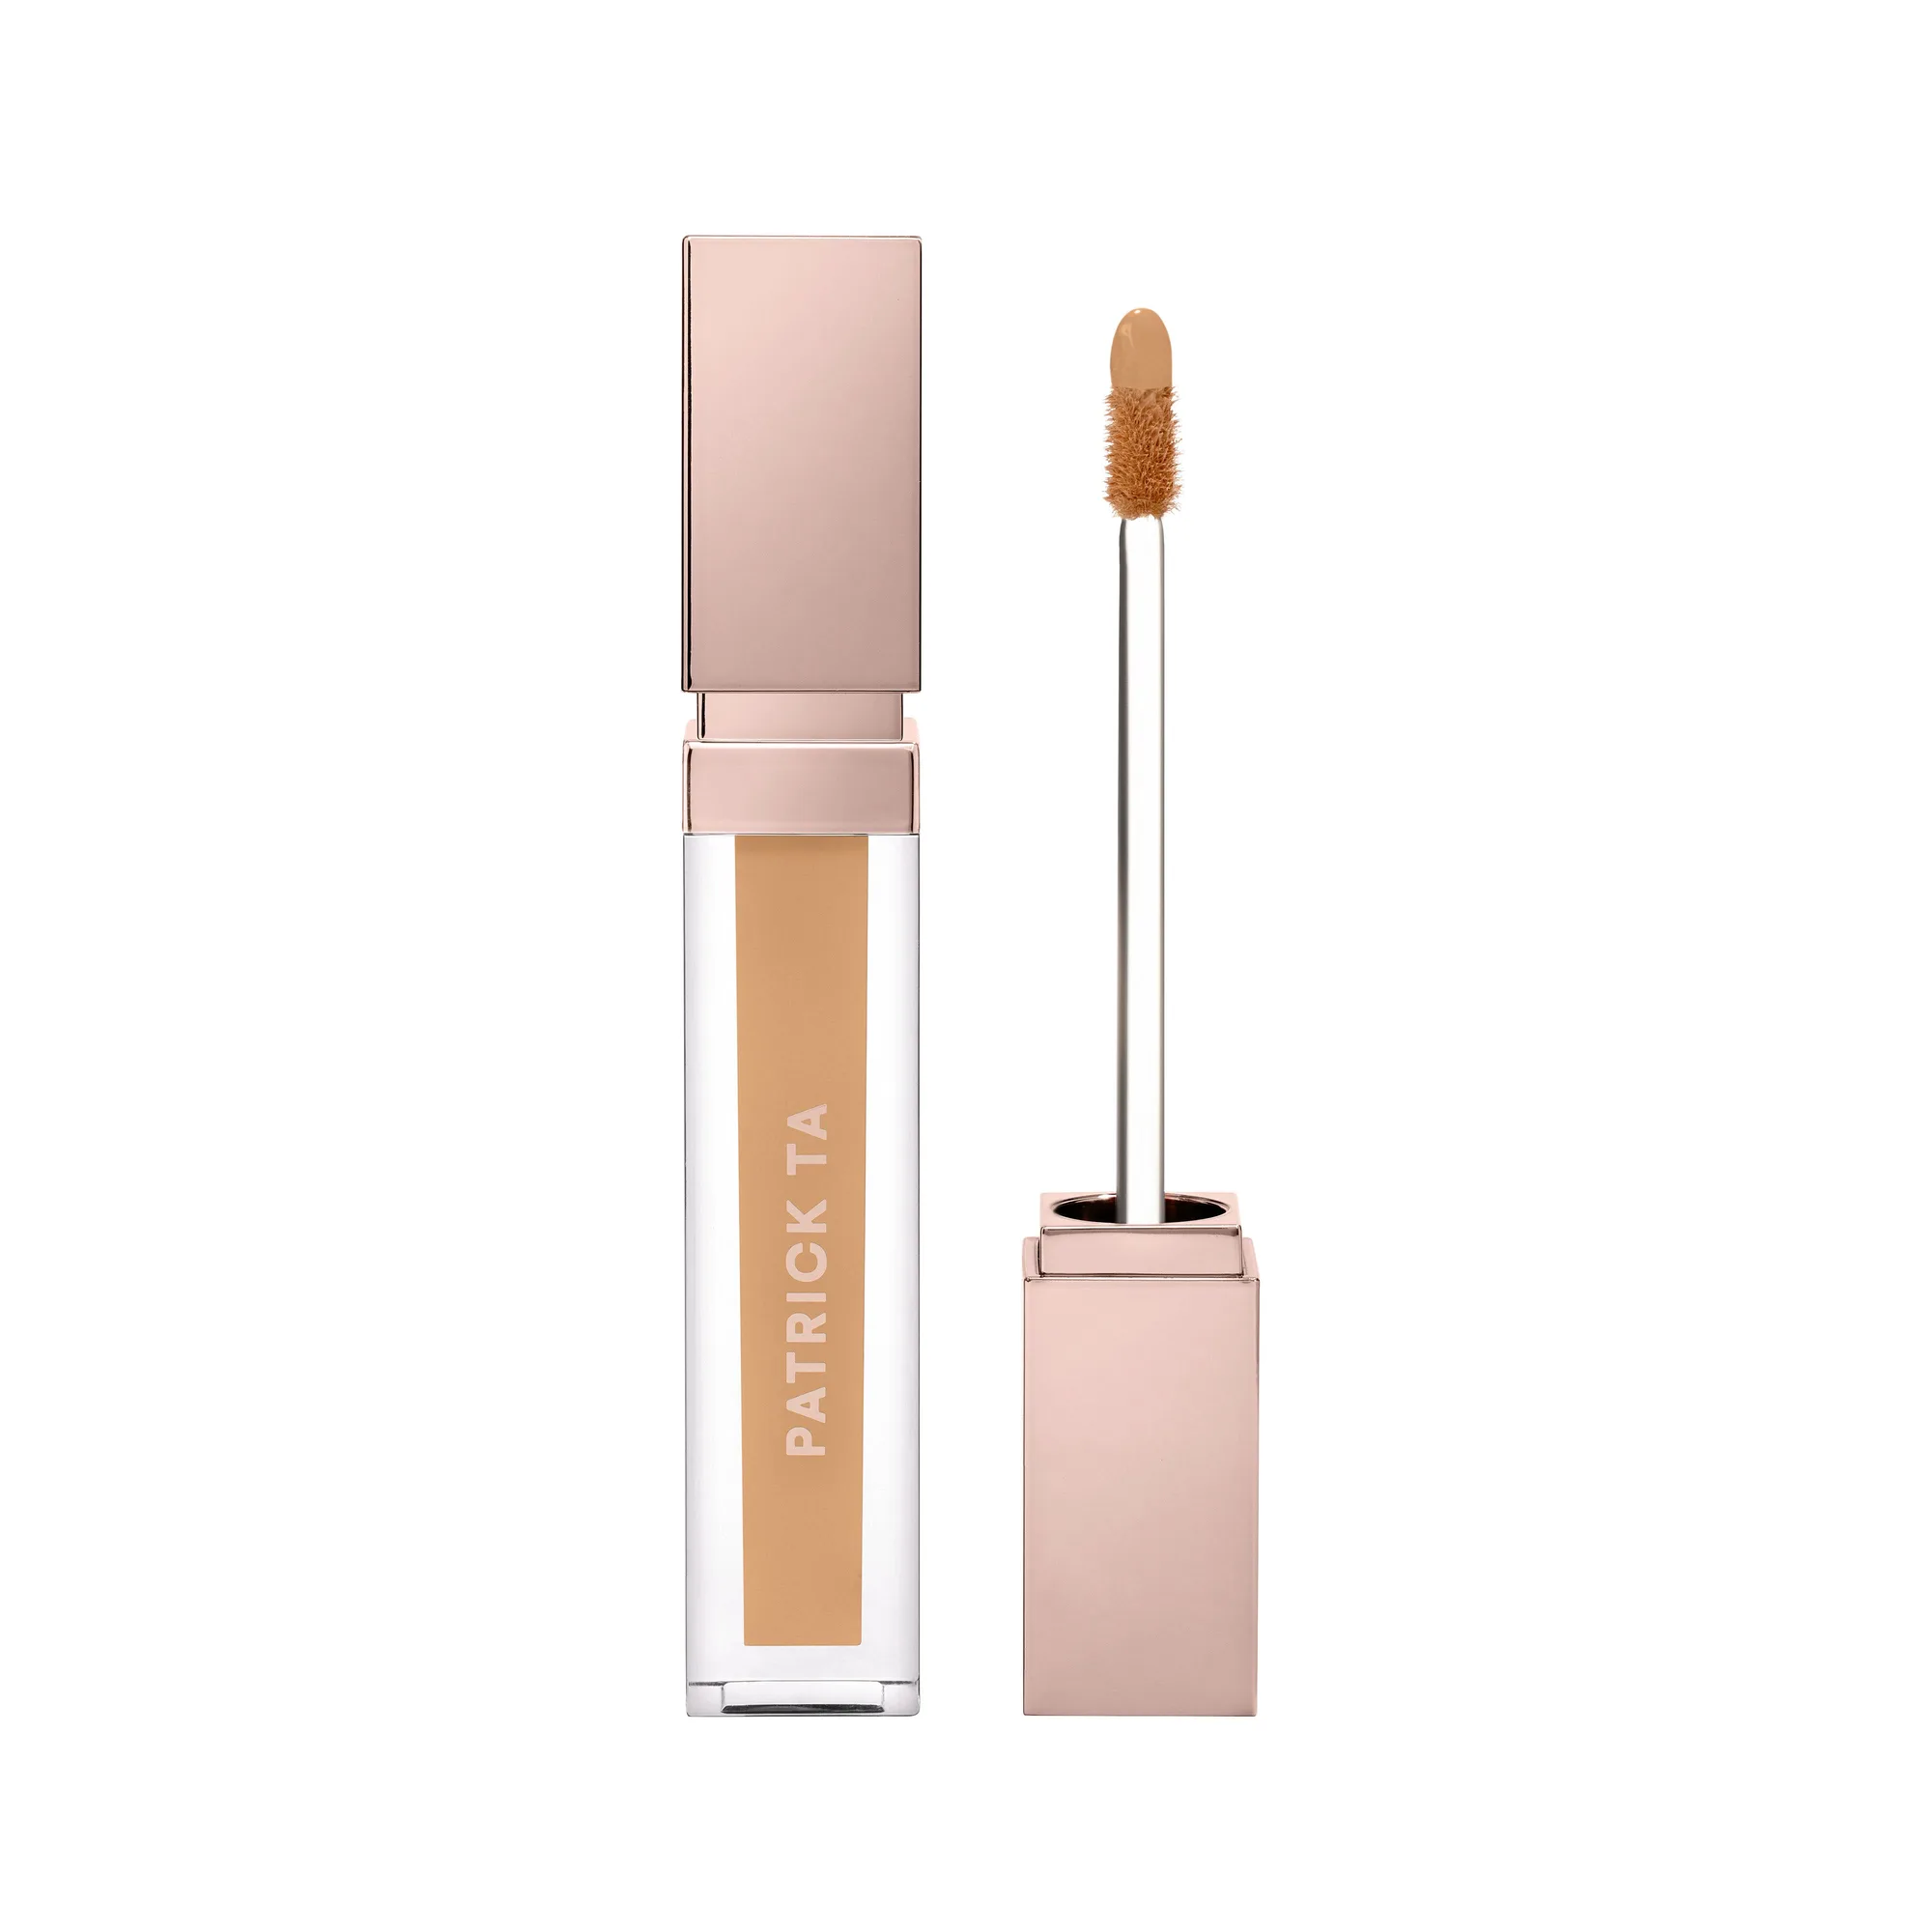
A flawless blush application begins with a well-prepped base. Start with your usual skincare routine, then apply a lightweight foundation or tinted moisturizer. For a natural flush, the Major Skin Soft Blur Brightening Concealer is an excellent choice to even out your skin tone and brighten the under-eye area, creating a seamless canvas for blush.
Allow your base to set for a minute before moving to blush. This prevents the products from mixing and moving around. If you have oily skin, a light dusting of translucent powder on the T-zone can help control shine while keeping the cheeks dewy for blush layering.
Step 2: Choose Your Blush Formulas and Tools
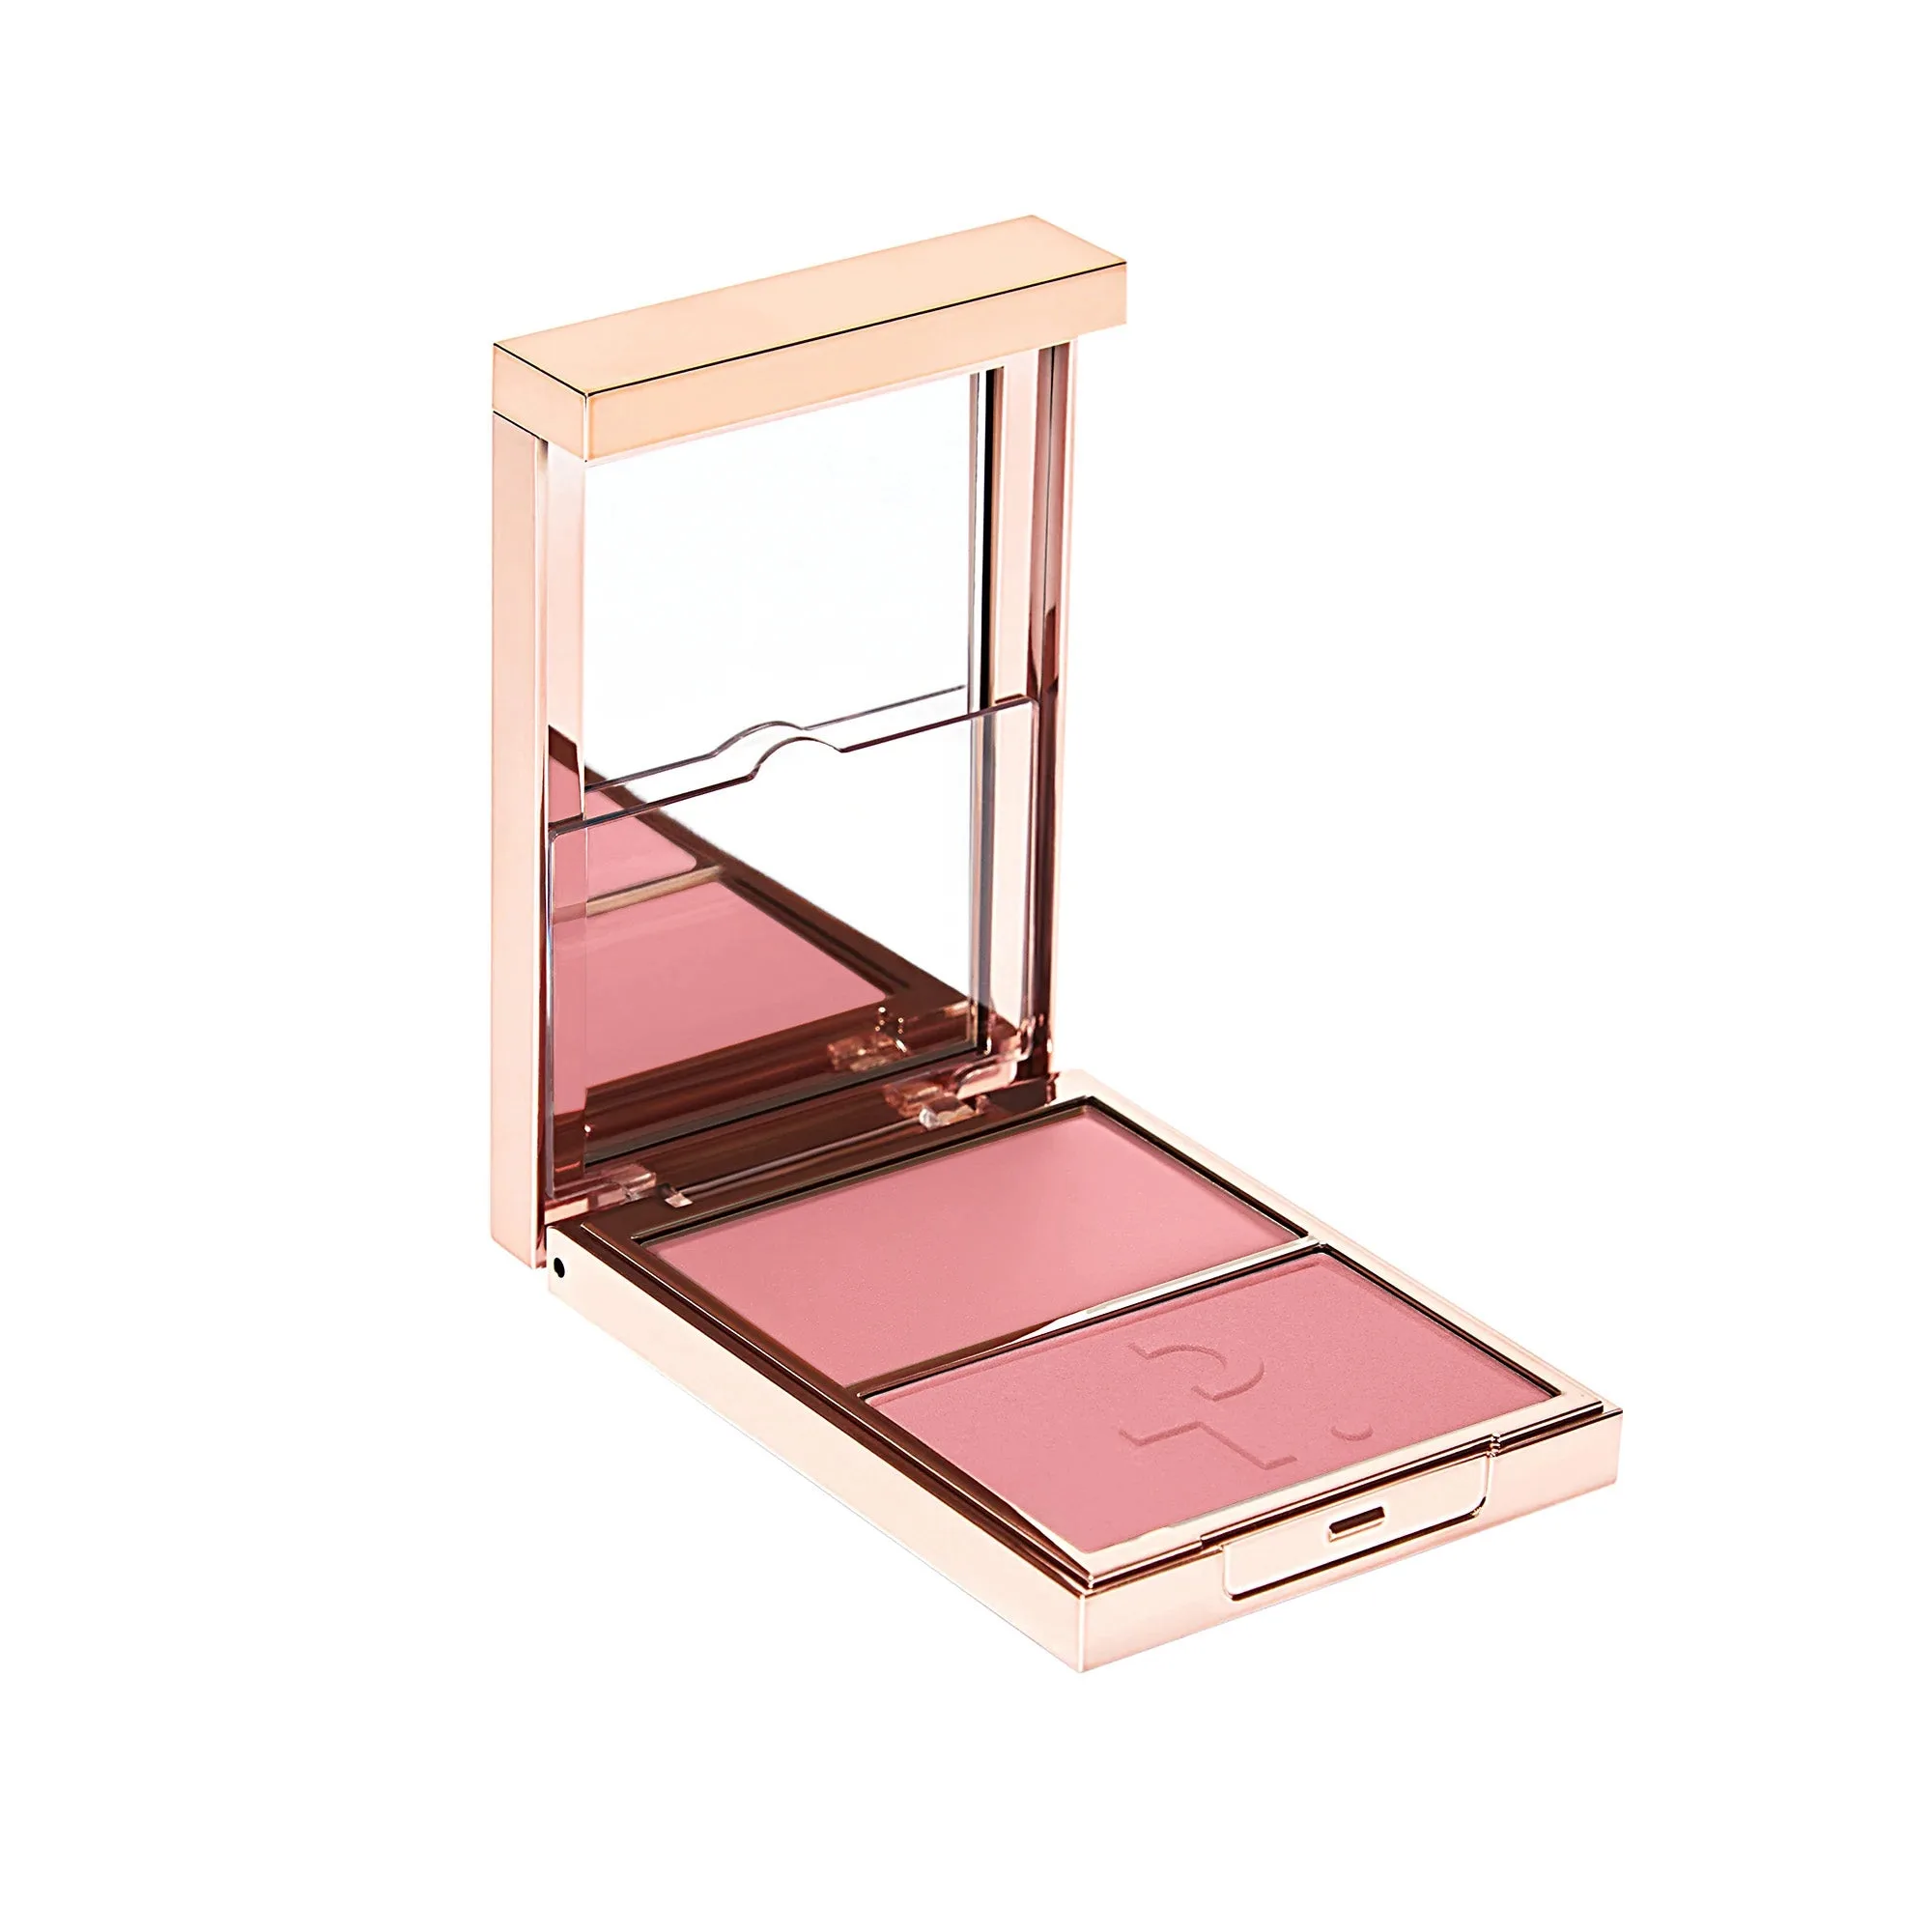
The key to successful layering is using complementary textures. Start with a cream or liquid blush, which melts into the skin for a natural finish. Follow with a powder blush in a similar or slightly deeper shade to add depth and longevity. Avoid using two powder blushes together, as they can look chalky.
Your tools matter too. The Dual-Ended Blush Brush is perfect for this technique—use the angled side for precise cream application and the fluffy side for buffing powder. This brush allows you to switch between formulas without overloading your face with product, ensuring a soft, blended result every time.
- Cream blush: Pat onto the apples of cheeks with fingers or a dense brush.
- Powder blush: Sweep lightly over the cream with a fluffy brush.
- Use a stippling motion to blend edges for a seamless finish.
Step 3: Apply Cream Blush as Your Base
Start with a small amount of cream blush on the back of your hand. Using your ring finger or the Dual-Ended Blush Brush, dab the product onto the apples of your cheeks. Smile to find the natural high point, then blend outward toward your temples in gentle tapping motions. This creates a soft, diffused look that mimics a natural flush.
Cream blush works beautifully because it imparts a dewy, skin-like sheen. For a subtle pop of color, choose a shade close to your natural flush. You can always build more intensity later with powder. Let the cream set for about 30 seconds before moving to the next step.
Step 4: Set and Intensify with Powder Blush
Once your cream blush is in place, take a fluffy brush and dip it into a powder blush. Tap off any excess, then lightly sweep it over the same area, blending outward. The powder locks in the cream color and adds a second dimension of pigment. For a truly natural look, use a shade that is one or two tones deeper than your cream blush.
This layering technique not only intensifies the color but also extends wear time. The powder absorbs any excess oil from the cream, preventing creasing. If you want a more sculpted effect, apply the powder slightly higher on the cheekbones for a lifted appearance.
- Use a light hand—you can always add more powder if needed.
- Focus on the center of the cheek and blend outward for a gradient effect.
- For a sun-kissed look, sweep a tiny bit of powder across the nose and forehead.
Step 5: Finish with a Highlighter or Setting Spray
To complete your natural flush, add a touch of highlighter to the highest points of your cheekbones. This catches the light and gives your skin a healthy, lit-from-within glow. A cream or liquid highlighter works best over layered blush, as it blends seamlessly without disturbing the color below.
Finally, lock everything in place with a setting spray. This melds the layers together, reducing any powdery finish and enhancing the natural look. A few spritzes from a hydrating mist will also revive the dewy effect of your cream blush, leaving you with a radiant, long-lasting flush.
Layering blush is a game-changer for achieving a natural, radiant flush that lasts all day. By combining cream and powder formulas with the right tools, you can customize your color and finish effortlessly. Ready to elevate your blush game? Explore the Dual-Ended Blush Brush for precise application and the Major Skin Soft Blur Brightening Concealer for a flawless base. Your perfect flush is just a few layers away.