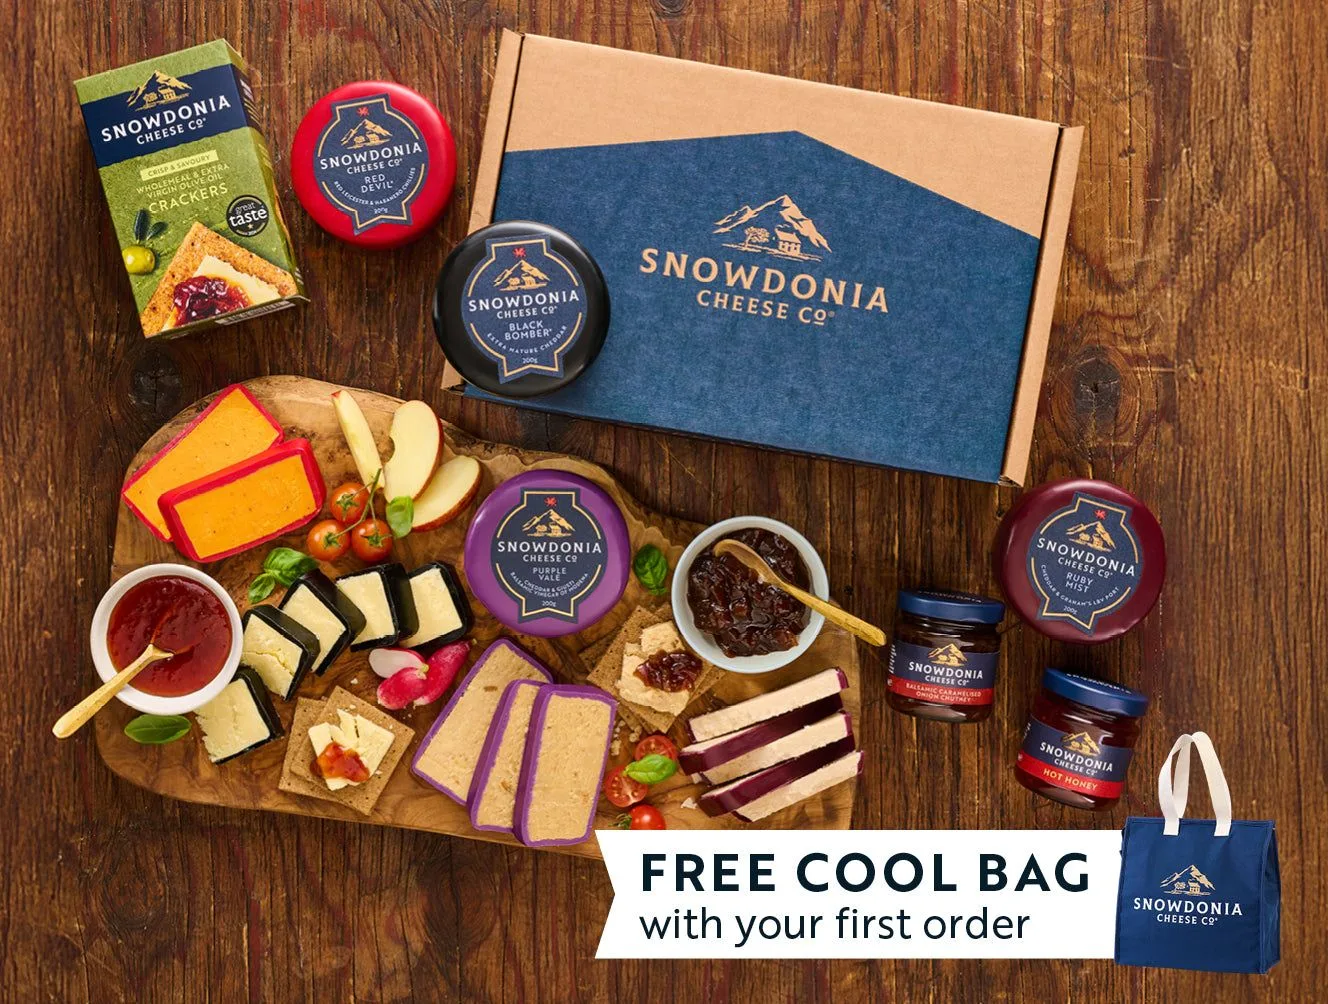
A portable cheese picnic is one of life’s simple pleasures — fresh air, good company, and a carefully curated selection of cheeses and accompaniments. But anyone who has tried to transport a cheese board knows the challenge: keeping everything at the right temperature, preventing chutneys from spilling, and ensuring crackers arrive whole. The secret lies in smart layering within a dedicated picnic cool bag.
Whether you are heading to a park, a beach, or a countryside viewpoint, learning how to pack a cheese cool bag properly transforms your outdoor dining experience. In this guide, we will walk you through the best techniques for layering a picnic cool bag, using real products from the Snowdonia Cheese range to illustrate each step. From the Cheese, Chutney & Soft Drinks Picnic Cool Bag to the Five Chutney Selection, you will discover how to assemble a portable feast that stays fresh, tidy, and delicious.
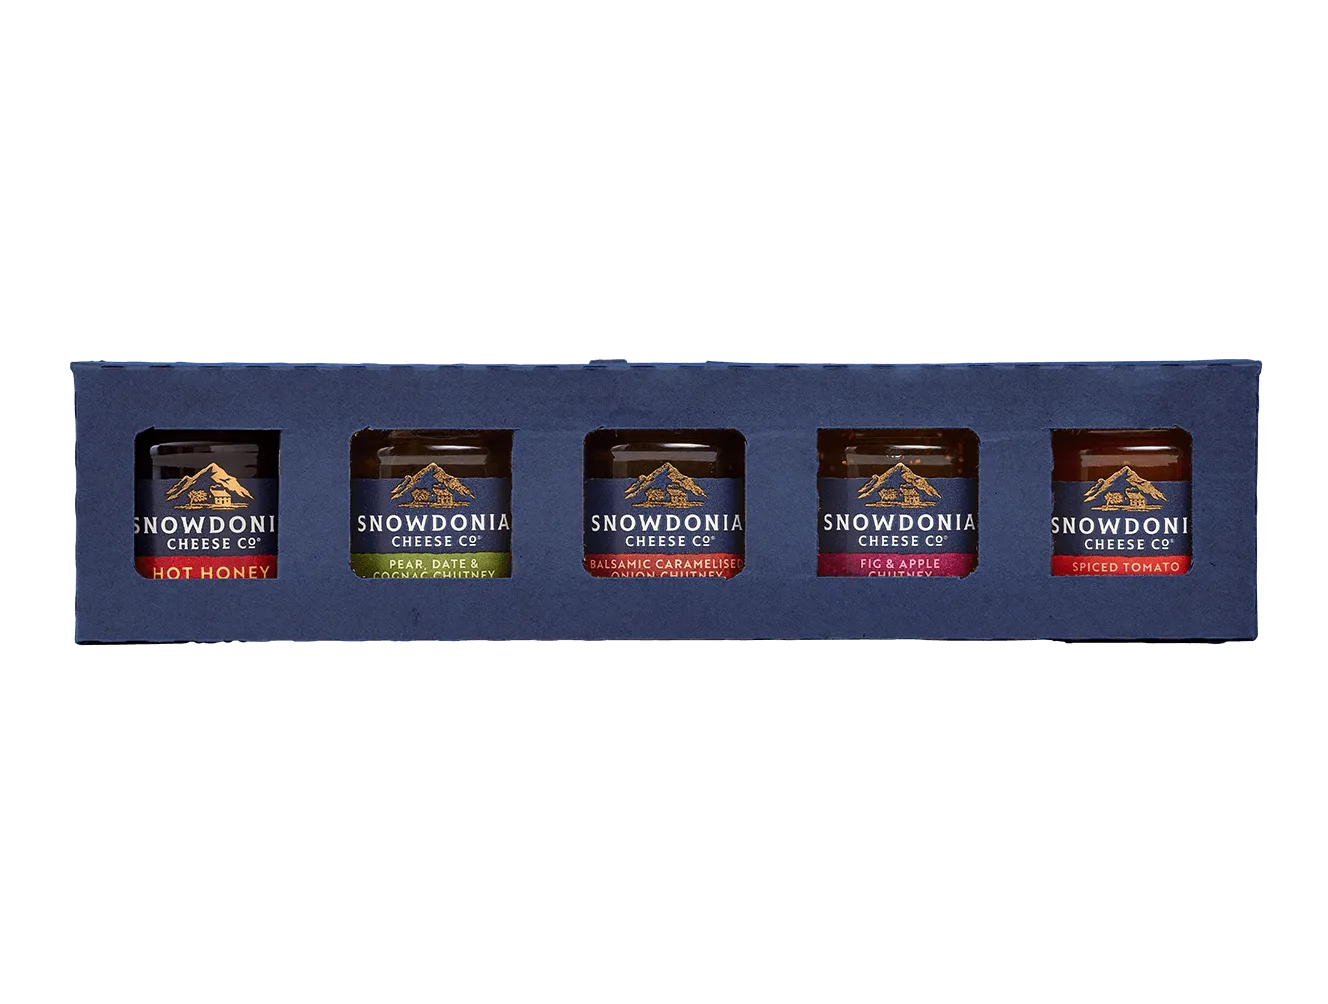
Five Chutney Selection
Why Layering Matters for a Cheese and Chutney Picnic
Layering is not just about fitting everything in — it is about temperature control, moisture management, and preventing cross-contamination. Cheese is a living product that continues to ripen and release moisture, while chutneys and crackers have very different humidity requirements. If you simply throw everything into a bag, you risk soggy crackers, sweaty cheese, and a messy clean-up.
A well-layered cool bag creates microclimates: a stable cool zone for cheese, a spill-proof compartment for chutneys, and a dry, cushioned area for crackers. The Cheese, Chutney & Soft Drinks Picnic Cool Bag is designed with multiple compartments and insulation, making it an ideal vessel for this method. By following a deliberate packing order, you can keep each item in peak condition for hours.
- Always place ice packs at the bottom to create a cold foundation.
- Wrap cheese in wax paper or breathable wrap — never plastic, which traps moisture.
- Store chutneys in upright, sealed containers to avoid leaks.
Step 1: Prepare Your Cheese for Travel
Before you even open the cool bag, take a moment to prepare your cheeses. Hard cheeses like cheddar or gouda travel well and can be cut into wedges or cubes. Softer cheeses, such as brie or camembert, need more protection. Wrap each cheese individually in wax paper or cheese paper, then place them in a small airtight container or a dedicated cheese compartment. This prevents odours from mingling and keeps the cheese at a stable humidity.
For a well-rounded picnic, consider including a variety of textures. A firm, crumbly cheese pairs beautifully with a sweet chutney, while a creamy, spreadable cheese benefits from a tangy pickle. The Five Chutney Selection offers five distinct flavours — from rich caramelised onion to zesty tomato — giving you plenty of pairing options without having to pack multiple jars.
- Cut cheese into serving-sized pieces before packing to avoid last-minute crumbling.
- Label cheeses with a small sticker or marker if you are bringing several varieties.
- Keep soft cheeses in a rigid container to prevent squashing.
Step 2: Organise Your Chutneys and Accompaniments
Chutneys, pickles, and relishes are the heart of any great cheese board, but they can be messy travellers. The key is to use leak-proof containers and to position them strategically in the cool bag. If your chutney comes in a jar with a secure lid, that works well — just make sure the lid is tight and the jar is placed upright. For smaller portions, consider decanting into reusable silicone pots or small mason jars.
The Spiced Tomato & Vodka Chutney is a popular choice for picnics because its bold, tangy flavour complements both hard and soft cheeses. It is also thick enough to resist leaking. Another excellent option is the Pear, Date & Cognac Chutney, which adds a touch of sweetness and pairs beautifully with a mature cheddar or a blue cheese. Place these jars in a central, stable position in the cool bag, surrounded by soft padding like a tea towel or napkin.
- Use small, wide-mouthed jars for easy spooning at the picnic site.
- Pack a small spoon or spreader in the bag — do not rely on disposable plastic.
- If bringing multiple chutneys, group them together so they can be accessed as a set.
Step 3: Build the Cool Bag Layers from Bottom to Top
Now it is time to assemble your cool bag. Start with a layer of ice packs at the very bottom. These will keep the entire bag cool for several hours. Next, place a clean tea towel or a small folded blanket on top of the ice packs — this creates a barrier that prevents condensation from reaching your food and also cushions delicate items.
On top of the towel, arrange your cheese containers. Hard cheeses can go directly on the towel, while soft cheeses should be in rigid containers placed in the centre of the bag where they are least likely to be jostled. Around the cheese, tuck in your chutney jars, ensuring they are upright and snug. Fill any gaps with soft items like napkins, small crackers in a tin, or fruit. Finally, place any drinks or extra snacks on top. The Cheese, Chutney & Soft Drinks Picnic Cool Bag is designed with this exact stacking logic in mind, making it a practical choice for frequent picnickers.
- Pack heavier items at the bottom and lighter, crushable items on top.
- Use a small insulated bottle for drinks to save cool bag space.
- Leave a little air gap at the top to close the bag easily without squashing contents.
Step 4: Keep Crackers and Crispy Items Separate
Crackers and crispbreads are the most fragile part of any portable cheese picnic. They must be kept completely dry and free from pressure. The best approach is to pack crackers in a rigid, airtight tin or a sturdy plastic container. Place this container on the very top layer of the cool bag, after all other items are secured. If your cool bag has a separate top compartment or a mesh pocket, use that for crackers.
Avoid packing crackers next to chutney jars or damp cheese containers — moisture and crumbs are a bad combination. Instead, bring a small cutting board or a flat serving slate that can double as a stable surface for assembling bites at your picnic spot. With the right preparation, your crackers will stay crisp and ready to scoop up generous amounts of chutney.
- Choose crackers that are sturdy enough to hold chutney without breaking.
- Bring a small cloth to wipe hands or spills — it doubles as a napkin.
- If space is tight, consider using a separate small bag for crackers only.
Step 5: Add the Finishing Touches for a Perfect Picnic
Once your cool bag is packed, do not forget the extras that elevate a picnic from good to great. A small cheese knife, a set of napkins, a reusable cutlery set, and a damp cloth for sticky fingers are essentials. If you are bringing wine or beer, pack them in a separate insulated sleeve or bottle carrier to prevent breakage and keep them chilled.
For a truly memorable experience, consider including a hamper-style selection that already combines cheese, chutney, and drinks in one curated package. The Cheese, Chutney & Soft Drinks Picnic Cool Bag is exactly that — a ready-to-go solution that takes the guesswork out of packing. It comes with a selection of Snowdonia cheeses, a choice of chutneys, and soft drinks, all arranged in a compartmentalised cool bag designed for travel. Simply add your own crackers and fruit, and you are ready for a delightful outdoor feast.
- Pack a small serving board or slate for presentation.
- Bring a reusable water bottle to rinse sticky fingers.
- Check the weather forecast — a light blanket or umbrella can save the day.
Layering a cheese and chutney picnic cool bag is a simple skill that makes outdoor dining effortless and enjoyable. By preparing your cheese, organising your chutneys, and stacking items in the right order, you can transport a complete cheese board to any location without stress. For a fuss-free start, explore the Cheese, Chutney & Soft Drinks Picnic Cool Bag — it is designed to make your next picnic as easy as it is delicious.