Quick answer
For skiing, wear three layers: a thin moisture-wicking base layer against your skin, an insulating mid layer like a fleece or wool hoodie, and a waterproof, breathable shell jacket on top. Add or remove the mid layer as your output and the weather change. This system keeps you warm without overheating and lets you adapt from the lift to the lodge.
Skiing throws a lot at your clothing: cold wind on the lift, sweat on the descent, and sudden temperature swings when the sun comes out. The right layering system handles all three by letting you trap warmth when you need it and dump heat before you get soaked. It is not about wearing the thickest jacket you own; it is about combining thin, functional pieces that work together.
This guide walks you through a simple three-layer setup you can use for resort skiing, touring, or a cold day of snowshoeing. You will learn what each layer does, how to choose materials, and the mistakes that leave skiers shivering or sweating. We will also point out a few real Houdini pieces that fit naturally into this system.
Step 1: Start with a base layer that moves sweat away from your skin
Your base layer is the foundation of ski layering. Its job is to pull moisture off your skin and move it toward the outer layers so you stay dry. Look for a snug but not tight fit in merino wool or a synthetic blend. Cotton is a poor choice because it holds water and gets cold fast. A half-zip base layer gives you a quick way to vent heat without taking anything off.
For skiing, a thin or midweight base layer works for most conditions. On very cold days, add a second thin base layer or choose a heavier weight. The key is that it sits close to your body so it can do its job. If your base layer is baggy, it cannot wick effectively and you will feel clammy.
- Checkpoint: After a run, your base layer should feel damp, not soaked. If it is soaked, you may need a more breathable mid layer or to vent more often.
Step 2: Add a mid layer for warmth you can control
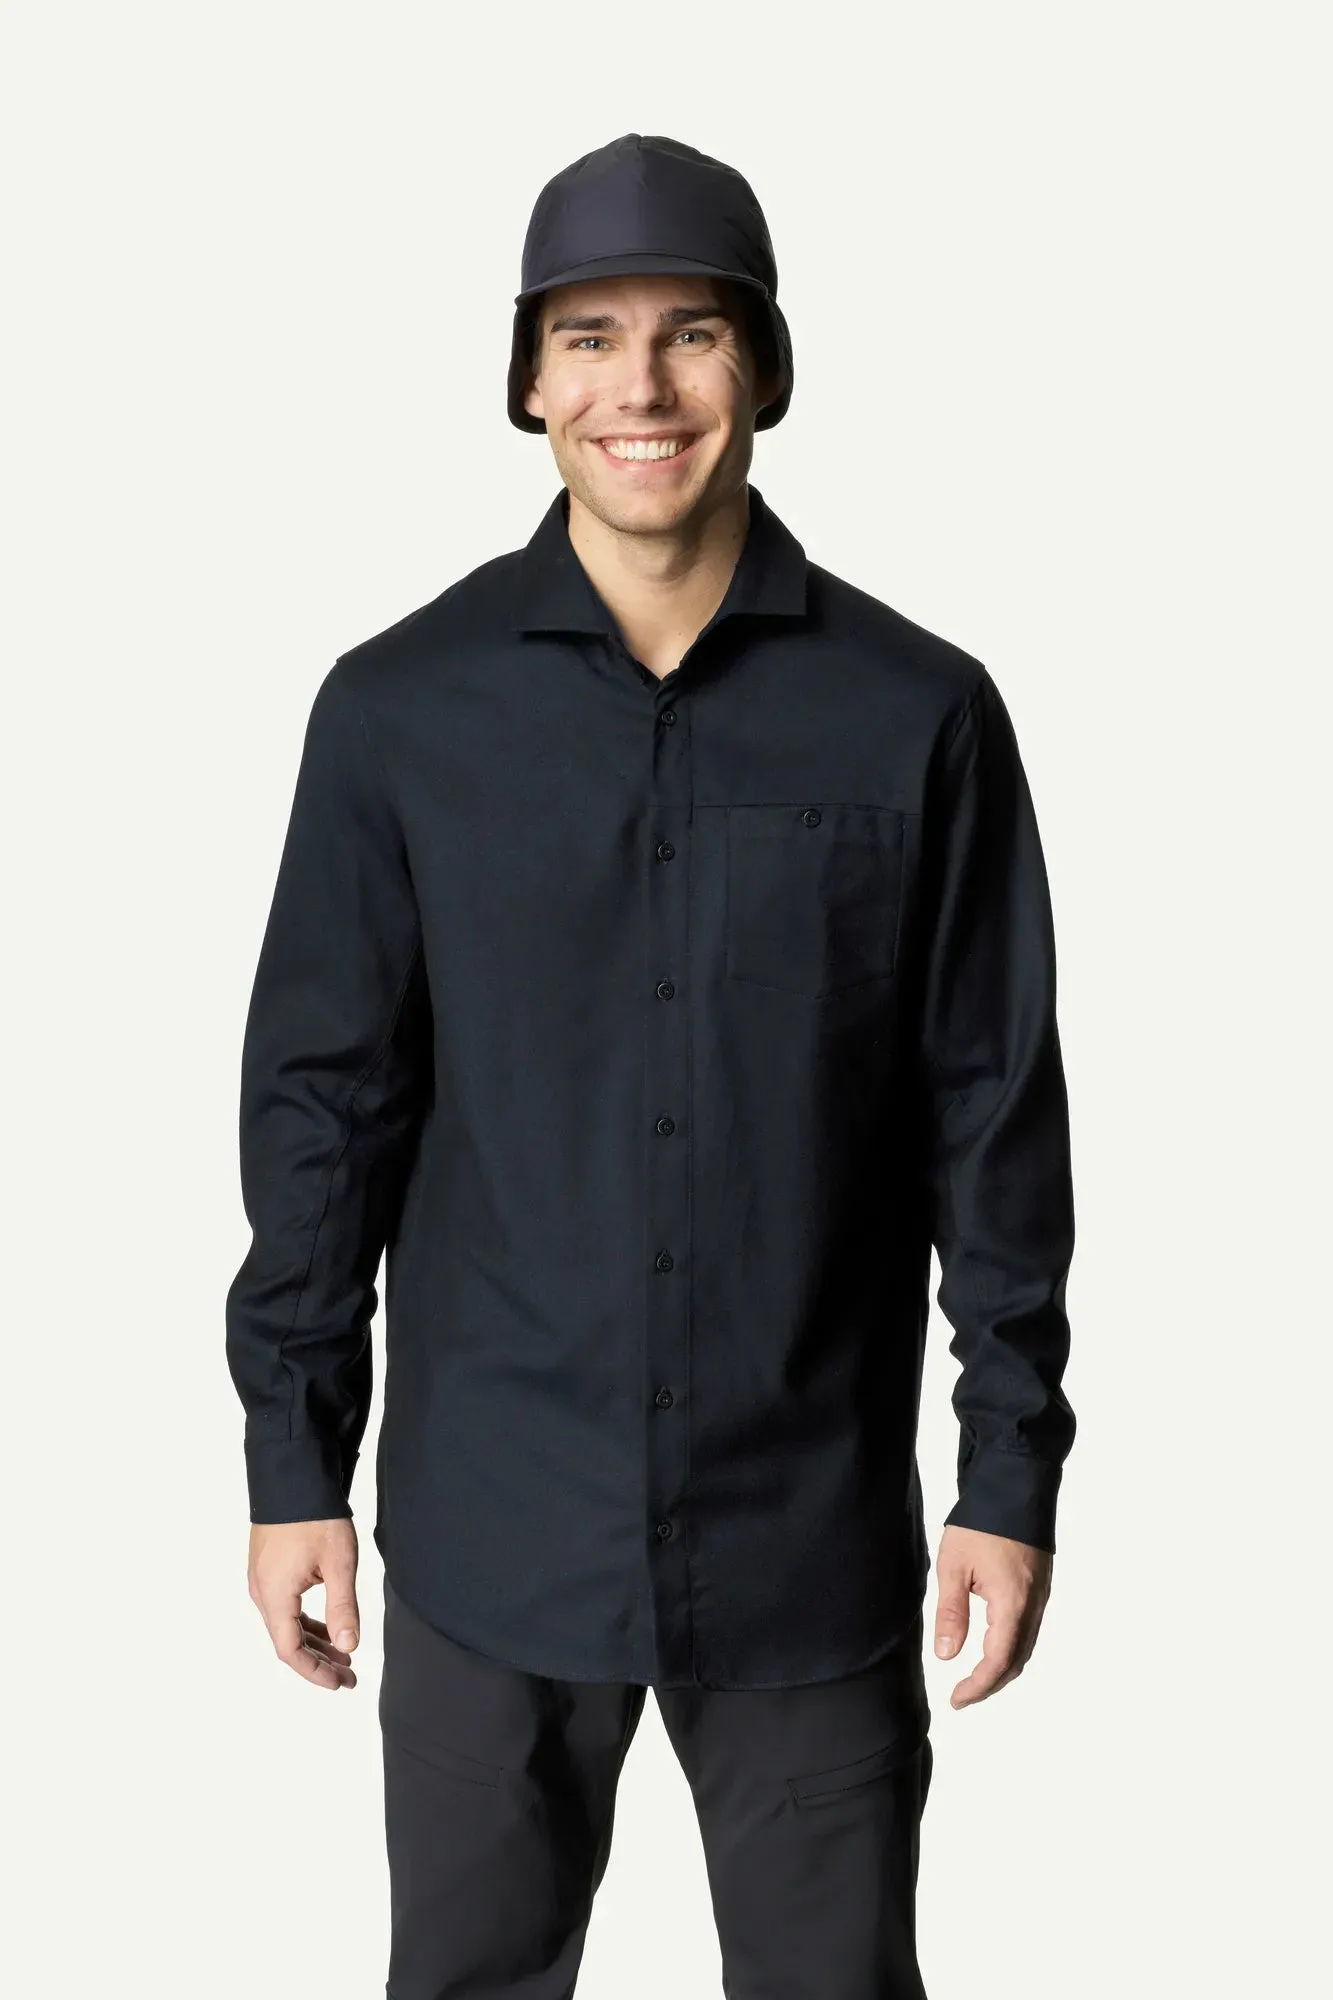
The mid layer is your insulation. It traps warm air around your torso while still letting moisture escape. Fleece, wool, and synthetic insulation are common choices. A hoodie or a half-zip sweater works well because you can unzip it on the lift and zip it up on the descent. This is the layer you will add or remove most often during a ski day.
For really cold days, a thicker fleece or a light synthetic jacket can be your mid layer. On warmer spring days, you might skip the mid layer entirely and rely on your base layer plus shell. The goal is flexibility, so choose a mid layer that packs small and fits under your shell without feeling tight.
- Common mistake: Wearing a mid layer that is too bulky. It restricts movement and can make you sweat, which defeats the purpose.
Step 3: Finish with a waterproof and breathable shell jacket
Your outer layer, or shell, protects you from wind, snow, and rain while letting water vapor from your body escape. For skiing, you want a jacket with a waterproof and breathable membrane, taped seams, and a hood that fits over a helmet. Pit zips are a big plus because they let you dump heat quickly without removing the jacket.
A shell does not need to be heavily insulated; that is what your mid layer is for. If you wear an insulated jacket as your only outer layer, you lose the ability to adjust. A shell over a mid layer gives you more control. Look for a relaxed fit that allows room for your base and mid layers without compressing them.
- Checkpoint: Before you buy, put on all three layers and move your arms. If the shell feels tight across the shoulders, size up.
Step 4: Choose ski pants and accessories that support the system
Your legs need layering too. Start with a thin base layer, like long johns, under waterproof and breathable ski pants. On cold days, add a mid layer like fleece tights or insulated pants. Avoid jeans or cotton pants; they get wet and stay cold. Make sure your pants have room for a base layer without being baggy.
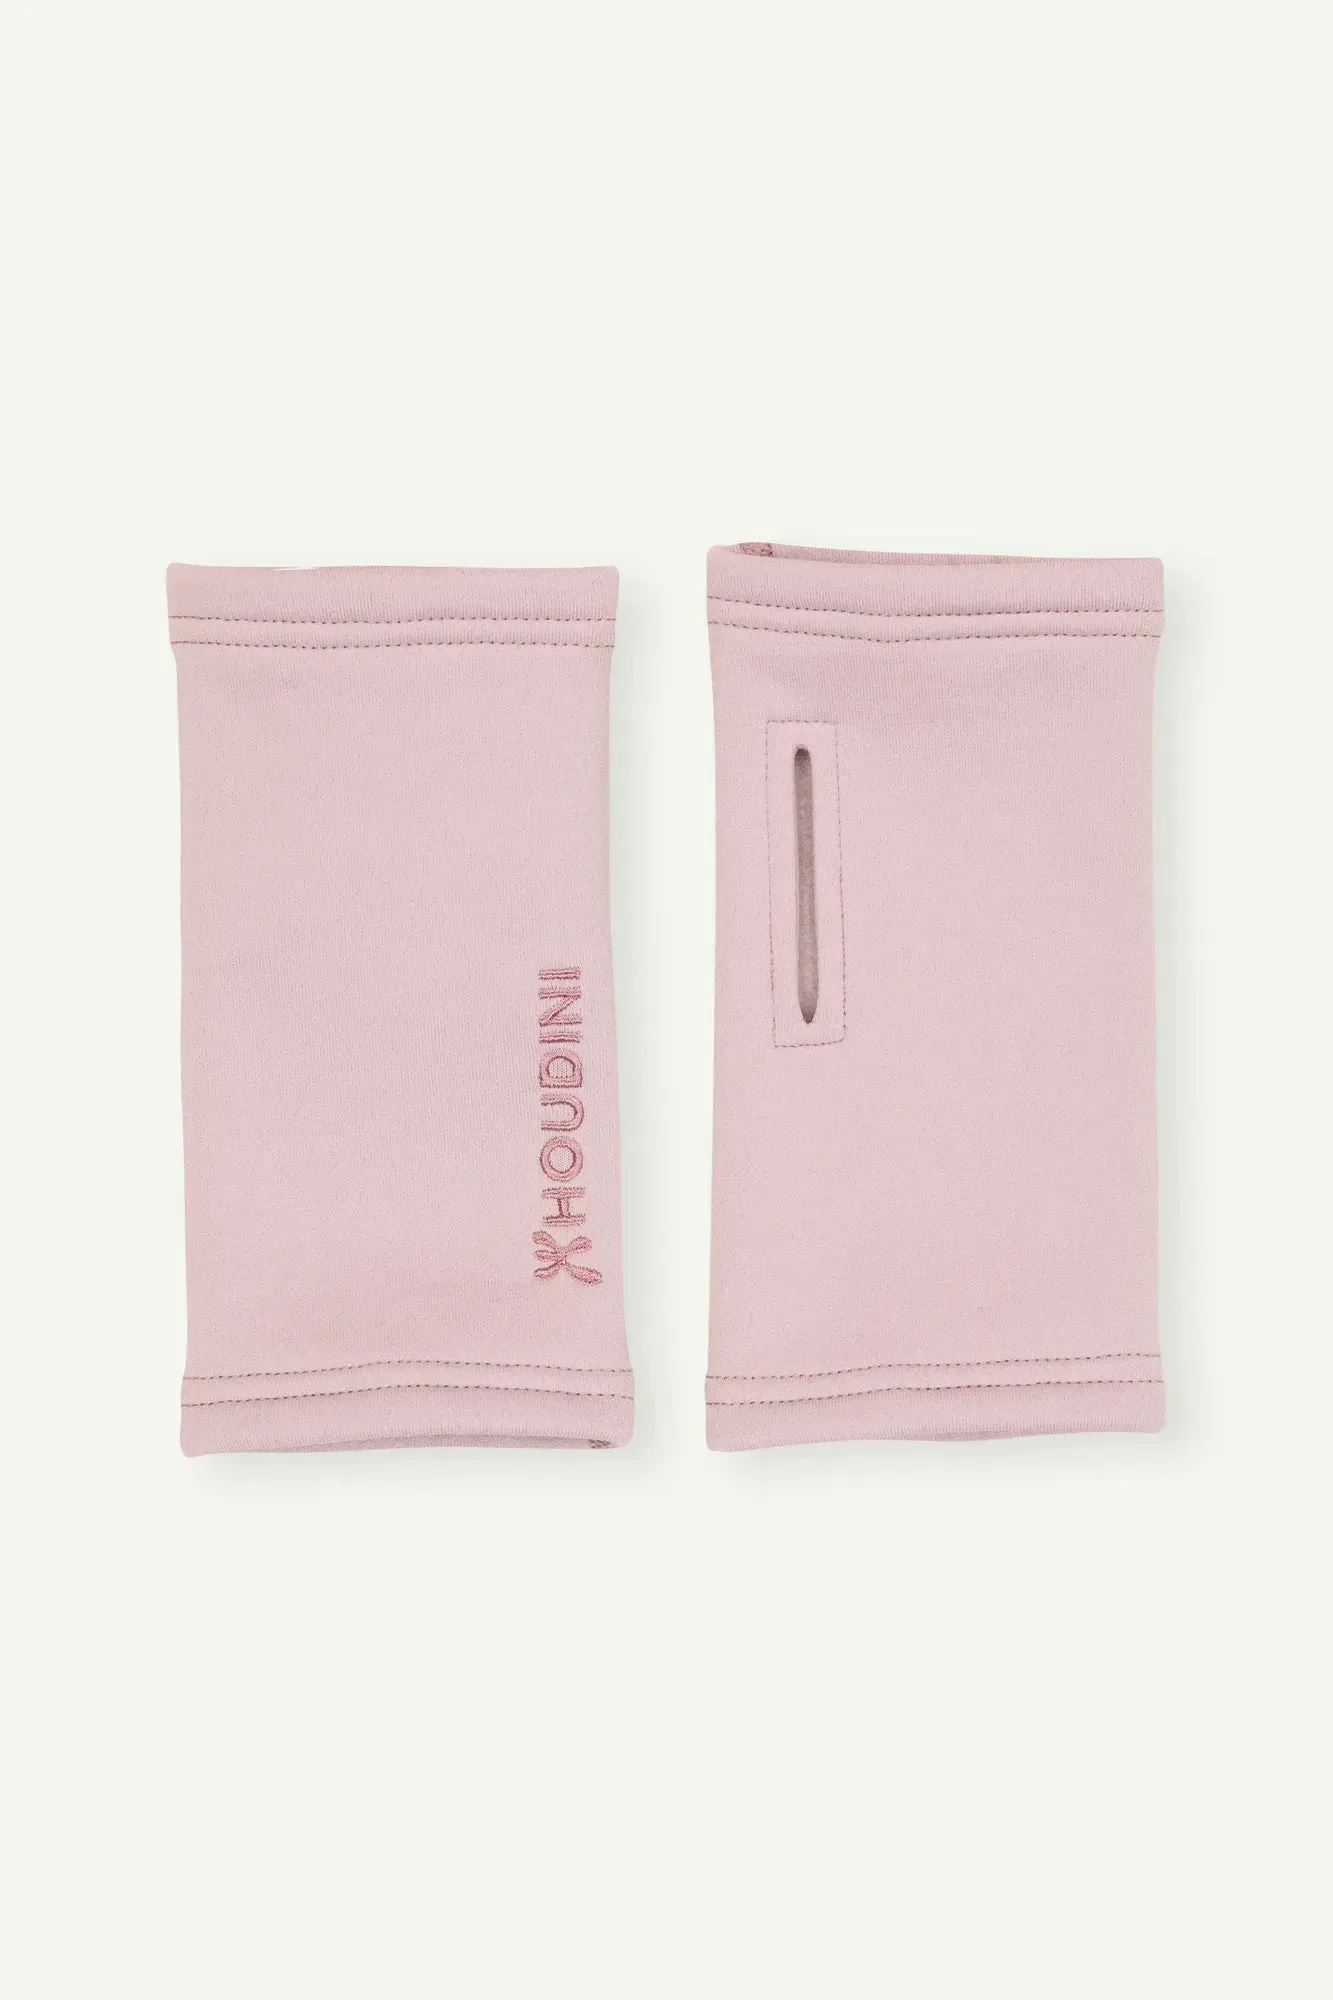
Accessories matter as much as your core layers. A balaclava or neck gaiter protects your face and neck from wind, and a warm hat or headband fits under your helmet. Gloves or mittens should be waterproof and have enough room for a thin liner on frigid days. Wrist gaiters can keep your hands warm when you need to use your phone or adjust gear.
- Tip: Keep a spare pair of gloves and a dry base layer in your pack. Changing into dry layers at lunch can save your afternoon.
Step 5: Adjust your layers as the day and weather change
Ski layering is not a set-it-and-forget-it system. Temperatures change from morning to afternoon, and your body heats up when you ski hard. Start slightly cool on the first run; you will warm up quickly. If you feel sweat building, open pit zips or remove your mid layer before you get wet. If you feel a chill on the lift, add a layer or zip up.
A good rule of thumb is to be a little cold when you step outside. You will warm up within a few minutes of skiing. If you are warm and comfortable standing still, you will overheat on the move. Pay attention to your body and adjust early rather than waiting until you are soaked or shivering.
- Checkpoint: If you are sweating on the descent, you are wearing too much. Remove a layer before the next run.
Ski layering checklist: steps to get dressed for the mountain
- Put on your base layer first: Choose a moisture-wicking base layer in merino wool or synthetic. Make sure it fits close to your skin without being restrictive. This layer manages sweat so you stay dry. Checkpoint: Your base layer should feel snug but not tight. If it bunches, it will not wick properly.
- Add your mid layer: Pull on a fleece or wool hoodie. This is your main insulation. Zip it up if you are cold, unzip it if you are warming up. It should fit comfortably under your shell. Common mistake: Wearing a mid layer that is too thick. You will overheat and sweat on the uphill or first run.
- Put on your shell jacket: Your shell blocks wind and snow while letting moisture escape. Adjust the hood, cuffs, and hem to seal out weather. Open pit zips if you start to feel warm. Checkpoint: Move your arms in a big circle. If the shell restricts you, it is too small or your mid layer is too bulky.
- Layer your legs: Wear a thin base layer under waterproof ski pants. Add insulated tights or fleece pants on very cold days. Avoid cotton, which stays wet and cold. Checkpoint: Your pants should have room for a base layer without being baggy. Too tight and you restrict movement; too loose and snow can get in.
- Add accessories: Put on a balaclava or neck gaiter, a warm hat or headband, and waterproof gloves or mittens. Consider wrist gaiters if you need finger dexterity for your phone or gear. Tip: Carry a spare pair of gloves and a dry base layer in your pack. Changing into dry layers at lunch can save your afternoon.
- Adjust as you go: Start slightly cool. As you ski, remove your mid layer or open vents before you sweat. On the lift, zip up and add a layer if you feel chilly. Keep adjusting throughout the day. Checkpoint: If you are sweating on the descent, you are wearing too much. Remove a layer before the next run.
Houdini pieces that fit the ski layering system
- W's BFF Jacket: A waterproof shell jacket with minimalist design, good breathability, and a soft feel. Designed for year-round use from hiking to paddling to summit trips. This can serve as your outer shell layer for skiing, keeping you dry and protected while letting moisture escape. Its soft feel and breathability make it comfortable for active days.
- M's Mono Air Houdi: A fleece hoodie made from recycled and recyclable material designed to reduce plastic waste. It releases up to 80% less microfibers than conventional fleece and has won ISPO Award Gold and OR Innovation Award Gold. This is a strong mid layer option for skiing. It provides warmth, resists fiber shedding, and works well under a shell. The awards suggest it is a well-regarded piece in its category.
- Power Wrist Gaiters: Wrist warmers made from Polartec® Power Stretch® ProTM, designed to keep hands warm and fingers free. Made from leftover material from other production. These are useful for skiing when you need to use your phone, adjust bindings, or handle gear in the cold. They add warmth without covering your fingers, so you stay functional.
Layering for skiing is about flexibility, not bulk. Start with a moisture-wicking base layer, add a warm mid layer, and top it with a waterproof shell. Adjust as the day goes on, and you will stay comfortable from first chair to last run. For more tips on choosing and caring for your outdoor clothing, explore our how-to guides.