If you love bold, glamorous eyes but feel like a single pair of lashes just isn't enough, you're in the right place. Layering lashes—also known as lash stacking or double lashes—is the secret to achieving a truly dramatic eye look that turns heads. Red Aspen lashes are perfect for this technique because they are lightweight, reusable, and come in a variety of styles that blend seamlessly when layered.
In this guide, we'll walk you through everything you need to know about layering Red Aspen lashes, from choosing the right pairs to applying them like a pro. Whether you're prepping for a night out, a photoshoot, or just want to elevate your everyday makeup, this lash stacking tutorial will help you master the art of the dramatic eye.
Why Layer Red Aspen Lashes?
Layering lashes allows you to customize your eye look with more volume, length, and dimension than a single pair can offer. By combining two different lash styles, you can create a unique effect that enhances your eye shape and complements your makeup. Red Aspen lashes are designed with a thin, flexible band that makes stacking easy without looking bulky or heavy.
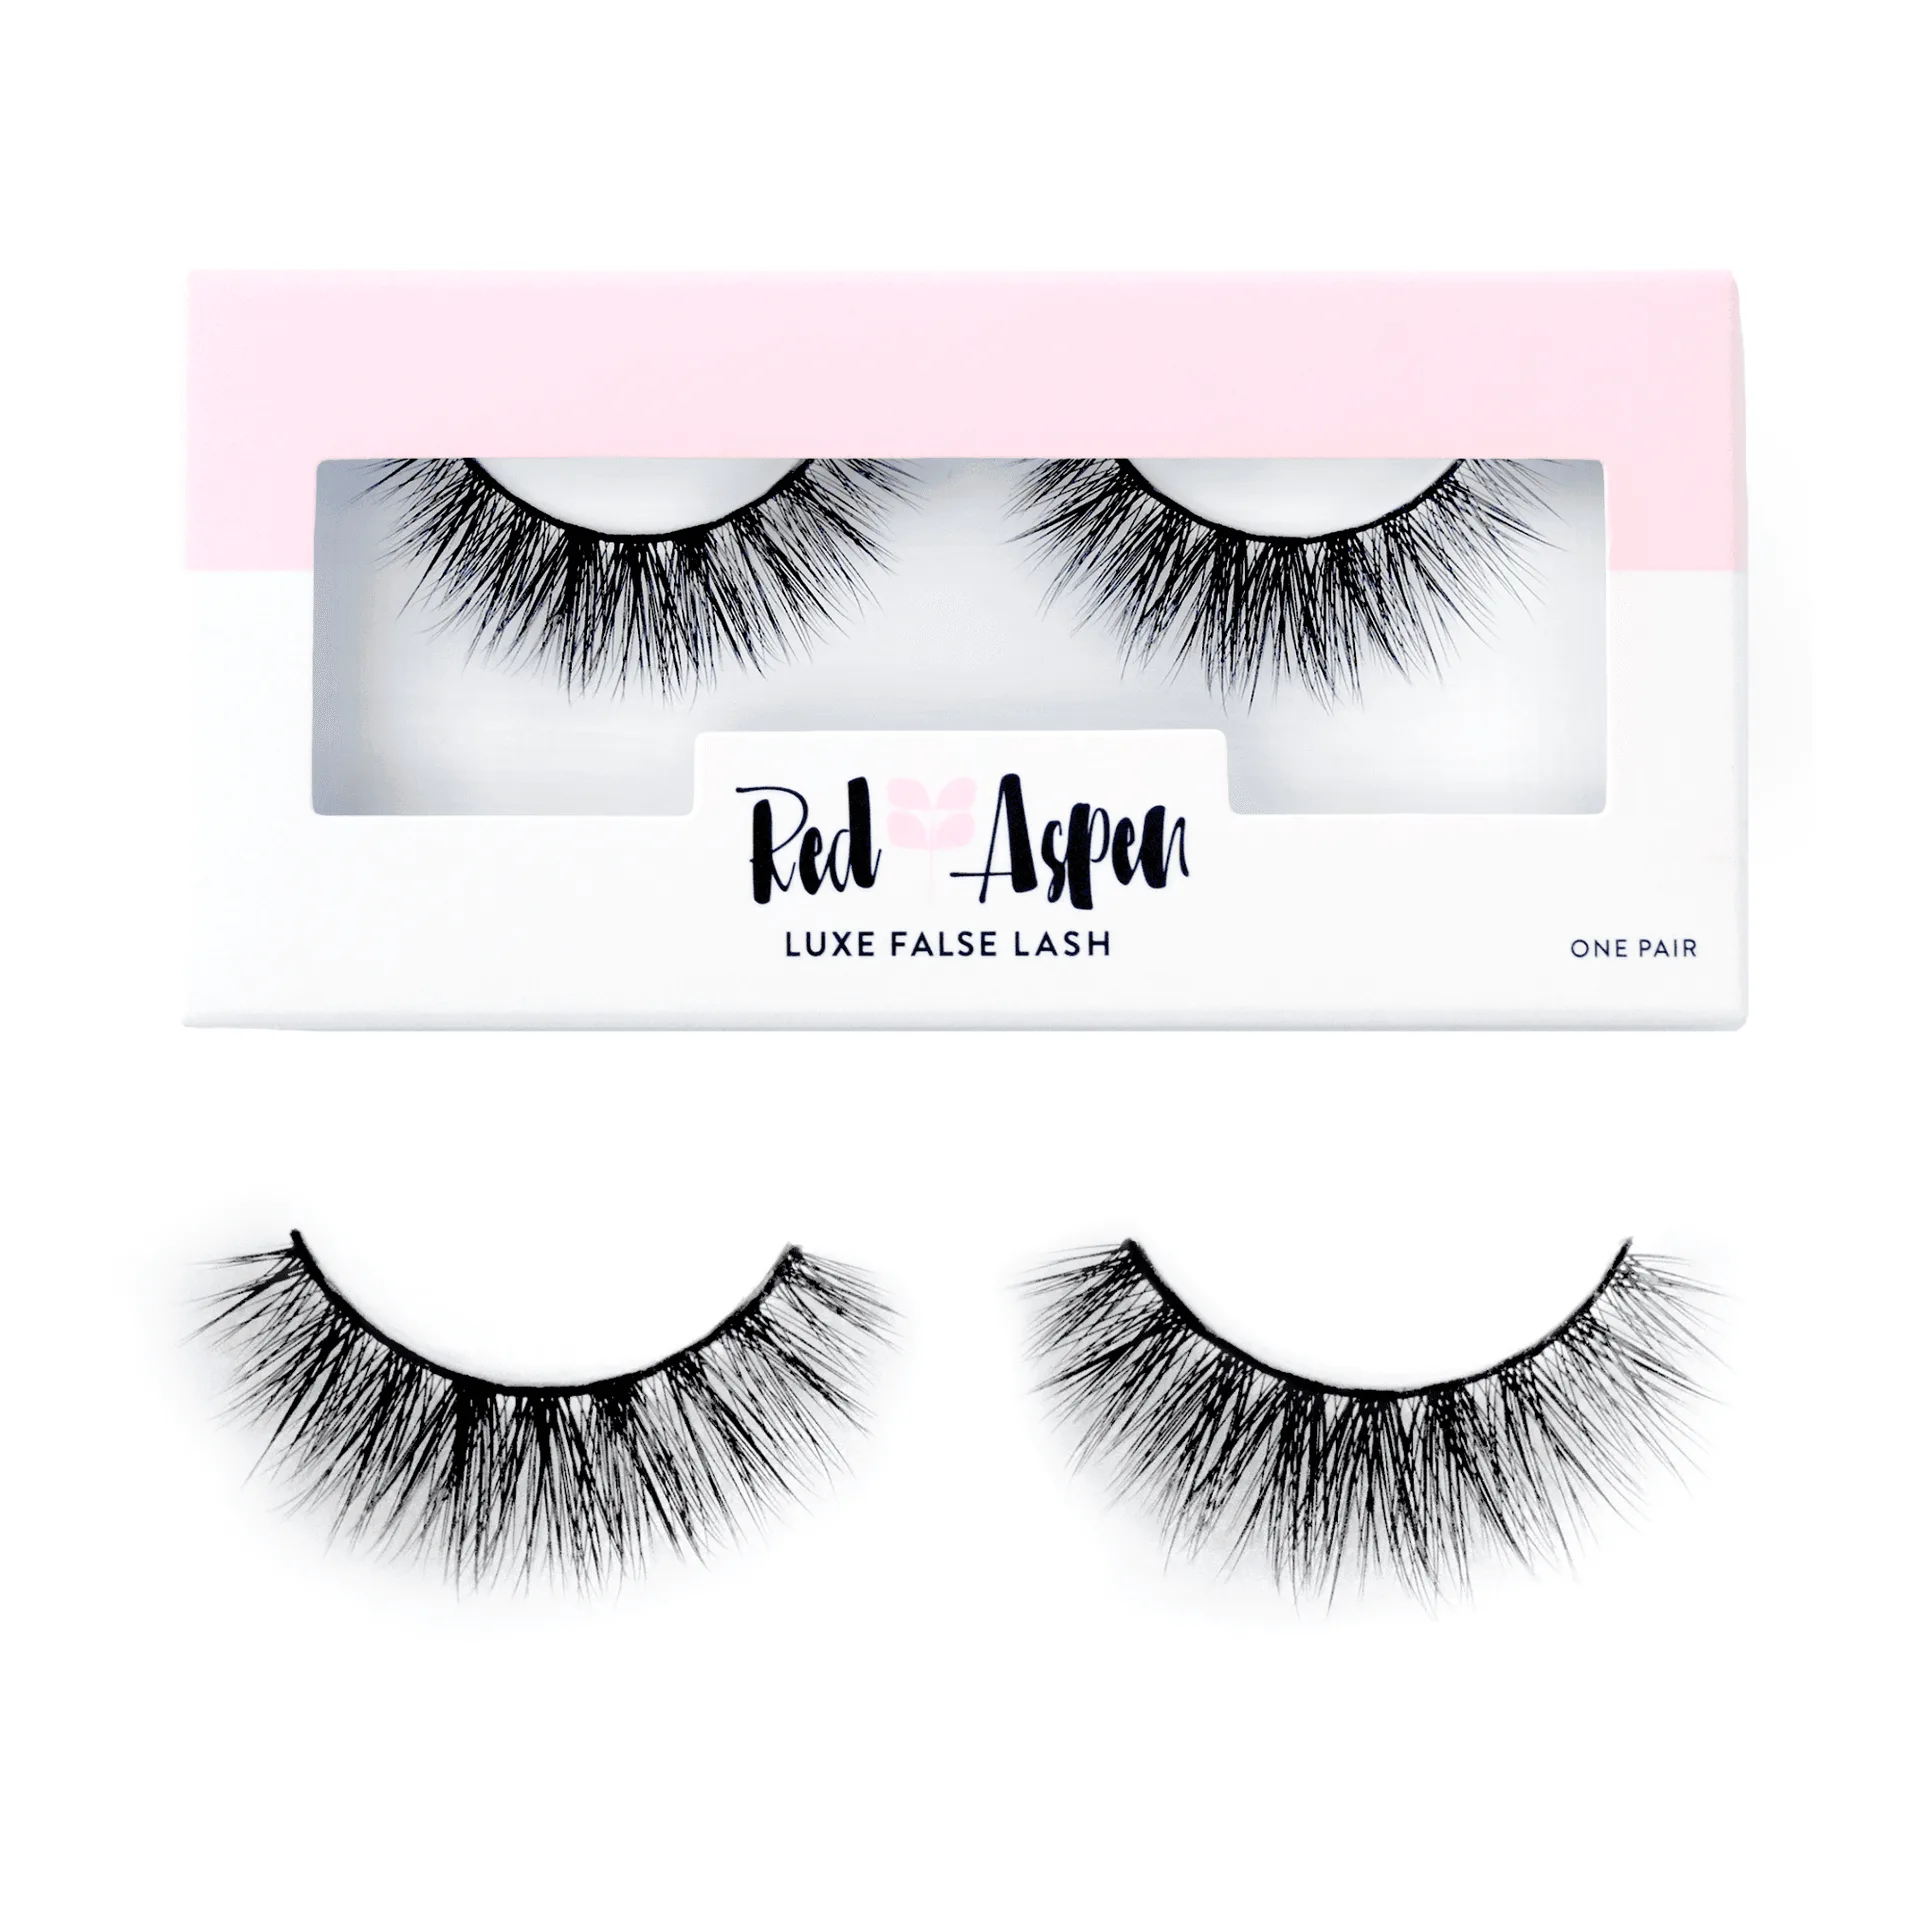
For example, you might pair a wispy, textured lash like the Her Royal Flyness, Fifi with a more dramatic, dense style to achieve both flutter and fullness. The key is to choose lashes that have different densities or lengths so they blend naturally. This technique is especially popular for special events where you want your eyes to be the focal point.
Her Royal Flyness, Fifi
- Adds extra volume and length without looking fake
- Allows you to create a custom look that suits your eye shape
- Red Aspen lashes are reusable, so you can practice layering multiple times
- Works well with both strip lashes and individual lash styles
Essential Tools for Lash Layering
Before you start layering, gather the right tools to make the process smooth and your results long-lasting. You'll need a pair of precision tweezers or a lash applicator, a high-quality lash adhesive (preferably clear or black for easy blending), and a small pair of scissors for trimming. The Shear Perfection Lash & Brow Mini Scissors are perfect for trimming lash bands to fit your eye shape without fraying.
You'll also want a clean, lint-free surface to work on and a mirror with good lighting. Some lash artists recommend using a lash curler on your natural lashes first to help them blend with the false lashes. Finally, have your chosen Red Aspen lash pairs ready—ideally one with a natural flare and one with more density for the best stacked effect.
- Tweezers or lash applicator for precise placement
- High-quality lash adhesive that dries clear
- Shear Perfection Lash & Brow Mini Scissors for trimming
- Lash curler to blend natural lashes with falsies
Step 1: Choose Your Lash Pairings
The magic of lash stacking lies in choosing complementary styles. For a dramatic eye look, start with a longer, more dramatic lash as your base layer, then add a wispy or textured lash on top. For instance, the Kathy Lash offers a bold, full-volume look that works beautifully as a base. Then, layer a lighter, more feathered style like the Star Charm to add dimension and a fluttery finish.
Alternatively, you can use two similar-length lashes but with different curl patterns—one with a strong curl and one with a softer wave. This creates a multi-dimensional effect that catches the light. Always measure and trim each lash to fit your eye shape before applying, cutting from the outer edge to avoid ruining the inner corner taper.
Step 2: Apply the First Lash
Apply a thin, even layer of adhesive along the band of your first lash (the base layer). Wait 20–30 seconds for the glue to become tacky—this prevents slipping. Using tweezers, place the lash as close to your natural lash line as possible, starting from the center and pressing outward toward the inner and outer corners. Hold for a few seconds to secure.
Make sure the lash is fully adhered before moving on. If your natural lashes are straight, gently press them together with the false lash using your fingers or a lash curler. This helps them blend seamlessly. Allow the first lash to dry completely before adding the second layer—usually about one minute.
- Use a tacky adhesive for better hold
- Place the lash as close to the natural lash line as possible
- Press natural lashes into the false lash for blending
Step 3: Add the Second Lash for Drama
Once the first lash is secure, apply adhesive to your second lash. For the most dramatic effect, position the second lash slightly above the first, focusing on the outer half of the eye. This creates a winged, elongated shape that opens up the eye. You can also place it directly on top of the first lash for maximum volume, but be careful not to let the bands separate.
Gently press the second lash into place, using tweezers to align the lashes so they fan out naturally. If needed, use a spoolie to brush both layers together, blending any separated strands. The result should look like one cohesive, ultra-glamorous lash line. Practice makes perfect—don't worry if it takes a few tries to get the placement right.
Step 4: Finishing Touches and Maintenance
After both lashes are applied, use a liquid eyeliner to fill in any gaps between the lash bands and your natural lash line. This hides the bands and creates a seamless look. You can also apply a coat of mascara to blend your natural lashes with the falsies, but use a light hand to avoid clumping.
To make your layered lashes last, avoid touching or rubbing your eyes. When it's time to remove them, gently peel off each lash starting from the outer corner. Clean the bands with a bit of makeup remover to remove adhesive, and store them in their original tray. With proper care, your Red Aspen lashes can be reused multiple times, making layering a cost-effective way to achieve dramatic looks.
- Use eyeliner to conceal the lash bands
- Apply mascara sparingly to blend natural lashes
- Clean and store lashes properly for reuse
Layering Red Aspen lashes is a simple yet powerful technique to create a dramatic eye look that stands out. With the right pairings, tools, and a bit of practice, you can achieve salon-quality results at home. Ready to try it yourself? Explore the Kathy Lash and other stunning styles to start building your perfect stacked lash look today.