Quick Answer
For maximum definition, layer your Rizos Curls products from thinnest to thickest: start with a leave-in, then a styling cream or custard, and finish with a gel. This order locks in moisture, builds definition, and prevents crunch.
Layering curly hair products can feel like a guessing game. Apply too much, and your curls turn greasy. Apply in the wrong order, and you get crunchy, stiff waves. The good news: there's a simple formula that works for most curl types.
Think of your products as a team. Each one has a job, and the order matters. When you layer correctly, you seal in moisture, define your curl pattern, and hold the style without weighing it down. Here's how to build a Rizos Curls routine that delivers defined, touchable curls every time.
Why Product Order Matters
Curly hair is naturally drier than straight hair because the oils from your scalp have a harder time traveling down the twists and turns of your strands. That means every layer you add needs to work with your hair's chemistry, not against it.
The general rule is to apply products from lightest to heaviest. Start with water-based or liquid formulas, then move to creams, and finish with gels. This way, the lighter products absorb into the hair shaft, while the heavier ones seal everything in. If you reverse the order, the heavier product blocks the lighter one from penetrating, leaving you with buildup and limp curls.
- Always start on damp, not soaking wet, hair to avoid diluting your products.
- Section your hair to ensure even coverage from root to tip.
Styling Cream vs. Gel: What's the Difference?
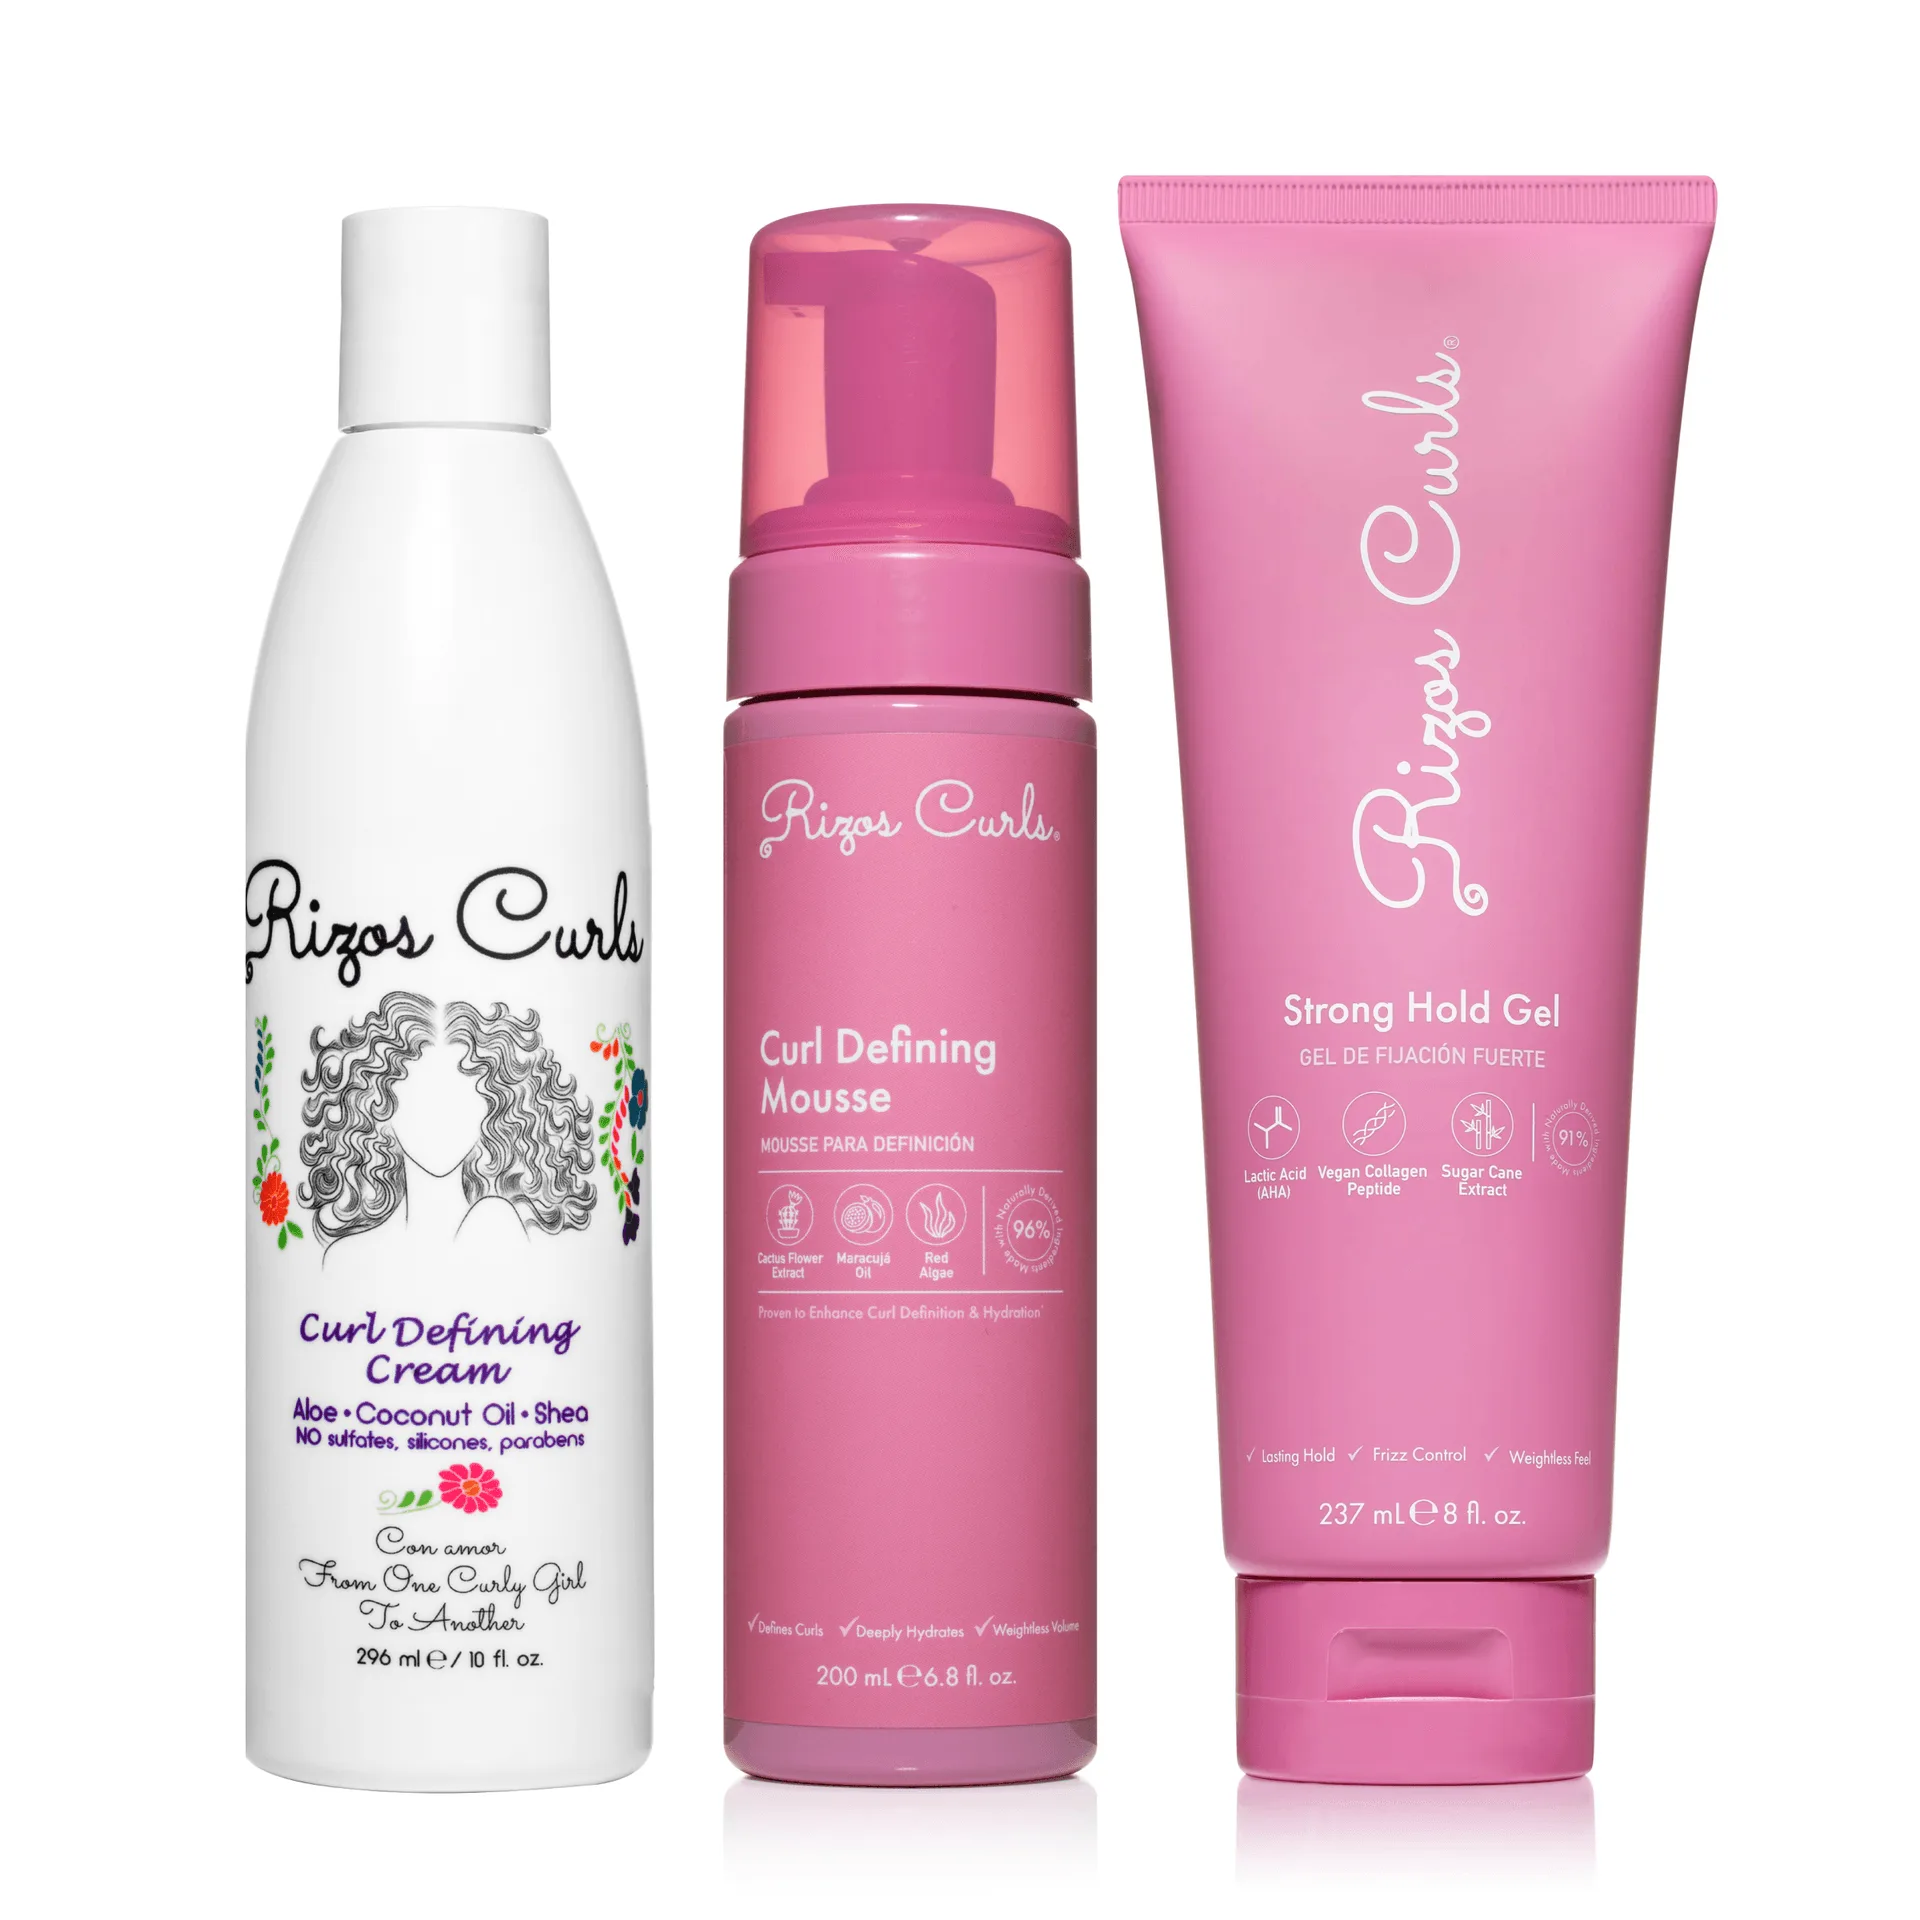
A styling cream is your moisturizer. It softens, defines, and tames frizz, but it doesn't hold your curl shape for long. A gel, on the other hand, is your hold. It creates a cast around each curl that locks in the definition and fights humidity.
The trick is to use them together. The cream gives you softness and flexibility; the gel gives you structure. If you skip the cream and use only gel, you'll get crunchy, dry curls. If you use only cream, your curls will fall flat by midday. Layering them in the right order—cream first, then gel—gives you the best of both worlds.
- If you have fine hair, use a light hand with creams and focus the gel on your ends.
- If you have thick or coarse hair, you can be more generous with both products.
How to Apply Curl Custard and Gel Together
Curl custard is a thicker, more concentrated version of a styling cream. It's perfect for defining tight curls or coils, but it can be heavy on wavy hair. When you pair custard with gel, apply the custard first to define and moisturize, then add a light layer of gel to seal in the shape.
To avoid crunch, don't touch your hair while it dries. Once fully dry, gently scrunch out the cast with your hands or a microfiber towel. This breaks the gel's hold and leaves you with soft, bouncy curls that still hold their shape.
- For a lighter finish, emulsify a pea-sized amount of custard between your palms before applying.
- If your curls feel stiff after drying, you used too much gel—next time, use less or dilute it with water.
Step-by-Step: Layer Your Rizos Curls Products Like a Pro
- Start with Clean, Damp Hair: Wash and condition with your favorite Rizos Curls shampoo and conditioner. Gently squeeze out excess water with a microfiber towel. Your hair should be damp, not dripping. Checkpoint: If water drips down your back, squeeze out more. Too much water dilutes your products.
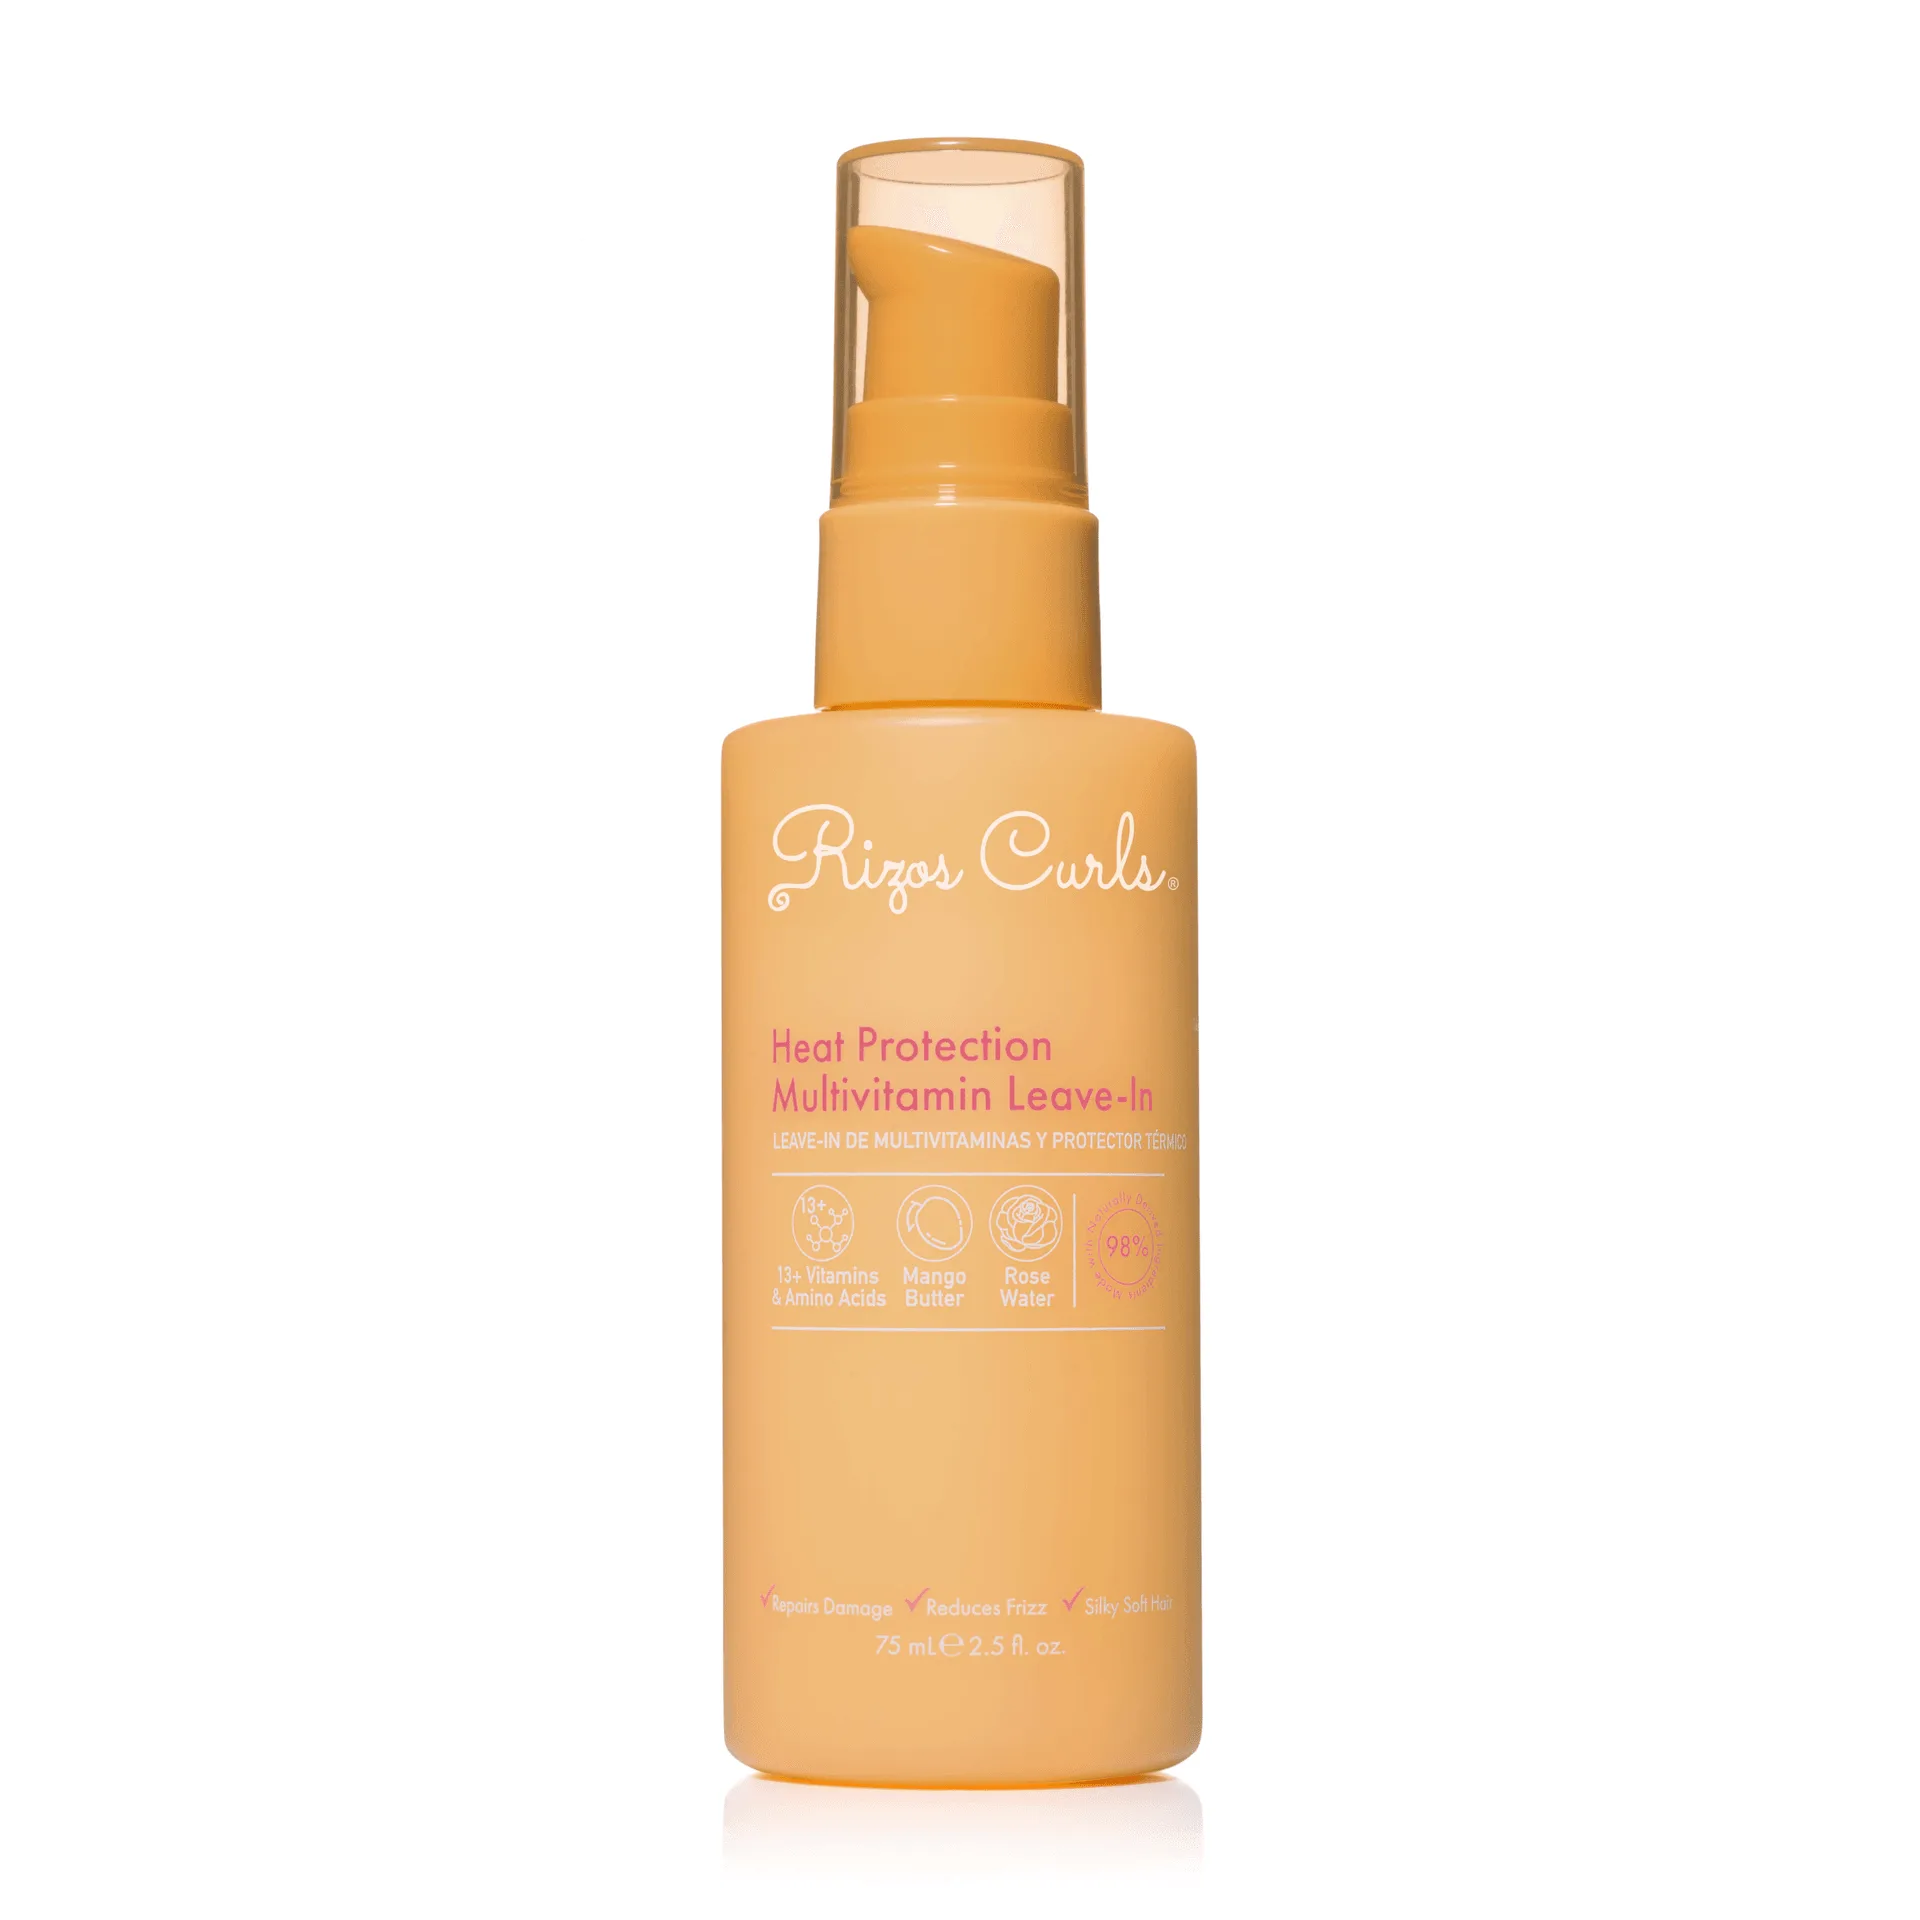
- Apply a Leave-In Conditioner: Distribute a lightweight leave-in evenly through your hair, focusing on the mid-lengths and ends. This layer provides a moisture base. Checkpoint: Your hair should feel slippery but not soaked. If it feels dry, add a little more water before the leave-in.
- Add a Styling Cream or Custard: Take a quarter-sized amount of cream or custard, rub it between your palms, and smooth it over your sections using a praying-hands motion. This defines each curl and adds softness. Checkpoint: If your curls look clumpy and undefined, you need a bit more product. If they look greasy, you used too much.
- Seal with Gel: Apply a small amount of gel over the cream, again using praying hands or scrunching. This creates a cast that locks in the definition and holds the shape. Checkpoint: You should see a slight 'crunch' when you touch your hair. That's the cast forming. Don't touch it until fully dry.
- Dry with a Diffuser or Air-Dry: Use a diffuser on low heat to speed up drying and add volume, or let your hair air-dry. Avoid touching or scrunching while drying. Checkpoint: Once 100% dry, scrunch out the crunch with your hands. If it still feels stiff, you used too much gel—adjust next time.
Rizos Curls Products That Make Layering Easy
- Juicy Styling Duo: Heat Protection Leave-In + Defining Custard: The go-to duo for defined, moisturized and frizz-free curls. Includes a lightweight leave-in with 13+ ingredients and a defining custard. This duo gives you the perfect first two layers: a light leave-in to hydrate and a custard to define. It's a foolproof starting point for beginners.
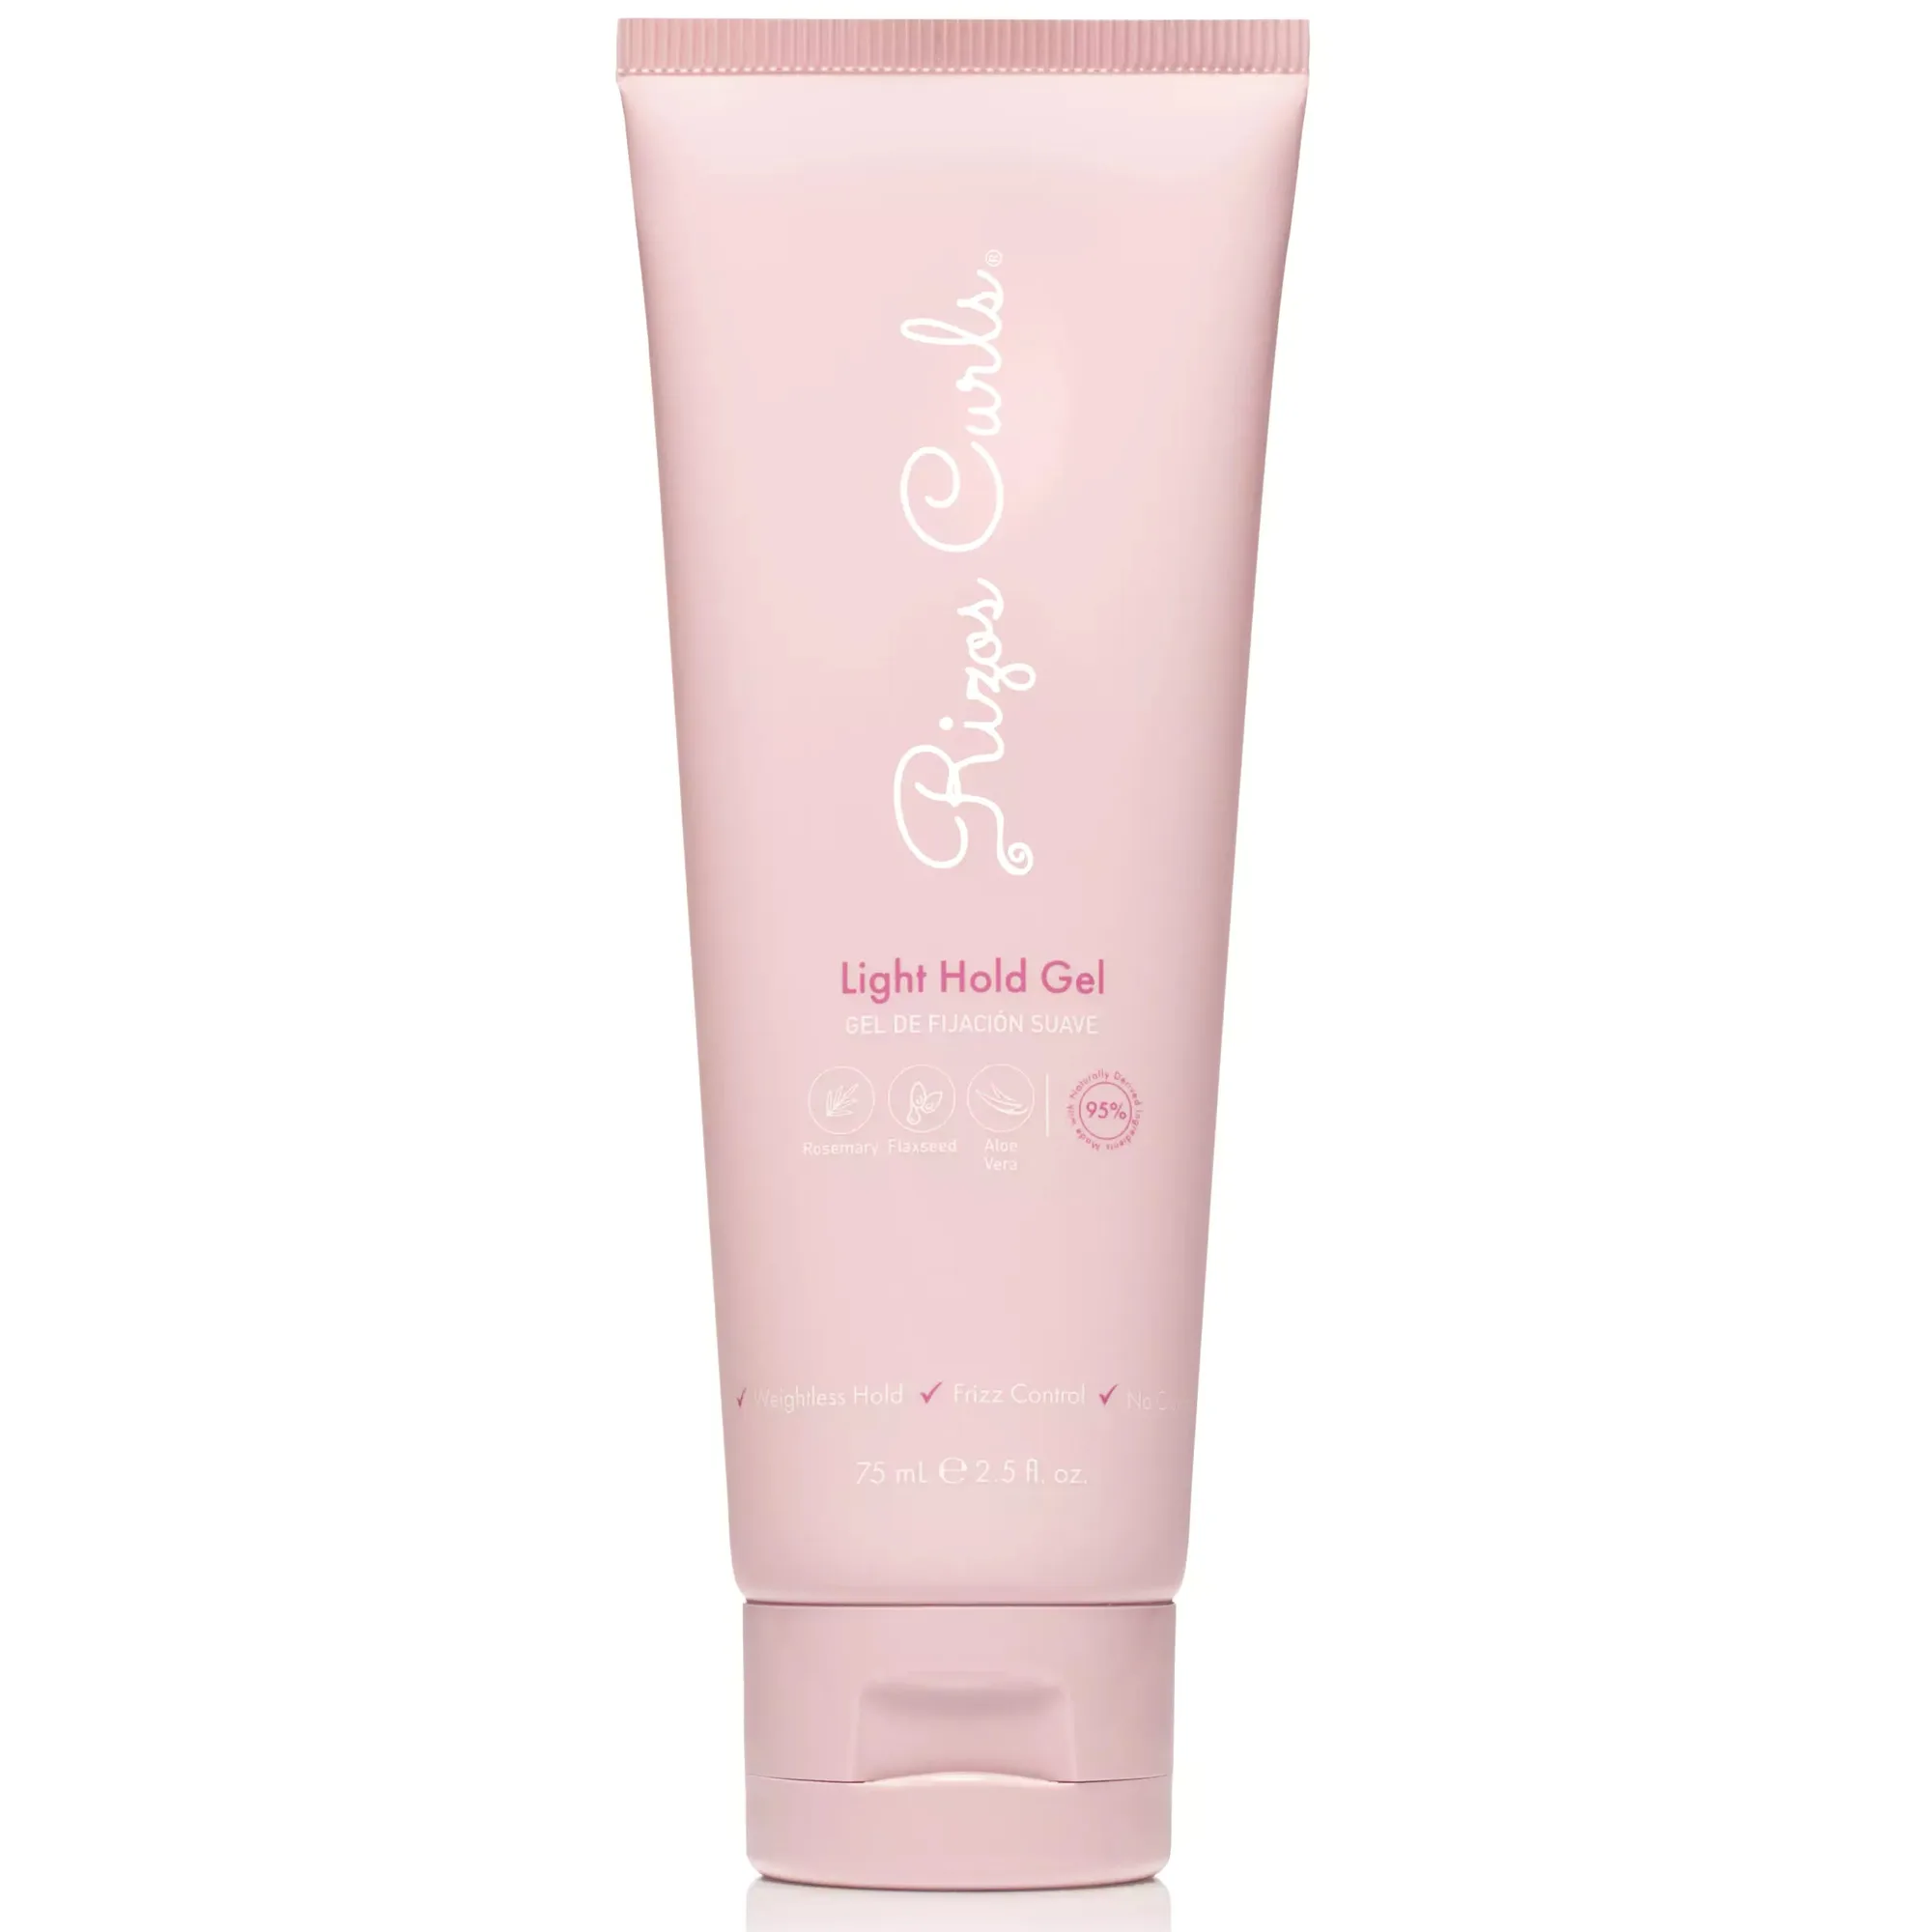
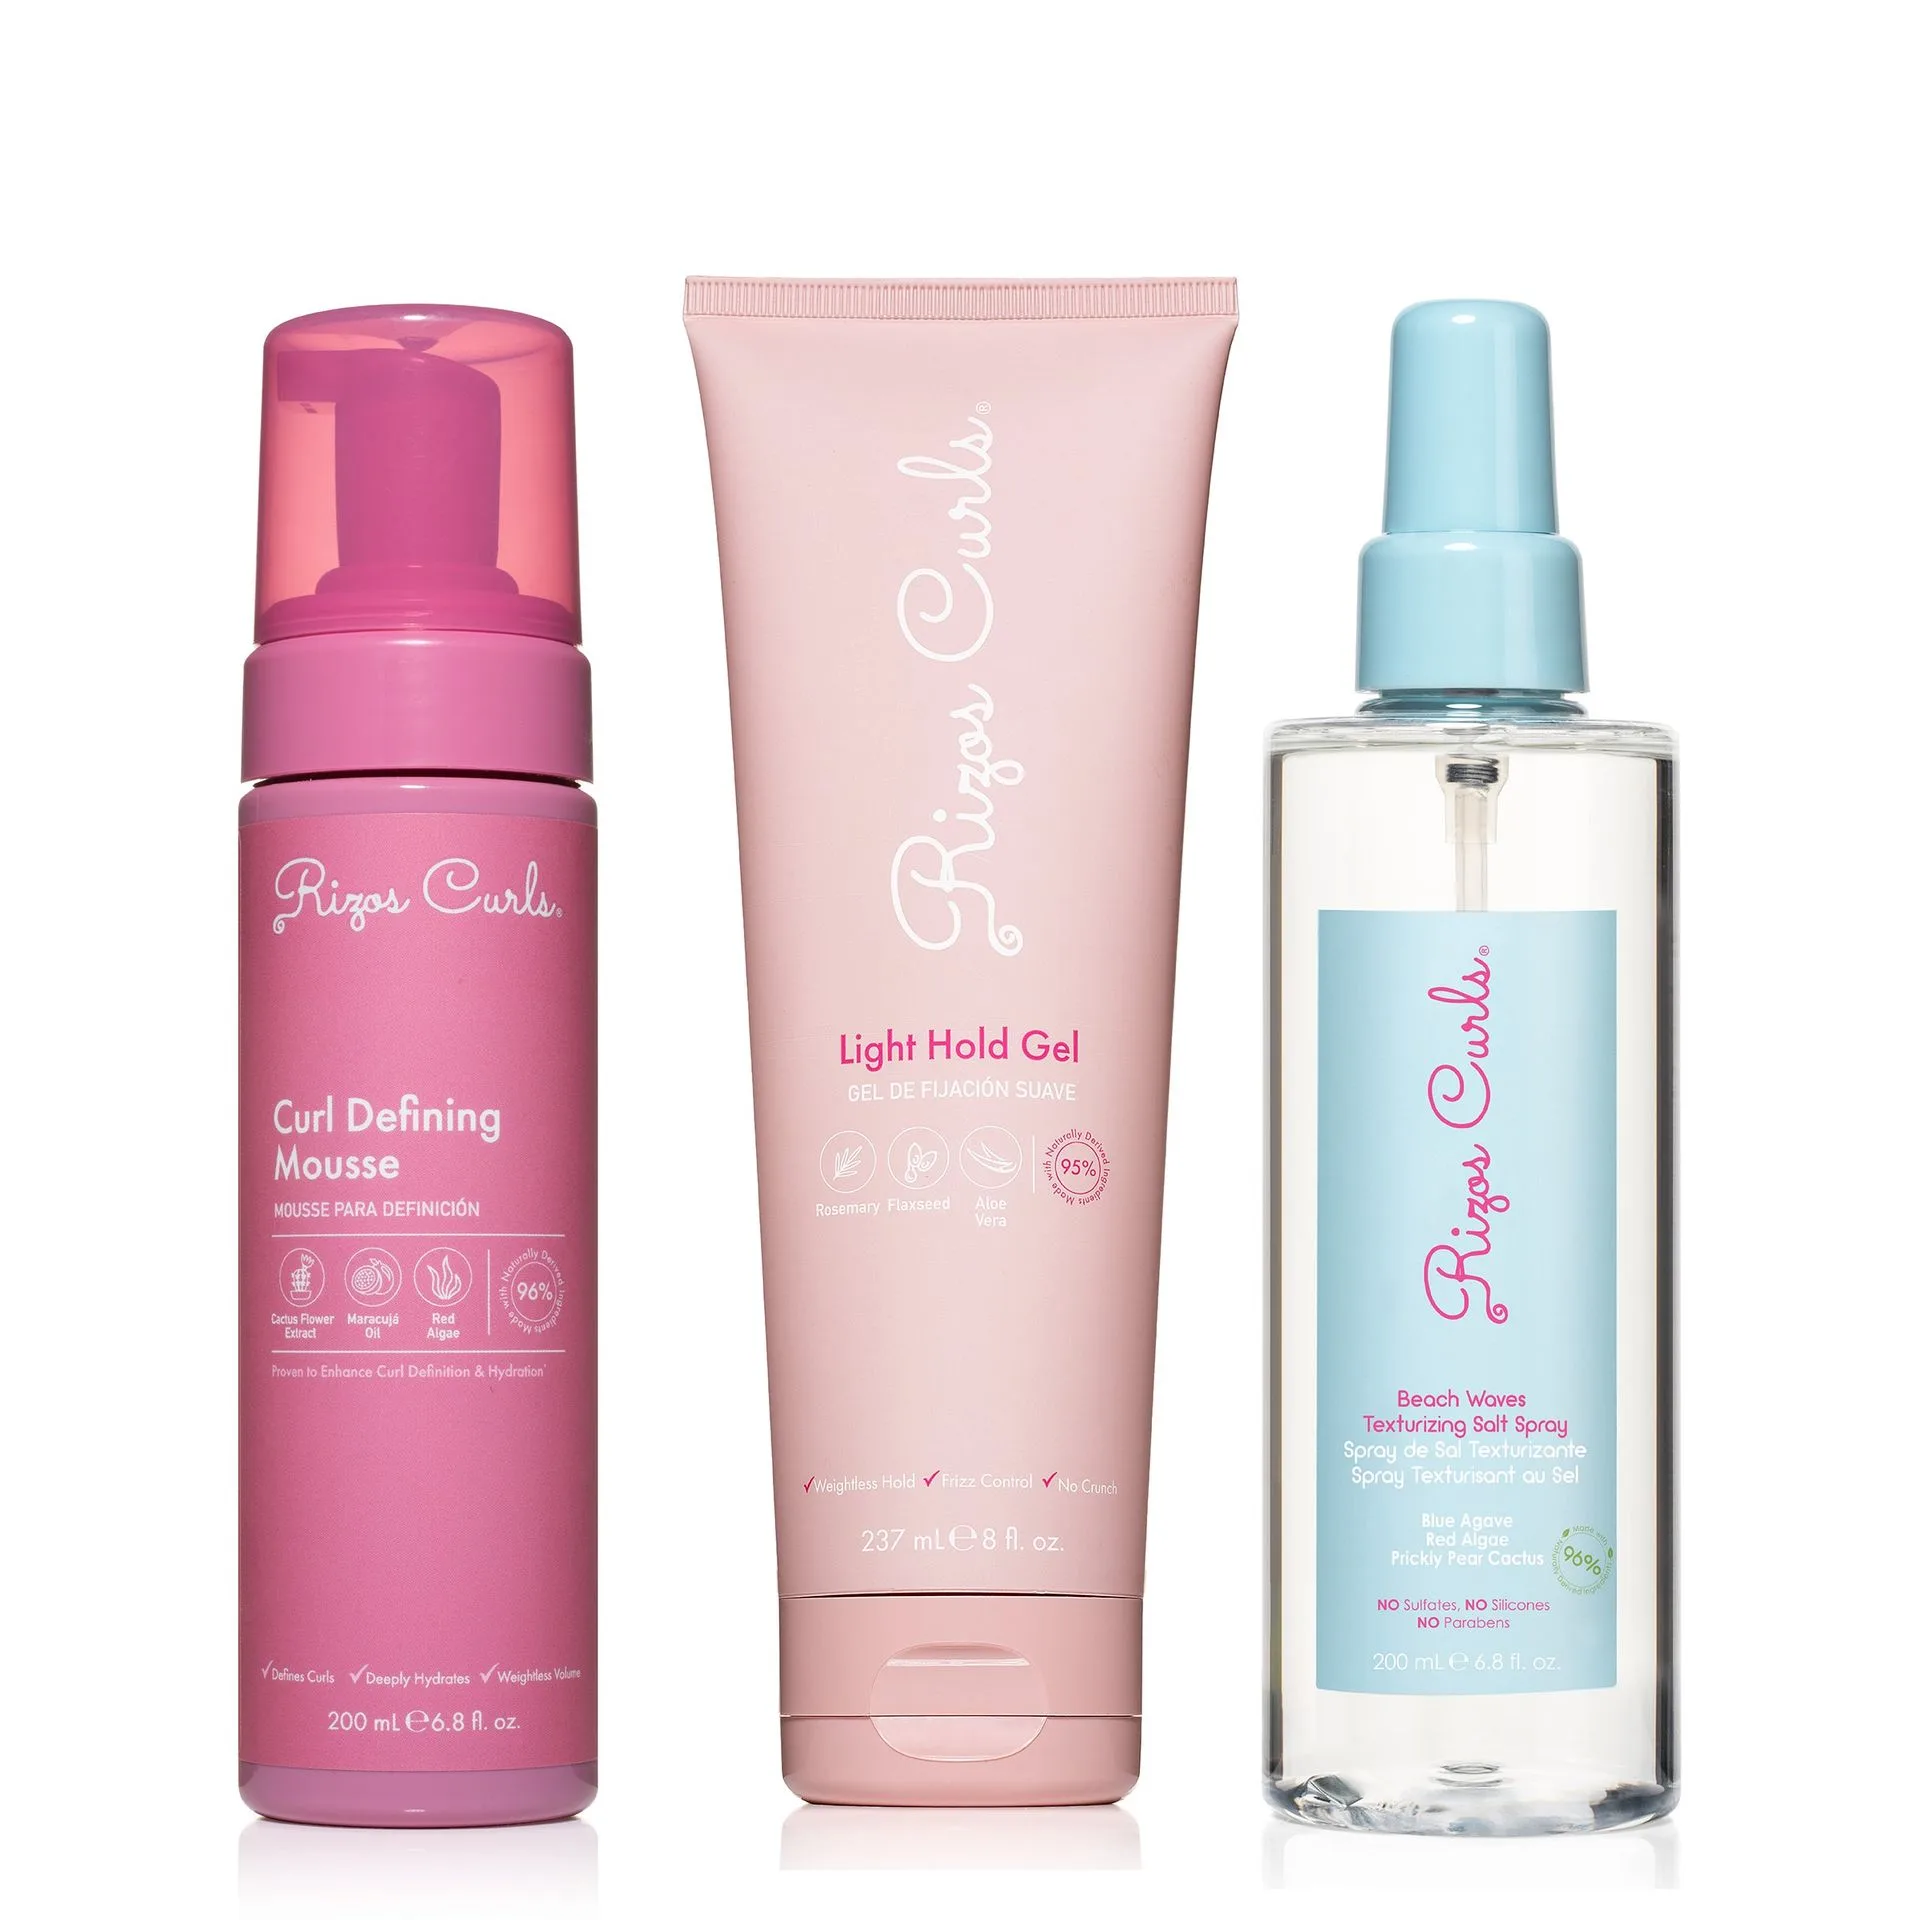
- Wavy Styling Kit: Includes Curl Defining Mousse, Light Hold Gel, and Beach Waves Texturizing Salt Spray. Lightweight formulas that don't weigh hair down. For wavy hair, these lightweight products layer beautifully without heaviness. The mousse adds volume, the gel holds, and the salt spray enhances texture.
- Collapsible Hair Diffuser for Drying Curls: Helps dry curls evenly and faster, enhances curl definition and volume, and minimizes frizz. Fits most hair dryers and is collapsible. Using a diffuser after applying your products helps set the cast and reduce frizz, so your definition lasts longer.
Layering your Rizos Curls products in the right order is the key to defined, frizz-free curls without the crunch. Start light, build up, and don't forget to scrunch out the cast. With a little practice, you'll find the perfect routine for your unique curl pattern.