Achieving a flawless makeup finish starts long before you pick up a brush. The secret lies in how you layer your skincare and makeup products. When applied in the right order, each product can work in harmony to create a smooth, hydrated, and long-lasting base. But get the order wrong, and you risk pilling, uneven texture, or a cakey finish.
In this guide, we’ll walk you through the essential steps to layer skincare and makeup like a pro. From the correct order of serums and moisturizers to the best way to prep your skin before foundation, you’ll learn how to build a routine that delivers a radiant, airbrushed look every time.
Why Layering Order Matters
Skincare and makeup products are formulated with different textures and ingredients. Applying a heavy cream before a lightweight serum can block absorption, while using a silicone-based primer over a water-based moisturizer may cause separation. The general rule is to layer from thinnest to thickest consistency, and to always start with clean, toned skin.
For example, after cleansing, a toner like Rose Tonic To-Go preps the skin without stripping it. Then, a lightweight serum or treatment can penetrate deeply. Finally, a moisturizer seals everything in. This sequence ensures each product performs at its best, creating a smooth canvas for makeup.
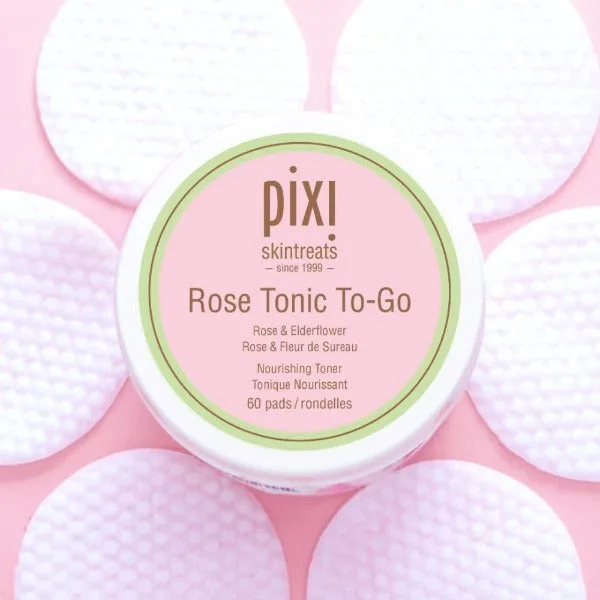
Rose Tonic To-Go
- Always apply water-based products before oil-based ones.
- Wait 30-60 seconds between layers to allow absorption.
- Use a gentle, upward motion to avoid disrupting previous layers.
Step 1: Cleanse and Tone
Start with a clean face. Use a gentle cleanser that removes impurities without stripping your skin’s natural barrier. The https://facecraft.shop/products/mini-glow-mud-cleanser-126064Mini Glow Mud Cleanser is perfect for this step—it deeply cleanses while leaving skin soft and balanced. Follow with a toner to restore pH and prep the skin for the next layers.
Toners also help remove any leftover residue. For a refreshing boost, a rose-based toner like Rose Tonic To-Go adds hydration and a subtle glow. Pat it into the skin with your hands or a cotton pad, and let it dry completely before moving on.
Step 2: Apply Treatments and Serums
After toning, it’s time for targeted treatments. If you use an exfoliating toner like Retinol Tonic To-Go, apply it now to resurface and refine pores. Retinol tonics are best used at night or on days when you don’t plan heavy sun exposure. For daytime, a hydrating toner like Botanical Collagen Tonic Travel Size works beautifully to plump and firm.
Serums should follow the same thin-to-thick rule. A vitamin C serum or hyaluronic acid can be applied before moisturizer. If you’re using multiple serums, layer them in order of water content—most watery first. This step is where you can address specific concerns like dullness, fine lines, or uneven texture.
- Pat serums into the skin rather than rubbing to boost absorption.
- Allow each serum to sink in for at least 30 seconds.
- Avoid mixing retinol and vitamin C in the same routine unless formulated together.
Step 3: Moisturize and Prime
Moisturizer locks in all the previous layers and provides a hydrated base for makeup. Choose a formula that suits your skin type—gel for oily, cream for dry. After moisturizer, you can add a facial mist like Glow Mist to refresh and add a dewy finish. This also helps your makeup glide on smoothly.
Primer is the final step before foundation. It fills in pores, smooths texture, and helps makeup last longer. Apply a pea-sized amount to the center of your face and blend outward. If you’re using a color-correcting primer, focus on areas with redness or discoloration. The key is to let the primer set for a minute before applying foundation.
- Use a silicone-based primer with silicone-based foundation for best results.
- A hydrating primer works well with powder or cream foundation.
- Avoid using too much primer—a thin layer is enough.
Step 4: Foundation and Concealer Application
Once your base is prepped, apply foundation in thin, even layers. Start from the center of your face and blend outward using a damp sponge, brush, or fingers. For a natural finish, use a lightweight formula and build coverage where needed. Allow the foundation to dry slightly before moving to concealer.
Concealer should be applied after foundation to avoid disturbing the base. Use a small amount under the eyes, around the nose, and on any blemishes. Blend gently with a tapping motion. Setting with a translucent powder helps lock everything in place without adding weight.
- Use a damp beauty sponge for a seamless, airbrushed look.
- Set concealer with powder immediately to prevent creasing.
- For a glow, mix a drop of liquid highlighter into your foundation.
Step 5: Add Color and Finishing Touches
Now it’s time for blush, bronzer, and highlighter. Cream products work best over liquid foundation, while powders are ideal for setting. Apply blush to the apples of your cheeks and blend upward. A touch of highlighter on the high points of your face adds a luminous finish.
For lips, a hydrating gloss like Pixi + Maryam Maquillage Anywhere Gloss provides both color and moisture. It glides on smoothly over lip balm and keeps lips soft throughout the day. Finish with a setting spray to meld all layers together and extend wear.
- Layer cream blush under powder blush for extra staying power.
- Use a fan brush for a light, diffused highlighter application.
- Always finish with setting spray to lock in your look.
Layering skincare and makeup in the right order transforms your routine from ordinary to flawless. By prepping your skin with toners, serums, and moisturizers before foundation, you create a smooth, hydrated canvas that helps makeup last longer and look better. Ready to elevate your routine? Try the Rose Tonic To-Go for a refreshing start that preps and balances your skin perfectly.