Quick answer
To layer stickers on a water bottle without overlap, plan your layout, use consistent spacing, and apply stickers from the center outward, pressing firmly to avoid bubbles.
Why spacing matters more than symmetry
When you layer stickers on a curved surface like a water bottle, overlap can quickly look messy and make individual designs hard to read. Consistent spacing creates a clean, intentional arrangement that lets each sticker stand out.
Symmetry is not always necessary. A balanced layout that uses the bottle's natural curves often looks more dynamic than a perfectly mirrored design. Focus on even gaps and a logical flow around the bottle.
Trade-off: more stickers vs. readability
It can be tempting to cover every inch of your bottle, but crowding stickers reduces their visual impact. Leaving some bare space helps each design breathe and makes the overall look more polished.
If you have a large collection, rotate stickers seasonally or switch them out for events. This keeps your bottle fresh without forcing an overcrowded layout.
Step-by-step: layer stickers without overlap
- Gather your stickers and tools: Collect the vinyl stickers you plan to use, plus a clean, dry water bottle. Have a ruler or tape measure handy to keep spacing consistent. Check that all stickers are dry and free from dust before starting.
- Plan your layout on a flat surface: Arrange the stickers on a table or tray exactly how you want them to appear on the bottle. This lets you experiment with spacing and order without committing. Use a photo of your layout as a reference while applying.
- Mark placement points on the bottle: Use a washable marker or a piece of painter's tape to mark where each sticker will go. This prevents guesswork and ensures even gaps between stickers. Keep at least 0.5 inches between stickers to avoid accidental overlap.
- Apply stickers from the center outward: Start with the central sticker and work your way to the edges. This helps you maintain alignment and reduces the chance of crowding near the bottle's curves. Peel the backing slowly to avoid creasing the vinyl.
- Press firmly and smooth out air: After placing each sticker, press from the center to the edges using your thumb or a soft cloth. This removes air bubbles and helps the sticker adhere to the curved surface. If a bubble persists, lift the edge and reapply gently.
- Check spacing and adjust: Step back and inspect your arrangement. If any sticker is too close or overlapping, carefully peel it off and reposition it immediately. Vinyl stickers can be repositioned within a few minutes of application.
Sticker that works well for this project
-
"Aligned" Sticker: This durable vinyl sticker features original artwork by Holly Bones and measures approximately 3x4 inches, suitable for both indoor and outdoor use. Its size and durable vinyl make it a good choice for water bottles, and the original artwork adds a unique touch to your layered design.
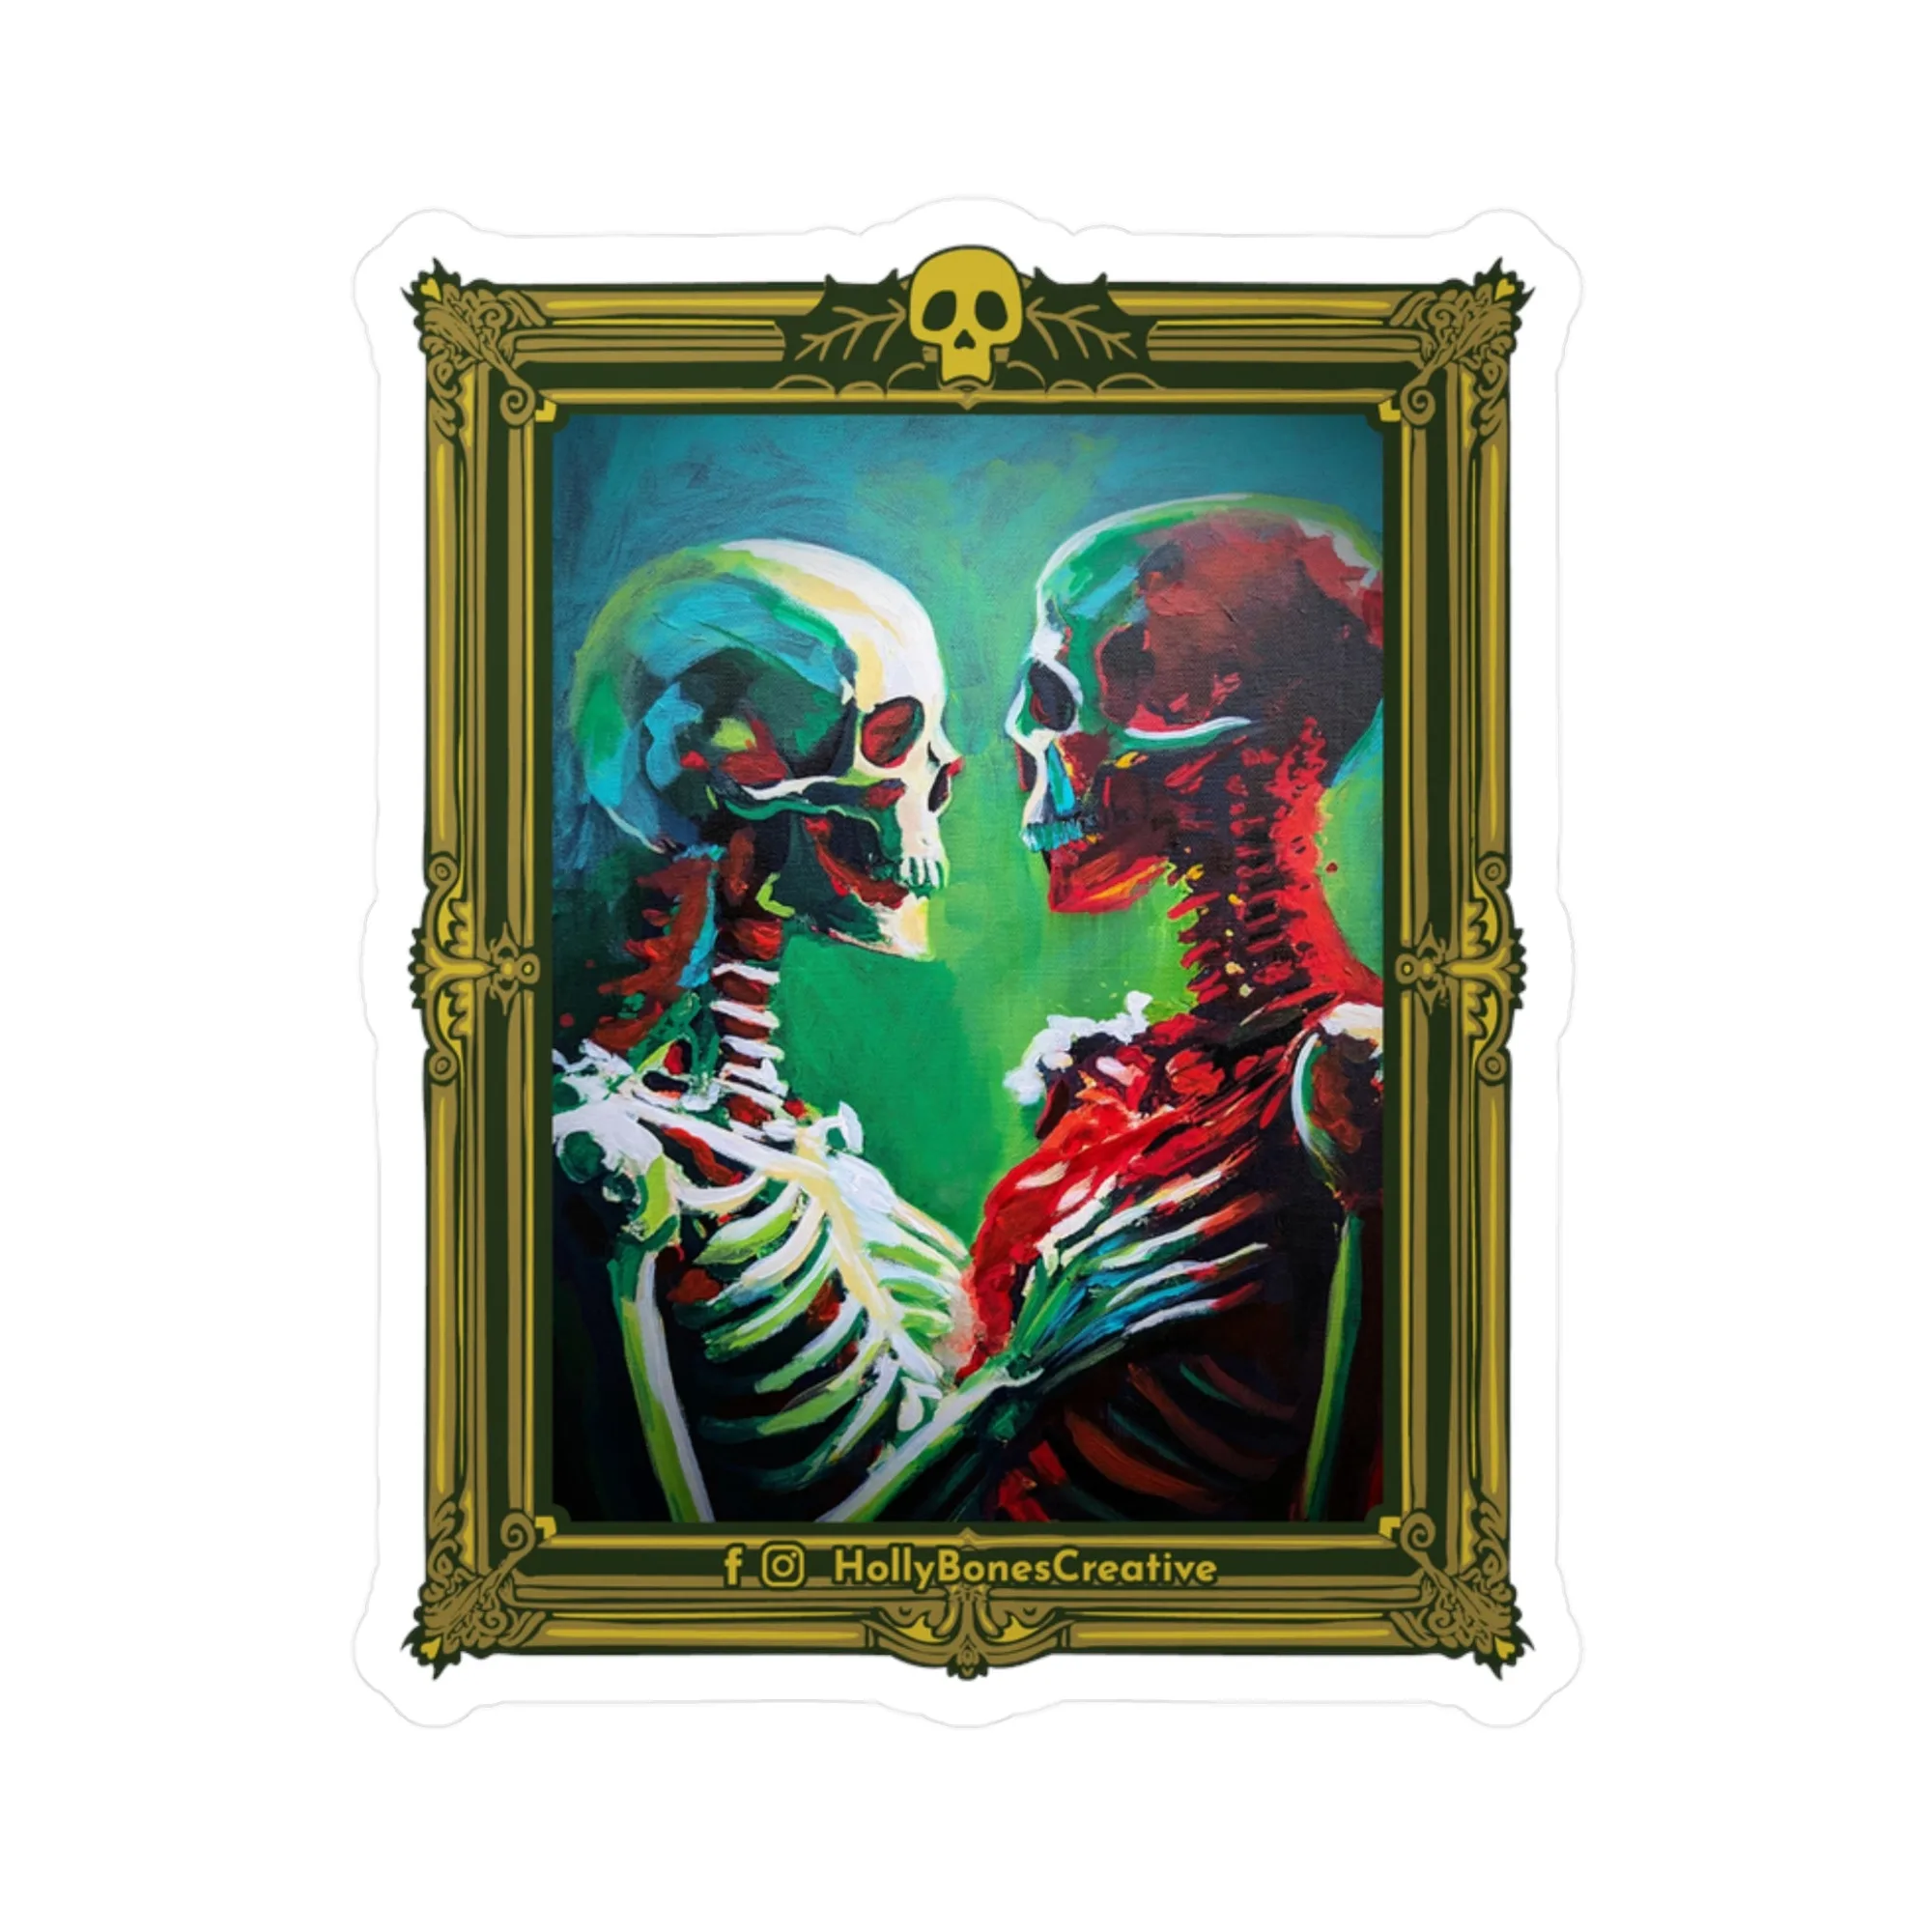
"Aligned" Sticker