Quick answer
Layer washi tape and stickers flat by keeping each layer under two millimeters thick: apply washi tape first, trim or fold any overhang, then place stickers so they overlap the tape edge rather than stacking on top of each other. This keeps thin planner pages smooth and prevents the bulk that makes planners bulge or close unevenly.
Why bulk happens when you layer on thin planner pages
Thin planner pages have little tolerance for raised edges. Every sticker or tape layer adds height, and when you stack multiple layers in the same spot, the page can bow, catch on the opposite page, or create a visible lump when the planner is closed. The goal is planner decoration depth that reads visually but stays physically flat.
The most common bulk sources are overlapping sticker edges, thick washi tape applied in multiple strips, and adhesive that lifts at the corners. Using repositionable vinyl stickers helps because they lie flatter than paper stickers and can be peeled and repositioned without tearing the page.
Choose materials that stay flat
Not all stickers and tapes behave the same on thin paper. Vinyl stickers are thinner and more flexible than many paper stickers, so they conform to the page instead of sitting on top of it. Washi tape is naturally low-profile, but some decorative tapes with heavy texture or foil can add noticeable height.
For a flat planner layering approach, start with a vinyl sticker sheet and a smooth washi tape. If you are unsure whether a sticker is vinyl, check the product description: the products below specify high-quality vinyl and waterproof construction, which usually means a thinner profile.
Test your layering on a scrap page first
Before committing to a full spread, test your washi tape sticker combo on a scrap piece of similar paper or on a less visible page. Apply one strip of tape, then a sticker over it, and close the planner to see if it creates a bump. This two-minute check prevents you from redoing a decorated page later.
If the test shows bulk, reduce the number of overlapping layers rather than changing your entire layout. Often, moving a sticker so it only overlaps the tape edge, not another sticker, solves the problem.
Step-by-step flat layering method
- 1. Plan your layers before you peel anything: Decide where the washi tape will go and which stickers will overlap it. Sketch the layout lightly in pencil or place the stickers without pressing them down. Common mistake: starting with the biggest sticker first, which forces you to build outward and creates a stack. Checkpoint: your plan should have no more than two overlapping layers in any one spot.
- 2. Apply washi tape as your base layer: Tear or cut a strip of washi tape and press it flat, smoothing from the center outward to avoid trapped air. If the tape extends past the page edge, fold it over the edge or trim it flush. Common mistake: layering two strips of tape on top of each other in the same area, which doubles the height. Checkpoint: run your finger along the tape—if you feel a ridge, smooth it down or trim the edge.
- 3. Add stickers so they overlap the tape edge, not each other: Peel a vinyl sticker and place it so only part of it sits on the washi tape, with the rest on bare paper. Press firmly at the overlap to bond the sticker to the tape. Common mistake: placing a sticker entirely on top of another sticker, which creates a three-layer stack that bulges. Checkpoint: each sticker should touch at most one other layer.
- 4. Use small accent stickers for depth instead of more layers: If the layout feels flat, add tiny stickers or a second short strip of washi tape in an empty area rather than stacking on the existing cluster. This adds visual depth without physical height. Common mistake: assuming more layers equal more depth—on thin pages, spacing creates depth better than stacking. Checkpoint: step back and view the page from an angle; you should see pattern and color, not shadows from raised edges.
- 5. Press and close the planner to test the result: After decorating, close the planner and run your hand over the cover. If you feel a bump or the pages don't lie flat, lift the top sticker with your fingernail and reposition it to reduce overlap. Common mistake: skipping this test and discovering the bulk only after the planner has been stored for weeks. Checkpoint: the closed planner should feel smooth across the decorated area.
Flat-friendly sticker options from our shop
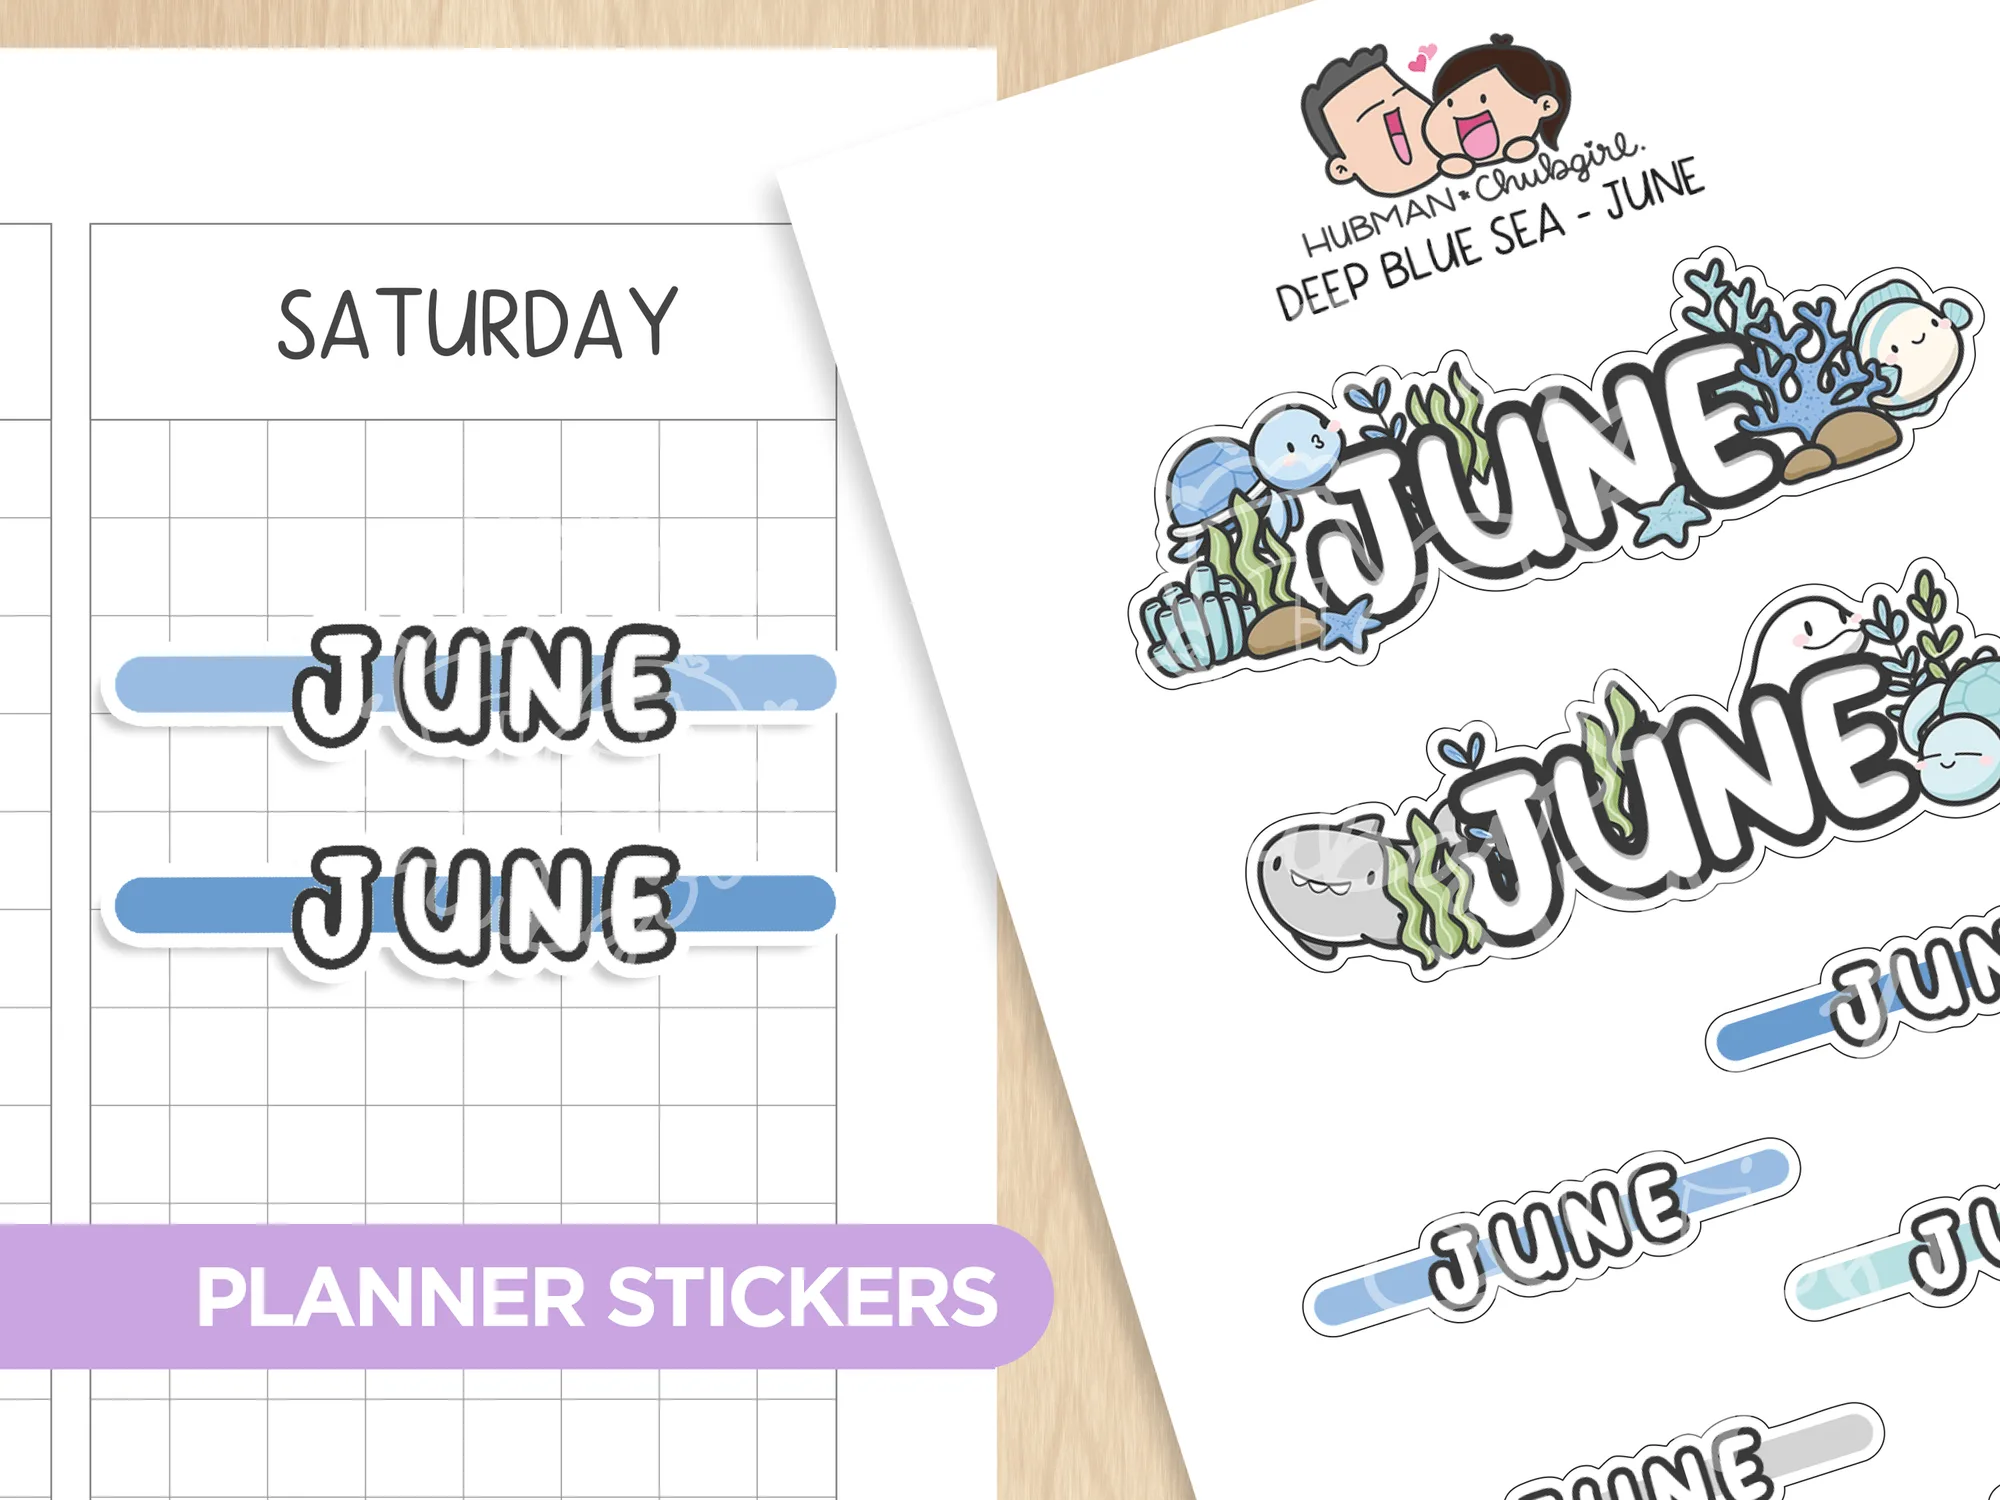
- Deep Blue Sea - Months Planner Stickers: Deep Blue Sea - Months Planner Stickers: 7 individual stickers on a 3.5” x 5” sheet, high-quality vinyl, waterproof, peel-and-reposition. The low sticker count per sheet makes it easy to plan a month layout without over-stacking, and the vinyl material lies flat on thin pages.
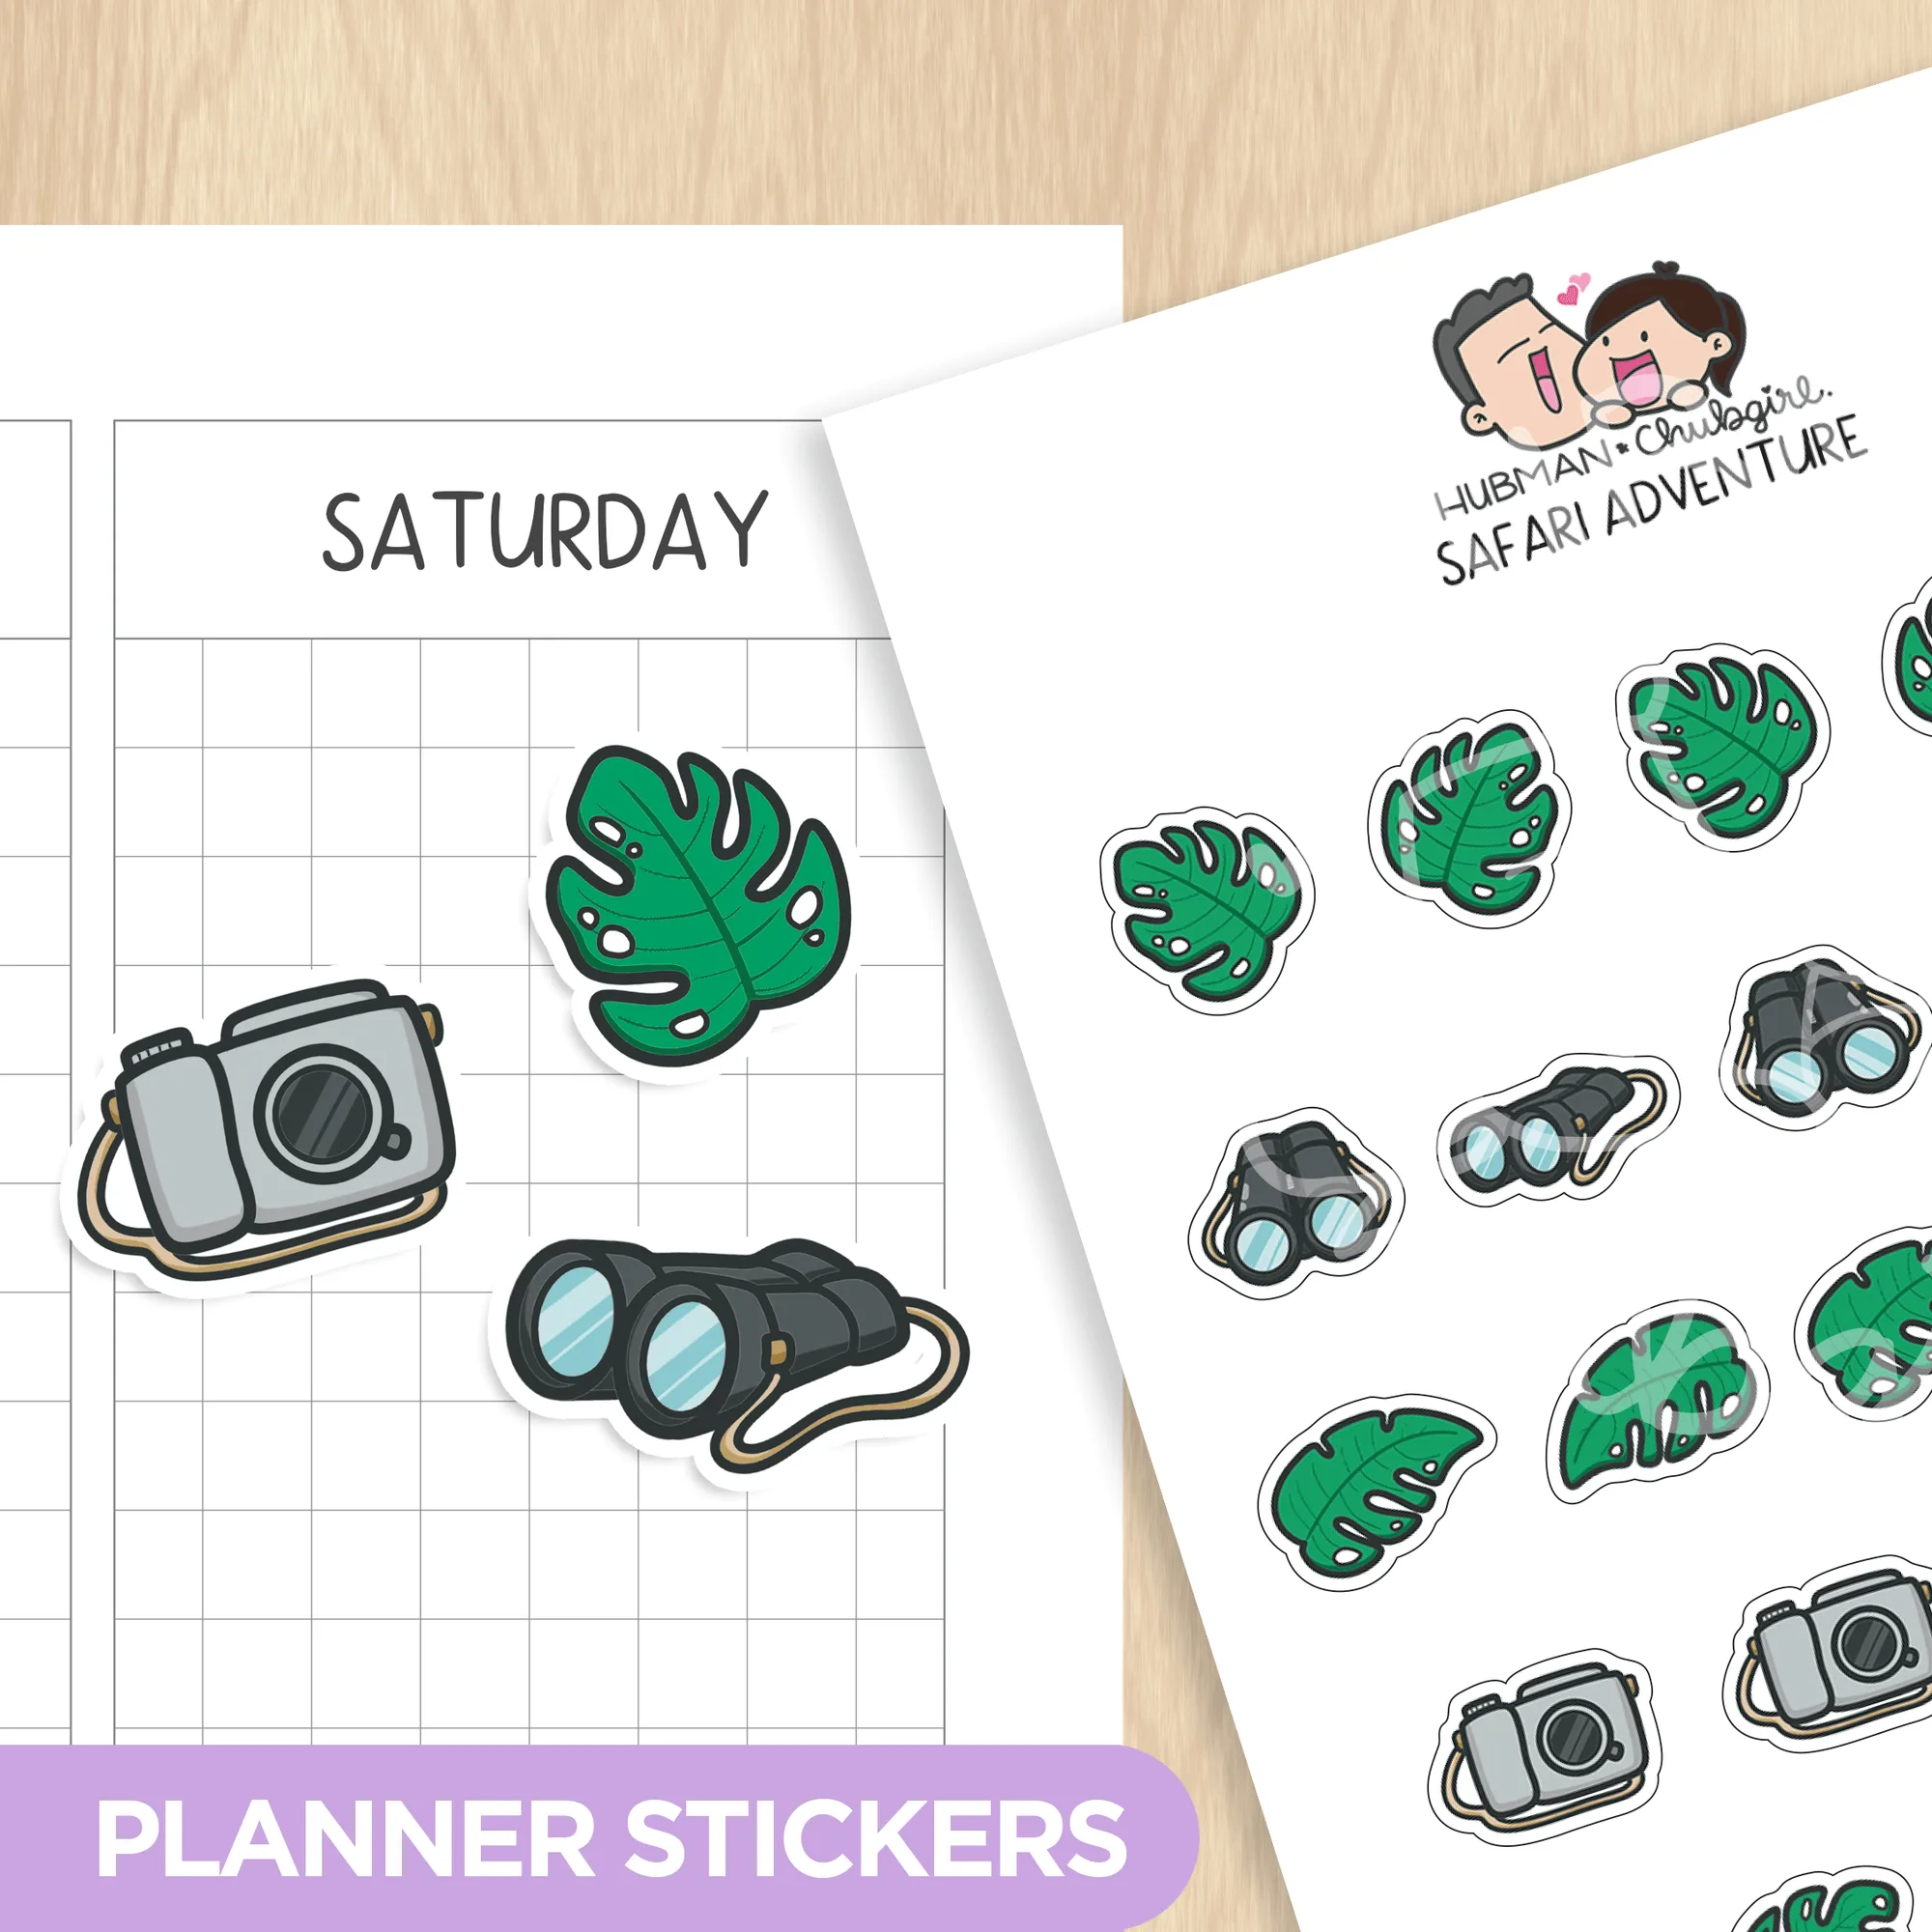
- Safari Adventure Planner Stickers: Safari Adventure Planner Stickers: 24 individual stickers on a 3.5” x 5” sheet, high-quality vinyl, waterproof, peel-and-reposition. More stickers per sheet gives you flexibility to add small accents across a spread without using large, bulky shapes.
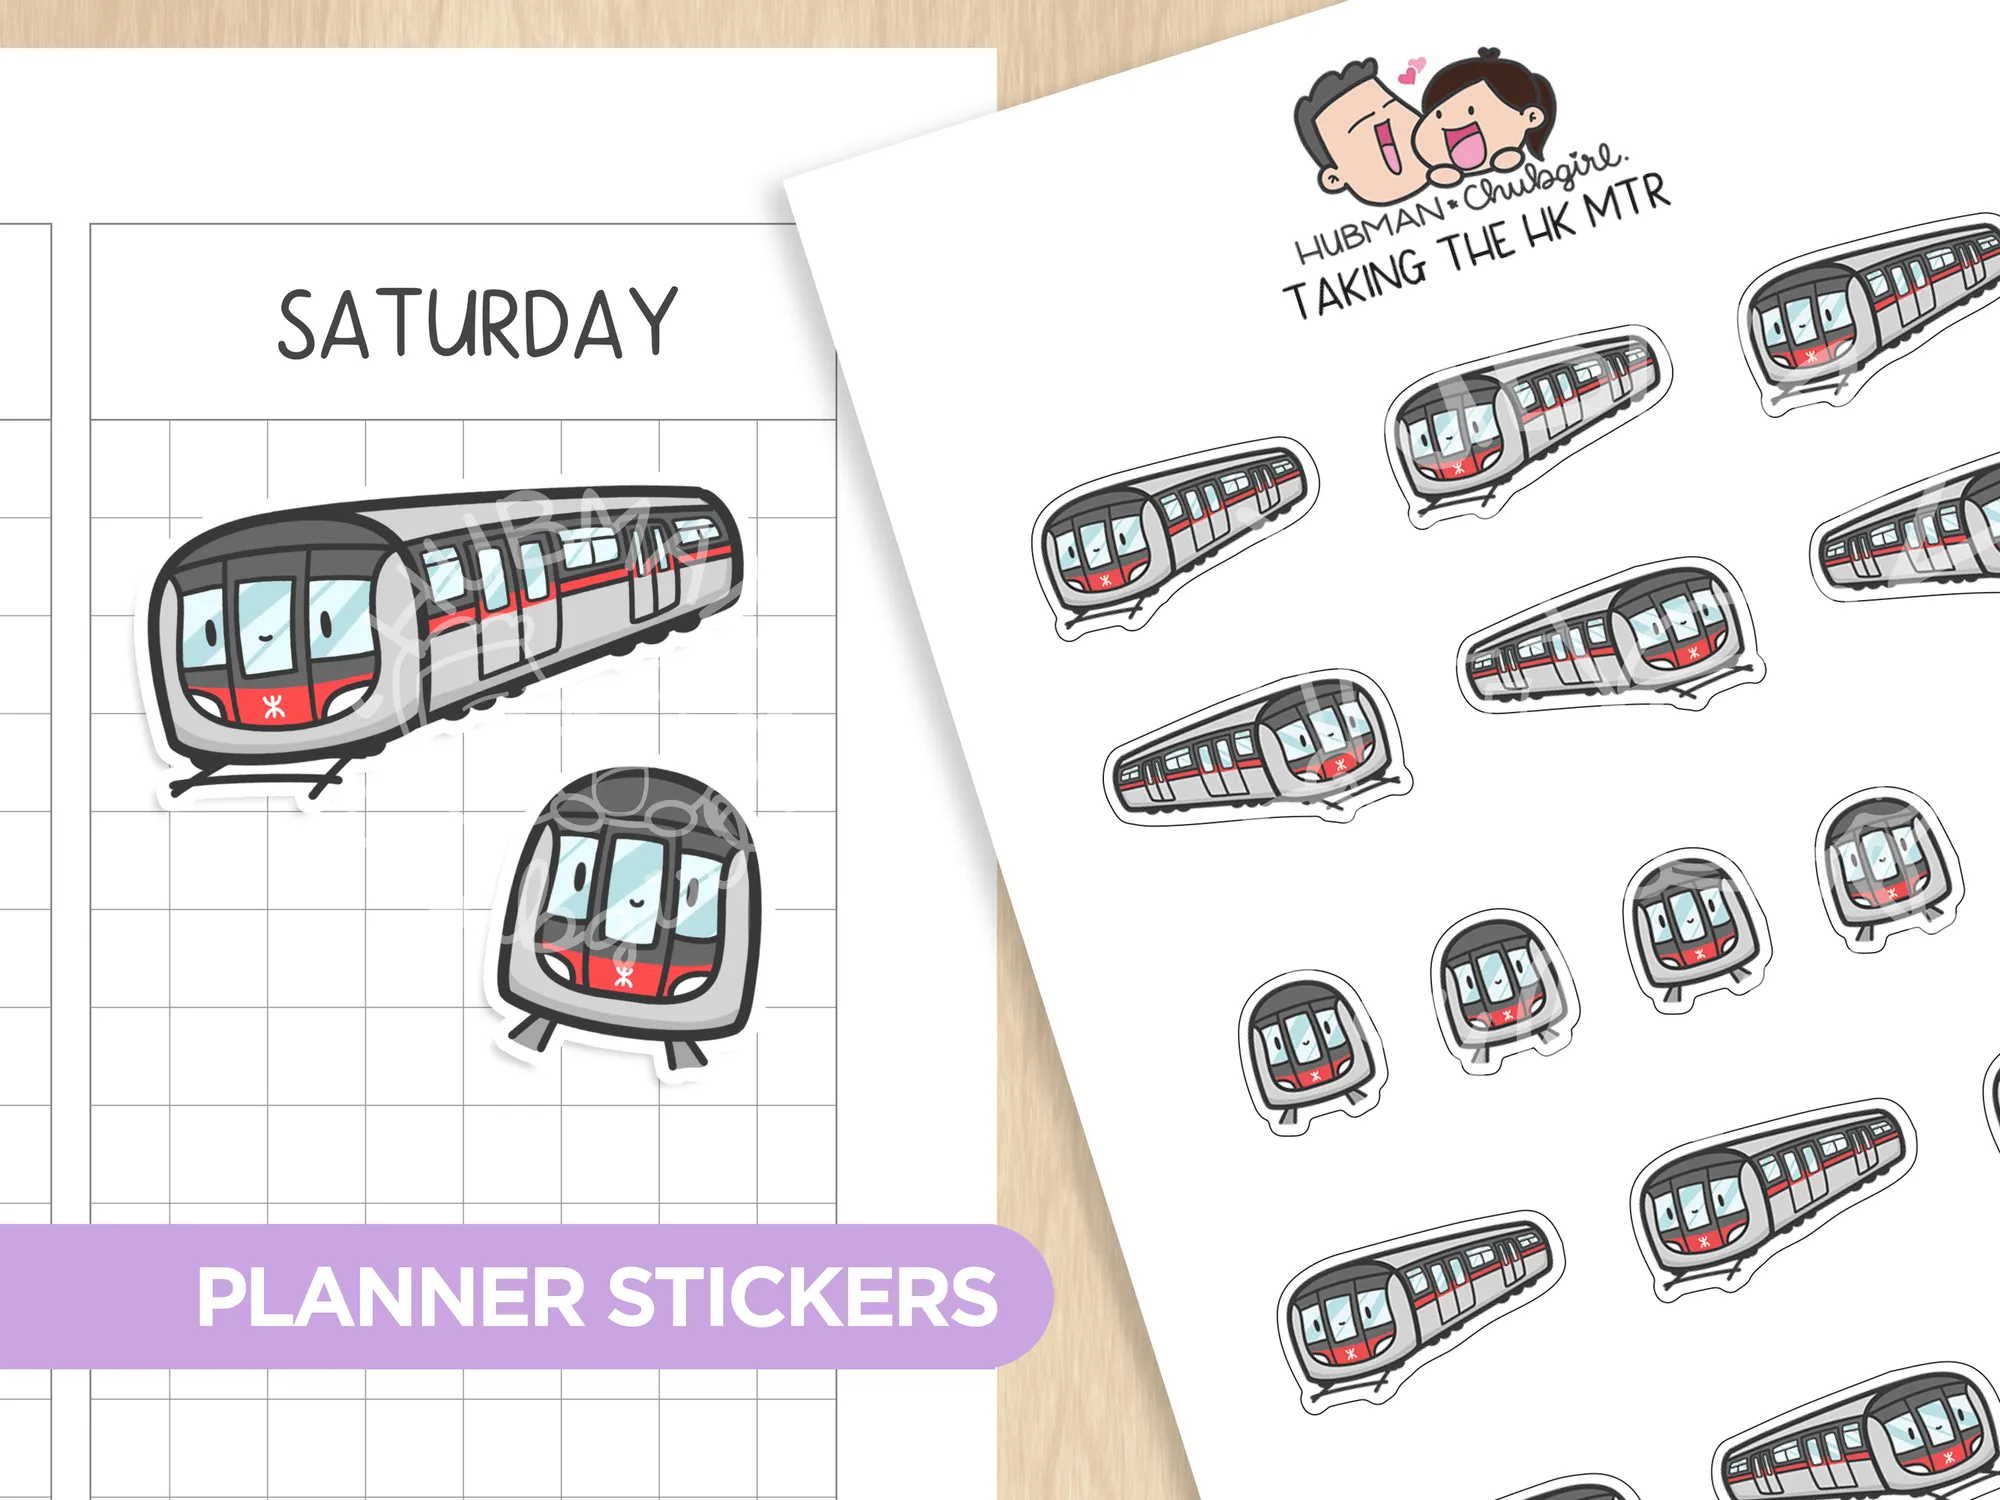
- Taking the HK Mtr Planner Stickers: Taking the HK Mtr Planner Stickers: 17 individual stickers on a 3.5” x 5” sheet, high-quality vinyl, waterproof, peel-and-reposition. The mid-size sticker count and vinyl construction make this a practical choice for layering over washi tape without adding height.