Quick answer
Start with a wide base strip, then add narrower tapes in a staggered or diagonal pattern. Use a bone folder to burnish each layer flat, and leave a small gap between edges for a clean, intentional look.
Why Layering Works Better Than Single Strips
A single strip of washi tape can feel flat. Layering adds depth, texture, and visual interest to any greeting card. By combining different widths, patterns, and opacities, you create a custom background or accent that looks thoughtfully designed rather than slapped on.
Choosing the Right Washi Tapes for Layering
Stick to two or three tapes per card. One should be a solid or near-solid color to anchor the design, another a subtle pattern, and the third a bold motif. Avoid all-heavy patterns together — they compete and look muddy. Matte and semi-transparent tapes layer better than glossy ones, which can highlight every tiny air bubble.
Step-by-Step Layering Process
- Plan your layout before you stick anything: Lay the tapes on a cutting mat or piece of glass. Move them around until the arrangement feels balanced. Take a photo for reference. Checkpoint: If the composition looks chaotic on the mat, it will look chaotic on the card. Simplify until only the strongest two or three strips remain.
- Apply the widest tape first as your base layer: Peel a 2–3 inch strip and press it onto the card from one edge. Use a bone folder or the back of a spoon to burnish it flat, working from the center outward. Common mistake: Air bubbles trapped under the tape. Always start pressing from the middle and smooth toward the edges.
- Add narrower tapes with a slight offset: Place your second tape overlapping the first by about 1/8 inch, or leave a hairline gap for a border effect. Keep the angle consistent — parallel or a gentle diagonal. Checkpoint: Step back and look at the gap. If it varies in width, lift and reposition the strip before it cures.
- Finish with a top accent strip or washi sticker: A thin metallic or patterned tape works well as the final layer. Cut it at an angle or tear it for a ragged edge that adds texture. Verdict: Less is more. Three layers is the sweet spot — beyond that, the card can feel busy and the paper may warp.
Cards That Work Especially Well with Layered Washi
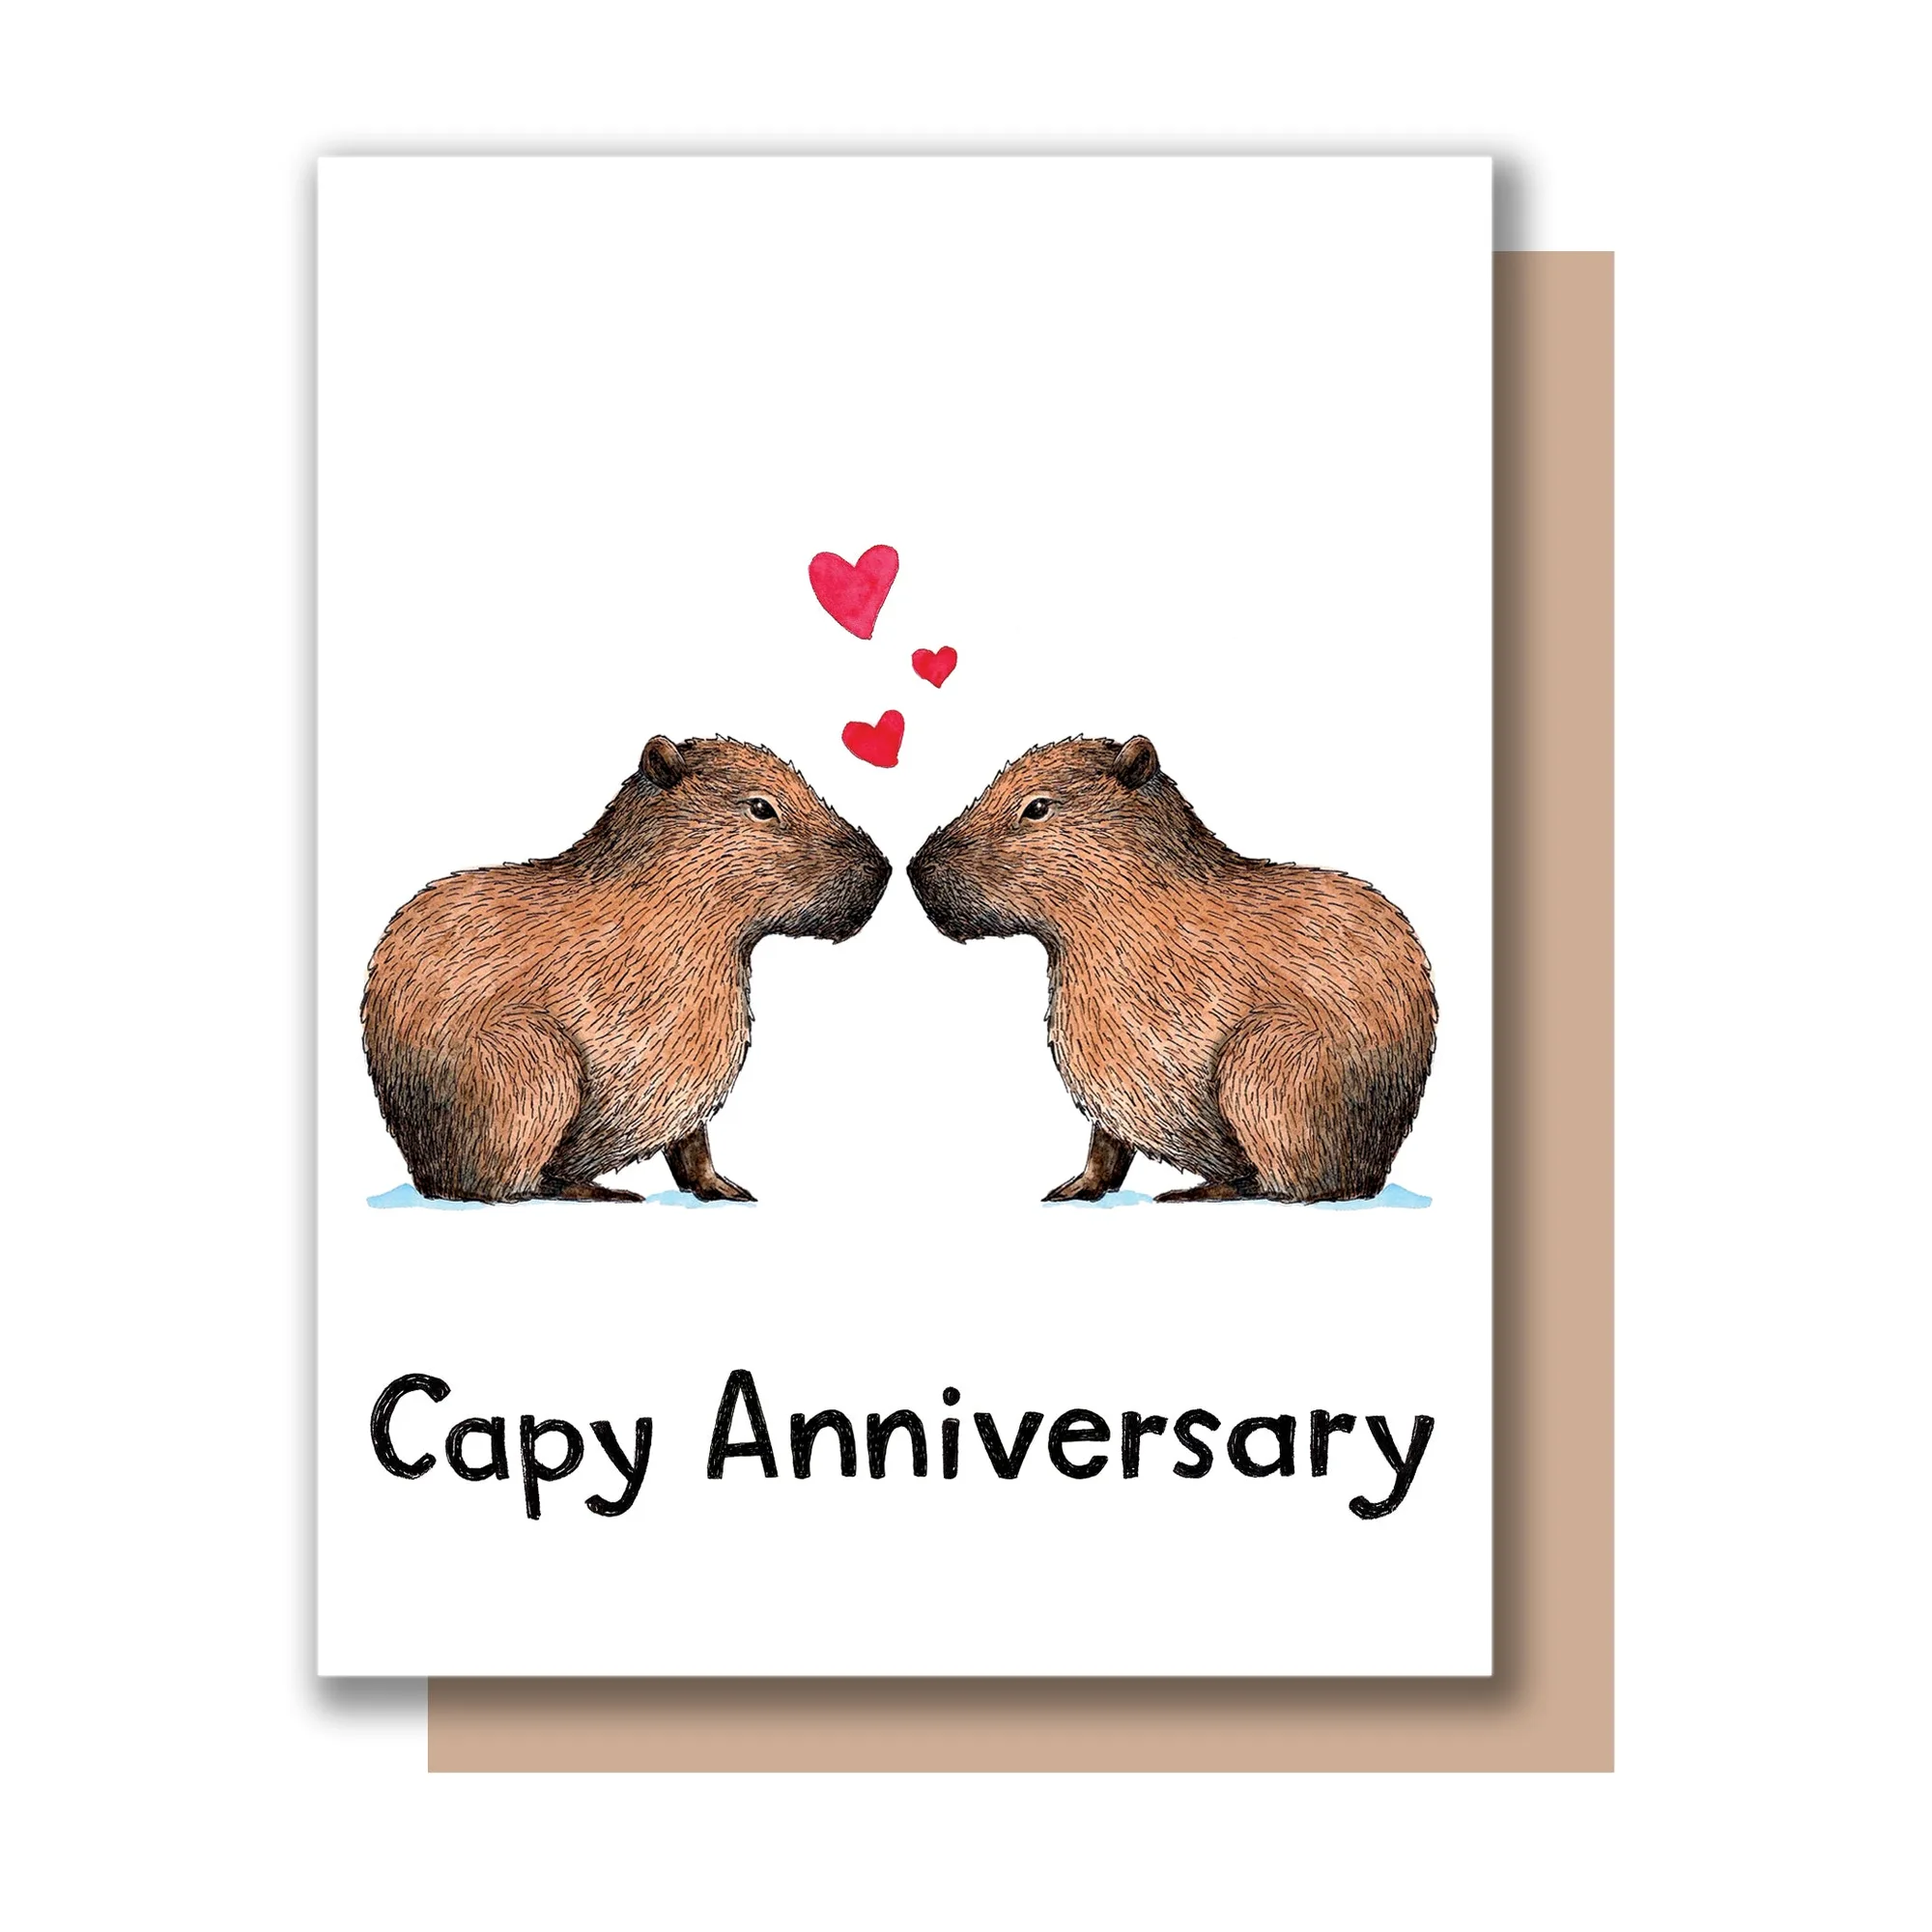
- Capy Anniversary Capybara Card: Original watercolor illustration printed on 130 lb. premium bright white paper, 4.25 x 5.5" card, blank inside. The bright white, heavy paper holds up to multiple layers of tape without buckling, and the blank interior leaves room for your message after you decorate the front.
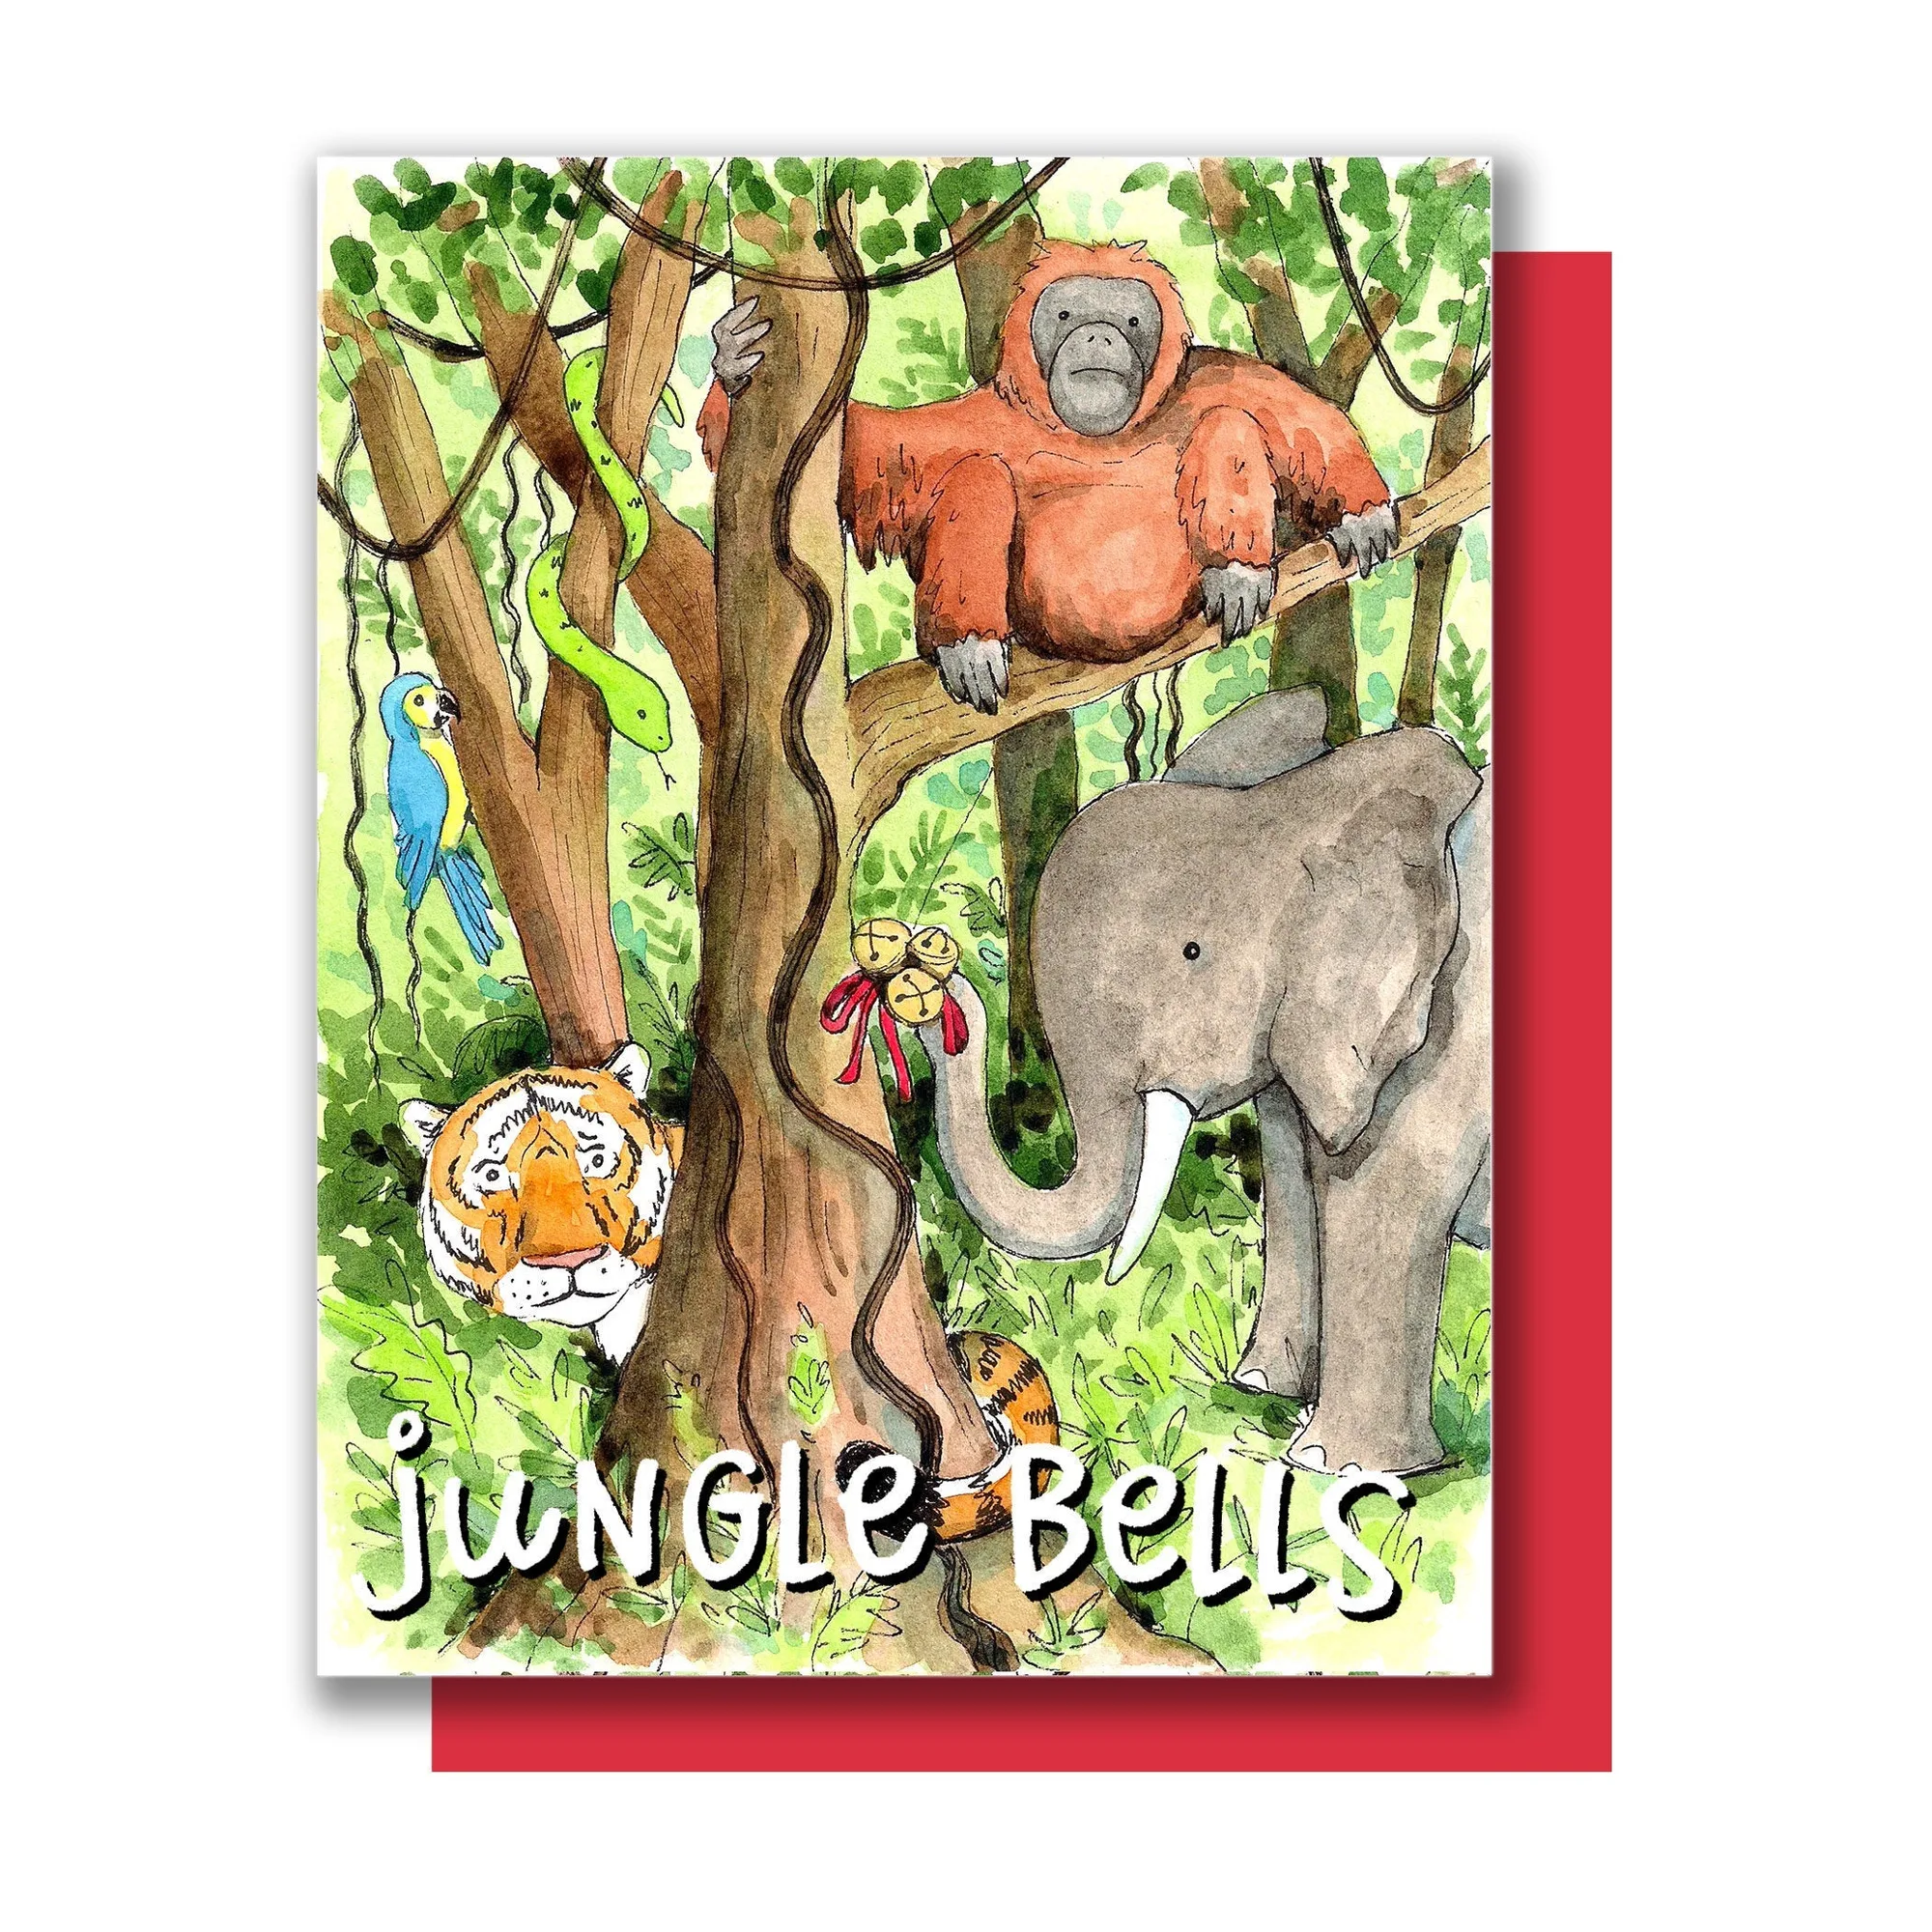
- Jingle Bells Jungle Animals Merry Christmas Holiday Card: Original watercolor illustration printed on 130 lb. premium bright white paper, 4.25 x 5.5" card, blank inside, comes with a holiday red envelope. The red envelope gives you a built-in color cue — try layering washi in red, green, and gold tones on the card front to tie the whole mailing together.