Quick answer
Layer washi tape smoothly by pre-sticking it to your finger or a clean surface to reduce tack, then apply it from one edge with light tension and burnish with a bone folder or fingernail. Work on a flat, dry page, overlap layers deliberately, and seal edges only after the tape is fully adhered. This prevents wrinkles, bubbles, and page buckling.
Why wrinkles happen and how to avoid them
Wrinkles and bubbles form when washi tape stretches during application or traps air underneath. The paper backing on washi tape is thin, so pulling it too tight or pressing it down before it is aligned causes ripples. To avoid this, always cut the tape slightly longer than needed, hold it by the edges, and let it relax for a few seconds before sticking. Work on a flat, dry surface, and avoid applying tape over wet ink, glue, or textured embellishments. If you are layering multiple pieces, apply the bottom layer first and smooth it completely before adding the next.
Tools that make layering easier
You do not need many tools, but a few simple items help. A bone folder or the back of a spoon burnishes tape flat without tearing it. A craft knife or small scissors gives clean edges when you trim overlapping layers. Tweezers help position narrow tape precisely. Keep a clean, dry cloth nearby to wipe your fingers, since oils can reduce adhesion. If you are working with glitter-finish tape, note that the surface may be slightly more textured; apply it with lighter pressure and avoid stretching.
Step-by-step layering technique
Follow these steps in order for smooth, flat layers. Each step includes a checkpoint to catch mistakes early.
Layering steps with checkpoints
- Prepare the page: Ensure the journal page is flat, dry, and free of dust. If you are working over ink, let it dry completely. Place a scrap paper under the page if you are using a craft knife. Checkpoint: The page should not curl or feel damp.
- Cut tape with extra length: Tear or cut a piece slightly longer than the area you want to cover. This gives you room to adjust without stretching the tape. Checkpoint: Do not pull the tape taut while cutting.
- Reduce tack if needed: Press the tape onto your finger or a clean surface and peel it off once or twice. This lowers the adhesive strength so you can reposition it without ripping the page. Checkpoint: The tape should still feel sticky but not aggressive.
- Apply from one edge: Hold the tape by both ends, align one edge with your starting point, and lay it down gradually. Use your finger to smooth it as you go, working from the center outward. Checkpoint: If a wrinkle forms, lift the tape and reapply immediately.
- Burnish the tape: Rub the tape firmly with a bone folder, the back of a spoon, or your fingernail. This presses out trapped air and secures the edges. Checkpoint: The tape should look flat and feel cool to the touch.
- Add overlapping layers: Apply the next piece so it overlaps the first by a few millimeters. Smooth each layer before adding the next. Vary widths and finishes for visual interest. Checkpoint: Overlaps should be intentional and flat, not bulky.
- Trim excess and seal edges: Use scissors or a craft knife to trim overhanging tape. Press the edges down again with your fingernail, especially at corners. Checkpoint: Edges should not lift when you run a finger over them.
Washi tapes that work well for layering
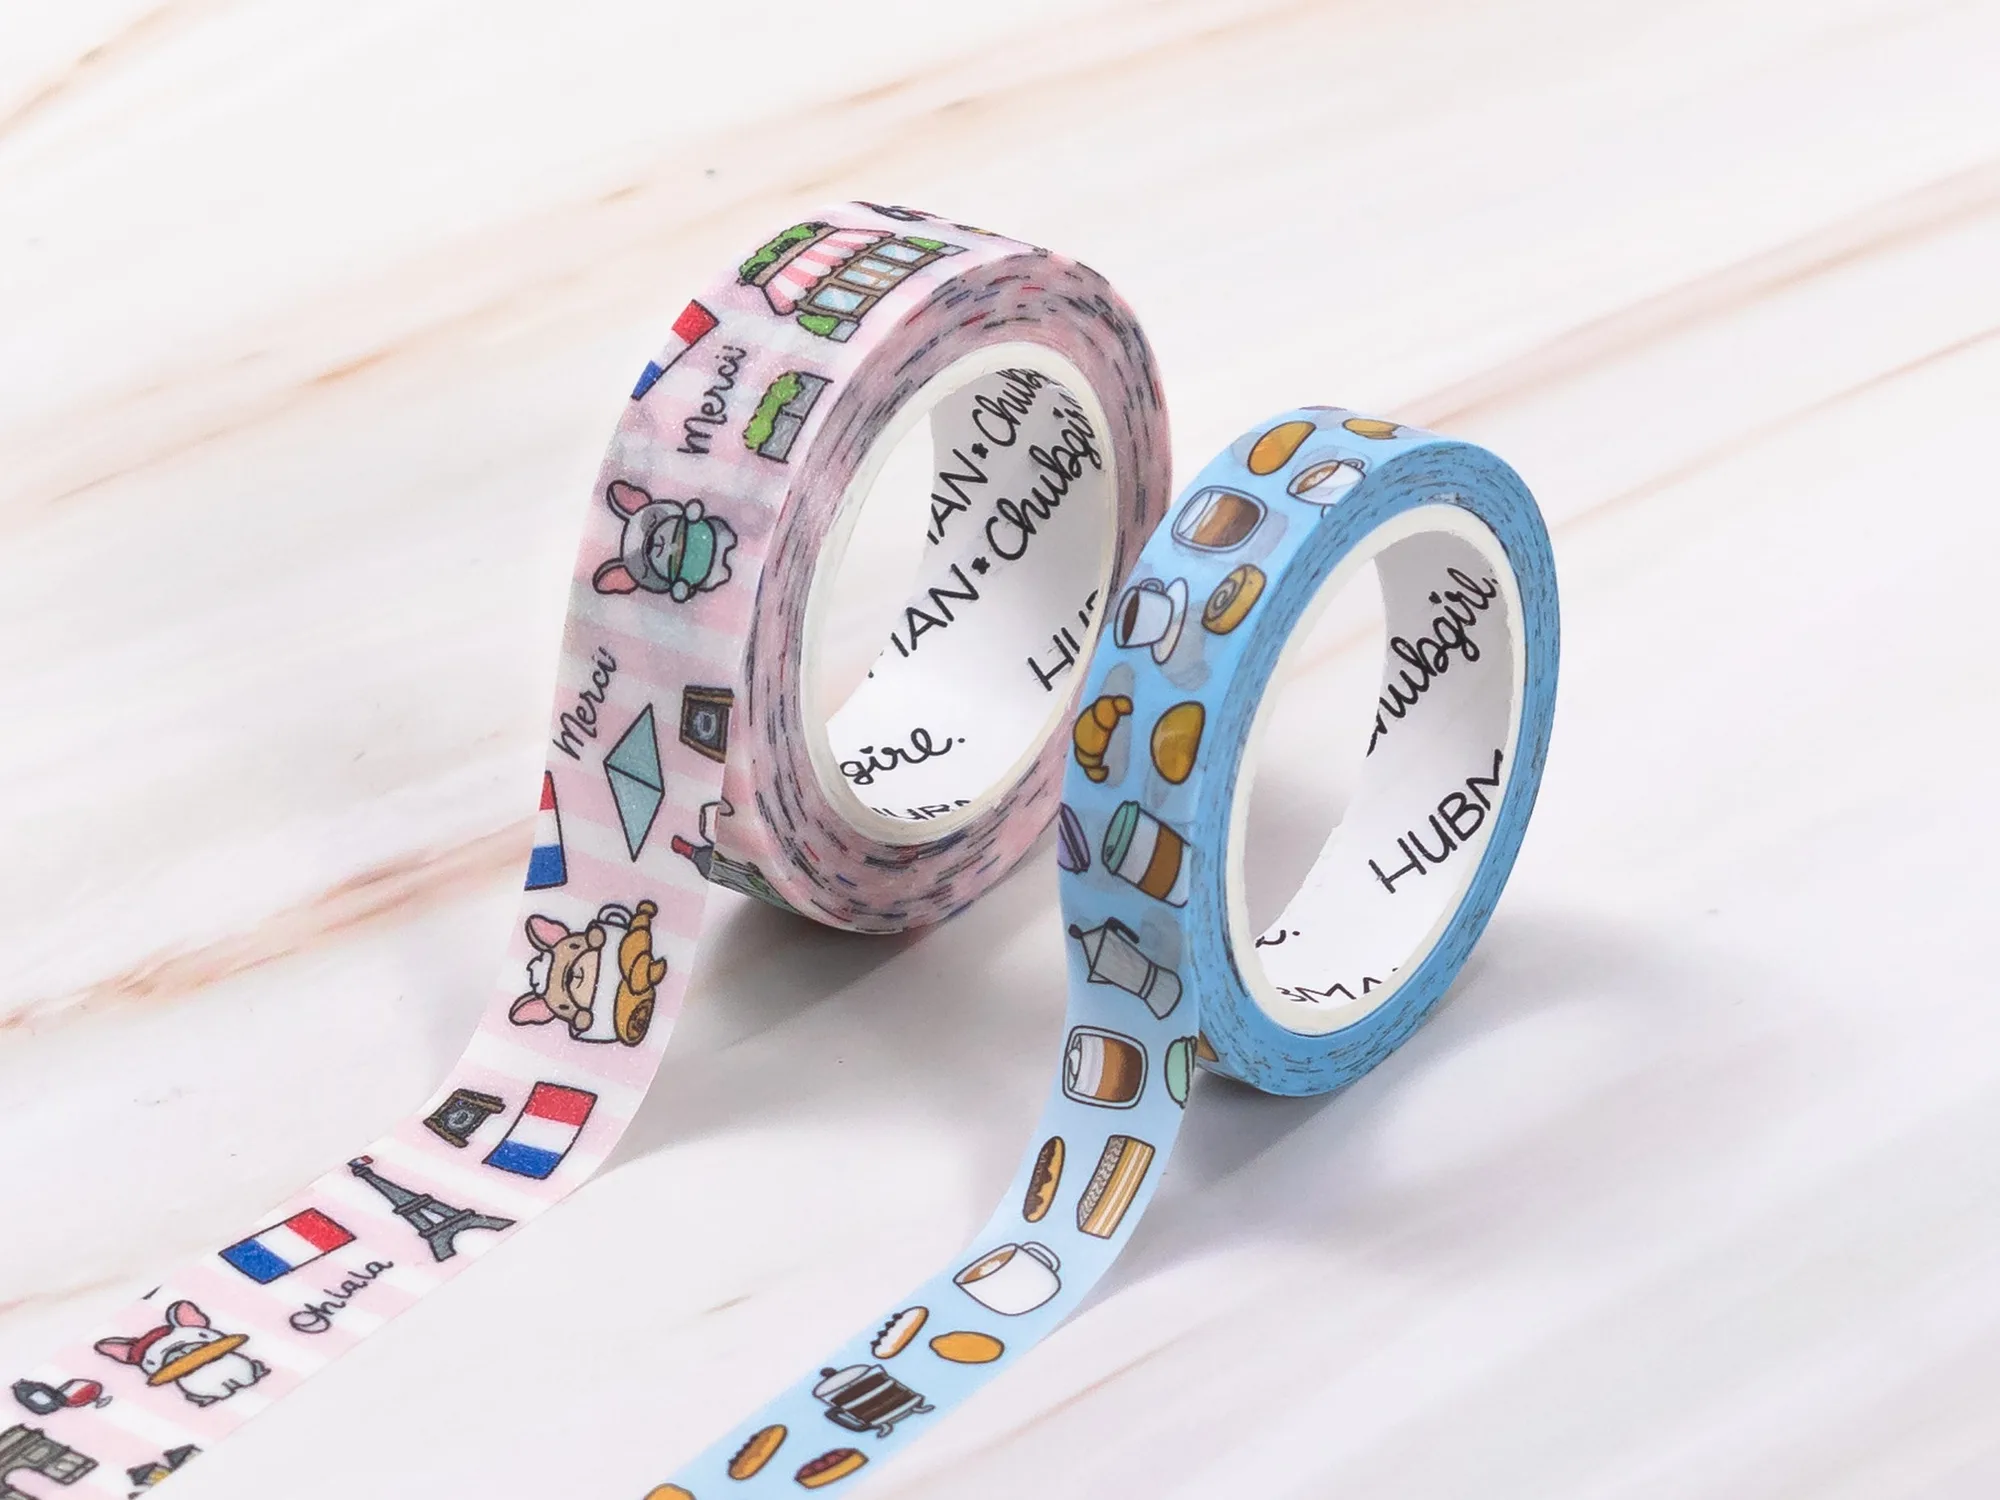
- Paris Washi Tape (Set of 2): Paris Washi Tape (Set of 2) includes Bonjour Paris (15mm wide x 5m length, glitter finish) and French Cafe (10mm wide x 10m length, washi finish). The two widths let you create a base layer with the wider tape and add narrow accents on top. The glitter finish adds texture, so apply it with light pressure to avoid stretching.
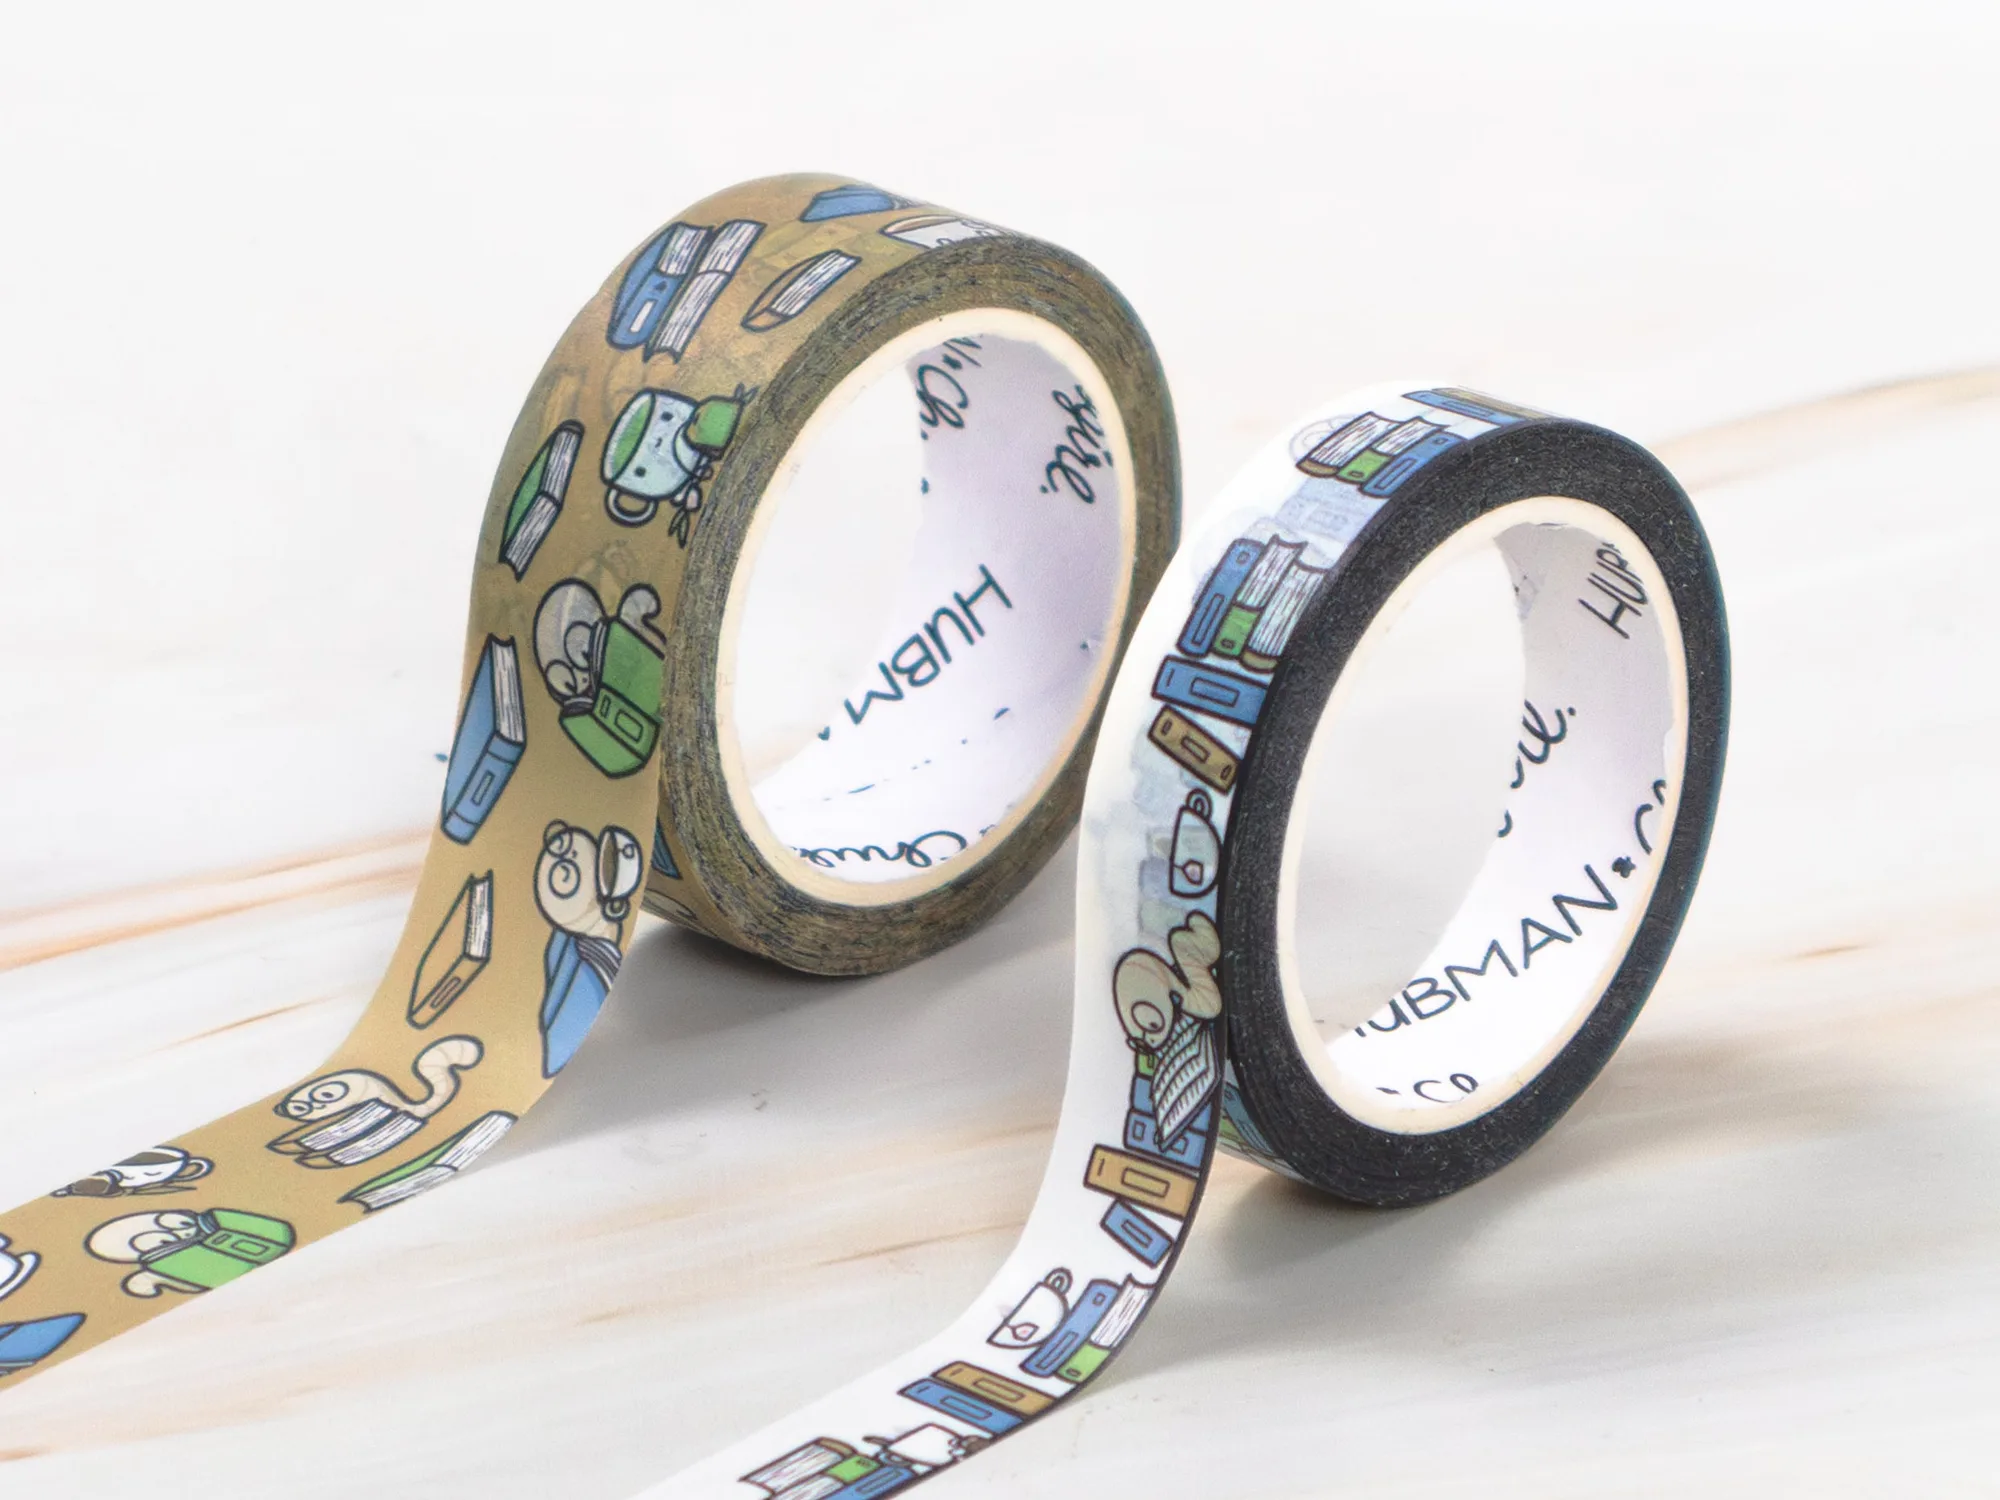
- Cozy Bookworm Washi Tapes (Set of 2): Cozy Bookworm Washi Tapes (Set of 2) includes Bookworm (15mm wide x 10m length, washi finish) and Let's Read (10mm wide x 10m length, washi finish). Both rolls have a smooth washi finish, which is ideal for beginners learning to layer without wrinkles. The longer 10m rolls give you plenty of tape for practice and full-page layouts.
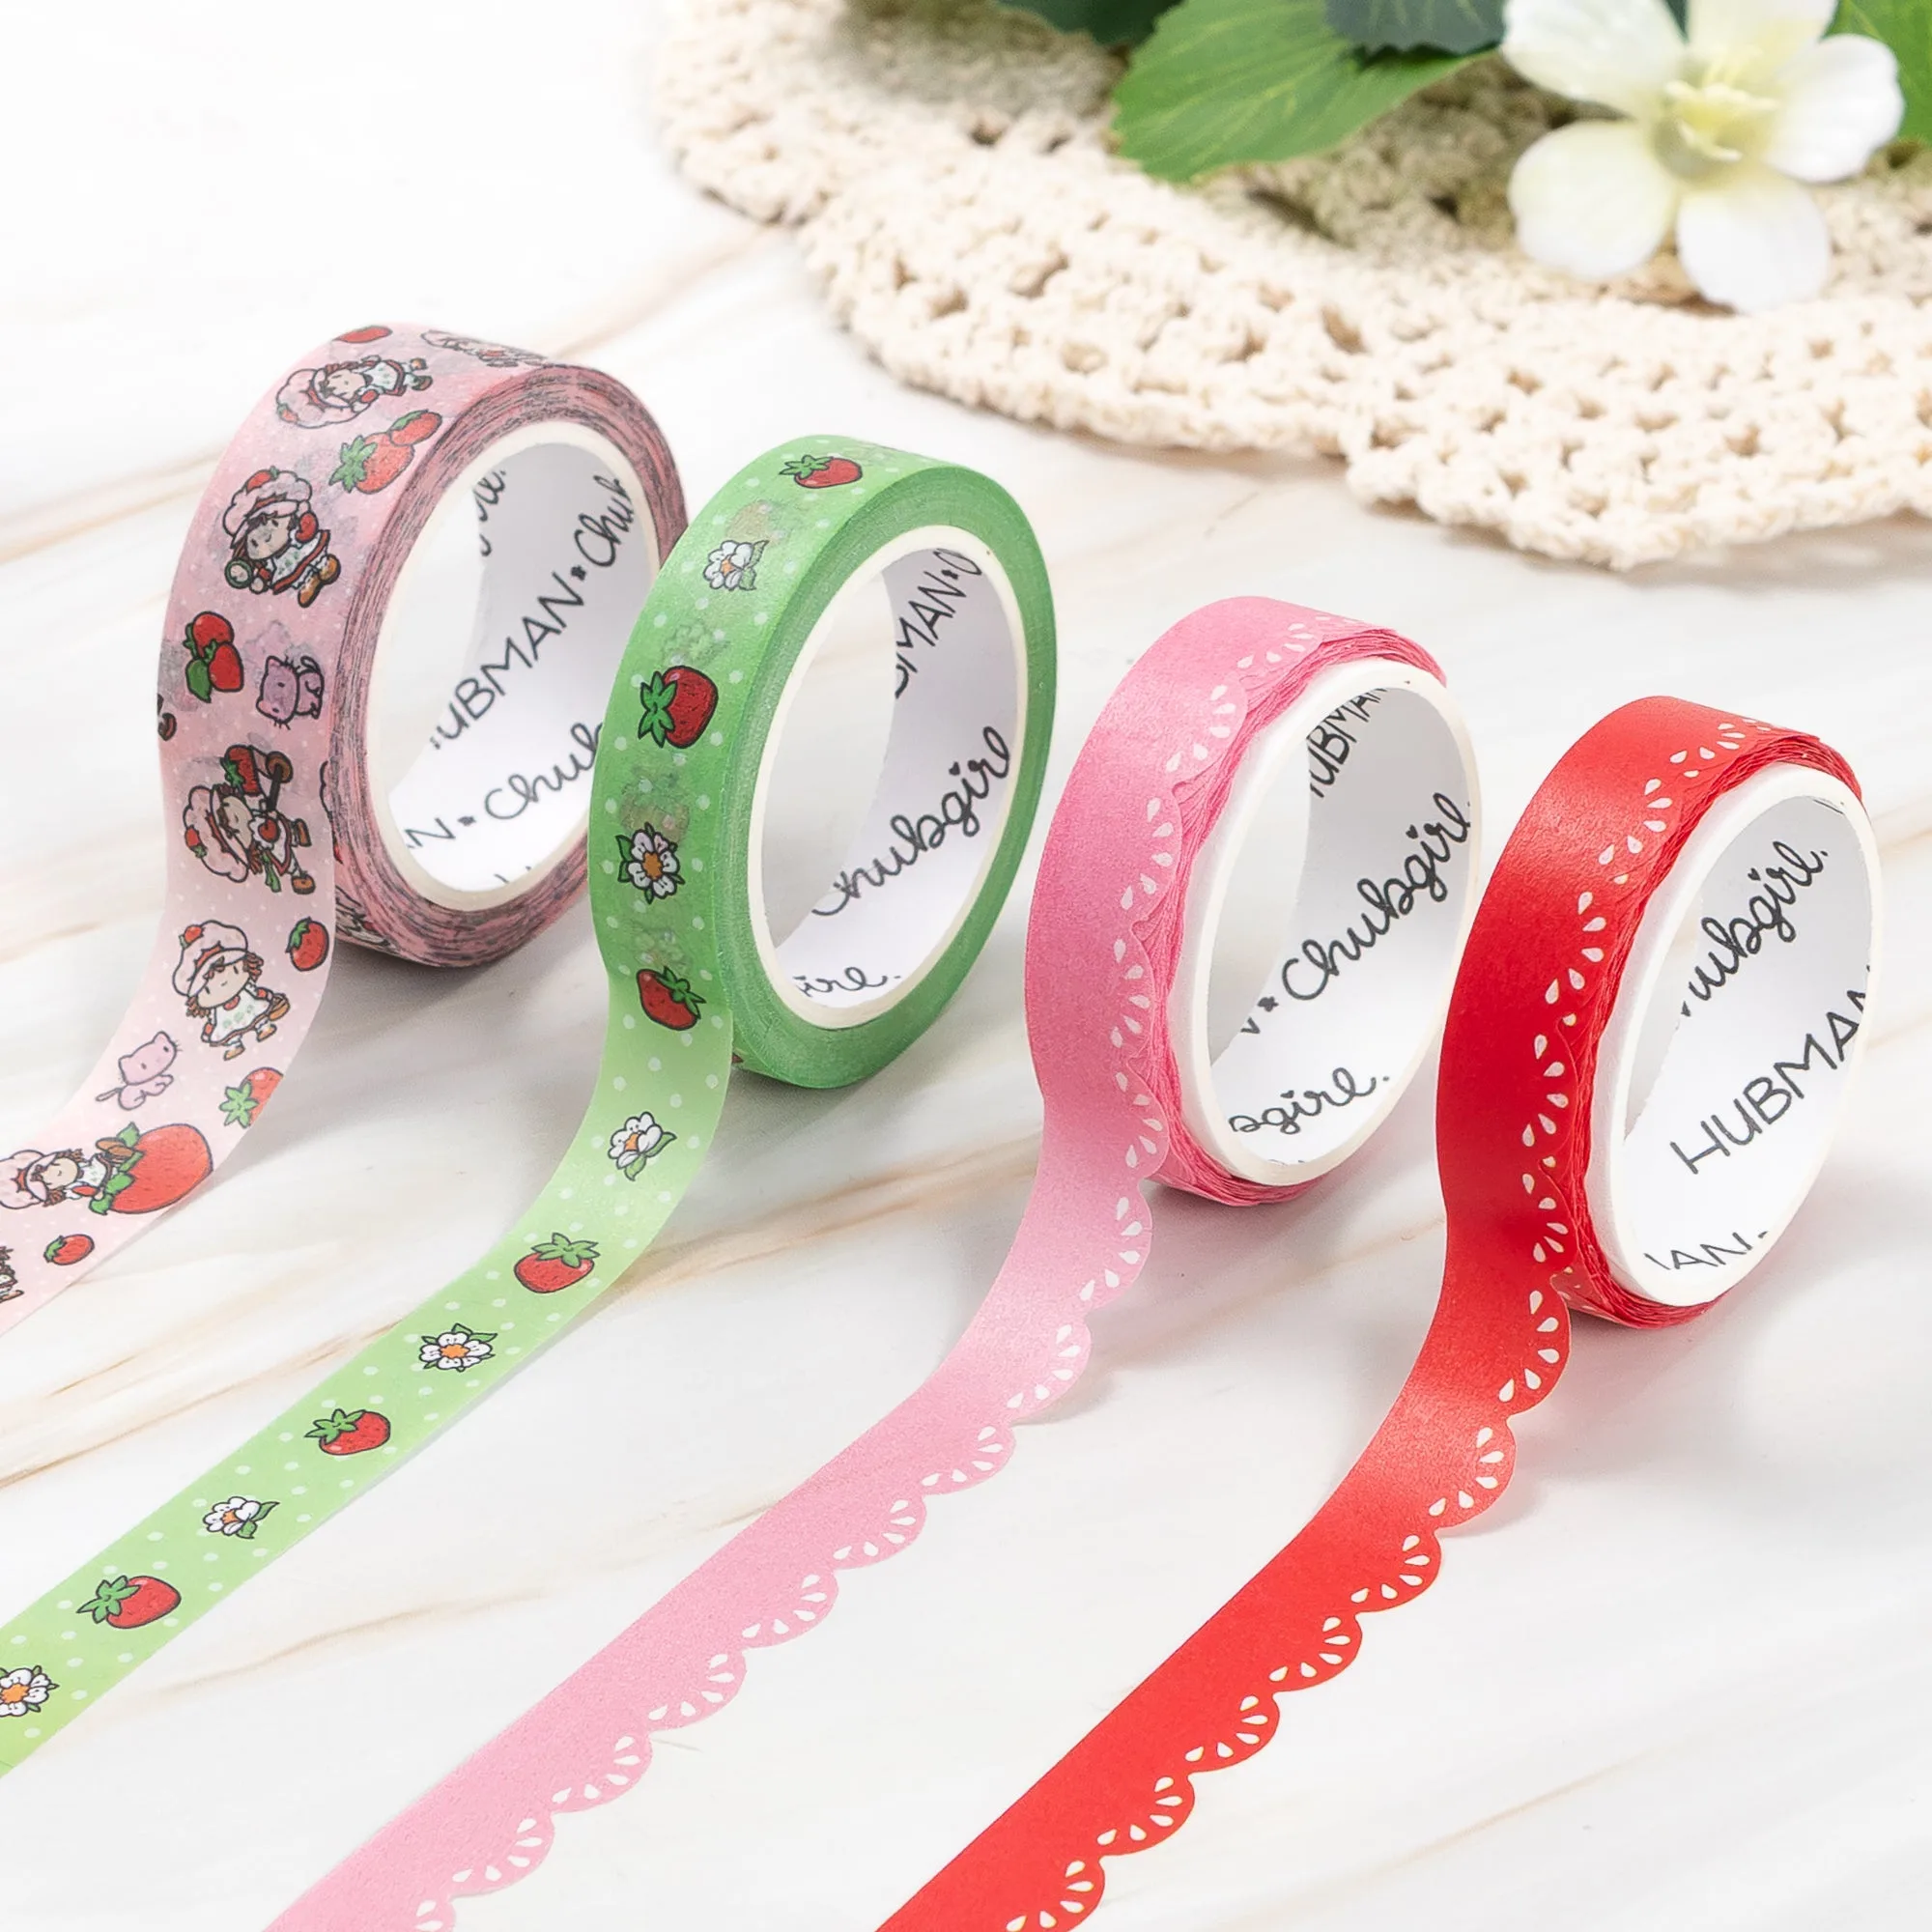
- Strawberry Shortcake Washi Tapes (Set of 4): Strawberry Shortcake Washi Tapes (Set of 4) includes four rolls: A (15mm wide x 5m length), B (10mm wide x 10m length), C (10mm wide x 10m length), and D (details not supplied). With four coordinated rolls, you can layer multiple patterns without worrying about matching colors. The mix of widths supports both broad base layers and fine details.