Quick answer
Maintaining beadlock wheels comes down to a repeatable routine: clean them after every off-road trip, inspect the ring and bolts for damage or loosening, and re-torque the beadlock bolts to the wheel manufacturer's spec before you air down again. Skip the torque check and you risk a slow leak or a bead that lets go at the worst moment.
Beadlock wheels earn their keep when you air down for sand, rock, or mud, but that same low-pressure use puts constant load on the ring and its bolts. A little routine care keeps the bead seated and the hardware tight, so you are not chasing a leak on the trail.
This guide walks through the order that works: clean first, inspect second, torque third, and protect the finish last. Each step includes the mistake that most often causes problems, plus what to check before you call the job done.
Why beadlock wheel care is different from standard wheel care
A standard wheel holds the tire bead with air pressure alone. A beadlock wheel clamps the outer bead between the wheel and a ring, which is what lets you run very low pressures without spinning or debeading the tire. That clamp is only as good as the ring and bolts holding it, so beadlock wheel care focuses on hardware condition and torque, not just appearance.
The tradeoff is more fasteners to watch and a finish that takes more abuse from rocks and grit. If you run a Bead Grip wheel instead of a full beadlock, the care routine is simpler because there is no ring to torque, but the cleaning and inspection habits below still apply.
- Beadlock = ring and bolts to maintain; Bead Grip = grooves in the bead seat, no ring hardware.
- Low air pressure increases side load on the bead area, so check hardware more often after hard trail days.
What you need before you start
Gather a torque wrench that covers the beadlock bolt spec, the correct socket, a soft-bristle brush, mild soap or a pH-neutral wheel cleaner, and a rag. Avoid harsh acid-based cleaners on any painted or machined finish. If you plan to remove the ring, have a clean surface ready so bolts and the ring do not pick up grit.
Check your wheel's documentation for the beadlock bolt torque value and pattern. Method does not publish a single universal number across every wheel, so use the spec that came with your specific wheel rather than a number from a forum thread.
- Never guess torque values; use the spec supplied with your wheel.
- A torque wrench that has not been calibrated in years can read low, so verify it if the wheel has seen many re-torques.
Step 1: Clean the wheel and ring before you touch hardware
Wash the wheel while it is still on the vehicle, or off if you are doing a full service. Rinse loose mud first, then work a soft brush around the ring, the bolt heads, and the bead seat area. Cleaning beadlock wheels before loosening anything keeps grit from falling into the bead seat when the ring comes off.
Pay attention to the gap between the ring and the wheel. Packed dirt there can hide a loose bolt or a bent ring, and it also traps moisture against the finish. Dry the wheel fully before inspection so you can see cracks, gouges, or missing paint.
- Common mistake: pressure-washing directly at the bead seat and driving grit into the seal area.
- Checkpoint: after drying, the ring should sit evenly against the wheel with no visible gap variation.
Step 2: Inspect the ring, bolts, and bead area
Look for bent or cracked ring sections, stretched or rounded bolt heads, and any sign of the tire bead being pinched or cut. Beadlock ring maintenance is mostly about catching small damage before it becomes a leak. If a bolt is seized or the threads look chewed, replace the hardware rather than forcing it.
On Bead Grip wheels there is no ring, but you should still check the bead seat grooves for embedded rocks or debris. The 411 UTV Bead Grip uses integrated grooves on both the inner and outer bead seat to engage the tire bead, and keeping those grooves clean helps them do their job under low pressure.
- Replace any bolt that shows stretched threads or a rounded head; do not reuse damaged hardware.
- If the ring is bent, do not try to straighten it and reinstall; a distorted ring will not clamp evenly.
Step 3: Do the beadlock bolt torque check in the right pattern
A beadlock bolt torque check is the single most important maintenance task. Loosen nothing first. Set your torque wrench to the spec and check each bolt in a star or crisscross pattern, working around the ring. If a bolt turns before the wrench clicks, it had loosened and you have just corrected it.
Do this check before every trip where you plan to air down, and again after the first hard run on a freshly mounted tire. New hardware and fresh beads can settle, which shows up as bolts that read low on the first re-check.
- Common mistake: tightening in a circle around the ring, which can pull the ring down unevenly.
- Checkpoint: after the full pattern, go around once more; any bolt that moves again means the ring is still settling.
Step 4: Protect the finish and store the wheel well
Once the wheel is clean, dry, and torqued, a light coat of wax or a non-greasy protectant on painted or machined surfaces slows oxidation and makes the next cleaning easier. Avoid coating the bead seat or the ring mating surface, since anything slippery there can affect how the bead seats.
If you swap wheels seasonally, store them indoors, stacked or hung so the ring is not bearing weight against a hard floor. A bent ring from careless storage costs more to replace than the few minutes it takes to hang the wheel.
- Keep protectant off the bead seat and ring mating surface.
- Store wheels out of direct sun and away from solvents that can dull the finish.
How often should you do this?
After every off-road trip: clean and inspect. Before every trip where you air down: torque check. Once a season, or after any hard impact: full ring inspection and a close look at the bead area. If you run a lot of sand or mud, shorten those intervals because abrasive grit works into the bead seat faster.
For wheels that see mostly street use, a monthly torque check and a wash after winter road salt is usually enough. The routine does not change based on wheel style, only the hardware step does.
- Sand and mud use: inspect after every trip.
- Street-only use: monthly torque check plus a wash after salted roads.
Your beadlock wheel maintenance checklist
- Rinse and wash first: Knock off loose mud and grit with a hose, then wash the ring, bolt heads, and bead seat with a soft brush and mild soap. Never loosen a ring on a dirty wheel; grit will drop into the bead seat.
- Inspect ring and hardware: Look for bent or cracked ring sections, stretched or rounded bolts, and pinched or cut tire beads. Replace damaged hardware instead of reusing it.
- Torque in a crisscross pattern: Set the wrench to your wheel's spec and check every bolt in a star pattern, then repeat the pattern once. If any bolt moves on the second pass, the ring is still settling; check again after the next drive.
- Protect the finish: Apply wax or a non-greasy protectant to painted and machined surfaces, keeping it off the bead seat and ring mating surface. A protected finish cleans faster next time and resists corrosion.
Products that fit this routine
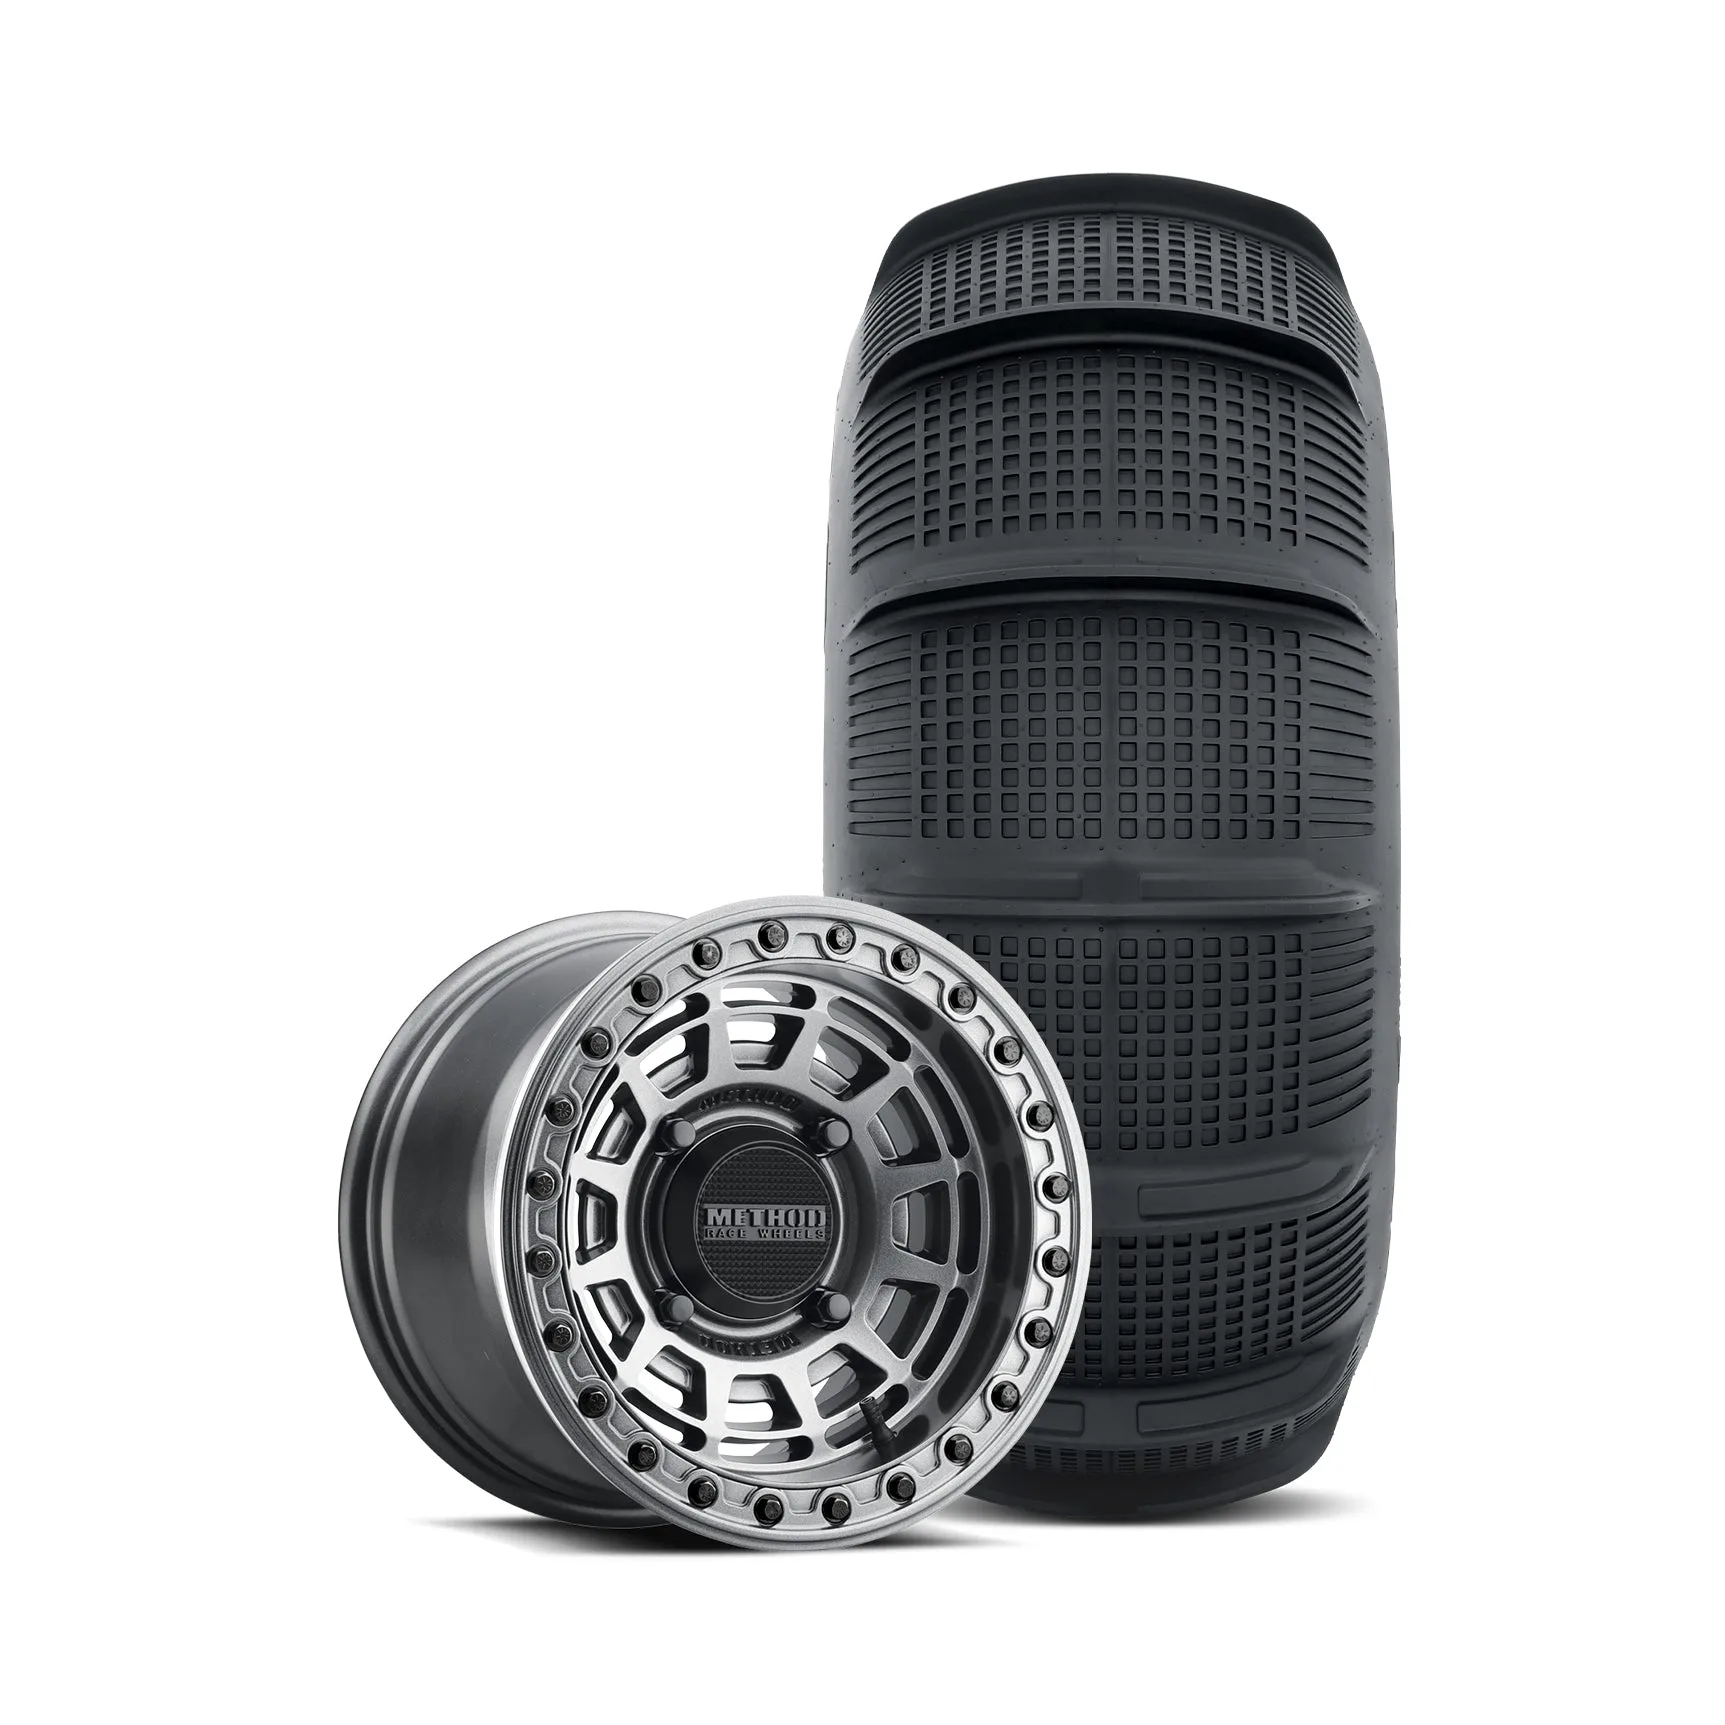
- 415 Beadlock | Gloss Graphite + Tensor SS 33 Rear: This UTV Wheel & Tire Package pairs a Method 415 Beadlock UTV wheel with a Tensor Tire Sand Series 33 inch tire, professionally mounted and shipped to your door. A pre-mounted beadlock package means the bead is already seated and torqued by the installer, so your first job is simply to re-check bolt torque after the first hard ride.
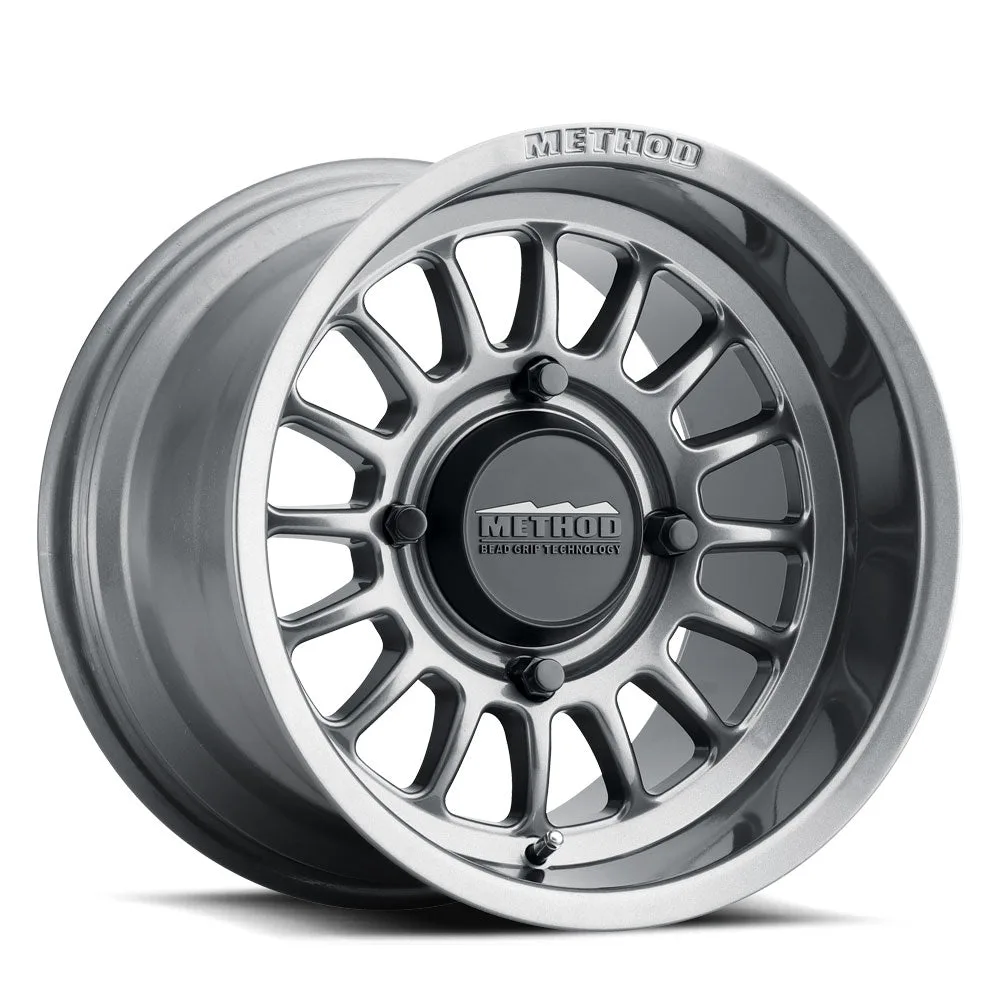
- 411 | UTV Bead Grip® | Gloss Titanium: The 411 UTV Bead Grip wheel uses patented Bead Grip Technology with integrated grooves on both the inner and outer bead seat to engage the tire bead for a stronger hold under extreme side load and lower air pressures. With no ring to torque, Bead Grip care is mostly cleaning those grooves and checking for embedded debris, which makes it a lower-maintenance option if you do not want a bolt routine.
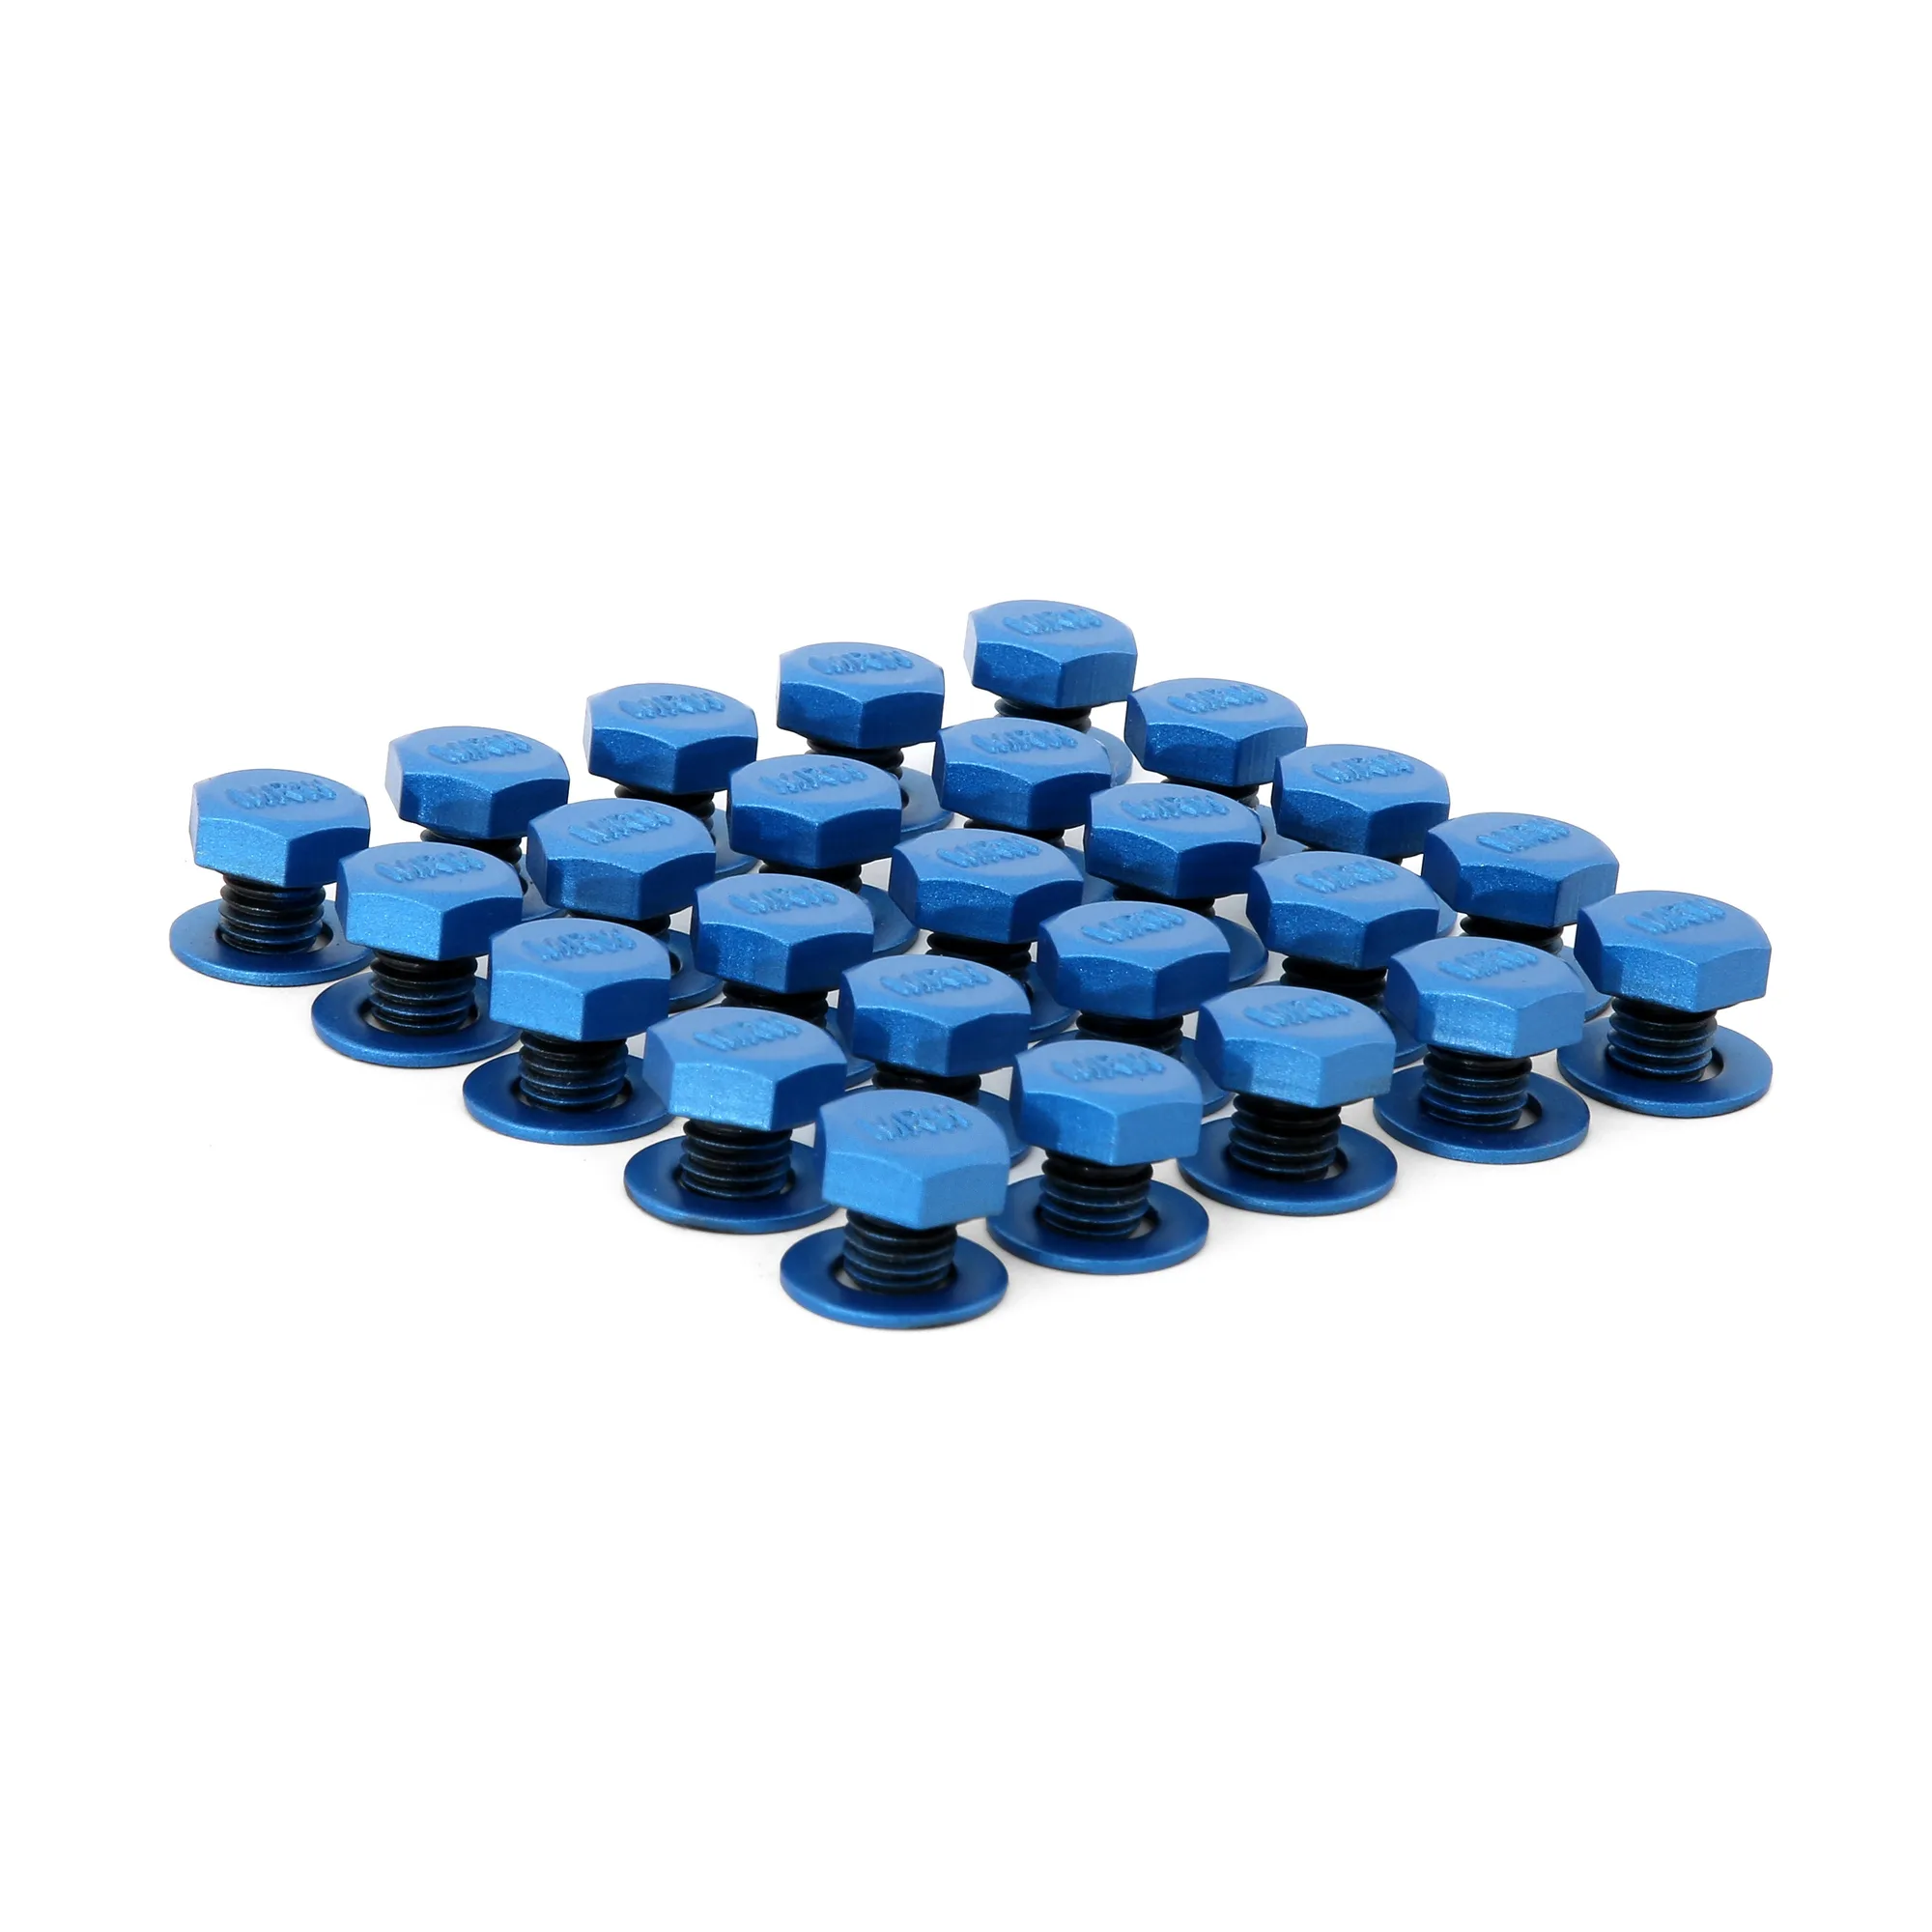
- Lip Bolt Kit | MRW | Blue: Each kit contains enough matte blue lip bolts for one wheel, and the kit is not for beadlock rings. If you want to refresh the look of your wheels, this is a cosmetic lip bolt swap, not a replacement for beadlock ring hardware, so do not use it to service a beadlock ring.
- 707 - Markdown | Matte Black: The 707 brings the rally inspired design of the 407 UTV Bead Grip to trucks, SUVs, and CUVs, with A356 aluminum construction, T6 heat treatment, and Bead Grip Technology for tire security at lower pressures. Truck and SUV owners who want low-pressure security without ring bolts can follow the same cleaning and inspection steps, skipping the torque pattern entirely.
Beadlock wheel maintenance is not complicated, but it is unforgiving of skipped steps. Clean, inspect, torque, and protect in that order, and your wheels will stay sealed and trail-ready season after season.