Quick answer
Wash the wheels with mild soap and water as soon as you can after the trail, then inspect for damage and re-torque beadlock hardware before you park the rig for the week. Cleaning wheels after trail use removes abrasive grit, and a quick inspection catches loose bolts, bent rings, or slow leaks while they are still cheap to fix.
Trail grime is more than cosmetic. Mud, sand, and gravel trapped around the bead and between the wheel and tire act like sandpaper every time the tire flexes, and dried mud can hide a bent ring or a loose bolt until it becomes a real problem. A short wheel care routine after each off-road trip keeps your wheels and tires working the way they should.
You do not need a full shop day to do this. Twenty to thirty minutes of post off-road wheel care, done consistently, covers the parts that actually wear: the bead area, the hardware, and the wheel face. Here is the order that works, with the mistake to avoid at each step.
Why post off-road wheel care matters
Off-road wheels live in conditions that punish finishes and hardware. Grit works into the bead seat, mud packs into the valve stem area, and beadlock bolts see constant vibration. None of that shows up as an obvious failure at first, which is exactly why a routine beats a repair.
The payoff is simple: wheels that hold air, hardware that stays tight, and a finish that resists corrosion longer. Skipping the routine does not usually cause a dramatic failure on the next trip, but it shortens the service life of the parts you already paid for.
- Clean and inspect within a day or two of the trail, not weeks later.
- Focus on the bead area, valve stem, and hardware rather than the whole wheel face.
What you need before you start
Keep the kit small so you actually use it: a bucket, mild car soap, a soft brush, a stiff brush for mud, a microfiber towel, a torque wrench, and a tire pressure gauge. A hose with decent pressure helps, but a pressure washer on full blast near the bead is a mistake, not a shortcut.
If you run beadlocks, confirm the torque spec for your specific wheel and bolt size before you start. Method supplies a Beadlock Hardware Kit | Zinc that includes bolts, washers, and a valve stem, which is worth keeping on hand so a damaged or missing bolt does not sideline the truck.
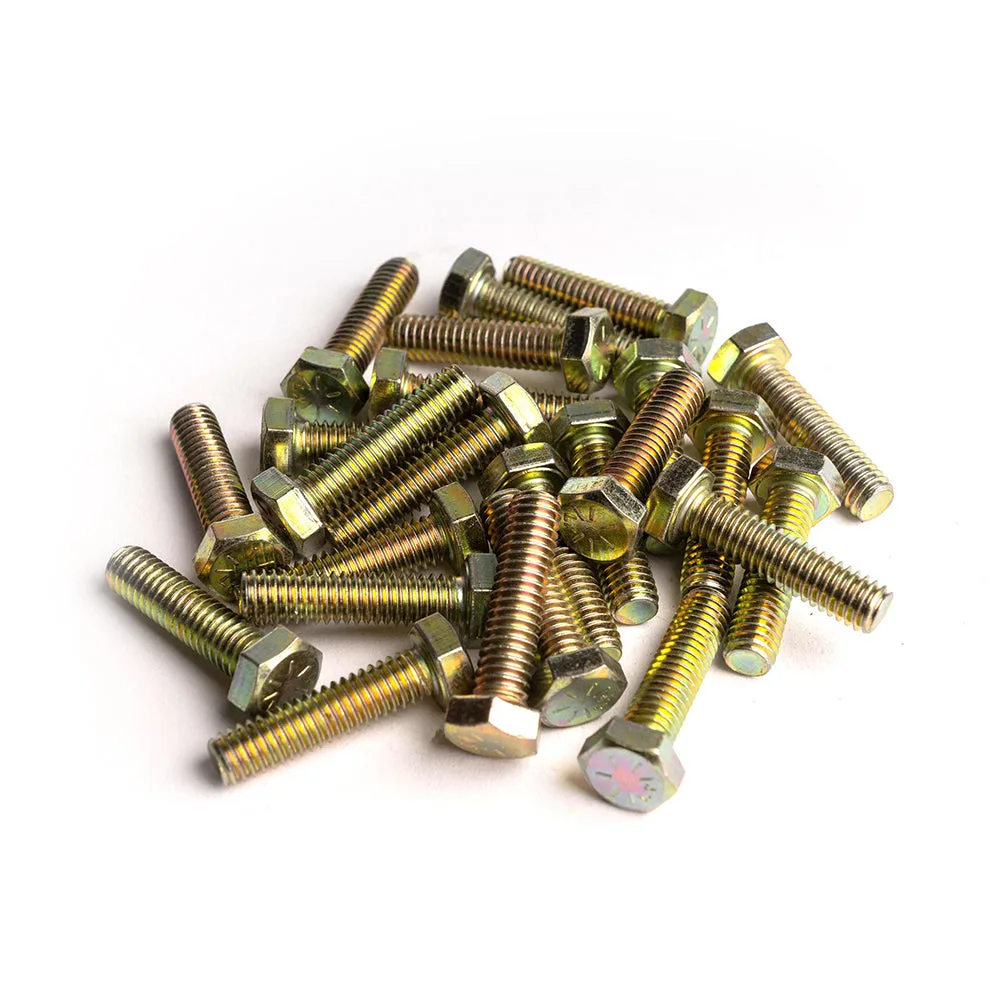
Beadlock Hardware Kit | Zinc
- Never use a pressure washer directly on the bead seat or valve stem.
- Check your torque spec before touching beadlock bolts.
Cleaning wheels after trail use
Rinse the wheels first to lift loose dirt, then wash with mild soap and a soft brush. Use the stiff brush only on heavy mud in the wheel face and spokes, not on the bead or on polished or machined finishes. Rinse thoroughly, because dried soap residue attracts dust and looks like staining.
Pay attention to the back side of the wheel and the area around the valve stem, where mud tends to pack in and stay wet. On bronze or dark finishes, dry the wheels with a microfiber towel rather than letting them air dry, which reduces water spots.
- Clean the inner barrel, not just the visible face.
- Dry with a towel to avoid spotting on bronze and matte finishes.
Inspecting wheels after off-road use
Walk around each wheel and look for bent or dented beads, cracks near the spokes, missing weights, and rock damage on the ring. Check tire sidewalls for cuts and pinch marks at the same time, since a damaged sidewall often shows up as a slow leak later.
Spin each wheel by hand and listen and feel for wobble or roughness. Then check pressure on all four tires and compare, because one tire reading low is the earliest sign of a bead or valve stem problem. If a wheel is losing air and you cannot find the source, a slow leak is worth diagnosing properly rather than topping off every week.
- Look for bent bead edges and cracked spoke roots.
- A single low tire is a symptom, not a coincidence.
Re-torquing and hardware checks
After the wheels are clean and dry, check lug nut torque and beadlock bolt torque with a calibrated wrench. Beadlock bolts can loosen slightly after hard trail use, and a bolt that backs out can damage the ring or the wheel. Follow the manufacturer's pattern and spec rather than tightening by feel.
If any bolts are corroded, stretched, or missing, replace them rather than reusing them. Keep spare hardware in the truck so a trail repair does not depend on finding a matching bolt in a parts store that may not stock it.
- Re-torque only after the wheel has cooled and is clean.
- Replace damaged hardware instead of reusing it.
Finishing touches and storage
A light coat of wheel-safe sealant or wax on painted and machined finishes helps the next cleanup go faster, but skip it on the bead seat and hardware. If you are parking the rig for a while, store wheels and tires out of direct sun and off damp concrete, and keep them inflated to the pressure you run on the street.
Small details matter more than people expect. Center caps can loosen or disappear on rough trails, and replacing one early is cheaper than running an open hub. A Center Cap | Classic Stripes Push-Through | Black is a straightforward way to restore the look and keep the hub area covered if you lose one.
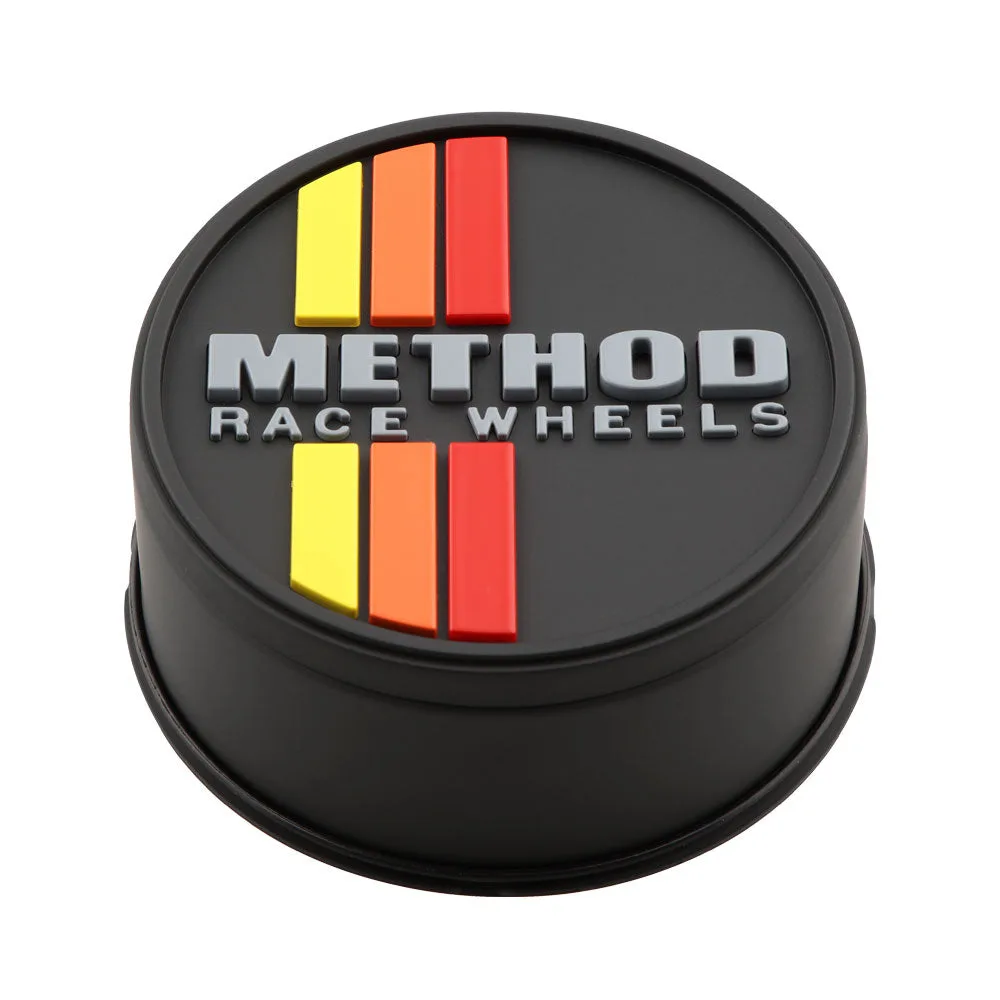
Center Cap | Classic Stripes Push-Through | Black
- Avoid sealant on the bead seat and bolt threads.
- Check center caps and valve stem caps after every trip.
Your post-trail wheel care routine, in order
- 1. Rinse before you scrub: Hose off loose mud and grit from the wheel face, inner barrel, and around the valve stem before touching the wheel with a brush. Mistake to avoid: scrubbing dry mud grinds grit into the finish.
- 2. Wash with mild soap and the right brush: Use mild car soap with a soft brush on the wheel face and bead area, and reserve the stiff brush for heavy mud in the spokes only. Checkpoint: no pressure washer blast aimed at the bead seat or valve stem.
- 3. Dry the wheels by hand: Dry with a microfiber towel, especially on bronze, matte, and machined finishes where water spots show most. Mistake to avoid: letting muddy water air dry and bake onto the finish.
- 4. Inspect beads, spokes, and sidewalls: Look for bent bead edges, cracks at the spoke roots, missing weights, and sidewall cuts or pinch marks on each wheel. Checkpoint: any crack or bent bead edge means the wheel comes off the road until it is assessed.
- 5. Check pressure on all four tires: Compare readings across all four and investigate any single tire that is consistently lower than the others. Mistake to avoid: topping off a slow leak every week instead of finding the cause.
- 6. Re-torque lug nuts and beadlock bolts: Use a calibrated torque wrench and the correct pattern and spec for your wheel and bolt size, checking after the wheel has cooled. Checkpoint: replace corroded, stretched, or missing hardware rather than reusing it.
- 7. Finish and store properly: Apply a wheel-safe sealant to painted and machined surfaces, skip the bead seat and threads, and store the rig out of direct sun and off damp concrete. Next step: keep a spare hardware kit and a spare center cap on the shelf before the next trip.
Method parts that support the routine
- Beadlock Hardware Kit | Zinc: Each kit contains bolts, washers, and a valve stem. Having a complete spare kit means a stripped bolt or damaged valve stem does not end your trail day or force a mismatched replacement.
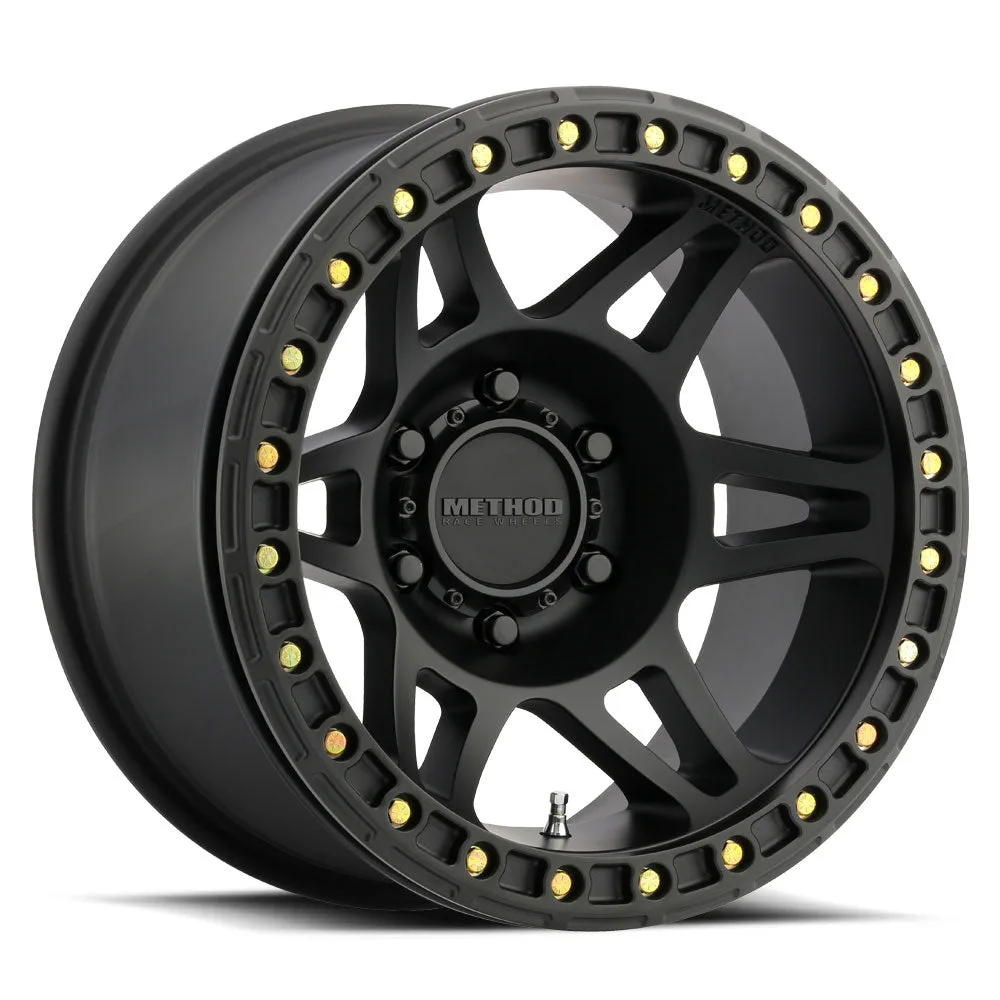
- 106 | Beadlock | Matte Black: The 106 beadlock wheels are built for rock crawling, desert pre-running, or anywhere your off-road vehicle can go. If your wheels are used in exactly those conditions, the post-trail inspection and re-torque steps matter more, not less, because the hardware sees constant load and vibration.
- Center Cap | Classic Stripes Push-Through | Black: Cap style and wheel bolt pattern determine fitment and part number, and the push-through design offers a more flush look. If a cap goes missing on the trail, matching the correct style and bolt pattern avoids ordering a cap that will not seat properly.
A consistent post off-road wheel care routine is less about products and more about order: rinse, wash, dry, inspect, check pressure, re-torque, and store. Do that after every trail day and you will catch the small problems that would otherwise turn into a bent wheel, a slow leak, or a bolt you cannot replace on the trail.