Quick answer
Start by reading the entire paper pattern before you cut anything, then cut and piece one block to test the instructions. If that block measures correctly, continue cutting and piecing the rest. Press as you go and check block size at each stage, because small errors multiply across a quilt.
A paper quilt pattern is a set of instructions, not a test. The first time you use one, the goal is to follow the steps in order and check your work as you go, rather than to finish the whole quilt in one sitting.
This walkthrough covers the order that keeps beginners out of trouble: read, cut, piece one block, check, then repeat. You will also see where a small detail like a label or a note card can make the finished quilt feel more personal.
Read the whole pattern before you cut
Open the paper pattern and read it from start to finish without cutting anything. Mark the fabric requirements, the cutting list, and any notes about seam allowance. Most beginner mistakes happen because a quilter cuts fabric before noticing a note that appears later in the instructions.
Check whether the pattern assumes pre-washed fabric or new fabric, and whether it lists a specific seam allowance. If the pattern does not state a seam allowance, treat that as a decision you need to make before cutting, not a detail to guess later.
- Highlight the cutting list so you can find it while you work.
- Write the seam allowance on a sticky note and keep it by your machine.
Gather fabric and tools in one pass
Pull all the fabric the pattern lists before you start cutting. If you substitute a fabric, check that it behaves similarly to the one in the pattern, because stretch or fraying changes how the pieces sew together. Set up your rotary cutter, mat, ruler, and pins in one place so you are not searching mid-step.
If the pattern includes a template, trace it onto template plastic or sturdy paper rather than cutting the pattern sheet itself. That keeps the original intact if you want to make the quilt again.
- Label each cut stack with the letter or number from the pattern.
- Keep a small bin for scraps so your cutting area stays clear.
Cut one block's worth of pieces first
Instead of cutting the entire quilt at once, cut only the pieces for a single block. This is the fastest way to find a cutting error before it repeats across dozens of pieces. Measure each piece after cutting and compare it to the pattern's cutting list.
If a piece is off by more than a small amount, recheck your ruler alignment and the pattern measurement before cutting more. A consistent cutting error is easier to fix at one block than at twenty.
- Cut with the ruler pressed firmly so it does not shift.
- Stack pieces in pattern order so piecing is faster.
Piece the test block and measure it
Sew the block following the pattern's order, pressing seams as directed. When the block is done, measure it against the size the pattern states. If it matches, your seam allowance and cutting are working. If it is small, your seam allowance is likely too wide; if it is large, it is likely too narrow.
This test block is the checkpoint for the whole quilt. Adjust your seam allowance or cutting now, then continue with confidence.
- Press seams rather than ironing them back and forth.
- Measure the block before trimming any edges.
Cut and piece the remaining blocks in batches
Once the test block measures correctly, cut the rest of the pieces in batches by shape. Piecing in batches, rather than one block at a time, keeps your machine setup consistent and reduces the chance of mixing up pieces. Keep the pattern open to the piecing diagram as you sew.
If the pattern has multiple block designs, finish one design before starting the next. That way, if a mistake appears, it is contained to one group of blocks.
- Chain-piece similar units to save time.
- Re-measure a finished block every few blocks as a spot check.
Assemble the quilt top and press it
Lay out the blocks following the pattern's layout diagram before sewing them together. Step back and check the arrangement, because it is easier to move a block now than to unpick a seam later. Sew blocks into rows, then sew the rows together, pressing seams as you go.
When the top is assembled, give it a final press. Check that seams nest where the pattern says they should, and that the top lies flat without ripples.
- Pin rows at seam intersections before sewing.
- Press the finished top from the back first, then the front.
Add a label or a note before you quilt
A finished quilt top is a good moment to decide how you will label it. If you plan to add a sewn-in label, attach it before quilting so the quilting stitches can secure it. If you are giving the quilt as a gift, a small card tucked with it tells the recipient what they are holding.
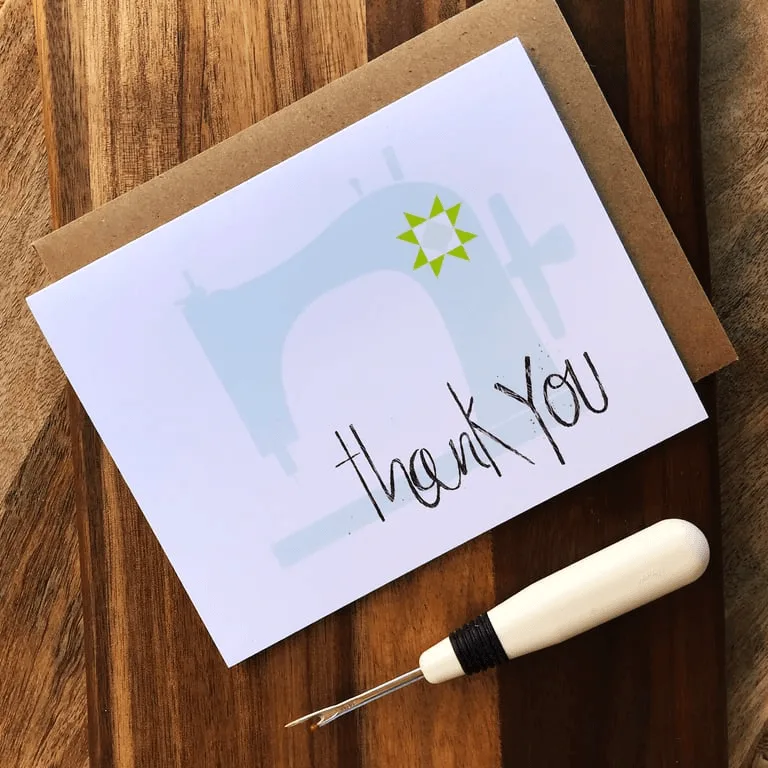
Kati Cupcake carries quilty cards and flat notecards designed for exactly this moment, including the Thank You - Quilty Card and Made From Scratch - Flat Notecards. They are blank inside, so you can write the story of the quilt in your own words.
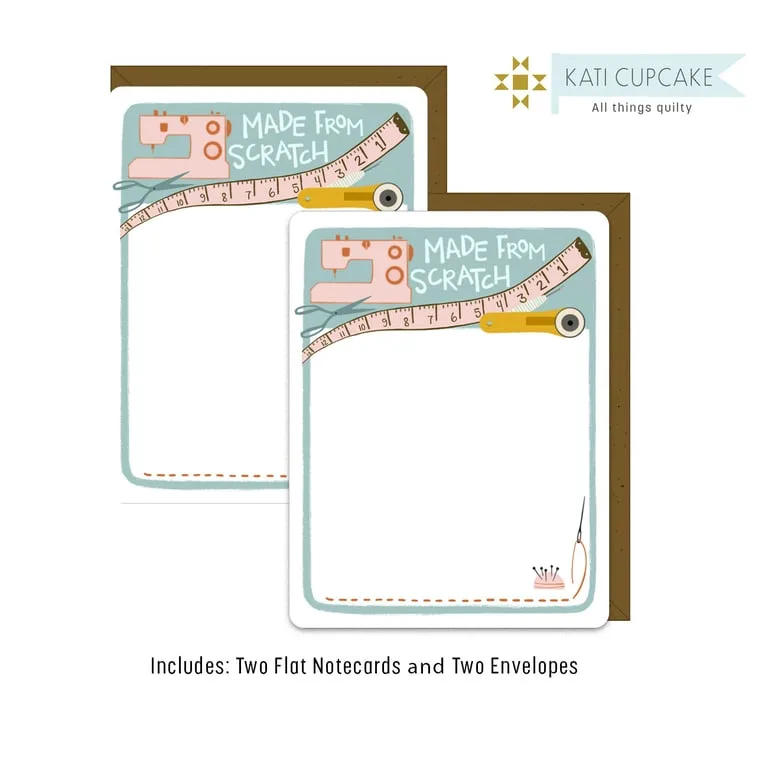
Made From Scratch - Flat Notecards
- Write the quilt's name, date, and maker on the label or card.
- Keep a photo of the finished top with your pattern for next time.
Your first quilt pattern, step by step
- Read the pattern end to end: Read every page before cutting, and note the fabric requirements, cutting list, and seam allowance. Checkpoint: you can explain the pattern's order in your own words.
- Cut one block's pieces: Cut only the pieces for a single block and measure them against the cutting list. Checkpoint: every piece matches the listed size.
- Piece and measure the test block: Sew the block in the pattern's order, press seams, and measure the finished block. Checkpoint: the block measures the size the pattern states.
- Cut and piece the remaining blocks: Cut the rest of the pieces in batches and piece them, keeping the pattern's diagram open. Mistake to avoid: mixing up pieces from different block designs.
- Assemble and press the quilt top: Lay out blocks per the layout diagram, sew rows, then join rows and press the top. Checkpoint: the top lies flat with seams nesting where the pattern says.
- Label the quilt and note the details: Add a sewn-in label before quilting, and write the quilt's story on a card if it is a gift. Next step: quilt and bind using the pattern's finishing instructions.
Quilty cards that pair with a finished quilt
- Thank You - Quilty Card: Measures 4-1/4" x 5-1/2", blank inside, packaged in an eco clear bag with one card and one craft envelope. A blank card gives you room to write the quilt's story or a thank-you note to the person who taught you to quilt.
- Made From Scratch - Flat Notecards: Package includes 2 duplicate flat notecards, 4-1/4" x 5-1/2", printed on recycled 100lb cardstock, with 2 craft envelopes in a clear Eco bag. Flat notecards work well for a short note tucked into a quilt bag or mailed to a quilty friend after a finished project.
- This is How I Roll Sticker: Approximately 1.5" x 3.75", printed on premium vinyl with a matte finish. A durable vinyl sticker can mark your pattern binder or sewing machine case so your quilting supplies stay identified.
Making your first quilt from a paper pattern comes down to reading first, testing one block, and checking measurements as you go. Once that test block measures correctly, the rest of the quilt is repetition with a few good habits.