Quick Answer
The KiwiCo Crystal Ombre Soap kit includes everything you need to make four layered, nature-inspired soaps while learning about color gradients and soap science. Follow the steps below for a smooth, mess-free project.
What You Need to Know Before Starting
The KiwiCo Crystal Ombre Soap kit comes with melt-and-pour soap base, two silicone molds, three liquid colors, sparkly mica powder, and an illustrated guide. You'll also need a microwave-safe bowl and a stirring utensil from your kitchen—avoid using the same tools for food afterward.
This project is designed for children ages 6 and up with adult supervision. The soap base melts quickly, so have everything set up before you begin to avoid rushed steps.
Step-by-Step Instructions
- Step 1: Prepare Your Workspace: Cover your table with newspaper or a silicone mat. Have your KiwiCo kit, a microwave-safe bowl, a spoon, and a small cup of water ready. Adult supervision is recommended for the microwave step. A messy workspace can lead to spills. Keep paper towels nearby.
- Step 2: Melt the Soap Base: Cut the melt-and-pour soap base into small cubes and place them in a microwave-safe bowl. Heat in 15-second bursts, stirring between each, until fully melted. Do not overheat or boil. Overheating can make the soap cloudy or cause it to separate. Stop as soon as it's liquid.
- Step 3: Add Color and Mica Powder: Divide the melted soap into separate bowls for each color layer. Add a few drops of liquid color and a pinch of mica powder to each, stirring gently. For an ombre effect, keep the colors in the same family but vary the intensity. Too much mica powder can make the soap grainy. Start with a small pinch.
- Step 4: Pour the First Layer: Pour the lightest color into the silicone mold, filling about one-third of the cavity. Let it set for 5–10 minutes until firm but still slightly tacky on top. If the layer is fully hardened, the next layer may not stick. Wait until it's just set.
- Step 5: Add the Next Layers: Repeat with the medium and darkest colors, pouring each layer after the previous one is tacky. For a crystal effect, tilt the mold slightly while pouring to create uneven edges. Pouring too fast can mix the layers. Go slowly for a clean ombre gradient.
- Step 6: Unmold and Cure: Once all layers are firm (about 1–2 hours), gently push the soap out of the mold. Let the soaps cure on a drying rack for 24 hours before use to allow excess moisture to evaporate. Soap that feels soft needs more curing time. Patience gives you a longer-lasting bar.
Product Facts
-
KiwiCo Crystal Ombre Soap Making: The KiwiCo Crystal Ombre Soap kit includes two silicone molds, three liquid colors, sparkly mica powder, and melt-and-pour supplies to make four soaps. You don't need to buy extra soap-making supplies—everything is in the box, making it a convenient all-in-one activity for a rainy afternoon.
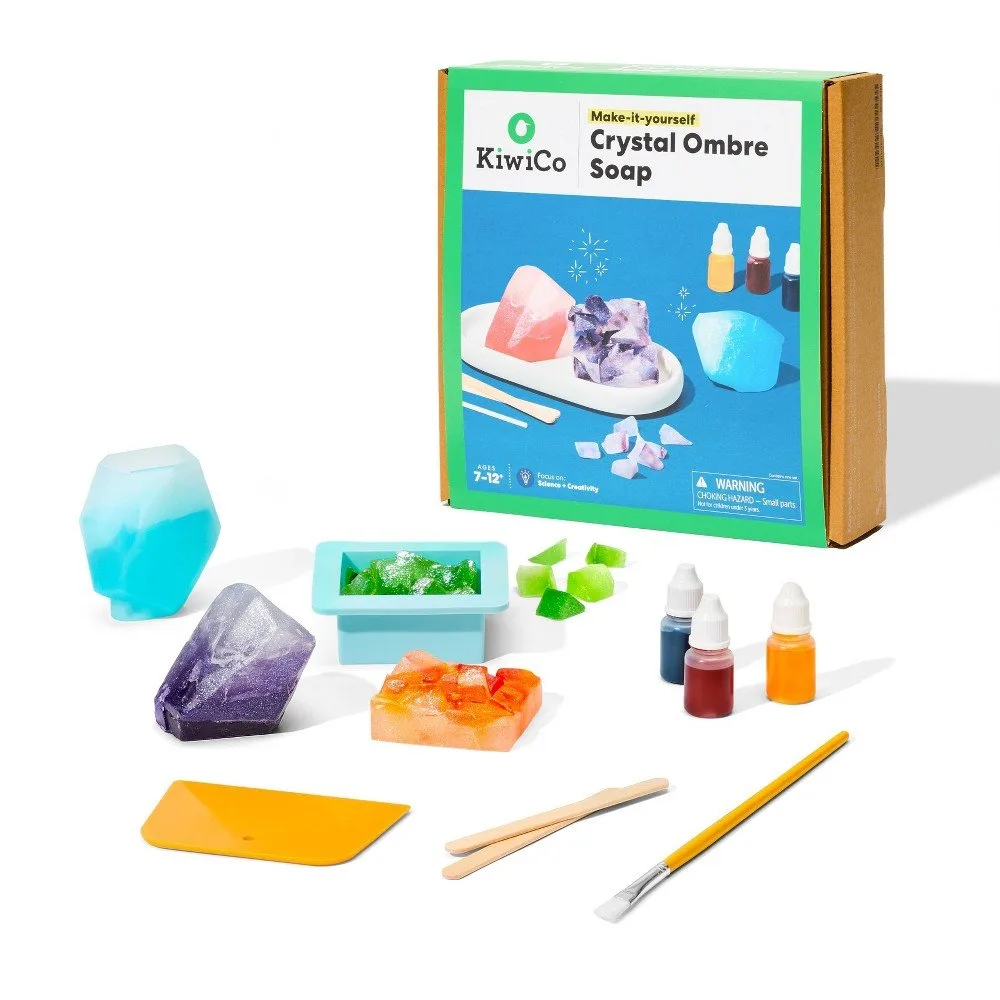
KiwiCo Crystal Ombre Soap Making