There's nothing quite like the taste of homemade jam. Whether you're spreading it on fresh toast, swirling it into yogurt, or giving it as a heartfelt gift, the satisfaction of making your own preserves is unmatched. With Kilner® preserving jars, you can capture the vibrant flavors of seasonal fruit and enjoy them all year round.
In this guide, we'll walk you through the entire process of making homemade jam using Kilner® jars, from selecting your fruit to sealing and storing your finished product. You'll learn essential techniques, tips for success, and how to get the most out of your Kilner® equipment.
Why Use Kilner® Jars for Jam Making?
Kilner® has been a trusted name in home preserving for over a century, and for good reason. Their glass jars are designed to withstand the high temperatures of hot jam filling and create an airtight seal that keeps your preserves fresh. The iconic clip-top design not only looks charming on your shelf but also provides a reliable closure that ensures your jam stays delicious.
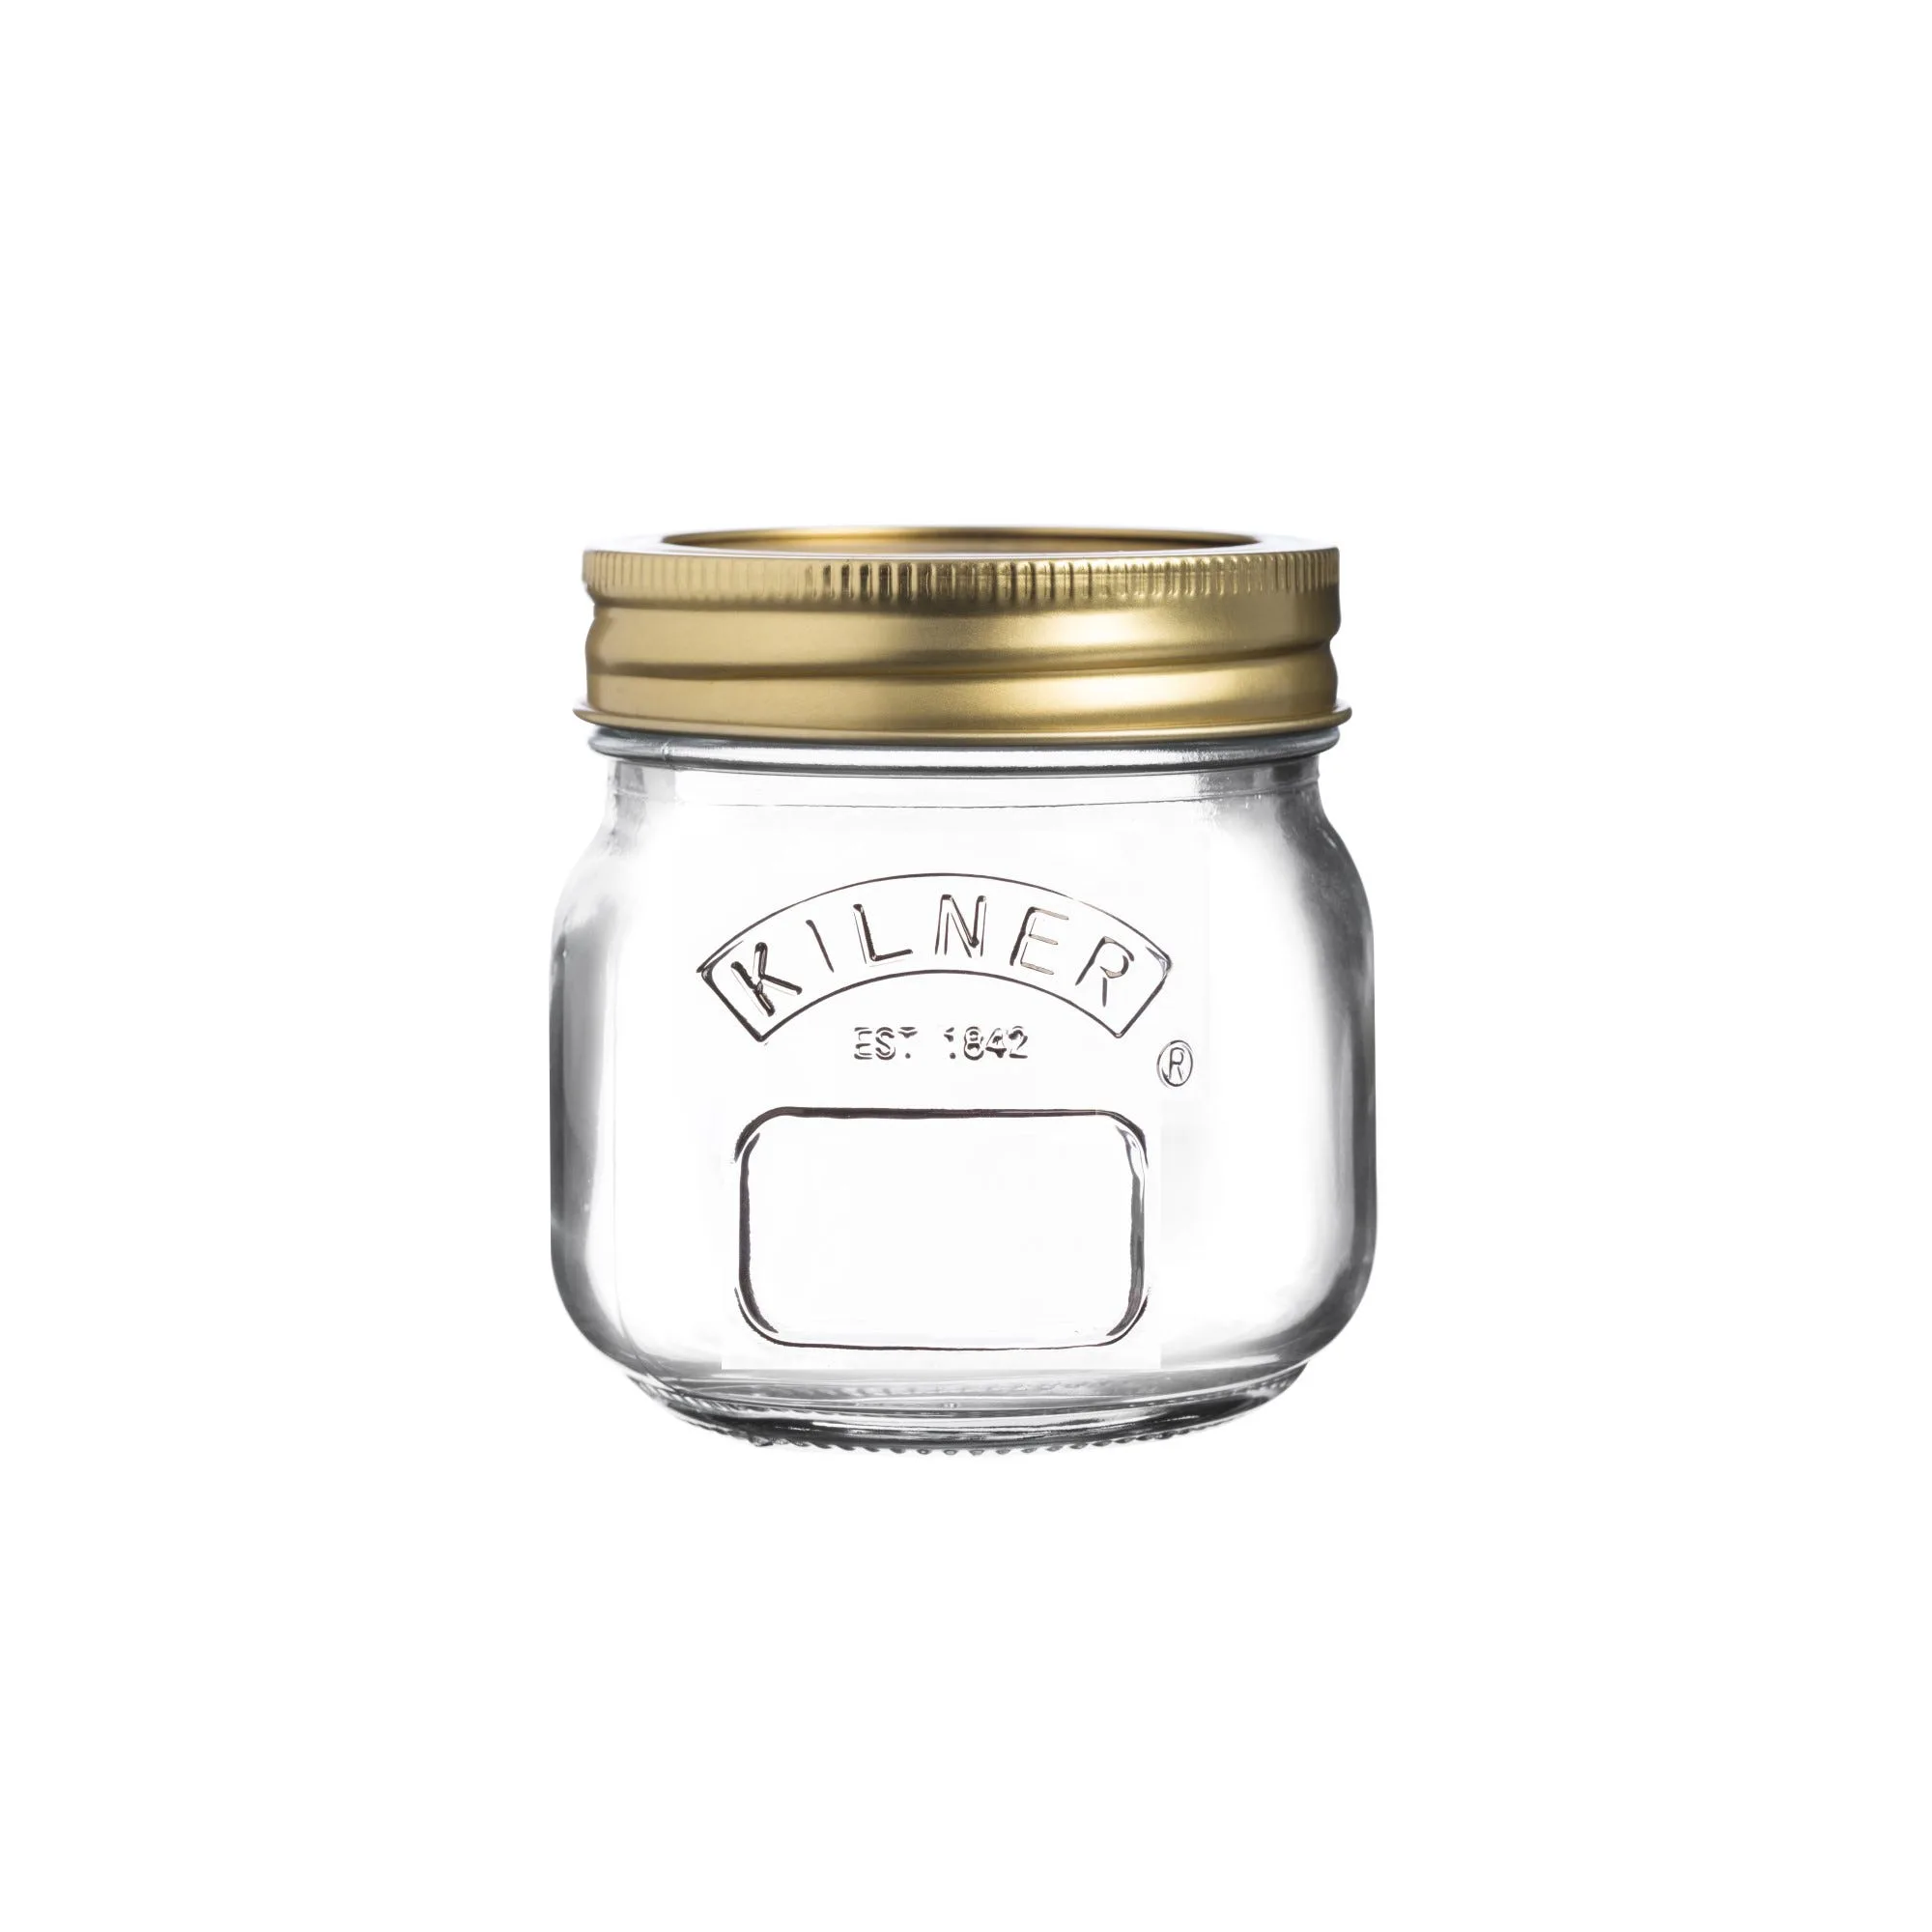
One of the key advantages of Kilner® jars is their versatility. From the classic Kilner® 0.5 Litre Preserve Jar to larger options like the Square Glass Clip Top Jar - 2 Litre, there's a size for every batch. Plus, the glass is reusable and recyclable, making it an eco-friendly choice for your kitchen.
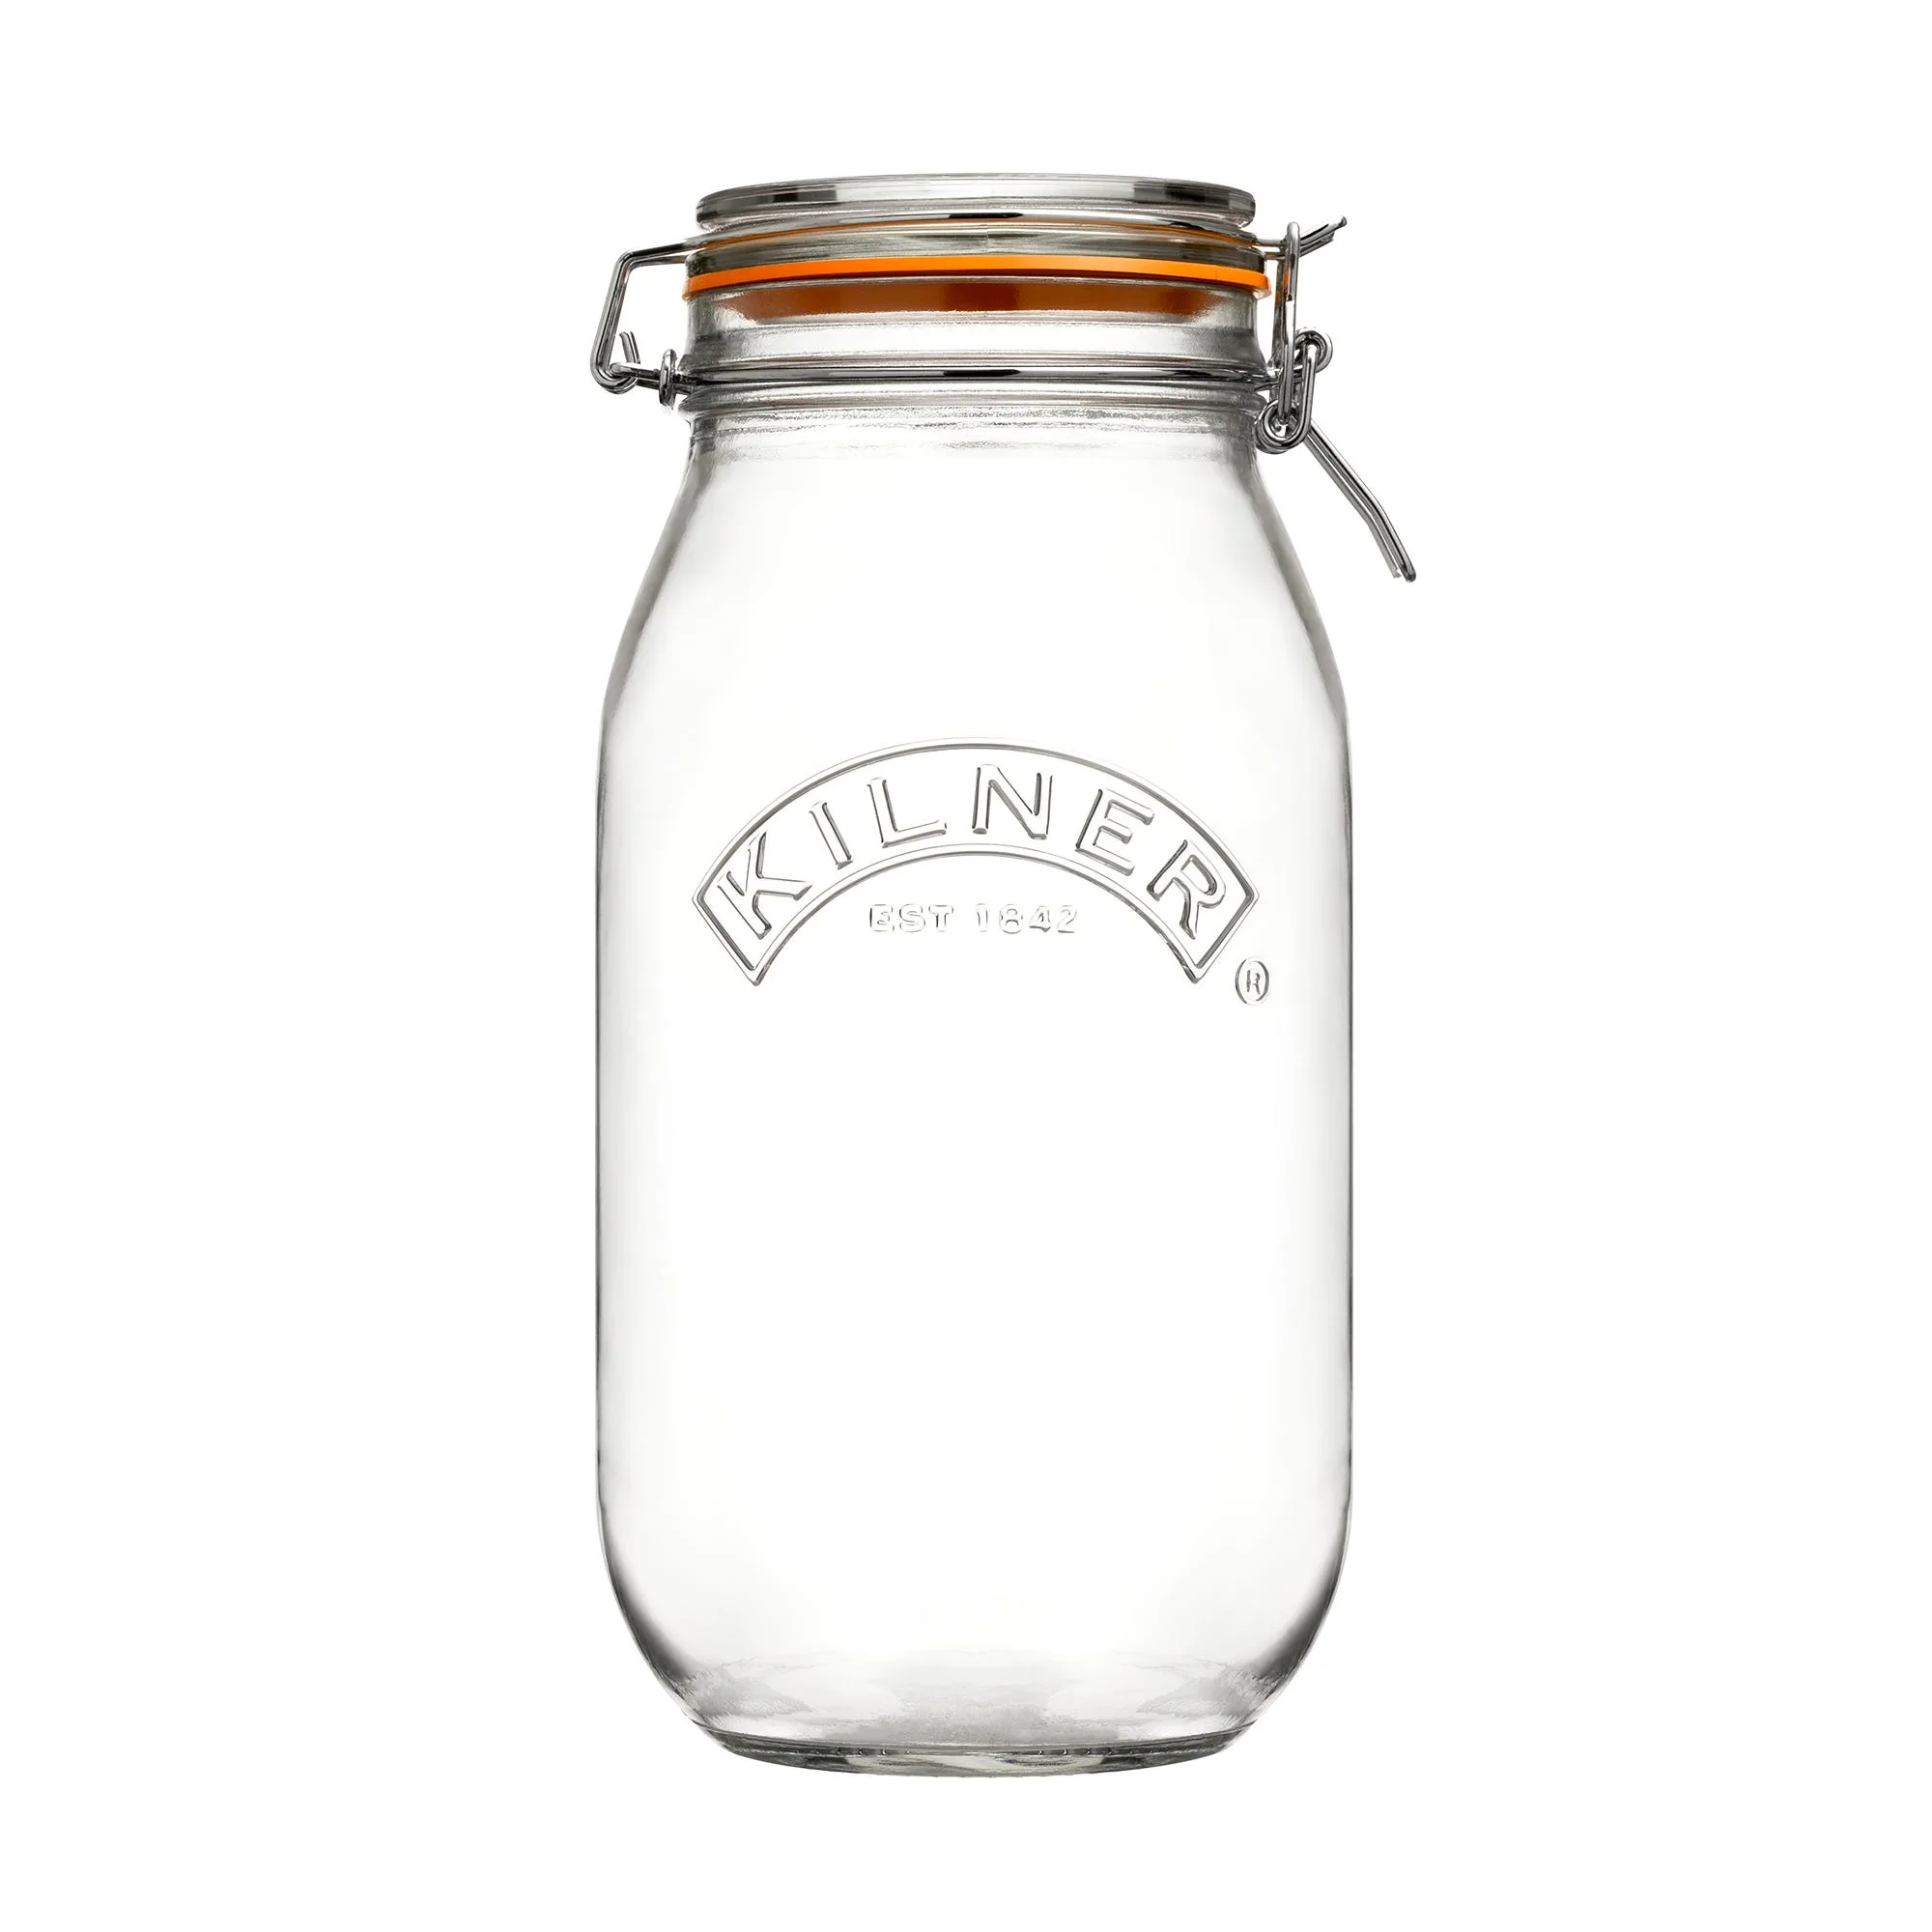
Square Glass Clip Top Jar - 2 Litre
- Airtight seal keeps jam fresh for months
- High-quality glass resists thermal shock
- Reusable and sustainable
Essential Equipment for Jam Making
Before you start, gather your equipment. You'll need a large, heavy-bottomed pan – the Kilner Jam Pan, Stainless Steel, 8 Litres is perfect for this. Its wide surface area allows for rapid evaporation, helping your jam reach setting point quickly. A reliable thermometer is also helpful to ensure you hit the right temperature (usually 105°C/220°F).
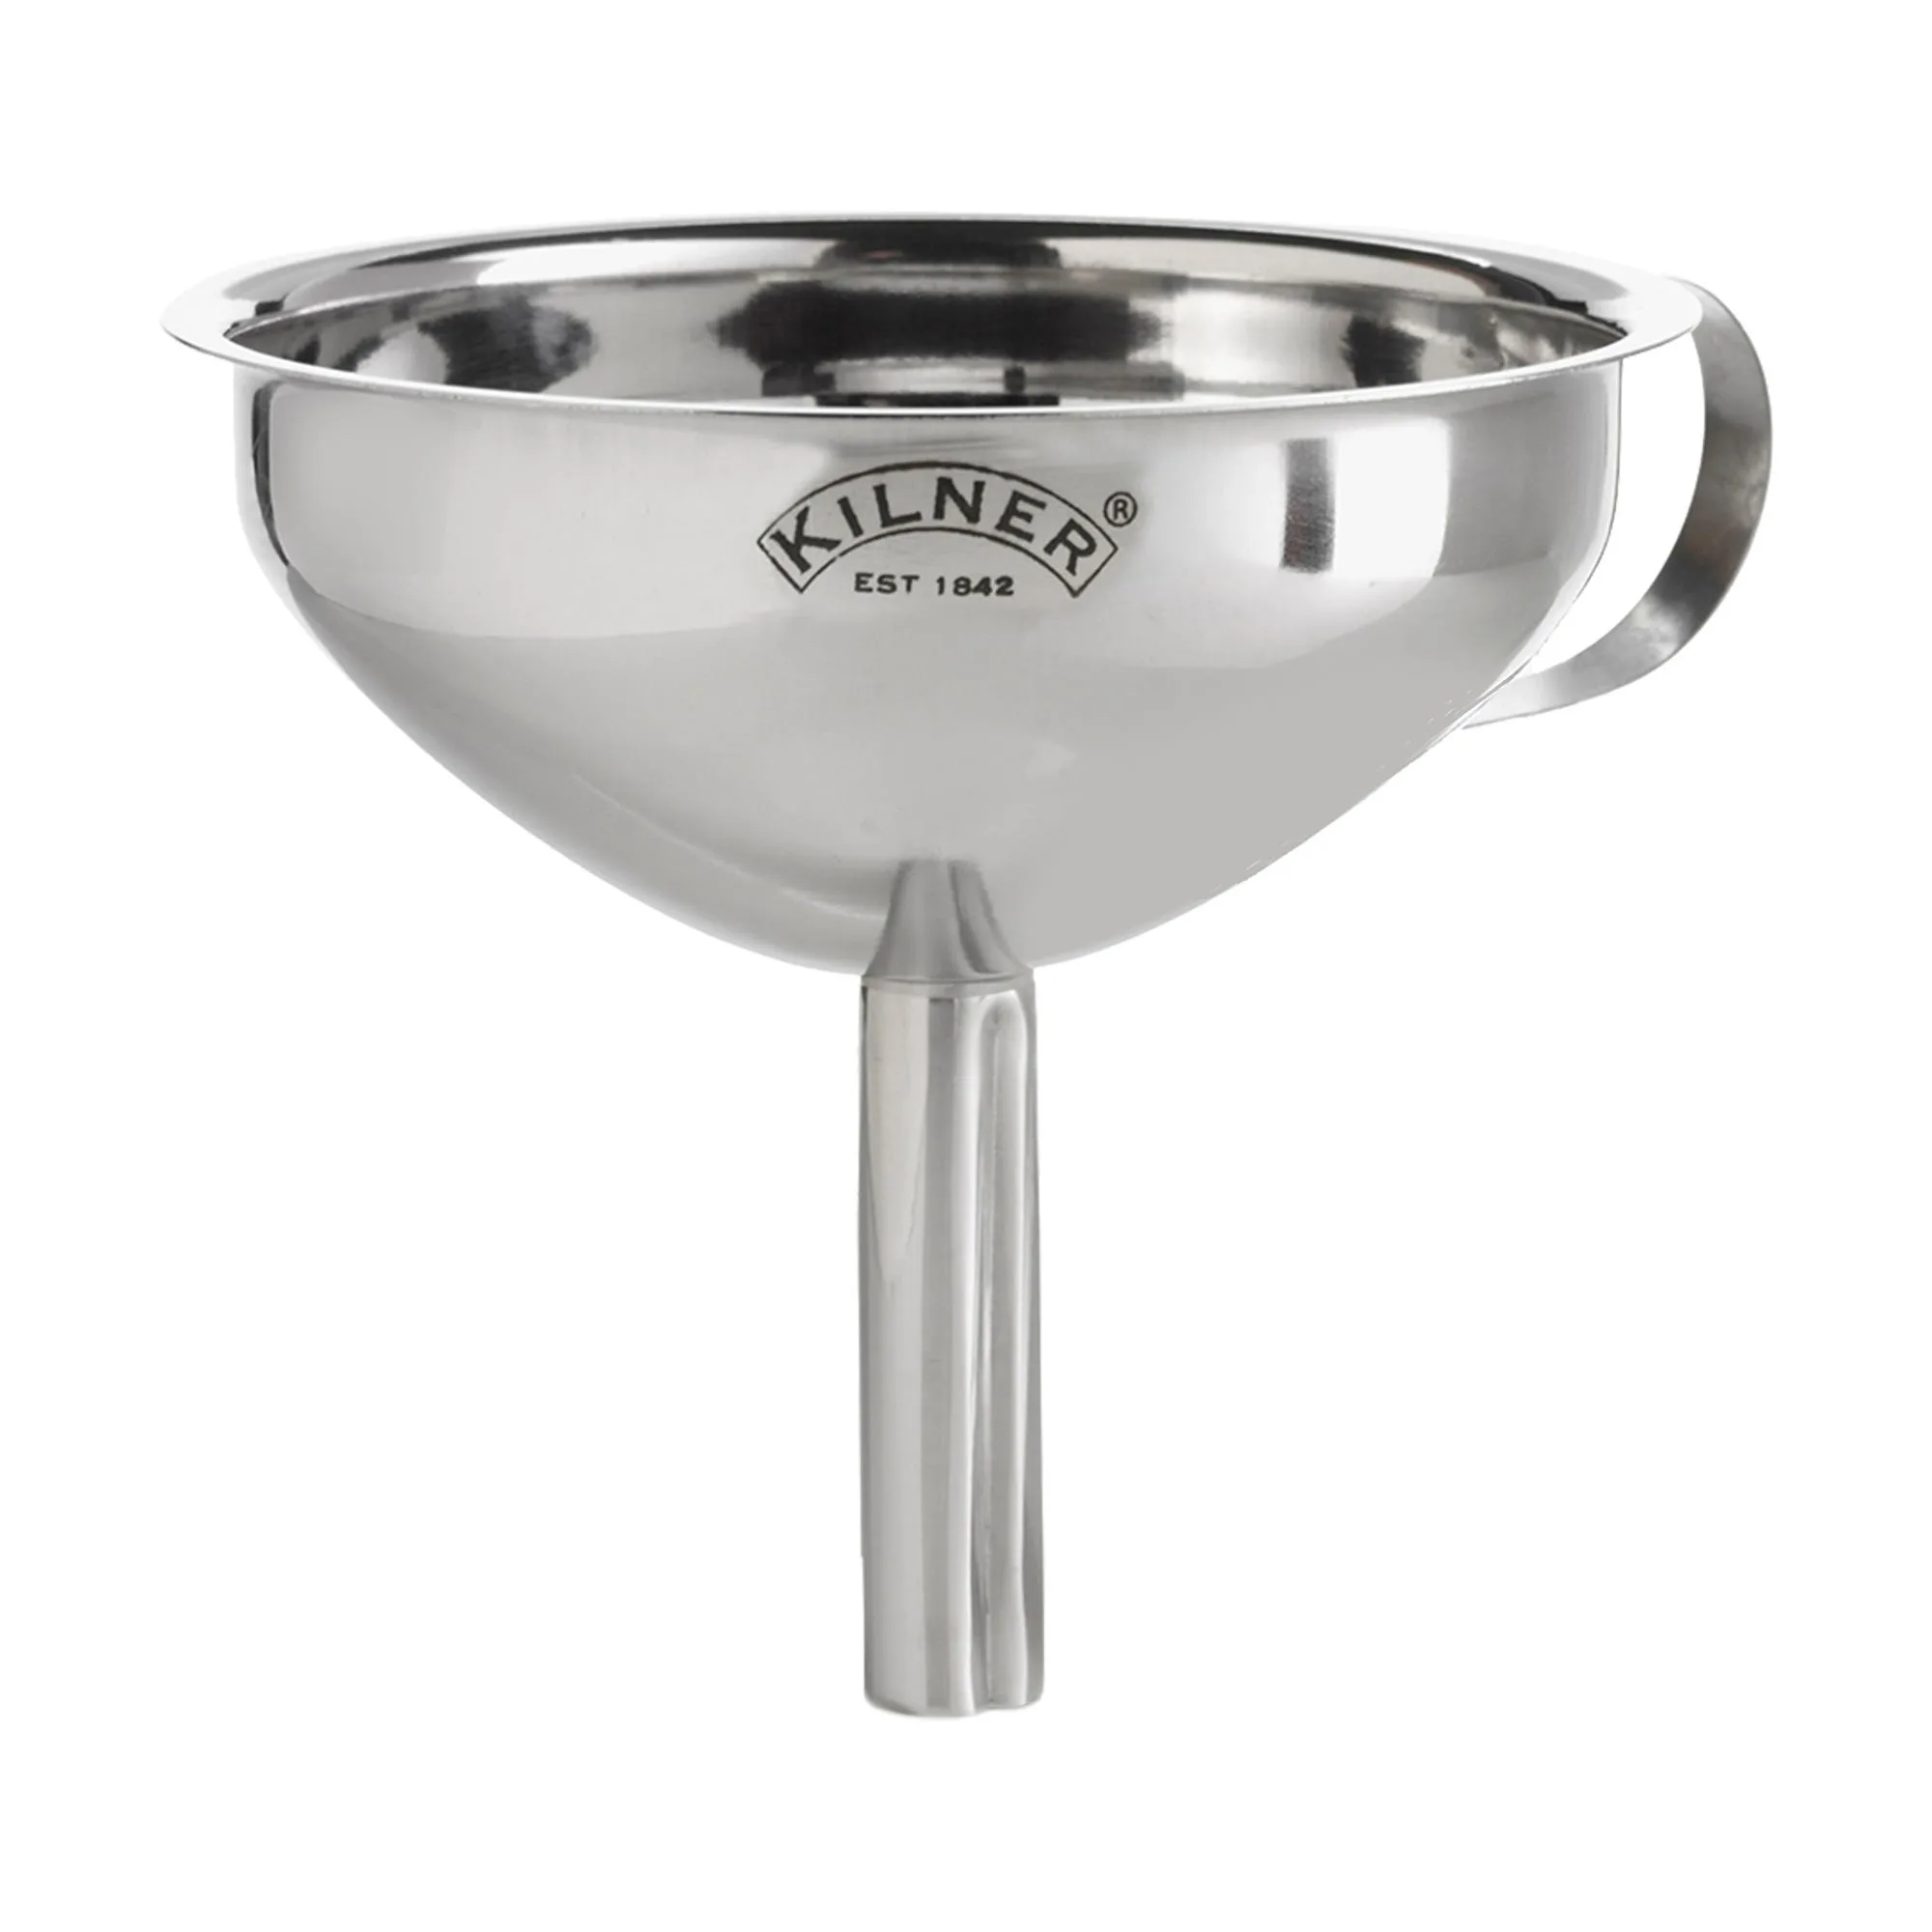
To fill your jars without spills, a Kilner® Stainless Steel Easy Fill Funnel is indispensable. It fits neatly into the jar mouth, preventing mess and waste. You'll also need sterilized jars – we'll cover that in the next section.
- Kilner Jam Pan, Stainless Steel, 8 Litres – ideal for large batches
- Kilner® Stainless Steel Easy Fill Funnel – mess-free filling
- Thermometer, ladle, and clean cloths
Step-by-Step Guide to Making Jam
Start by sterilizing your jars. Wash them in hot, soapy water, rinse well, and place them in a preheated oven at 140°C (275°F) for 15 minutes. Alternatively, you can boil them in water for 10 minutes. Let them dry completely before filling.
Prepare your fruit – wash, peel, and chop as needed. Combine fruit and sugar in your Kilner Jam Pan, using roughly 1 part sugar to 1 part fruit by weight. Add a squeeze of lemon juice to help set the jam. Bring to a boil, stirring until the sugar dissolves, then boil rapidly until setting point is reached. Test by placing a spoonful on a cold plate – if it wrinkles when pushed, it's ready.
Remove from heat and let the jam cool slightly for a few minutes. Skim off any foam, then carefully pour the jam into your prepared jars using the funnel. Leave a small headspace, wipe the rims, and seal immediately with the clip lids.
- Sterilize jars in the oven or boiling water
- Use a 1:1 ratio of fruit to sugar
- Test for setting point with the wrinkle test
Choosing the Right Kilner® Jar for Your Jam
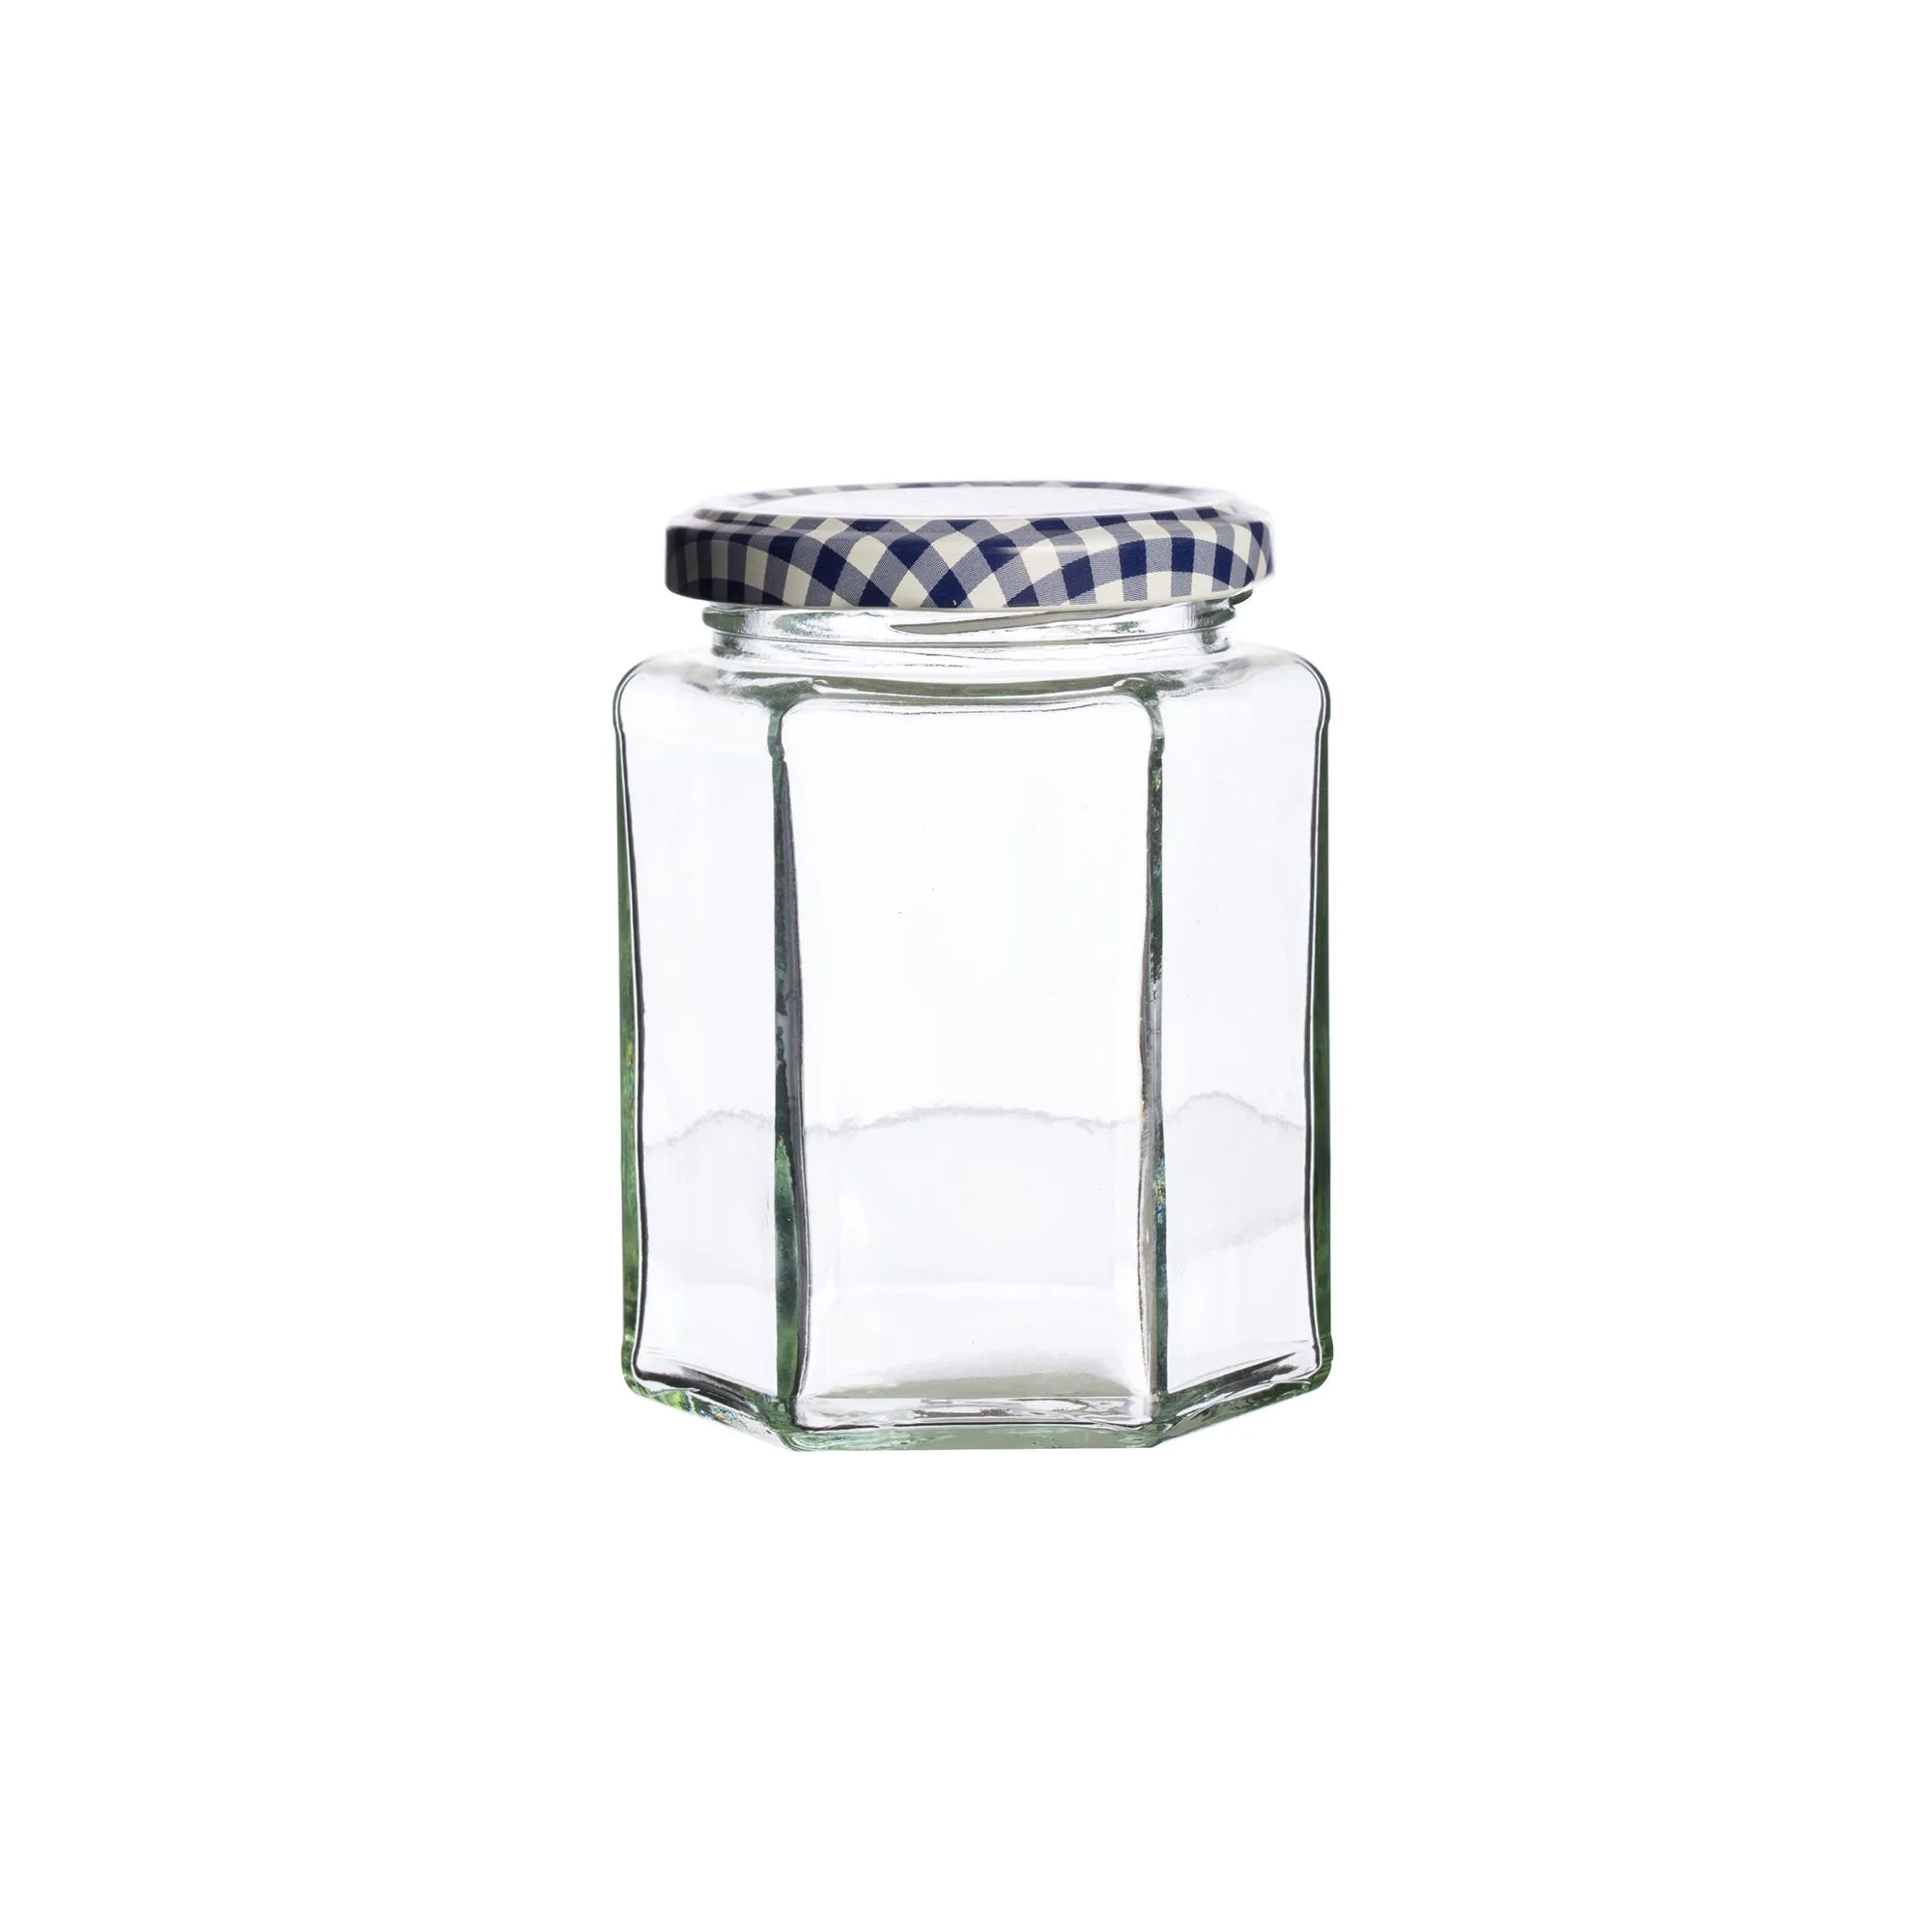
The size of your jar depends on how much jam you're making and how you plan to use it. For small batches or gifts, the Kilner® 0.5 Litre Preserve Jar is a charming choice. If you're making larger quantities for your family, the Square Glass Clip Top Jar - 2 Litre offers ample storage. For those who want a unique look, the Kilner® Hexagonal Twist Top Jar 110ml is perfect for individual portions or homemade gifts.
Remember, the key is to use jars that are specifically designed for preserving. Kilner® jars come with high-quality rubber seals and clips that create an airtight environment, ensuring your jam stays fresh and safe to eat.
- Kilner® 0.5 Litre Preserve Jar – perfect for small batches
- Square Glass Clip Top Jar - 2 Litre – great for family-sized portions
- Kilner® Hexagonal Twist Top Jar 110ml – ideal for individual servings or gifts
Tips for Perfect Jam Every Time
Making jam is both an art and a science. To achieve the perfect set, use ripe but not overripe fruit, as overripe fruit contains less pectin. If your fruit is low in pectin, like strawberries, add a little lemon juice or use a commercial pectin. Always use granulated sugar, and don't reduce the amount unless the recipe specifically calls for it – sugar is essential for preservation.
When filling jars, work quickly but carefully. Leave about 1cm of headspace to allow for expansion. After sealing, invert the jars for a few minutes to ensure the lids are sterilized, then turn them upright and let them cool completely. You should hear a 'pop' as the vacuum seal forms – that's your sign of success.
- Use ripe fruit with high pectin for best results
- Don't reduce sugar – it's a preservative
- Listen for the 'pop' to confirm a good seal
Storing and Enjoying Your Homemade Jam
Once your jars are sealed and cooled, store them in a cool, dark place like a pantry. Properly sealed jam can last up to a year. After opening, keep it in the refrigerator and consume within a few weeks. The airtight seal of Kilner® jars ensures your jam retains its flavor and freshness.
Homemade jam makes a wonderful gift. Decorate your Kilner® jars with a ribbon and a handwritten label, and you have a personal present that friends and family will treasure. You can also experiment with different fruit combinations – try strawberry and basil, or peach and ginger – to create unique flavors.
- Store sealed jars in a cool, dark place
- Refrigerate after opening
- Perfect for gifting
Making homemade jam with Kilner® preserving jars is a rewarding and delicious endeavor. With the right equipment, fresh ingredients, and a little patience, you'll be enjoying your own preserves in no time. Explore the full range of Kilner® jars and equipment to find everything you need for your next batch of jam.