Quick answer
To make nut butter in a Vitamix, add roasted nuts to the container, start on Variable 1, gradually increase speed to 10, then use the High setting. Use the tamper to push nuts into the blades, and blend for 5-7 minutes until smooth and creamy. No oil or sweetener is needed for most nuts.
Making your own nut butter at home is not only cost-effective but also lets you control the ingredients. With a Vitamix, you can create silky-smooth nut butters from almonds, peanuts, cashews, and more in just minutes. This guide walks you through the entire process, from choosing the right nuts to achieving the perfect consistency.
Whether you're a fan of classic peanut butter or prefer the rich flavor of almond butter, a Vitamix makes it easy. The key is to use the tamper and start at a low speed to avoid overheating the motor. Follow these steps, and you'll never buy store-bought nut butter again.
Why Use a Vitamix for Nut Butter?
A Vitamix is uniquely suited for making nut butter because of its powerful motor and sturdy blades. Unlike regular blenders, a Vitimix can handle the high viscosity of nut butter without stalling or overheating. The tamper allows you to push the nuts down without stopping the machine, ensuring a smooth blend.
Another advantage is the ability to control the texture. Whether you prefer chunky or silky, you can blend for less or more time. Plus, you can experiment with different nuts and add-ins like cinnamon, vanilla, or sea salt to create custom flavors.
- Use the tamper to keep nuts moving without stopping the blender.
- Start on low speed and gradually increase to prevent overheating.
- Roast nuts beforehand for deeper flavor and easier blending.
Choosing and Preparing Your Nuts
The type of nut you choose will affect the flavor and texture of your nut butter. Almonds produce a creamy, slightly sweet butter, while peanuts give a classic, rich taste. Cashews are naturally buttery and blend quickly. For best results, use raw or dry-roasted nuts. If using raw nuts, roast them in the oven at 350°F (175°C) for 10-12 minutes until fragrant.
Roasting not only enhances flavor but also releases natural oils, making the blending process easier. Let the nuts cool slightly before adding them to the Vitamix. Warm nuts can cause the mixture to become too runny, so room temperature is ideal.
- Roast raw nuts to deepen flavor and improve blending.
- Avoid nuts with added salt or oil unless you want that flavor.
- For chunky nut butter, set aside a handful of chopped nuts to stir in at the end.
Step-by-Step: Making Nut Butter in Your Vitamix
Start by adding 2-3 cups of your prepared nuts to the Vitamix container. Begin on Variable 1 and slowly increase the speed to 10, then flip to High. Use the tamper to press the nuts into the blades. Blend for 30-60 seconds, scrape down the sides, and continue blending. The mixture will go from a crumbly powder to a thick paste, then become smooth and shiny. This process takes about 5-7 minutes depending on the nut.
If the mixture seems too thick and your Vitamix struggles, you can add a small amount of neutral oil (like grapeseed or sunflower) or a bit of coconut oil to help it along. However, most nuts will release enough natural oil. For extra flavor, add a pinch of salt or a drizzle of honey during the last 30 seconds of blending.
- Be patient—the transition from crumbly to smooth takes a few minutes.
- Scrape down the sides with a spatula every minute to ensure even blending.
- If using a Vitamix, the tamper is essential; never insert utensils while the machine is running.
Step-by-Step Process
- Step 1: Prepare your nuts: Roast raw nuts at 350°F (175°C) for 10-12 minutes until fragrant. Let cool to room temperature. For raw nuts, you can skip roasting, but flavor will be milder. Roasting enhances flavor and makes blending easier.
- Step 2: Add nuts to the Vitamix: Place 2-3 cups of nuts into the Vitamix container. Do not overfill; leave room for the tamper. Overfilling can cause uneven blending.
- Step 3: Start blending: Begin on Variable 1, gradually increase to 10, then switch to High. Use the tamper to push nuts into the blades continuously. Starting low prevents overheating and ensures even blending.
- Step 4: Scrape and continue: Stop after 1 minute, scrape down the sides with a spatula, and continue blending. Repeat every minute until smooth. Scraping ensures all nuts are processed.
- Step 5: Adjust consistency: If the mixture is too thick, add a teaspoon of neutral oil at a time until it flows. For extra flavor, add salt, honey, or cinnamon. Most nuts release enough oil; add only if needed.
- Step 6: Store properly: Transfer nut butter to a clean glass jar. Store in the refrigerator for up to 2 weeks, or in a cool pantry for a few days. Refrigeration extends shelf life and keeps it fresh.
Perfect Pairings: Enjoy Your Nut Butter with Emma Bridgewater
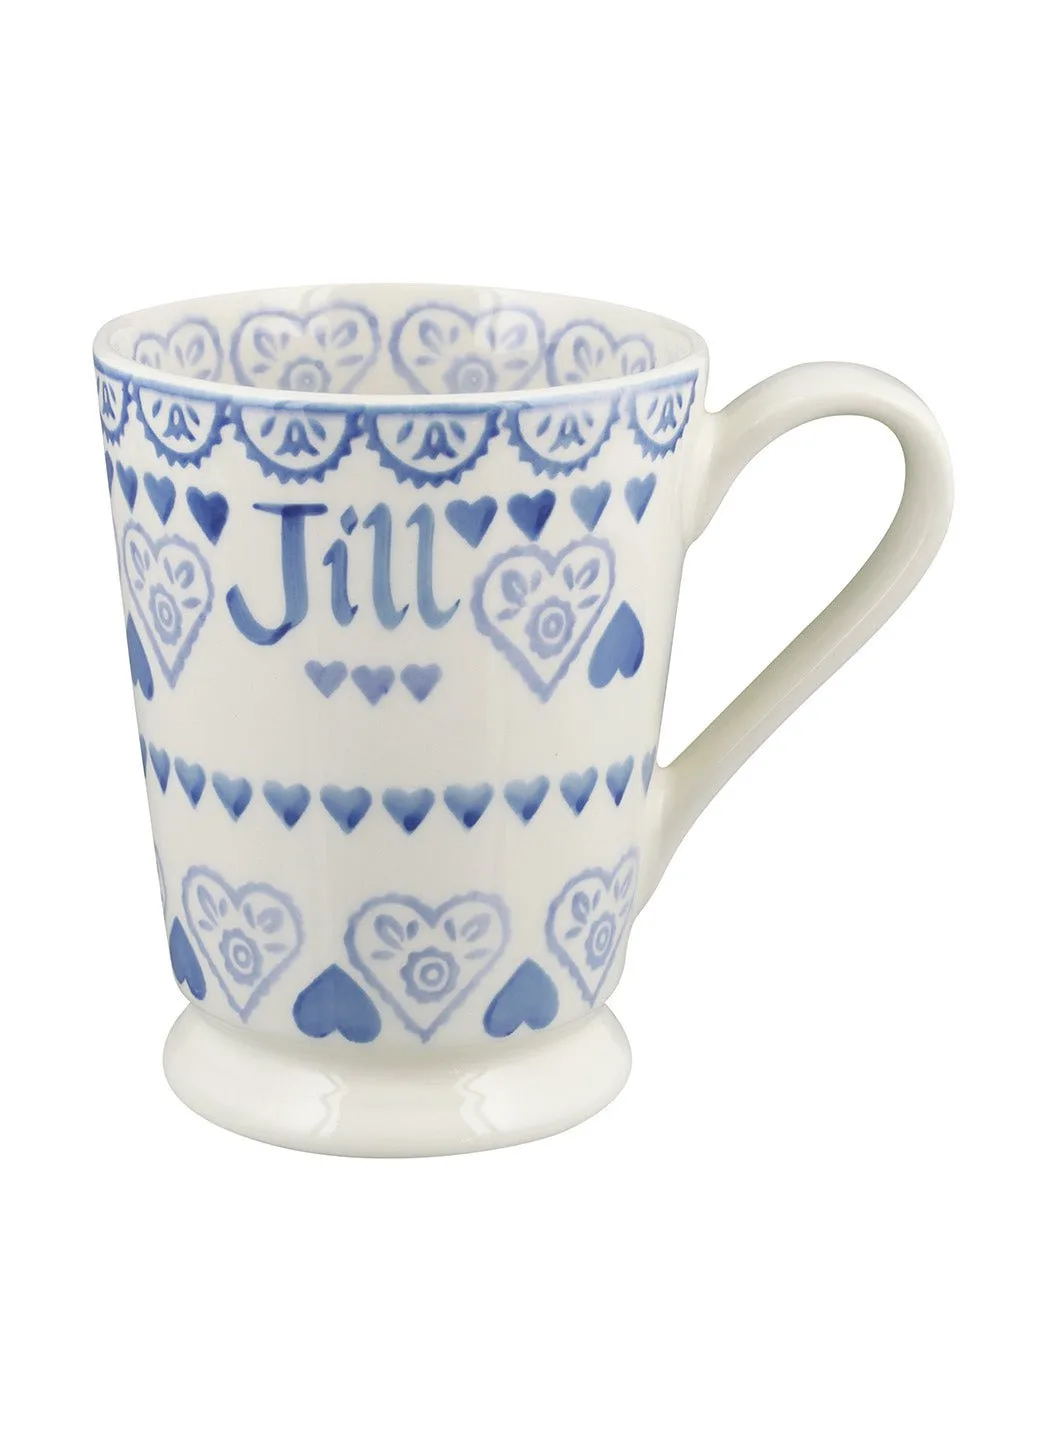
- Personalised Daffodils Cocoa Mug: This Personalised Daffodils Cocoa Mug from Emma Bridgewater UK is a thoughtful way to brighten someone's day. Perfect for any occasion, a little note on this mug makes a big gesture. Handcrafted British pottery featuring a cheerful daffodils pattern. Serve your homemade nut butter with a warm drink in this cheerful mug—it makes a delightful gift for a fellow foodie.
- Blue Star French Bowl: How many Maltesers or Smarties would it take to fill a Blue Star French Bowl to the brim? We don't know the answer but it could make a very good children's party game? Use this charming bowl to serve nut butter-dipped fruit or crackers at your next gathering—it adds a playful touch.
Making nut butter in a Vitamix is simple and rewarding. With these steps, you can enjoy fresh, creamy nut butter anytime. Pair it with your favorite Emma Bridgewater mug or bowl for a delightful breakfast or snack. Explore the Personalised Daffodils Cocoa Mug to add a personal touch to your morning routine.