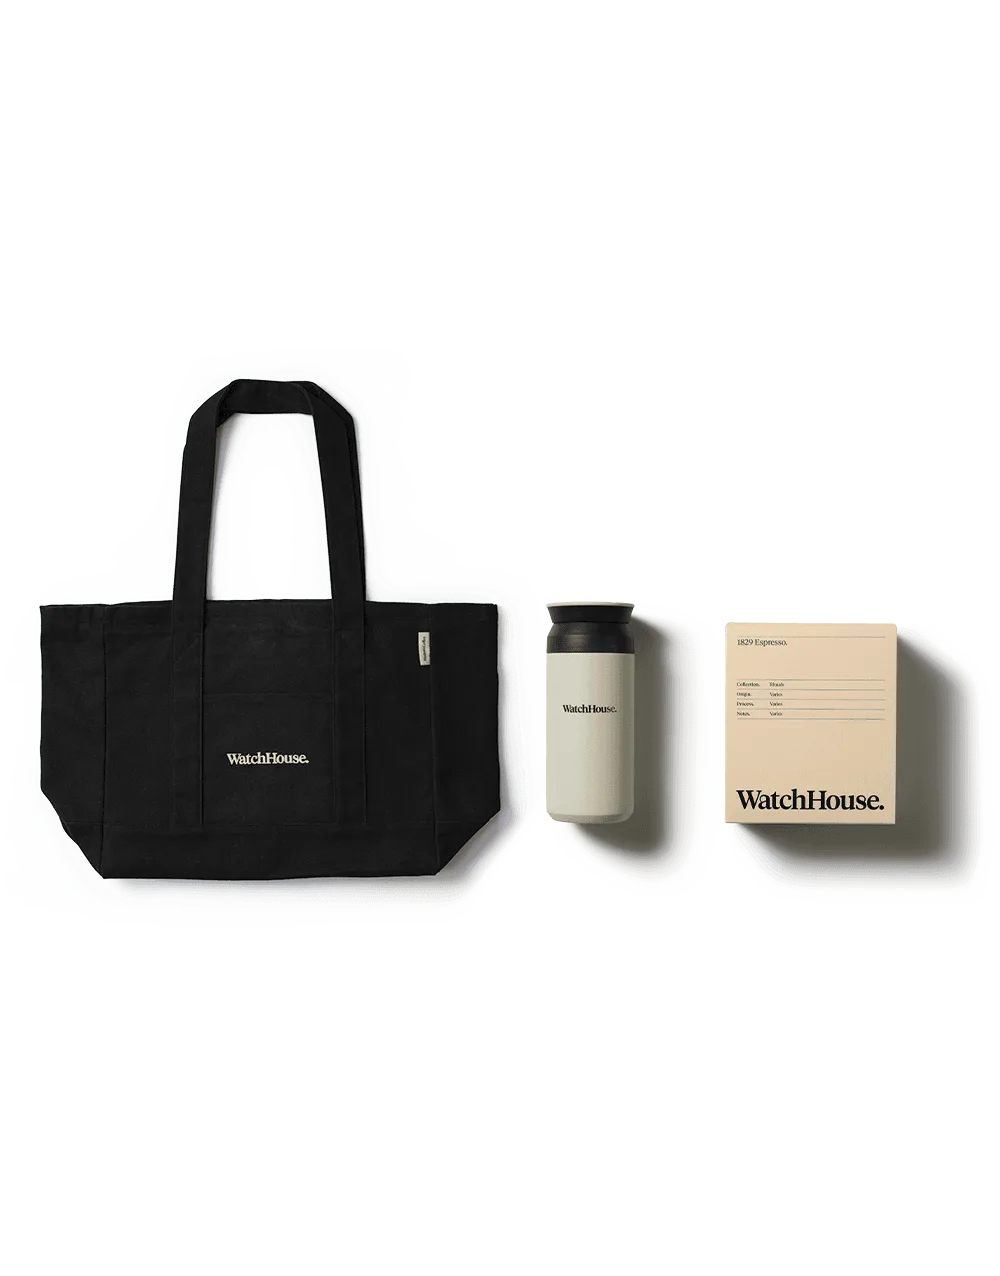
There’s nothing quite like the comfort of a perfectly crafted cappuccino—rich espresso topped with velvety microfoam and a light dusting of cocoa. While it’s easy to order one at your favorite café, making a cappuccino at home can be just as rewarding and surprisingly simple with the right techniques. Whether you’re a seasoned home barista or just starting your coffee journey, mastering the cappuccino is a skill that elevates your daily ritual.
In this guide, we’ll walk you through every step—from selecting the right beans to frothing milk like a pro. You’ll learn the ideal espresso-to-milk ratio, how to achieve that silky microfoam, and tips to avoid common mistakes. By the end, you’ll be pulling shots and pouring latte art with confidence. Let’s dive into the art of the perfect home cappuccino.
What Makes a Cappuccino Different from Other Espresso Drinks?
A traditional cappuccino is defined by its equal parts of espresso, steamed milk, and milk foam. This 1:1:1 ratio creates a balanced drink where the boldness of the coffee shines through without being overpowered by milk. Unlike a latte, which has more steamed milk and a thin layer of foam, a cappuccino boasts a thick, airy foam that sits proudly on top. The texture is key—microfoam that is smooth, glossy, and free of large bubbles.
The milk used also matters. Whole milk is the standard for its creamy mouthfeel and ability to create stable foam, but alternatives like oat or almond milk can work with proper technique. The goal is to achieve a dense, velvety foam that blends seamlessly with the espresso. When done right, the first sip should deliver a harmonious mix of coffee intensity and creamy sweetness.
- Use freshly roasted coffee beans for the best flavor; single-origin beans like Nguvu Washed offer bright, complex notes that pair beautifully with milk.
- Grind your beans just before brewing to preserve aroma and oils.
Essential Equipment for a Home Cappuccino
You don’t need a commercial espresso machine to make a great cappuccino at home. A quality espresso machine with a steam wand is ideal, but a stovetop moka pot or an Aeropress can also produce a concentrated coffee base. For frothing, a handheld milk frother or a French press can work in a pinch, though nothing beats a steam wand for microfoam.
Beyond the brewing device, you’ll need a good grinder, a tamper, and a thermometer to monitor milk temperature. A digital scale ensures consistent doses. For those who want to refine their technique, accessories like the WatchHouse Cupping Spoon help with tasting and adjusting your brew. Small investments in gear pay off in cup quality.
- A steam wand is the gold standard for milk frothing—it heats and aerates simultaneously.
- If using an Aeropress, try the Aeropress Papers for a clean, grit-free cup that mimics espresso concentration.
Step 1: Pull the Perfect Espresso Shot
The foundation of any cappuccino is a well-extracted espresso shot. Start with 18–20 grams of finely ground coffee for a double shot. Distribute the grounds evenly in the portafilter and tamp with firm, level pressure. Brew with water at 90–96°C (195–205°F) and aim for a 25–30 second extraction time. The result should be a rich, golden crema with balanced acidity and sweetness.
Choosing the right coffee is crucial. A medium to dark roast with chocolate or nutty notes complements milk beautifully. For a bold, adventurous profile, consider the Nguvu Washed from Kenya—its bright acidity and berry undertones add complexity to a cappuccino. Alternatively, a decaf option like Páramo Decaf allows you to enjoy the ritual without caffeine.
- Always preheat your cup to maintain the espresso’s temperature.
- If your shot runs too fast or slow, adjust the grind size accordingly.
Step 2: Master Milk Frothing Technique
Milk frothing is where the magic happens. Fill your pitcher with cold milk, about one-third full to allow room for expansion. Position the steam wand just below the surface and turn it on, creating a gentle hissing sound as you incorporate air. Once the milk reaches body temperature (around 35°C or 95°F), submerge the wand deeper to create a whirlpool, which blends the foam into a uniform microfoam.
Heat the milk until it reaches 60–65°C (140–150°F)—never boil, as it will scorch the milk and ruin the texture. The final foam should be thick enough to hold its shape but fluid enough to pour. Tap the pitcher on the counter to pop any large bubbles and swirl it gently to integrate. Practice makes perfect; don’t be discouraged if your first attempts are bubbly.
- Use a thermometer to avoid overheating—65°C is the sweet spot.
- For dairy-free alternatives, barista blends of oat milk froth best due to added stabilizers.
Step 3: Assemble Your Cappuccino
Now it’s time to bring it all together. Pour your freshly pulled espresso into a preheated cup. Hold the milk pitcher about 3–4 inches above the cup and pour the steamed milk in a steady stream, aiming for the center. As the cup fills, lower the pitcher and gently wiggle it to create latte art or simply let the foam settle. The final layer of foam should rise to the top, forming a thick, creamy cap.
For a classic finish, dust the foam with cocoa powder or cinnamon. The ideal cappuccino is served immediately—the foam will begin to dissipate after a minute. Sip slowly to appreciate the layers: the intense espresso at the bottom, the creamy milk in the middle, and the airy foam on top. This balance is what makes a cappuccino so satisfying.
- If you’re not aiming for art, a simple pour that separates the foam is perfectly fine.
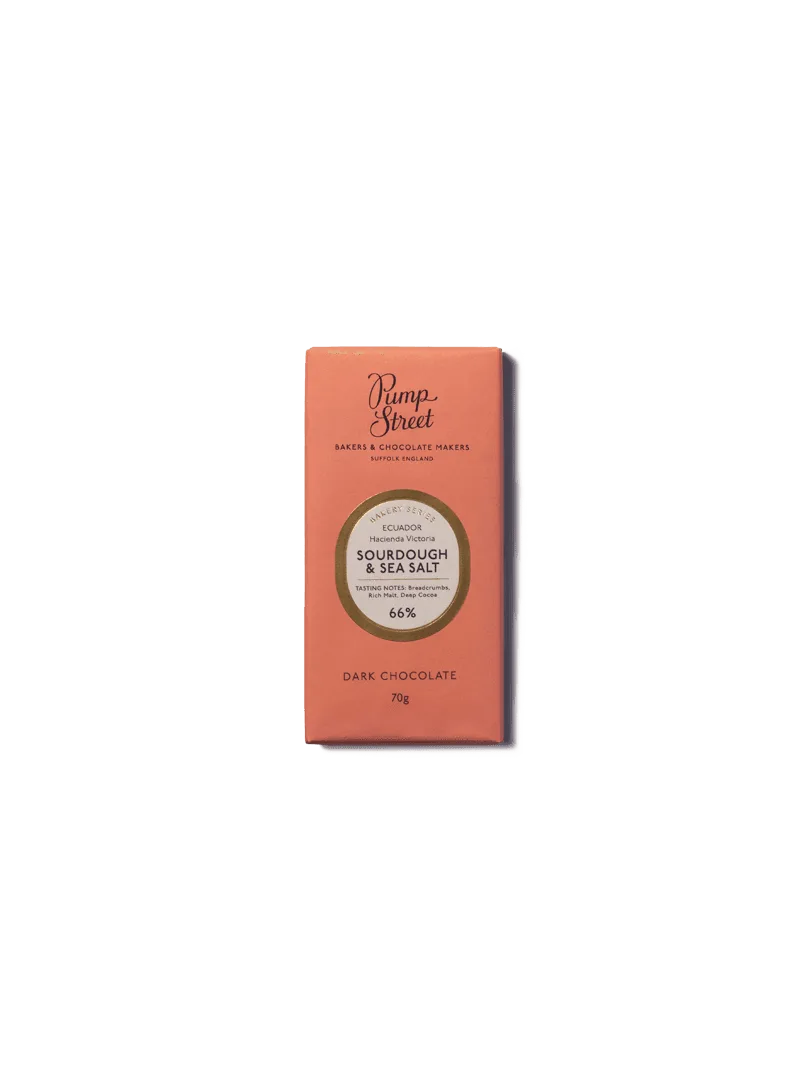
- Pair your cappuccino with a piece of dark chocolate, like the Pump Street Ecuador sourdough & sea salt 66% dark chocolate, for a decadent treat.
Common Mistakes and How to Fix Them
Even experienced home baristas encounter issues. One common problem is foam that is too stiff or dry—this often happens when too much air is incorporated. Solution: submerge the steam wand earlier and stop aerating once the milk warms. Another issue is a sour-tasting espresso, which usually indicates under-extraction. Fix it by grinding finer or increasing the brew time.
If your cappuccino tastes bitter, the espresso may be over-extracted or the milk might be overheated. Always check your water temperature and milk thermometer. Finally, don’t overlook cleanliness: a dirty steam wand or portafilter can impart off-flavors. Rinse and wipe after every use. With practice, these adjustments become second nature.
- Keep a log of your recipes to replicate successful shots.
- Experiment with different beans and roast levels to find your preferred flavor profile.
Making the perfect cappuccino at home is a blend of science and art, but with the right tools and a little patience, you can enjoy café-quality drinks any time. Start with quality coffee, master your milk frothing, and don’t be afraid to experiment. For a reliable and versatile brewing method, explore the Aeropress Papers to refine your espresso base and elevate your home cappuccino game.