There’s something irresistible about the tangy, mouth-puckering thrill of sour candy. Whether you crave the sharp bite of citrus or the fruity zing of berries, homemade sour candy lets you control the intensity and flavor. Making your own sour sweets at home is easier than you think, and it opens up a world of creative possibilities. In this guide, we’ll walk you through the basics of candy making at home, from essential ingredients to step-by-step recipes for gummy, hard, and chewy sour treats.
Why go DIY? Store-bought sour candy often contains artificial flavors, preservatives, and high-fructose corn syrup. When you make candy at home, you can use natural fruit juices, organic sugars, and real citric acid for a cleaner, more vibrant taste. Plus, it’s a fun activity to do with kids or friends. Once you master the techniques, you can customize your candies with your favorite fruits, colors, and sourness levels. Let’s dive into the sweet (and sour) world of homemade confectionery.
Essential Ingredients for Homemade Sour Candy
The foundation of any sour candy is a balance of sugar, acid, and flavor. For DIY sour sweets, you’ll need granulated sugar, glucose syrup (or corn syrup) for chewiness, and citric acid for that signature tartness. Citric acid is the key ingredient that gives sour candy its bite—you can find it in the canning section of most grocery stores or online. Optional additions include tartaric acid for extra sharpness and malic acid for a longer-lasting sour kick.
Flavoring is where you can get creative. Use natural fruit extracts, fresh citrus juice, or freeze-dried fruit powders for intense, real-fruit taste. For color, natural food dyes like beet juice or turmeric work well, but you can also use gel food coloring for vibrant shades. Don’t forget cornstarch or powdered sugar for dusting to prevent sticking. If you want a chewy texture, gelatin or pectin (for vegan versions) is essential.
- Citric acid: the primary sour agent; start with 1 teaspoon per batch and adjust to taste.
- Glucose syrup: helps prevent crystallization and gives a smooth, chewy texture.
- Natural fruit powder: such as freeze-dried strawberry or mango, for concentrated flavor without extra liquid.
Basic Sour Gummy Recipe: Chewy and Tangy
Gummy candies are a favorite for sour lovers because they hold a generous coating of sour sugar. To make a basic batch, combine 1/2 cup of fruit juice (like lemon or lime for extra sourness) with 2 tablespoons of gelatin in a small bowl. Let it bloom for 5 minutes. In a saucepan, heat 1/2 cup of sugar and 1/4 cup of glucose syrup over medium heat until dissolved. Stir in the bloomed gelatin mixture and 1 teaspoon of citric acid until fully combined.
Pour the mixture into silicone molds (or a greased baking dish for cutting into shapes) and refrigerate for at least 2 hours. Once set, pop the gummies out and toss them in a mixture of sugar and citric acid—adjust the ratio to your preferred sourness. For a fun twist, try using pineapple or wild strawberry flavors. If you want a more complex taste, experiment with blends like mango-chili or raspberry-lime.
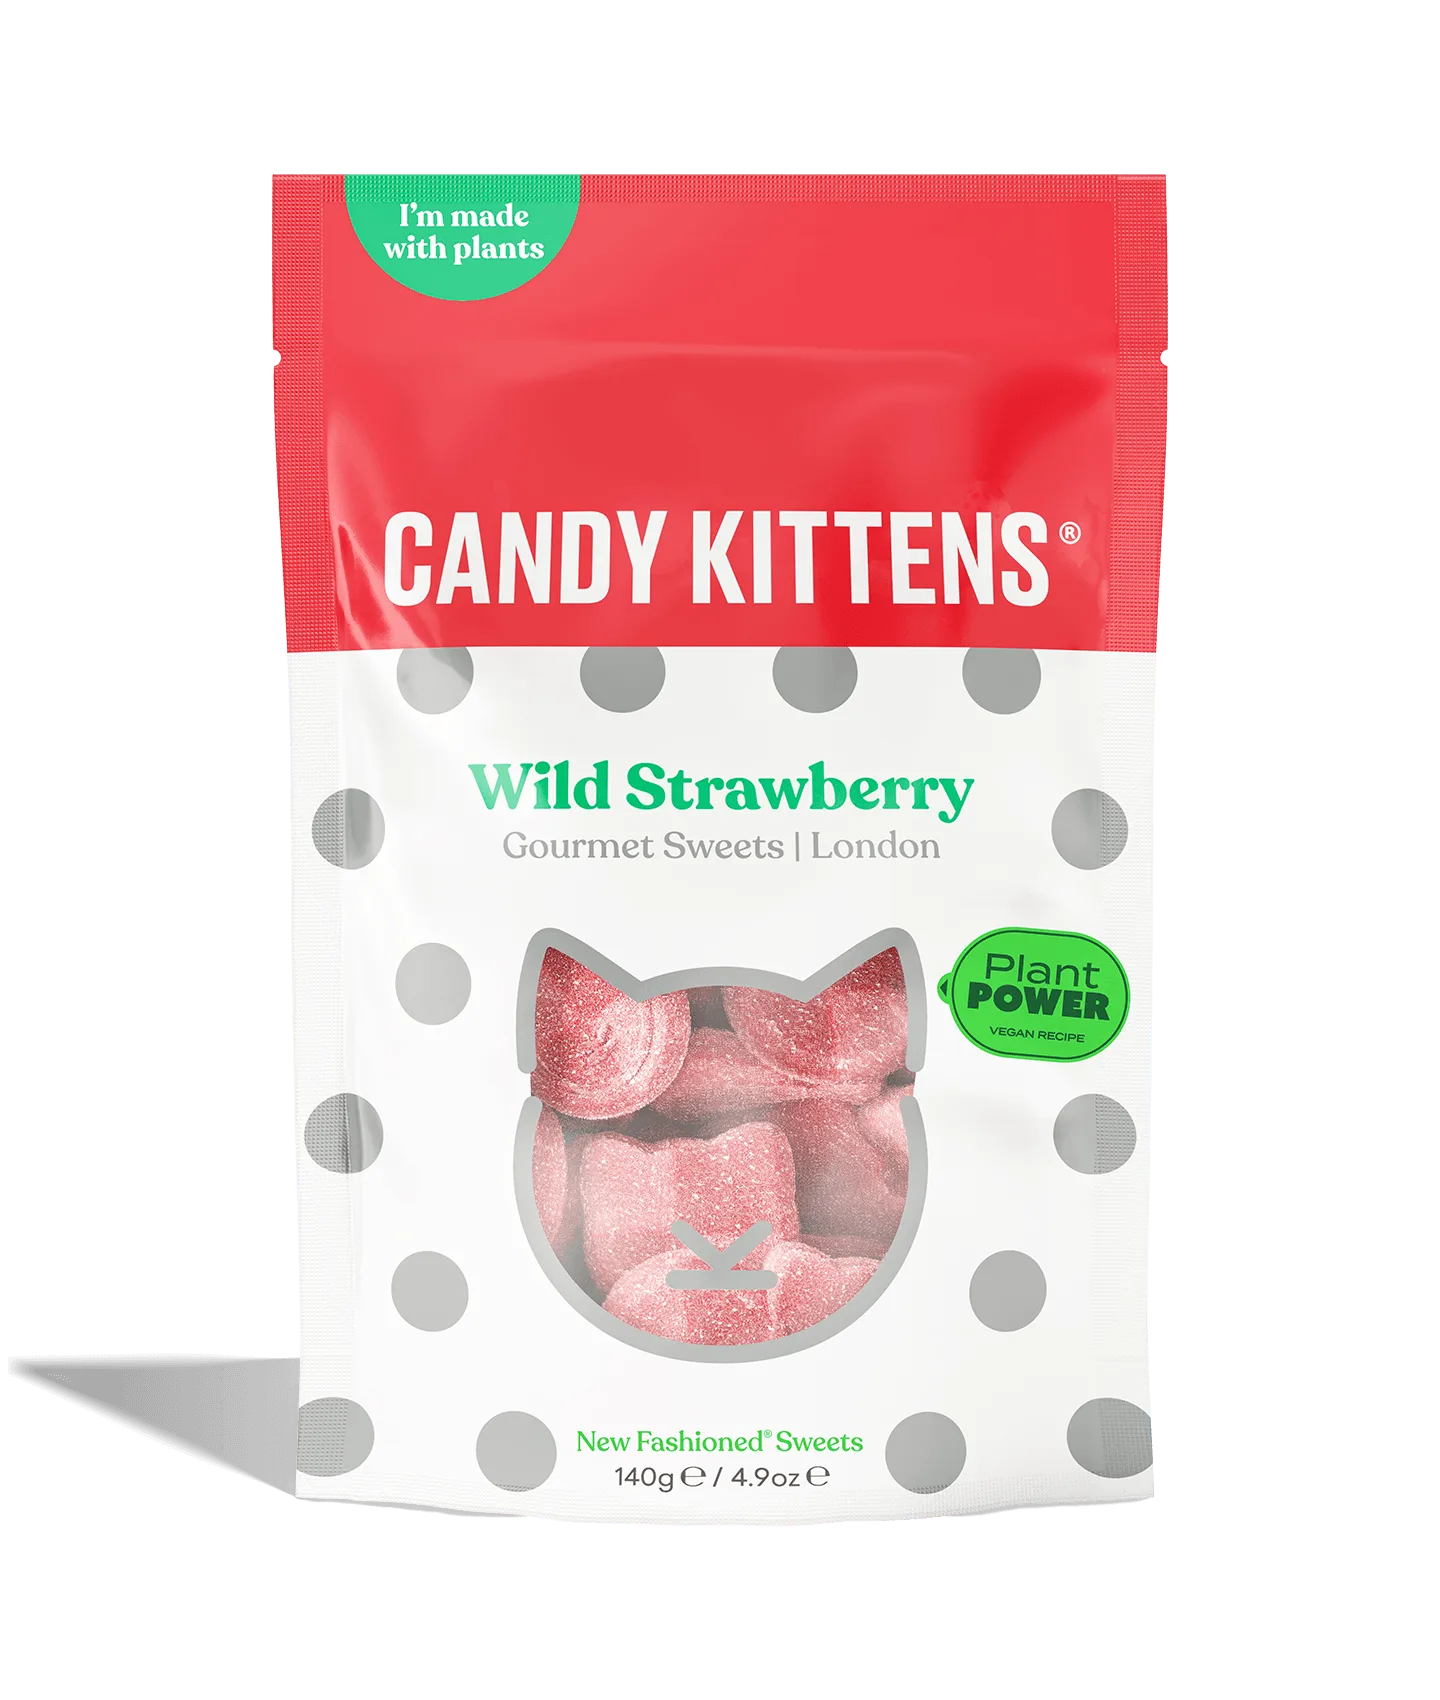
wild strawberry
- Use silicone molds in fun shapes like bears, worms, or hearts for a professional look.
- Let the gummies air-dry for 6-12 hours after coating to develop a chewier texture.
- Store in an airtight container at room temperature for up to two weeks.
Hard Sour Candy: Crackling with Citrus
Hard sour candy, like sour lollipops or drops, requires a bit more precision but is incredibly rewarding. You’ll need a candy thermometer for this recipe. Combine 2 cups of sugar, 1/2 cup of glucose syrup, and 1/2 cup of water in a heavy-bottomed saucepan. Heat on medium without stirring until the mixture reaches 300°F (hard crack stage). Remove from heat and carefully stir in 1 teaspoon of citric acid and your choice of natural flavor extract.
Pour the hot syrup onto a silicone baking mat or greased marble slab. Let it cool slightly, then use a bench scraper to score it into pieces before it hardens completely. Once cool, break into shards or dust with extra citric acid for an extra sour punch. You can also pour the syrup into lollipop molds with sticks for hand-held treats. The high heat means you must work quickly and carefully—wear kitchen gloves and keep children at a safe distance.
- If the syrup crystallizes, add a pinch of cream of tartar to prevent graininess.
- For layered colors, pour small amounts of different colored syrups and swirl with a toothpick.
- Wrap each piece in wax paper to keep them from sticking together.
Sour Chews: Soft, Fruity, and Addictive
Sour chews, like fruit taffy or Starburst-style candies, are a crowd-pleaser. For a batch of homemade sour chews, combine 1 cup of sugar, 1/2 cup of glucose syrup, and 1/4 cup of water in a saucepan. Heat to 250°F (firm ball stage). Remove from heat and stir in 2 tablespoons of butter, 1 teaspoon of citric acid, and 1/2 teaspoon of fruit extract. Pour onto a greased baking sheet and let cool until just warm enough to handle.
Pull the candy by stretching and folding it repeatedly until it becomes opaque and chewy. Roll into a log and cut into bite-sized pieces. Coat with a mixture of sugar and citric acid. For a vegan version, replace butter with coconut oil and use pectin instead of gelatin. You can also add freeze-dried fruit powder for intense flavor—try strawberry or mango. These chews are perfect for packing in lunchboxes or sharing at parties.
- Pulling the candy aerates it, making it softer and chewier—don’t skip this step.
- If the candy becomes too hard to pull, microwave it for 5-10 seconds to soften.
- Flavor combinations like blueberry-lemon or peach-ginger work beautifully.
Tips for Perfecting Your DIY Sour Sweets
Getting the sourness just right is a matter of personal taste. Start with 1 teaspoon of citric acid per cup of sugar coating and adjust from there. For a more complex sour profile, mix citric acid with a pinch of malic acid. Always taste your candy before coating—the base should be slightly sweet to balance the sour. If you’re using fruit juice, reduce it by simmering to concentrate the flavor and avoid adding too much liquid.
Temperature control is crucial for candy making at home. Invest in a reliable candy thermometer and test it in boiling water (should read 212°F at sea level). Humidity can affect candy texture, so choose a dry day for best results. If your candy turns out sticky, it may not have reached the correct temperature. Finally, have fun experimenting with different fruit powders, spices (like cayenne for heat), or even edible glitter for a dazzling finish.
- Store homemade sour candy in a cool, dry place—humidity will make it sticky.
- Use a fine-mesh strainer to dust powdered sugar or citric acid evenly over candies.
- Label your creations with the date and sourness level for easy reference.
Why Homemade Sour Candy Beats Store-Bought
Beyond the satisfaction of creating something from scratch, homemade sour candy offers unmatched customization. You can dial the sourness up to 11 or keep it mild for kids. You control the ingredients, so there are no artificial colors or preservatives. Plus, DIY sour sweets make thoughtful gifts—package them in cute jars or cellophane bags with a ribbon. They also pair wonderfully with other treats like chocolate or nuts for a sweet-and-sour snack board.
If you’re new to candy making, start with a simple recipe like sour gummies and work your way up to hard candies. The learning curve is gentle, and mistakes are often still delicious. For a ready-made alternative when you’re short on time, explore premium options like the Smittens Pineapple Edit for a tropical sour fix or the Sweet Lover’s Collection for a curated mix of tangy and sweet. These offer the same high-quality flavors you’d make at home, but without the cleanup.
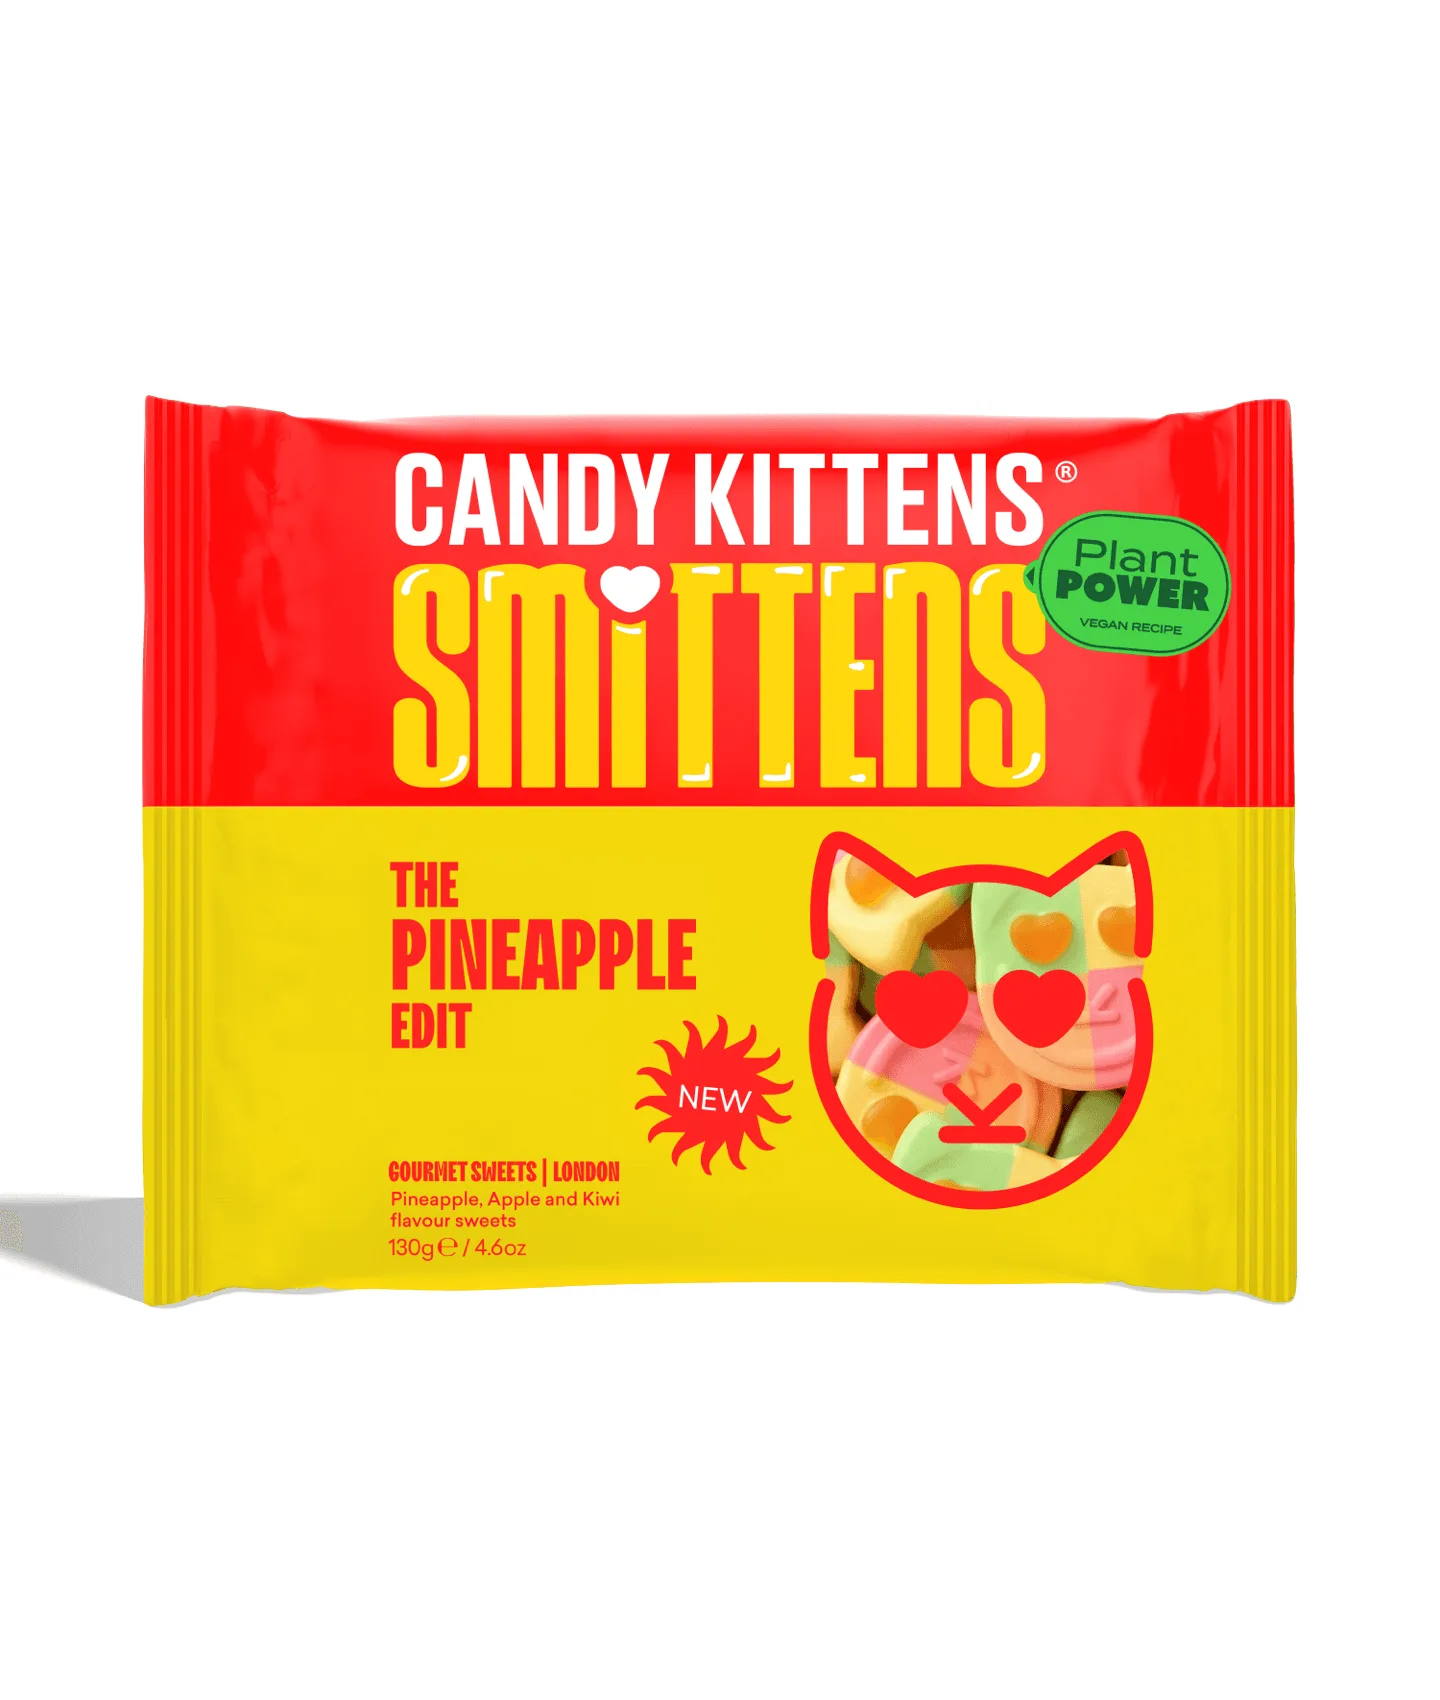
Smittens Pineapple Edit
- Homemade candy is free from artificial additives—perfect for clean-eating enthusiasts.
- Experiment with seasonal fruits like blood orange in winter or passionfruit in summer.
- Share your creations on social media with #homemadesourcandy for inspiration.
Making your own sour candy at home is a rewarding journey into flavor science and kitchen creativity. Whether you prefer chewy gummies, hard lollipops, or soft chews, the techniques are simple enough for beginners and endlessly customizable for experts. Start with a small batch, tweak the sourness to your liking, and soon you’ll be crafting the best DIY sour sweets around. For a quick treat when you don’t have time to cook, check out the Smittens Pineapple Edit for a tropical sour burst you can enjoy instantly.