Eyeshadow blending is often considered the most intimidating step in eye makeup, but it doesn't have to be. Whether you're a complete beginner or looking to refine your skills, mastering the art of blending can transform your look from basic to breathtaking. The key lies in understanding a few fundamental techniques, using the right tools, and practicing patience.
In this step-by-step guide, we'll walk you through everything you need to know about eyeshadow blending. From choosing the perfect brushes to perfecting the gradient effect, you'll learn how to create soft, diffused transitions that make your eyes pop. Let's dive into the world of seamless eyeshadow blending.
Why Eyeshadow Blending Matters
Blending is the secret to making your eyeshadow look polished and professional. Without proper blending, harsh lines and uneven color patches can ruin an otherwise beautiful eye look. Blending softens the edges between different shades, creating a smooth gradient that enhances your eye shape and adds dimension.
For beginners, the goal is to achieve a seamless transition from the crease to the lid. This not only makes your eye makeup look more cohesive but also helps colors complement each other rather than clash. With a little practice, blending becomes second nature, and you'll wonder how you ever did your makeup without it.
- Softens harsh lines for a natural finish
- Creates depth and dimension on the eyes
- Allows multiple shades to work together harmoniously
- Makes your eye makeup look more professional and long-lasting
Essential Tools for Perfect Blending
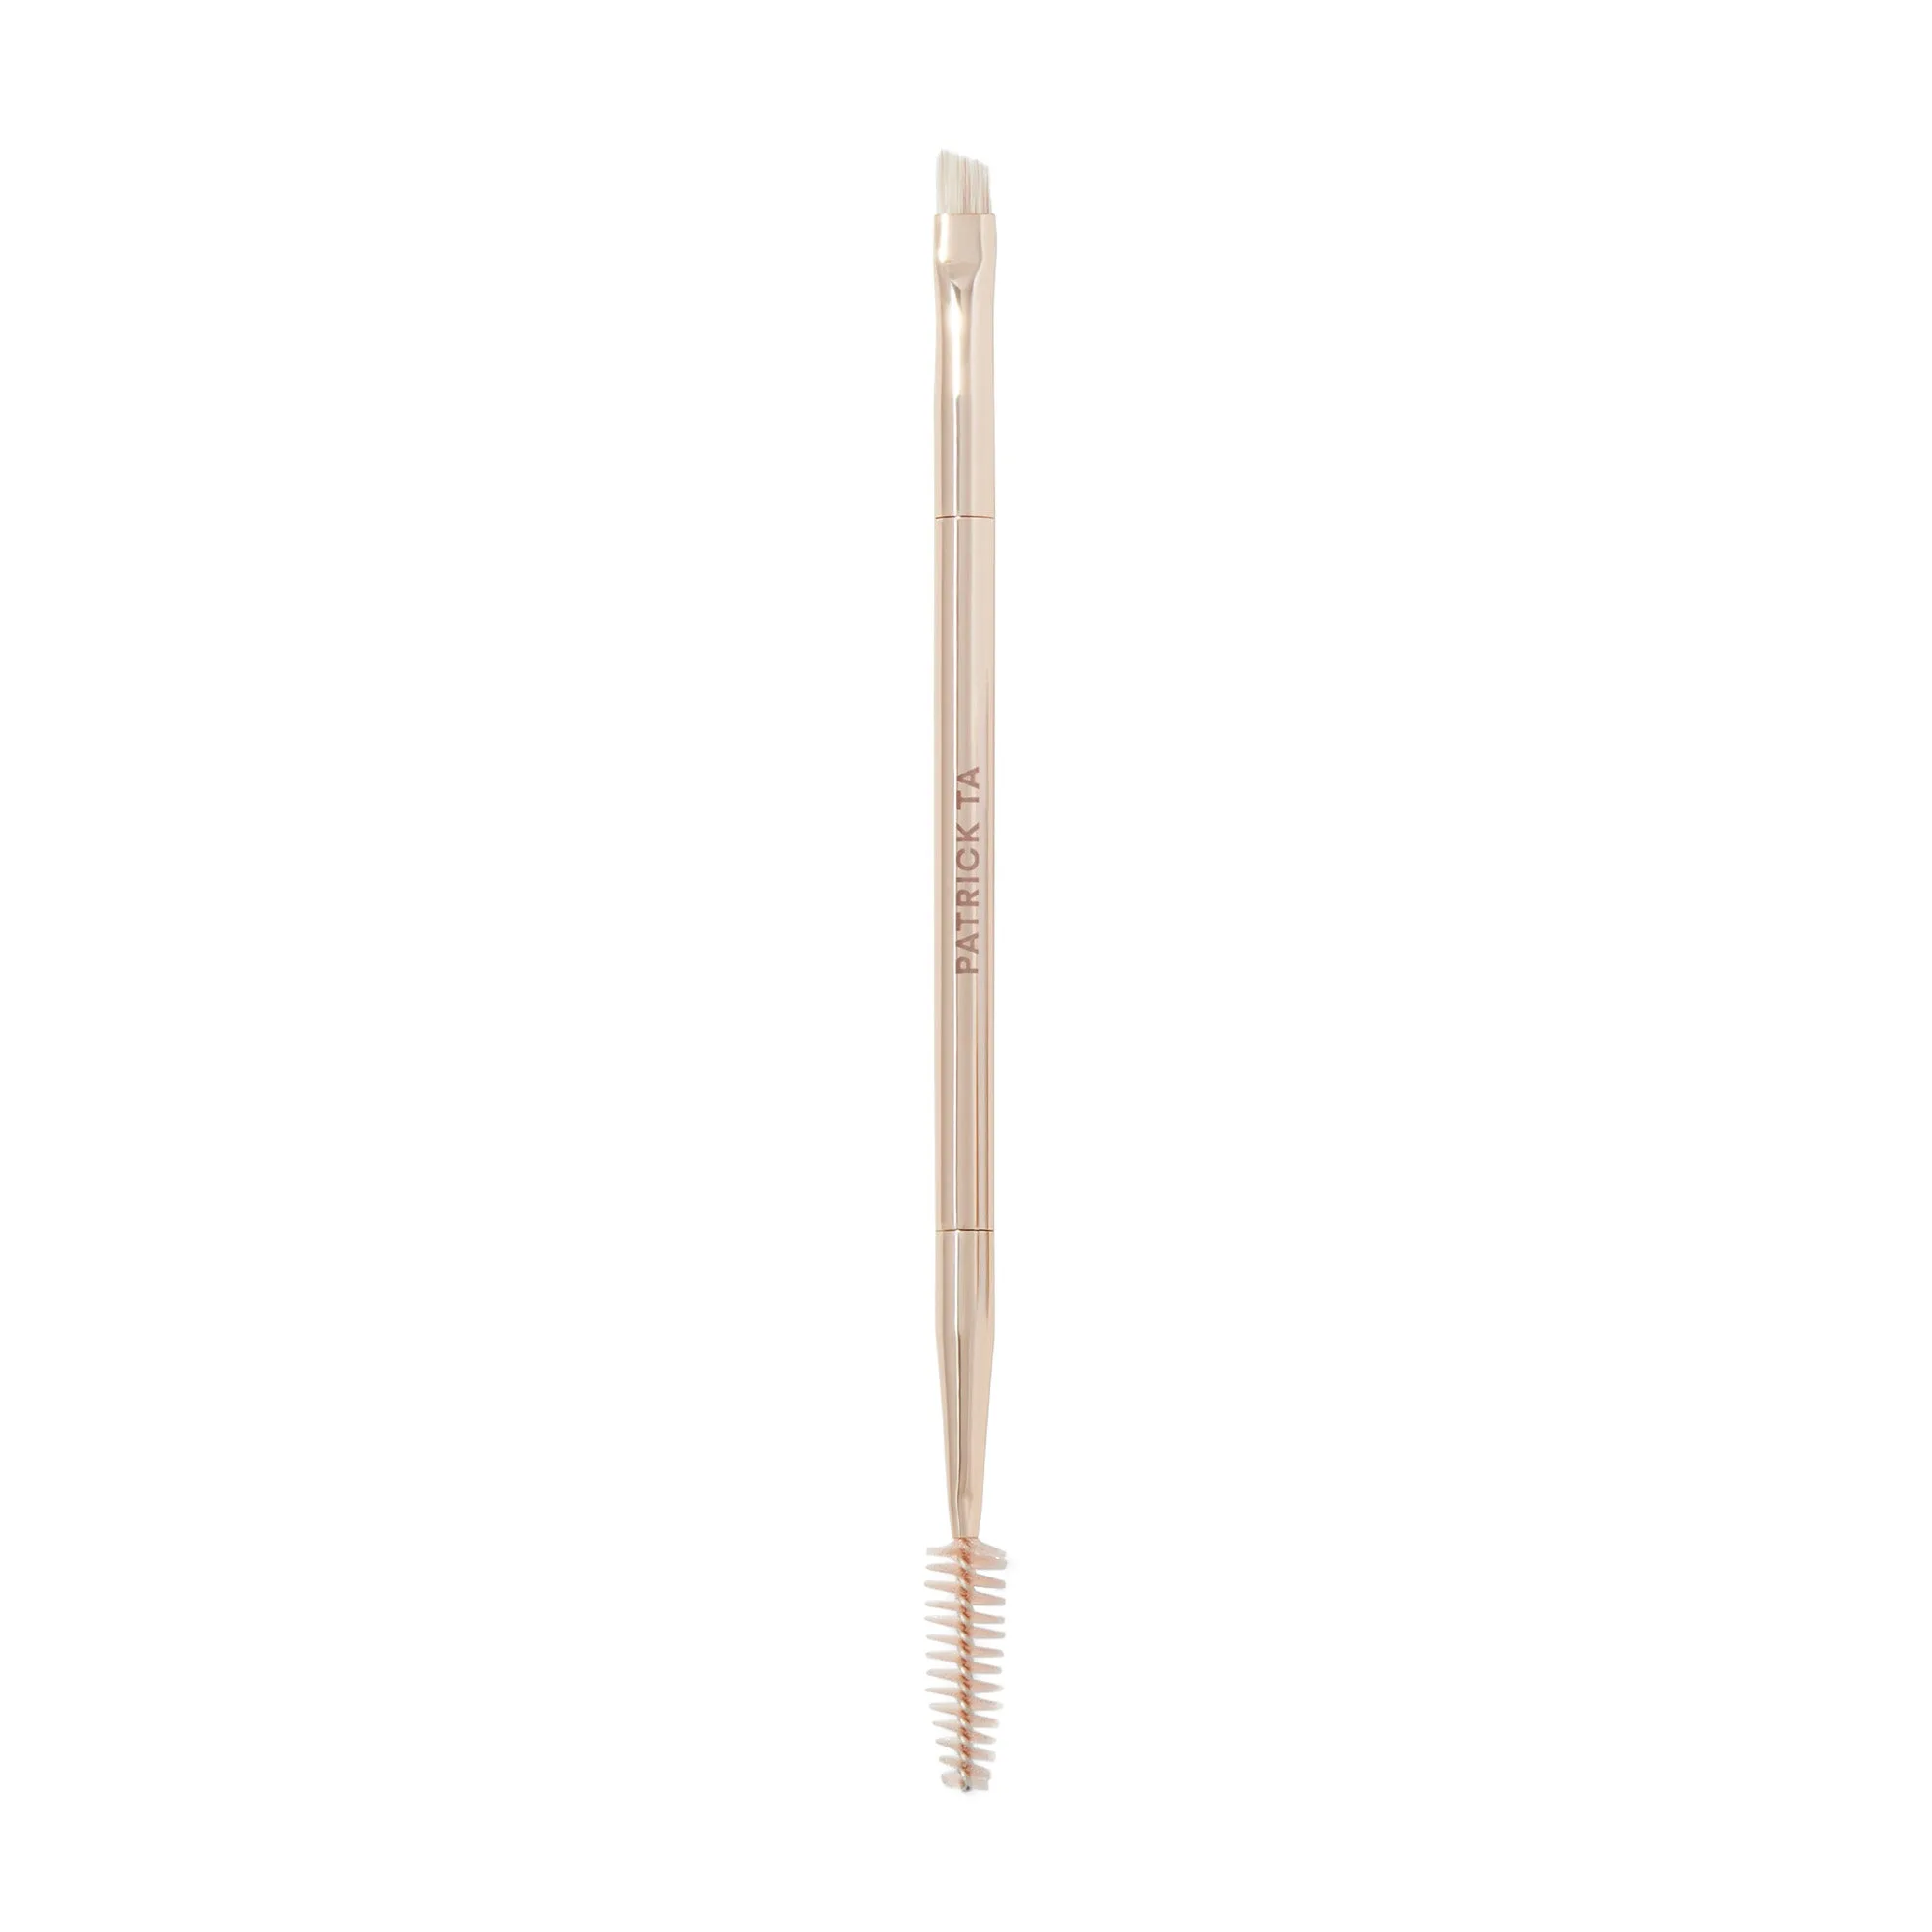
Having the right brushes is crucial for successful eyeshadow blending. A fluffy blending brush is your best friend—it picks up just enough product and diffuses it effortlessly across the crease. For more precise work, a smaller tapered blending brush helps target the outer V or lower lash line.
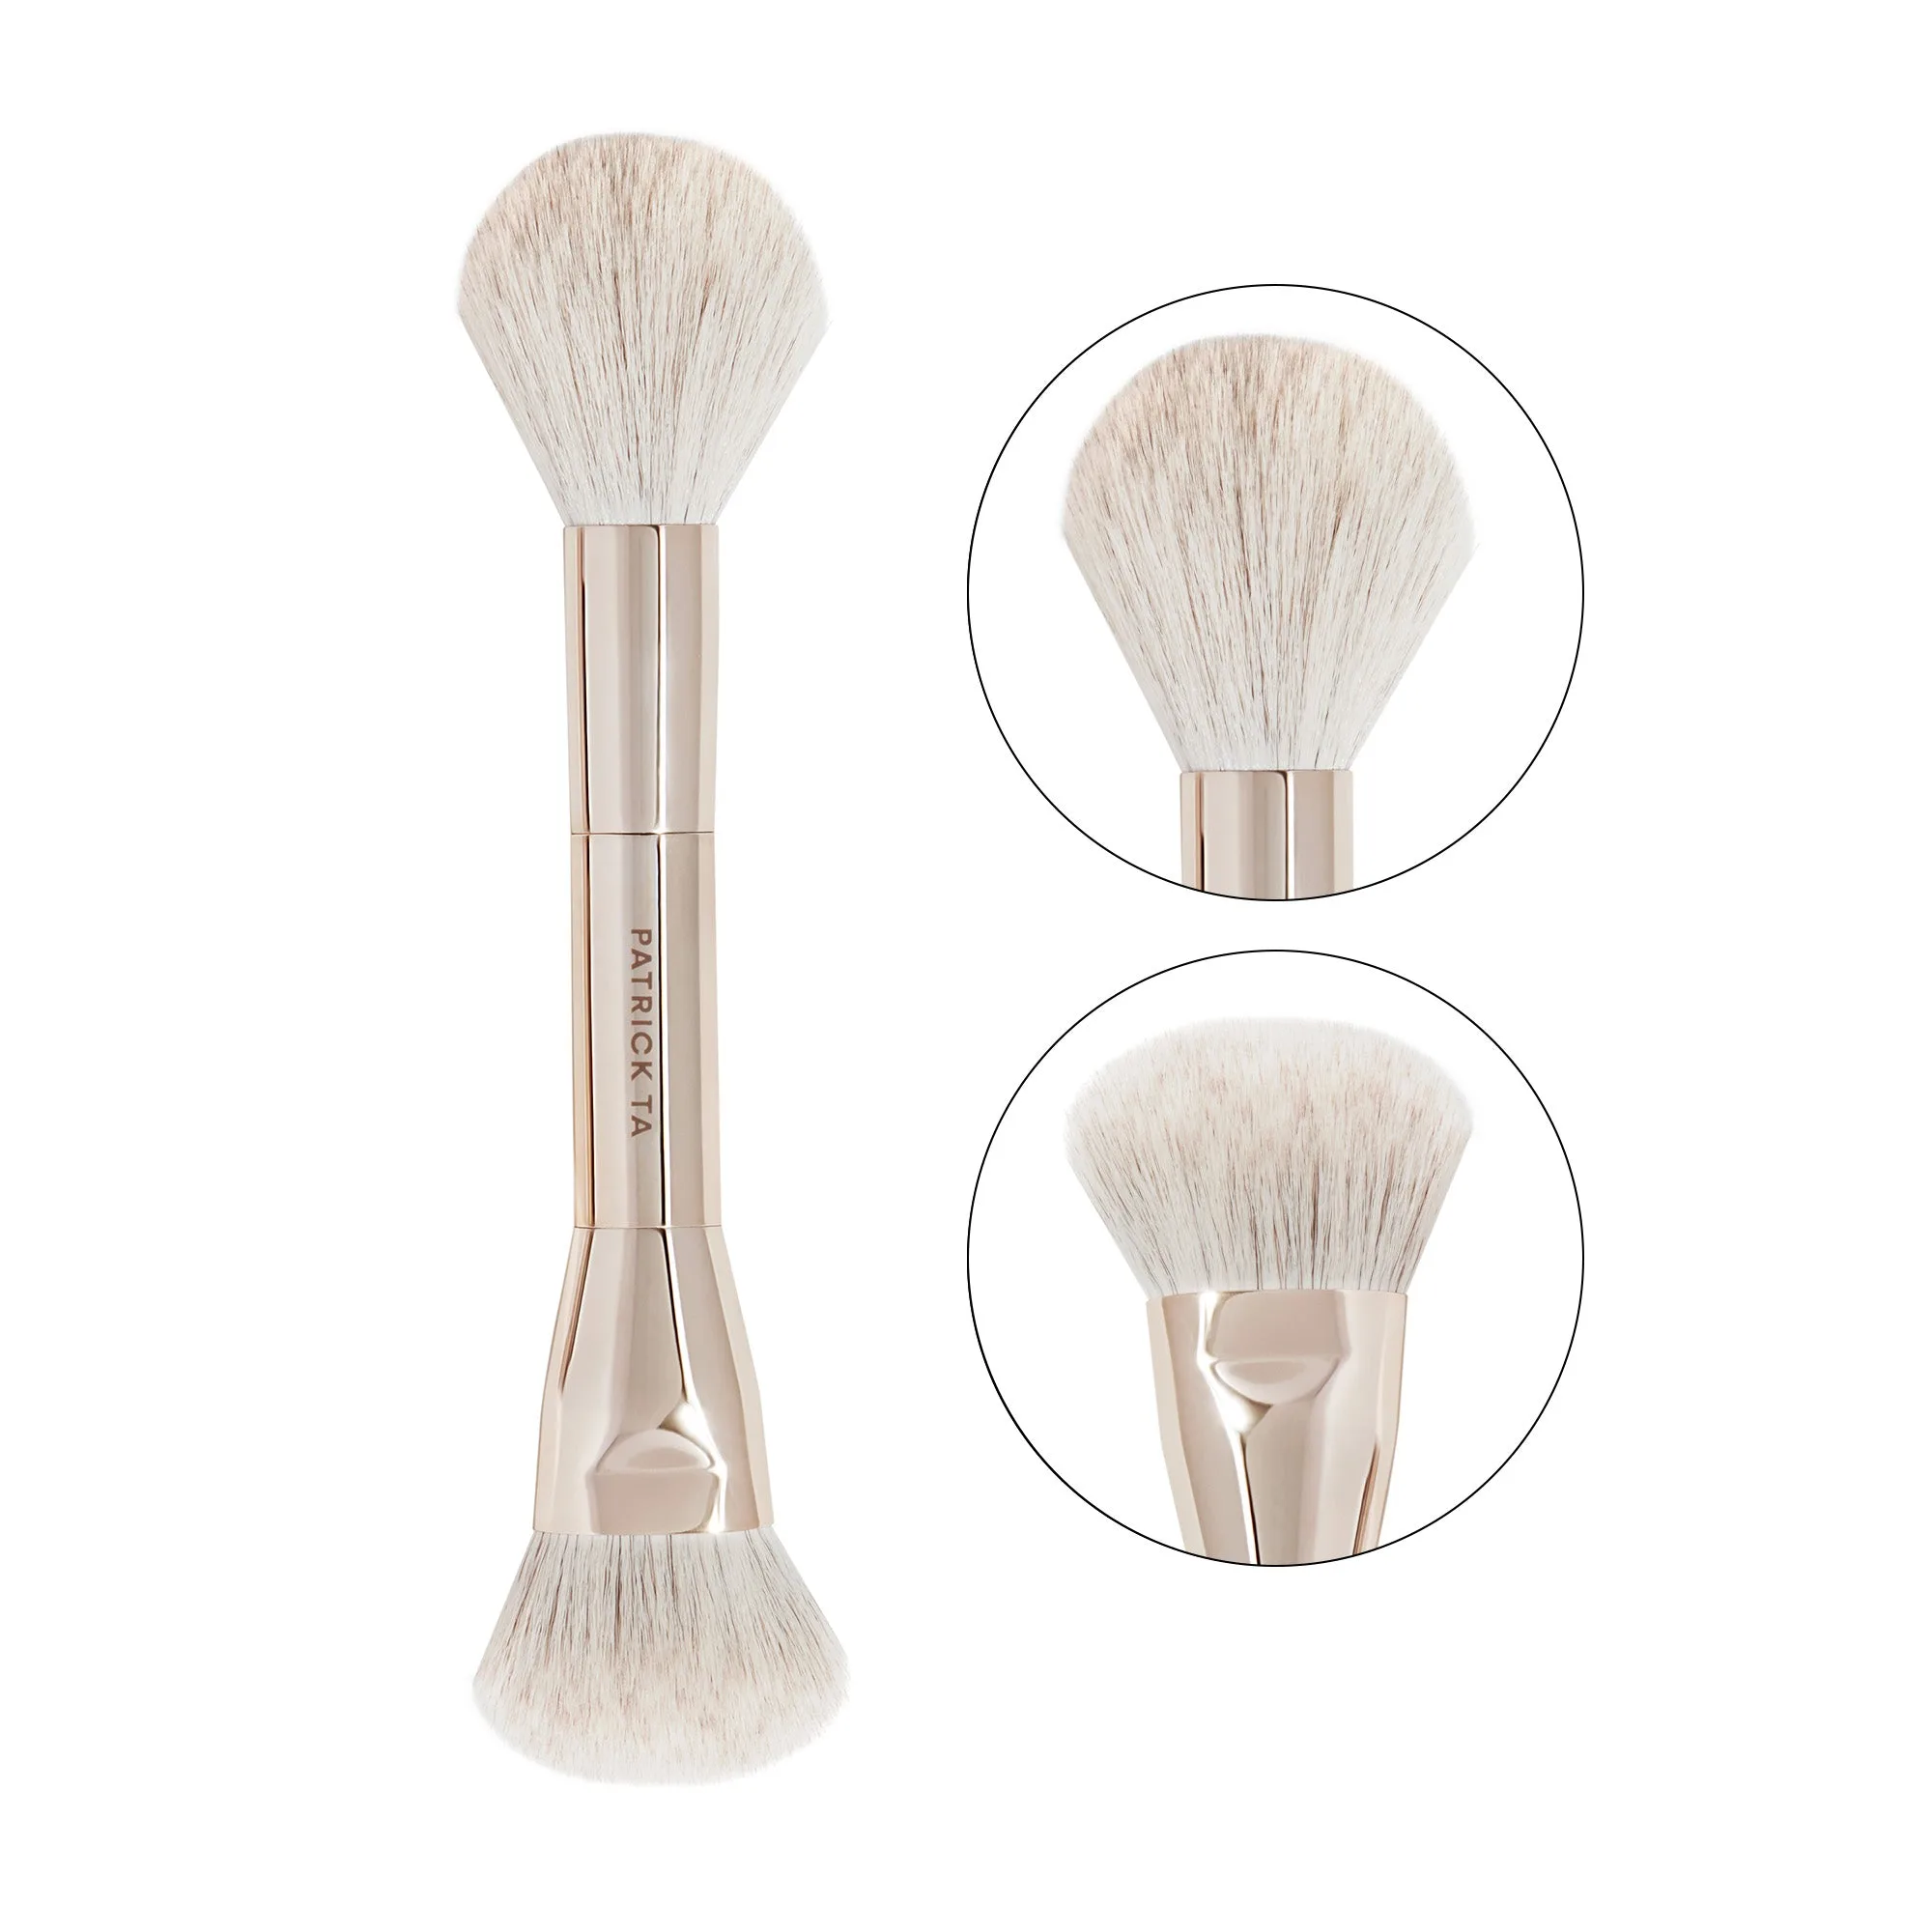
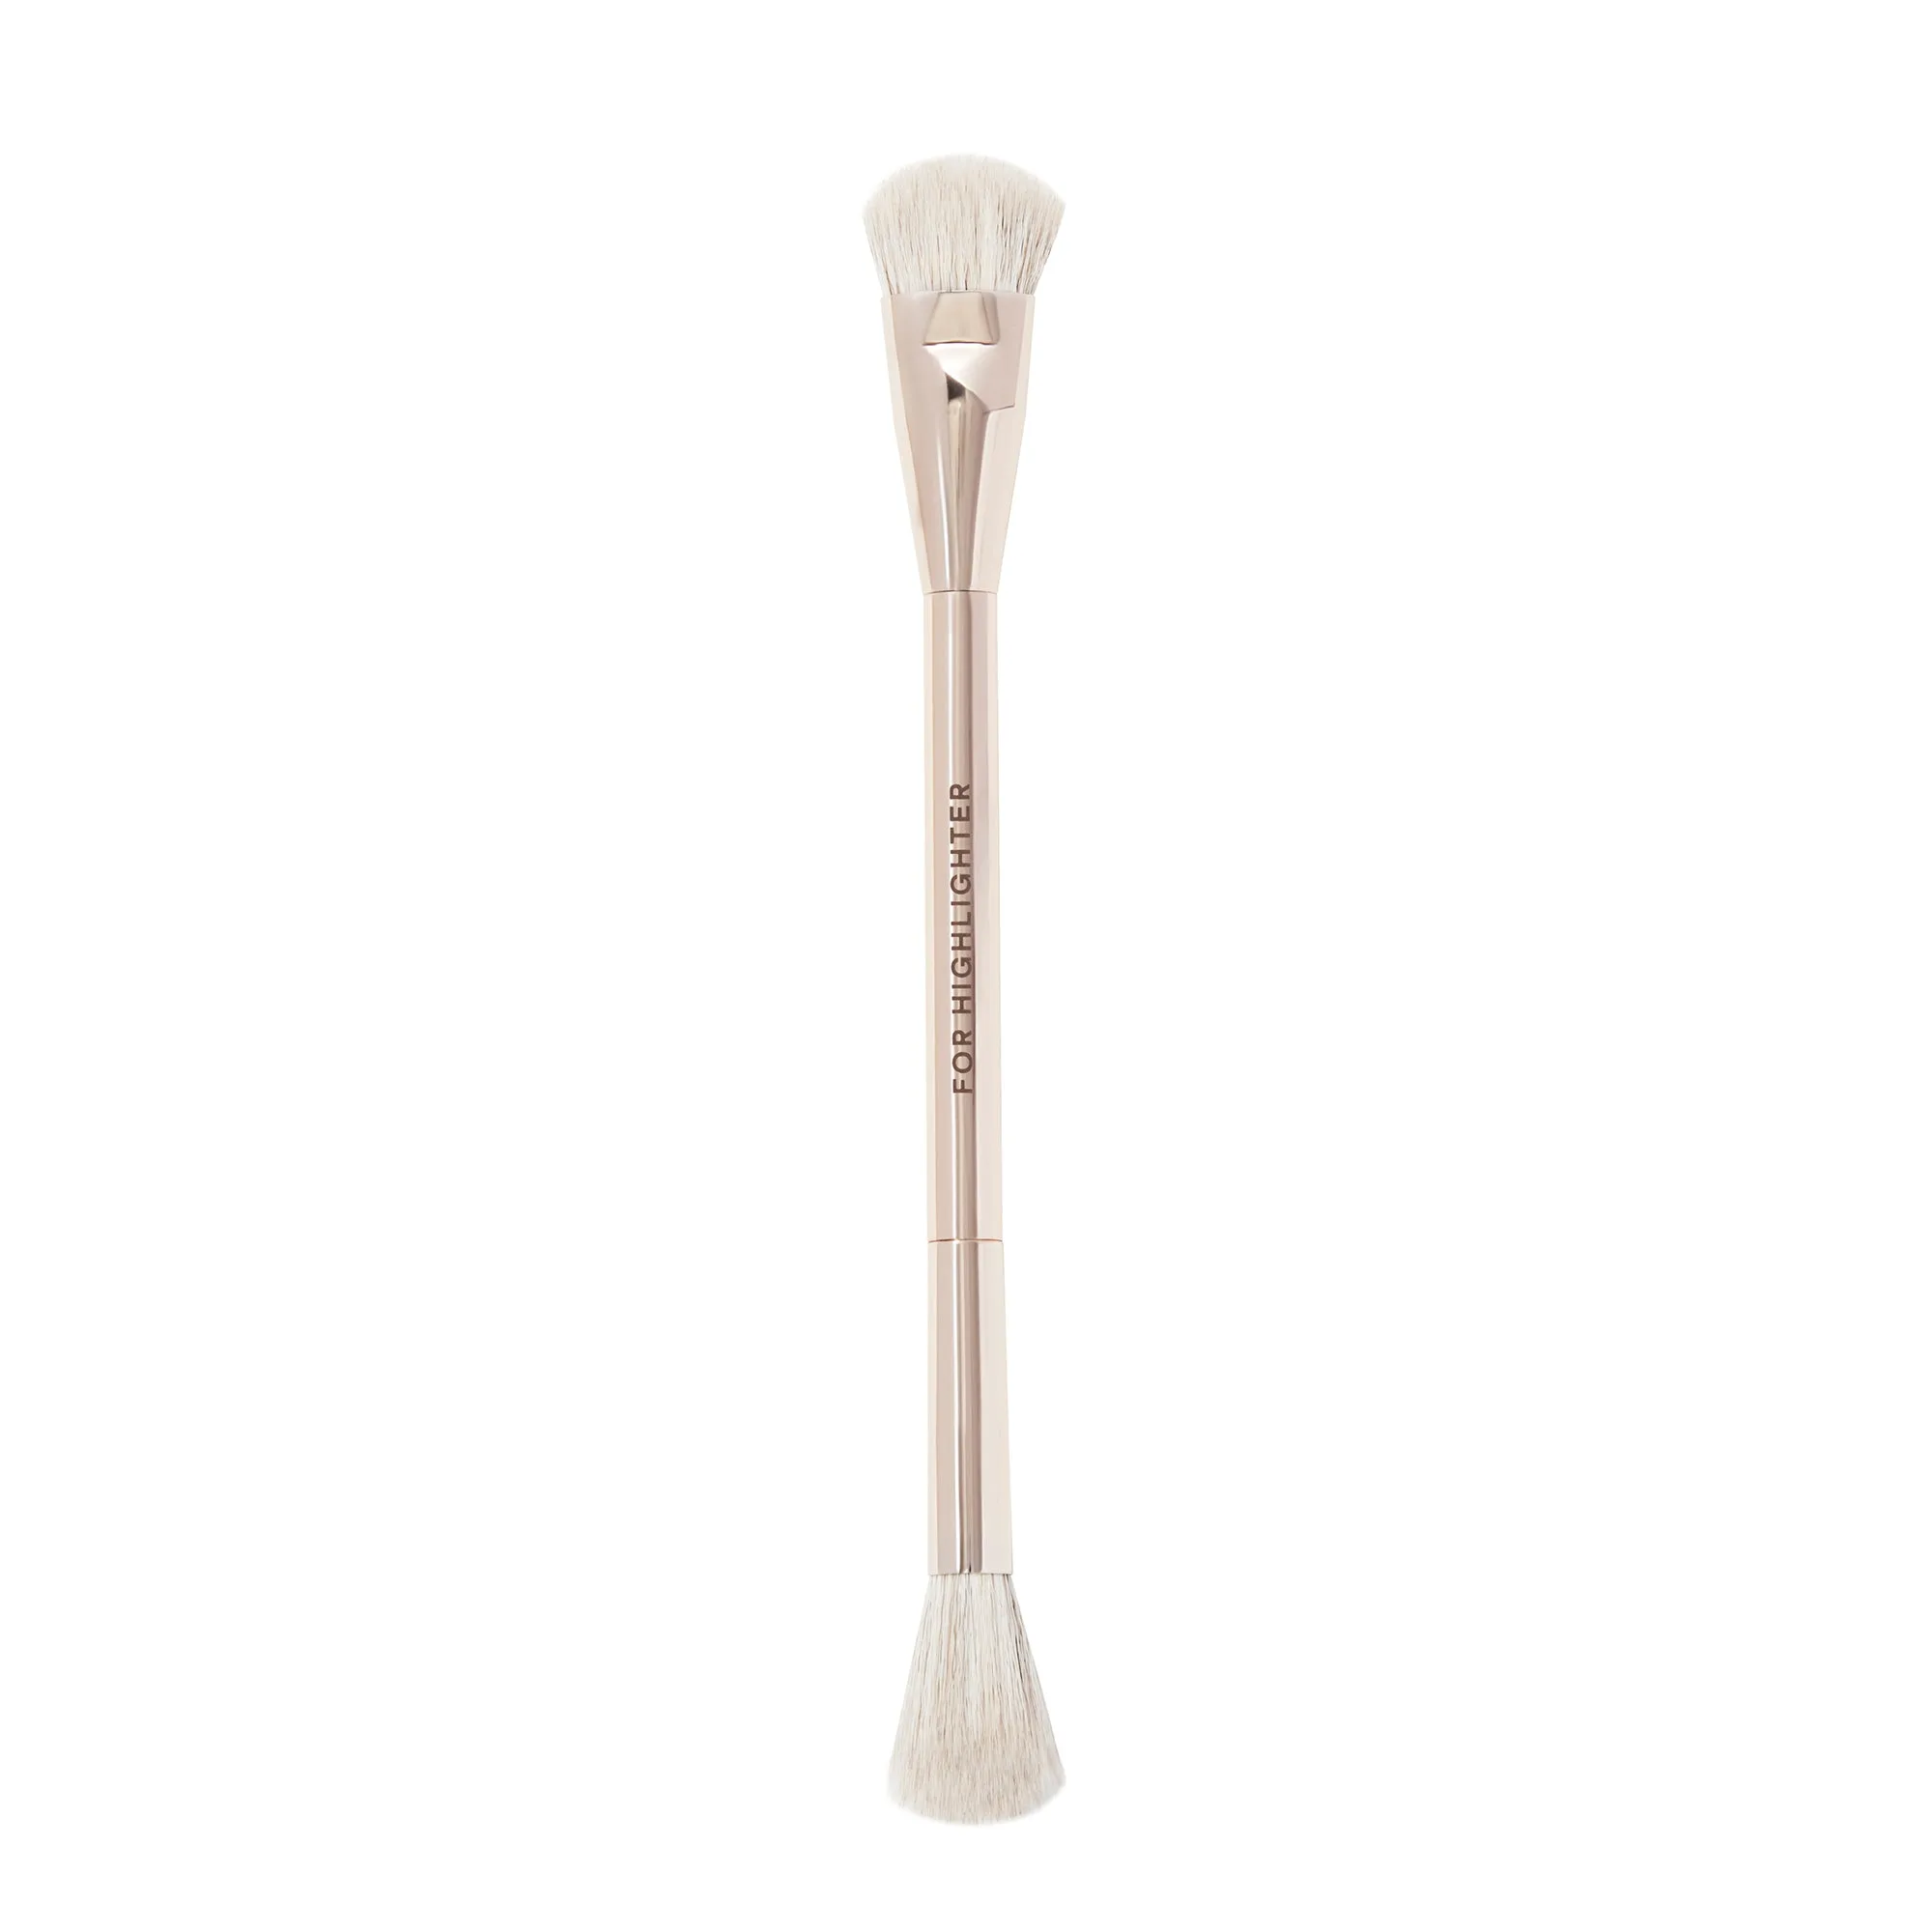
At Patrick Ta Beauty, we recommend using high-quality brushes that are soft and dense enough to blend without irritating the skin. For example, the Dual-Ended Blush Brush is versatile and can be used for both blush and eyeshadow blending, making it a great multi-purpose tool. Additionally, the Dual-Ended Complexion Brush № 2 offers precision for detailed blending work.
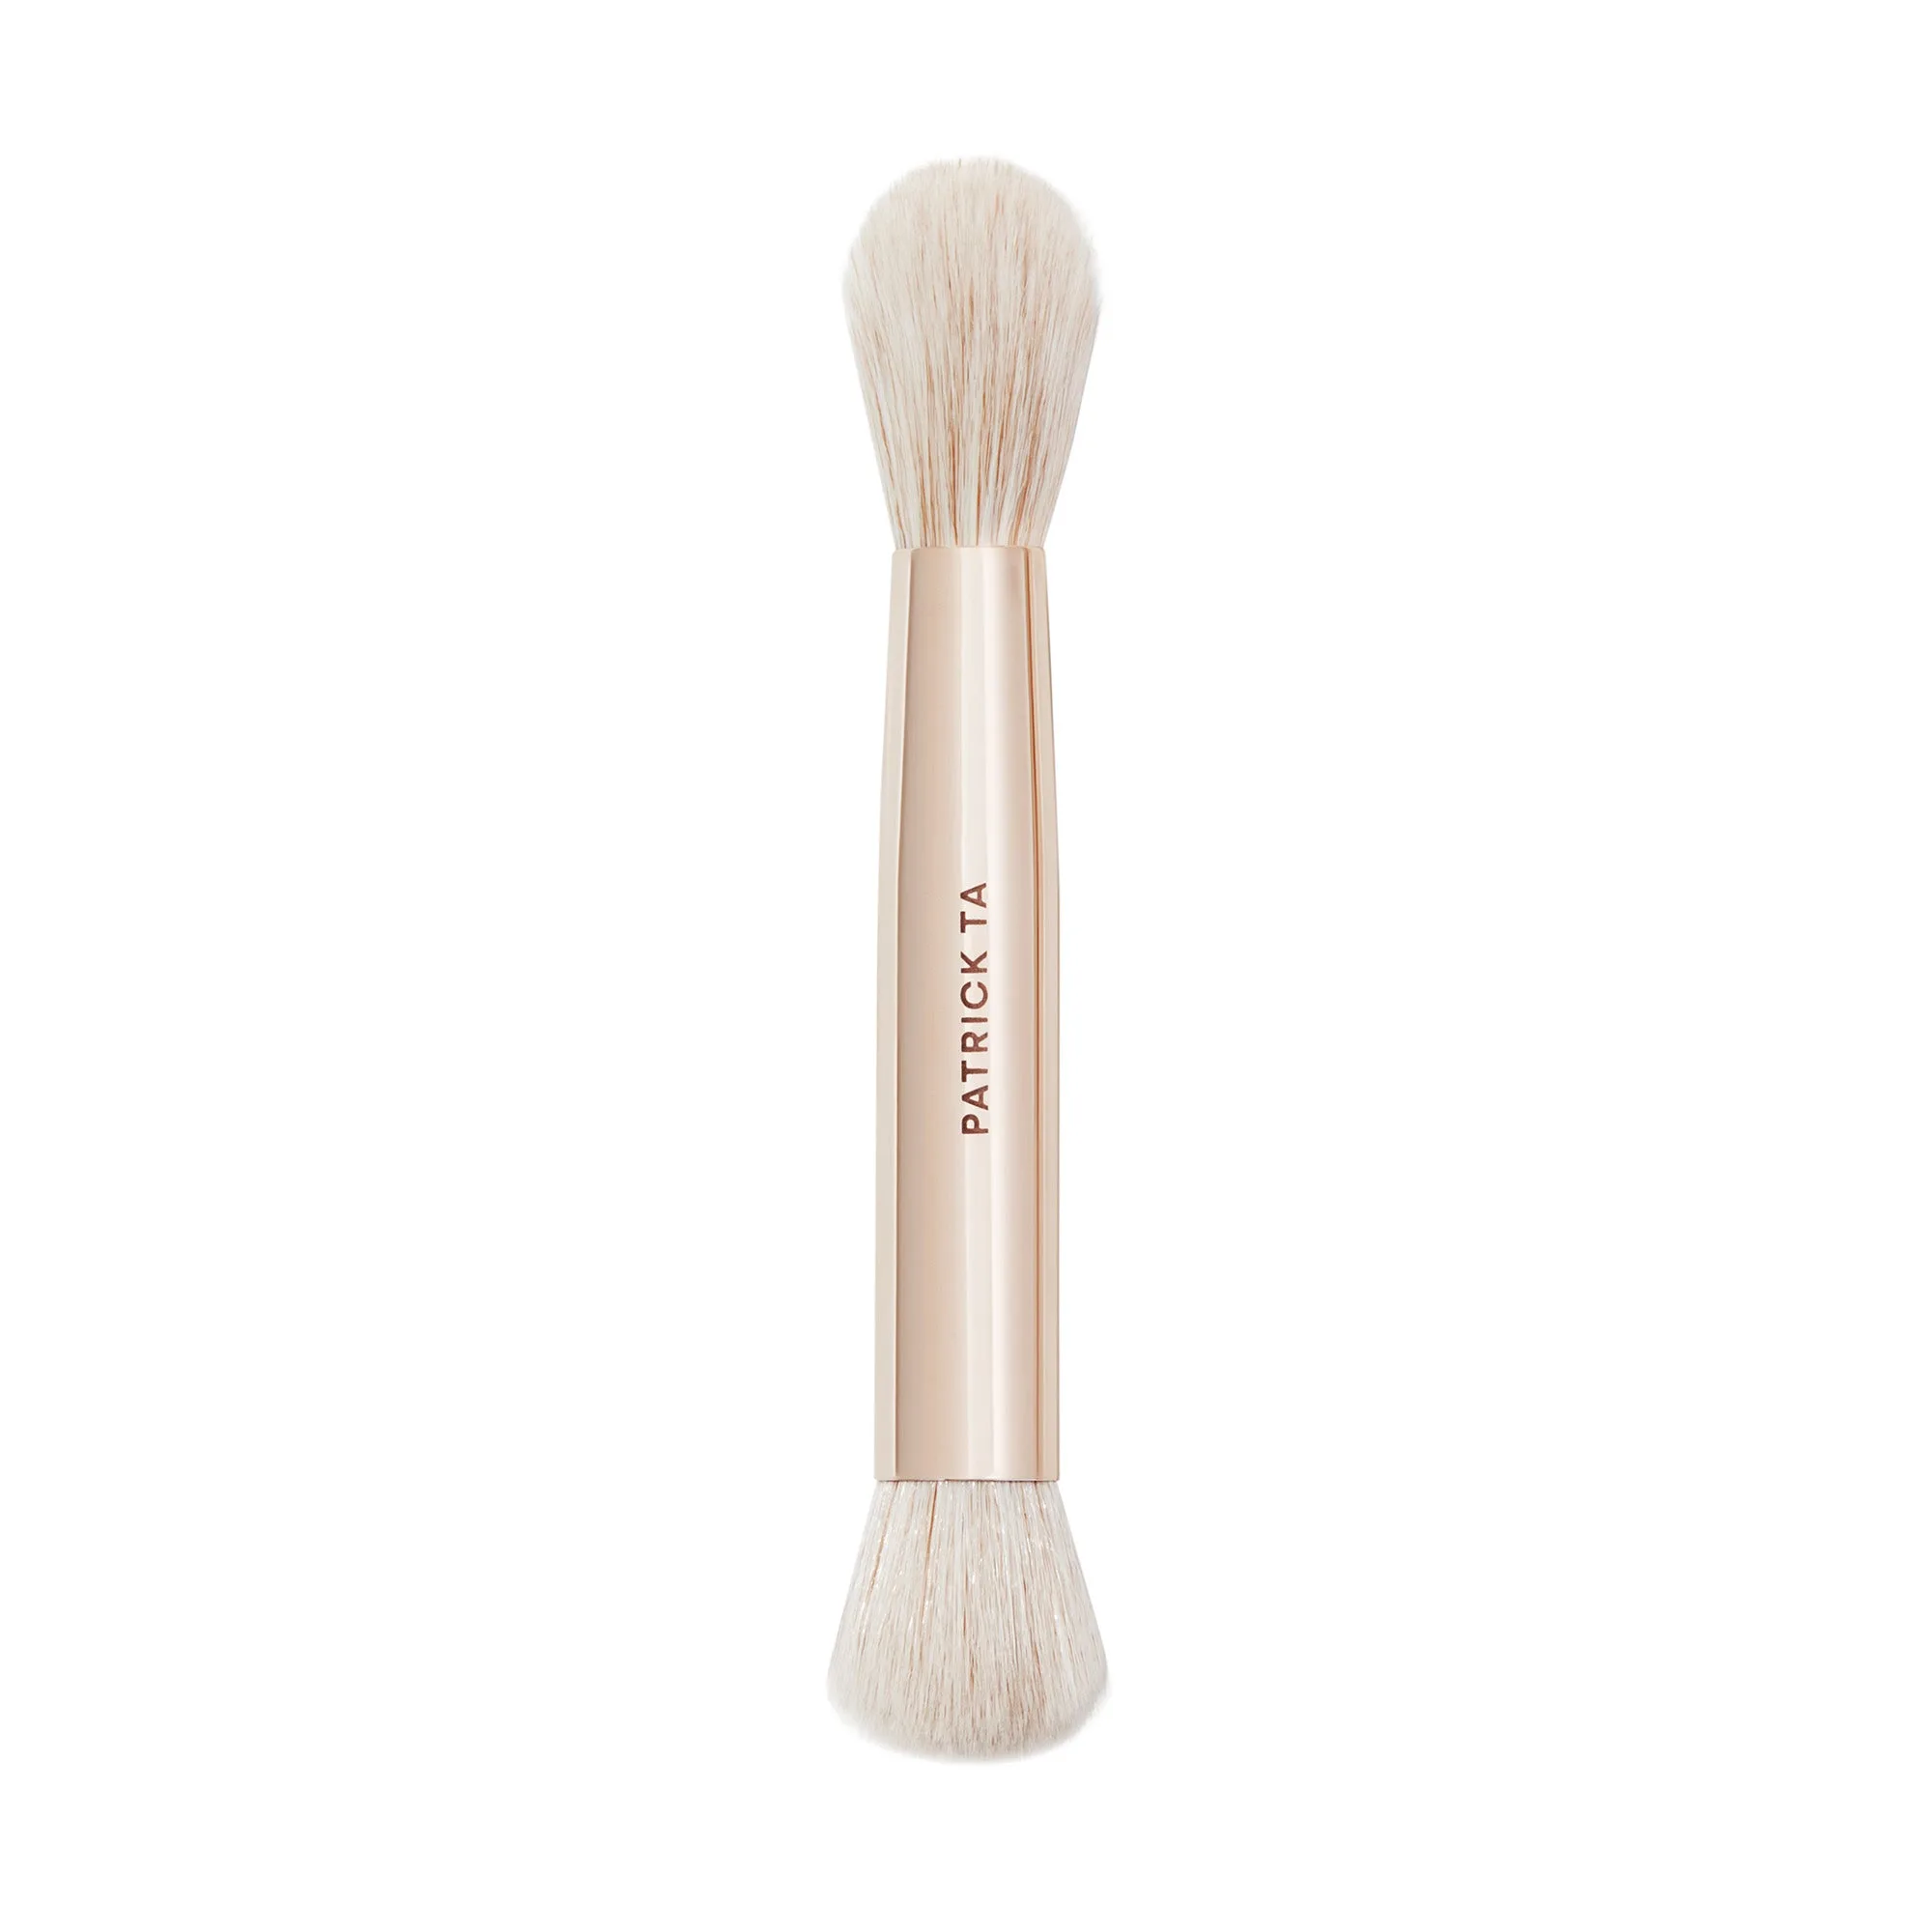
Dual-Ended Complexion Brush № 2
- Fluffy blending brush: for crease and transition shades
- Small tapered brush: for outer corner and lower lash line
- Flat shader brush: for packing color onto the lid
- Clean brush: for buffing out any harsh edges
Step 1: Prime and Set Your Eyelids
Before you start blending, prep your eyelids with an eyeshadow primer. This creates a smooth, even base that helps colors adhere and prevents creasing. After applying primer, set it with a translucent powder or a neutral eyeshadow shade that matches your skin tone.
Setting the primer ensures that your eyeshadow blends more easily and stays in place all day. It also prevents the natural oils on your eyelids from breaking down the pigment, giving you a flawless finish that lasts.
Step 2: Choose Your Eyeshadow Shades
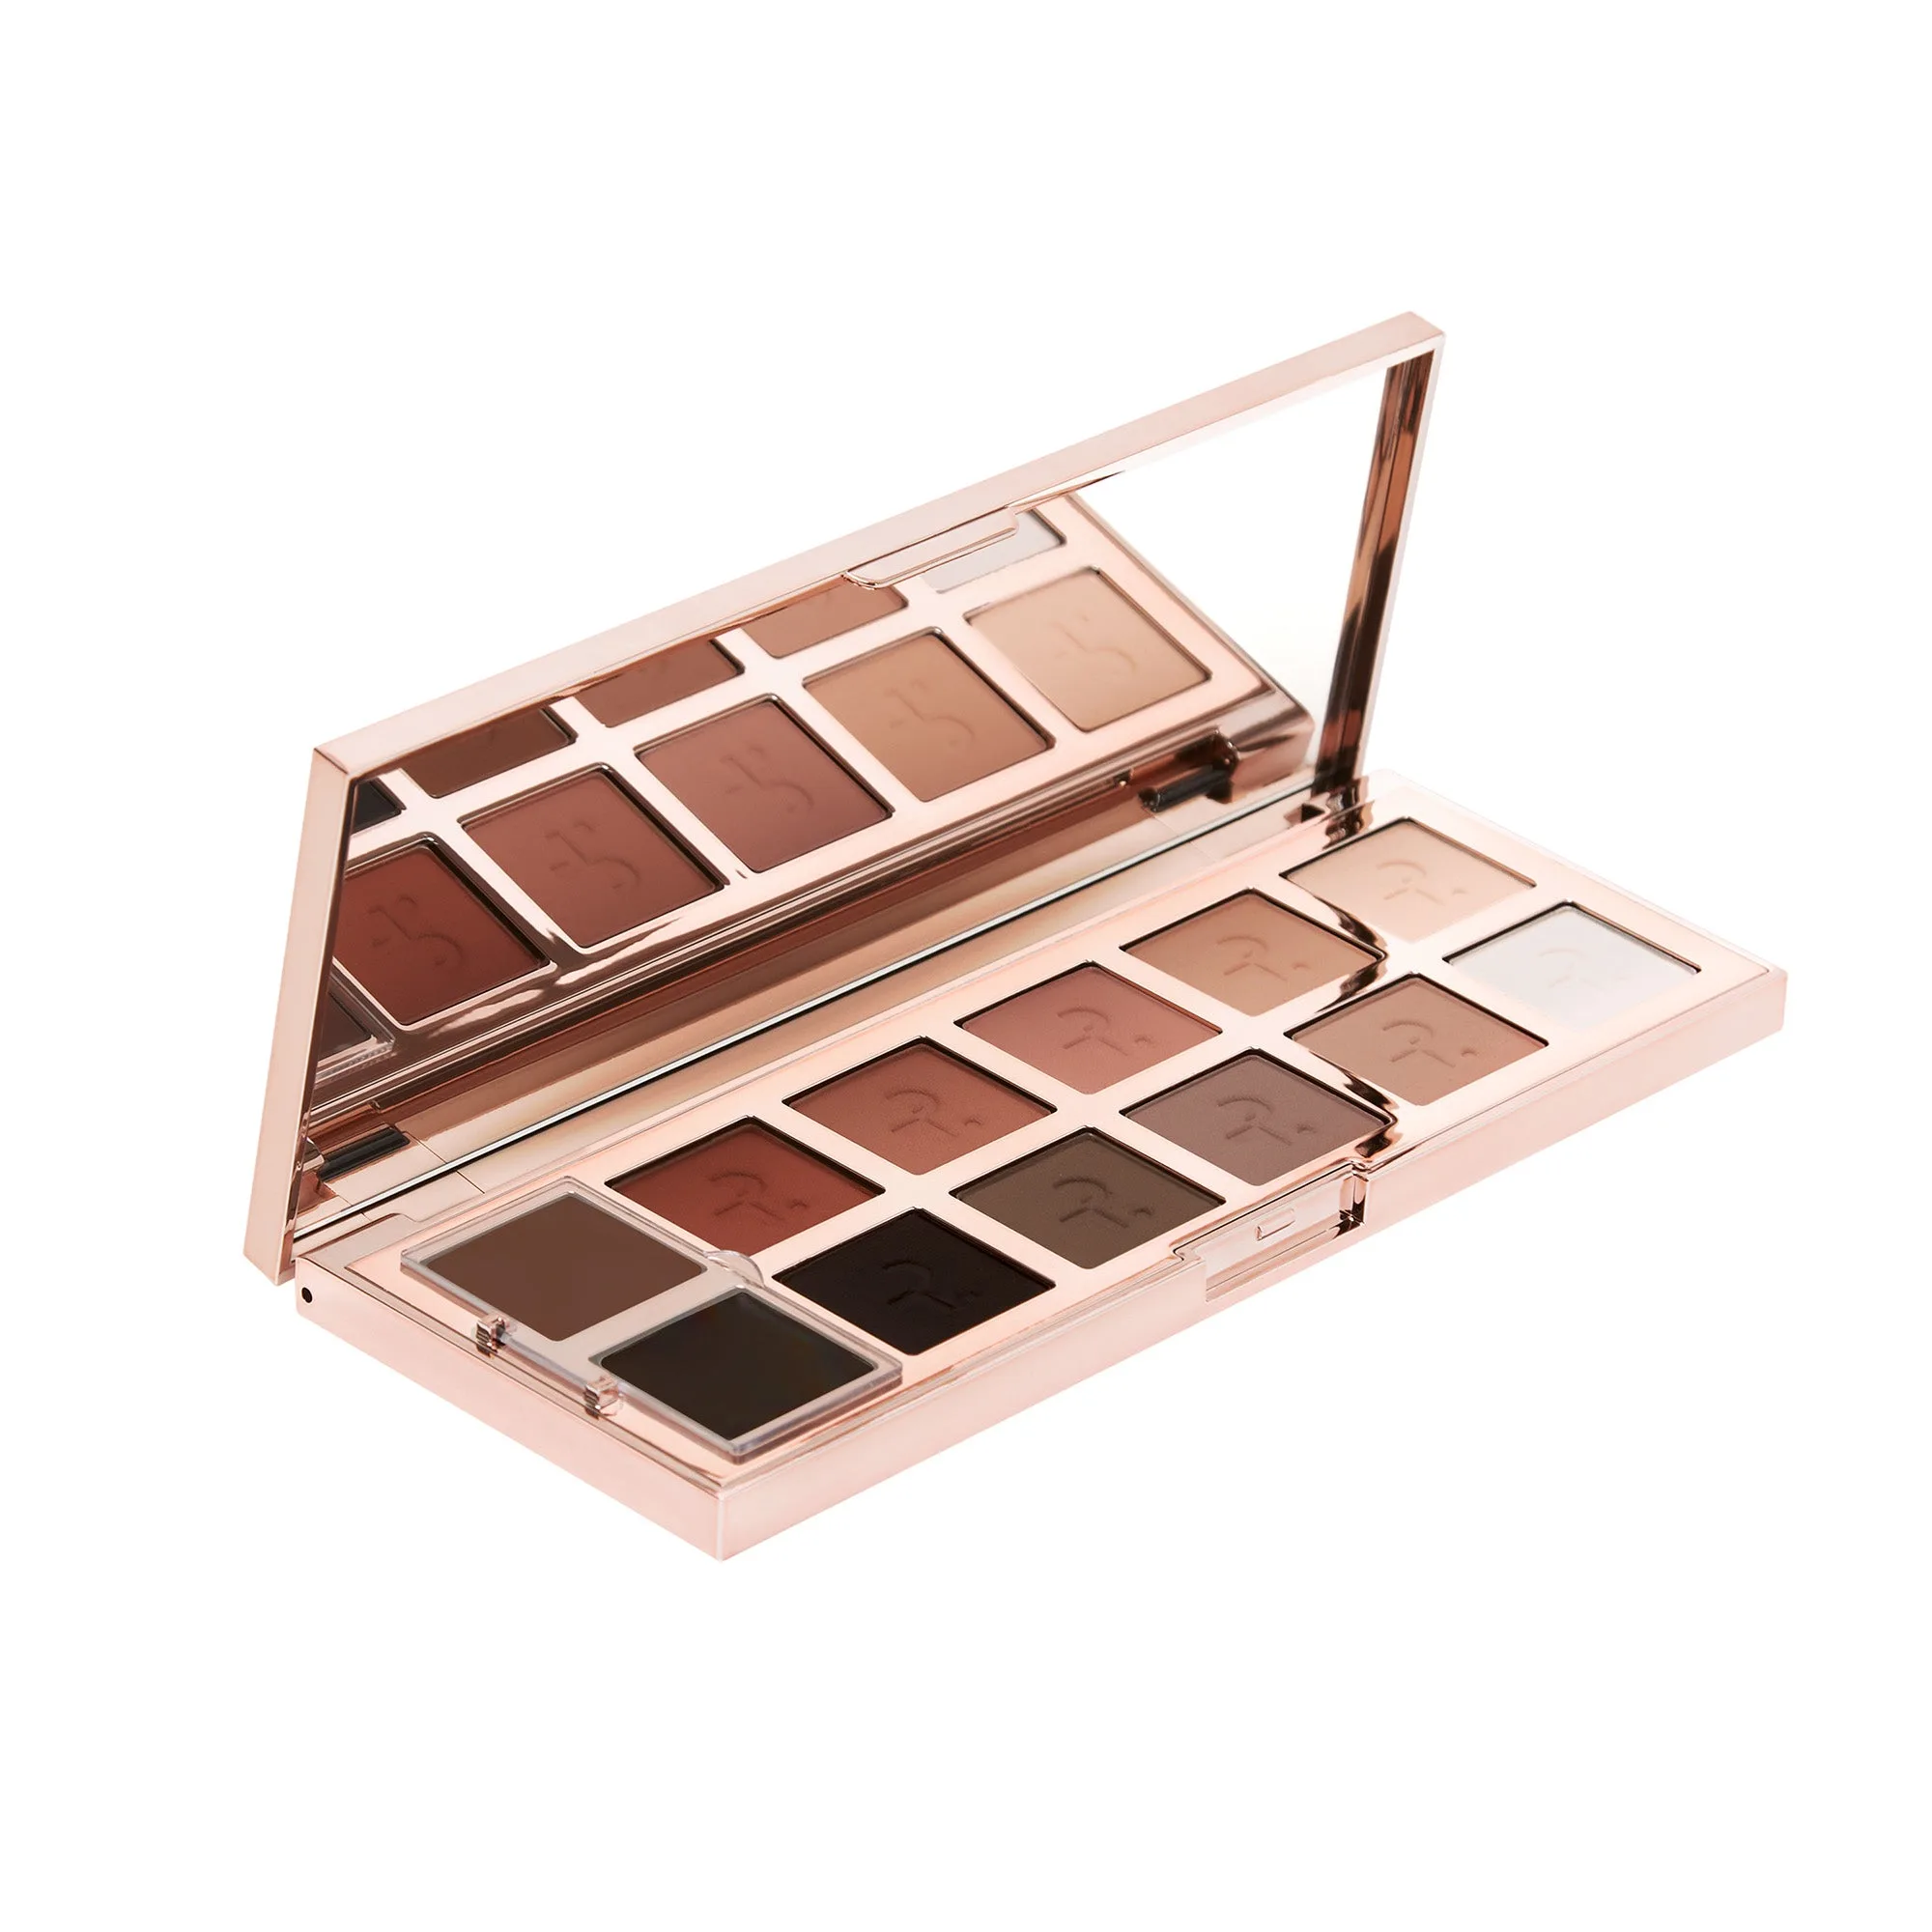
For a beginner-friendly look, stick to three shades: a transition color, a medium crease shade, and a darker outer corner shade. The transition shade should be one to two shades darker than your skin tone, while the crease shade adds depth. The darkest shade defines the outer V.
Using a cohesive color palette makes blending easier. For example, warm neutrals like taupe, bronze, and brown are forgiving and blend seamlessly. You can always experiment with bolder colors once you feel more confident.
- Transition shade: light matte color for blending base
- Crease shade: medium matte for depth
- Outer corner shade: dark matte or shimmer for definition
- Lid shade: shimmer or satin for highlight
Step 3: Apply the Transition Shade
Start with your fluffy blending brush and dip it into the transition shade. Tap off any excess product to avoid fallout. Apply the color to your crease using windshield wiper motions—back and forth, keeping the brush light and airy.
Focus on the outer half of the crease and blend inward. The goal is to create a soft, diffused base that will help other shades blend smoothly. Don't worry about perfection at this stage; you can always build up the intensity.
- Use light, back-and-forth motions
- Keep the brush clean between shades
- Build color gradually for a natural look
Step 4: Add Depth with the Crease Shade
Using a slightly smaller blending brush, pick up your medium crease shade. Apply it to the outer third of your crease, focusing on the area just above the natural crease line. Use small circular motions to blend the color into the transition shade.
This step adds dimension and makes your eyes appear more defined. Remember to blend outward and upward to avoid a harsh line. If you see a distinct line, go back with your clean fluffy brush and buff it out.
Step 5: Define the Outer V
For a more dramatic look, take your darkest shade on a small tapered brush and apply it to the outer corner of your eye, forming a V shape. Blend it into the crease shade using gentle windshield wiper motions. This creates a smoky effect that elongates the eye.
Be careful not to overapply—start with a small amount and build up. You can also use this shade along the lower lash line for added definition. The key is to keep the edges soft and diffused.
- Use a light hand to avoid harsh lines
- Blend the outer V into the crease shade
- Apply a small amount to the lower lash line for balance
Step 6: Highlight the Lid and Brow Bone
Once your crease and outer corner are blended, apply a shimmer or light shade to the center of your eyelid using a flat shader brush. This brightens the eye and adds a pop of light. You can also apply a matte highlight shade just below your brow bone to lift the brow.
Blend the edges of the shimmer into the crease shade using a clean brush or your finger. This ensures a seamless transition between the lid and crease, completing the gradient effect.
Common Blending Mistakes to Avoid
Even experienced makeup artists make mistakes, but knowing what to avoid can speed up your learning. One common error is using too much product at once. Always start with a small amount and build up intensity gradually. Another mistake is using a dirty brush, which can muddy your colors.
Additionally, avoid blending too aggressively. Gentle, light motions are more effective than pressing hard. Finally, don't forget to clean your brushes regularly—built-up product can affect blending and cause irritation.
- Using too much product: start light and build
- Dirty brushes: clean them weekly for best results
- Blending too hard: use soft, light motions
- Skipping the transition shade: it's essential for seamless blending
Pro Tips for Flawless Blending
To take your blending to the next level, try using a product like the Transition Blurring Blush Duo. While it's a blush, its creamy texture and blendability make it perfect for practicing blending techniques on the cheeks before moving to the eyes. The dual-ended design also helps you switch between shades effortlessly.
Another tip is to use a setting spray on your brush before applying shimmer shades. This intensifies the color and prevents fallout. Finally, always blend with a clean brush after each shade to soften any harsh edges.
- Use a setting spray for more vibrant shimmer
- Practice on your hand or arm to build muscle memory
- Keep a clean blending brush handy for touch-ups
Mastering eyeshadow blending takes practice, but with the right tools and techniques, you'll be creating stunning eye looks in no time. Start with the basics, use quality brushes, and don't be afraid to experiment. To elevate your blending game, explore the Transition Blurring Blush Duo for a versatile, blendable product that works beautifully on both eyes and cheeks.