Quick answer
To match wallpaper patterns at seams, always cut panels in sequence from the same batch, align each new panel to the previous one before trimming, and add one full pattern repeat to your wall height when calculating roll needs. Work left to right, check the match at eye level before smoothing, and keep all panels from one order to avoid batch color shifts.
Why pattern matching fails at seams
Most mismatched seams come from three avoidable errors: cutting panels independently instead of in sequence, ignoring the pattern repeat when measuring, and mixing wallpaper from different batches. When you cut each panel as a separate piece, small differences in where the pattern falls accumulate. By the time you reach the third or fourth panel, the design no longer lines up. Batch differences are another culprit: even the same pattern can vary slightly between production runs. For any project, order all the panels you need at once so the batch stays consistent.
Tools and prep that make matching easier
You do not need specialty tools, but a few basics help. Use a long straightedge and a sharp blade for clean cuts, a pencil for marking the back of the panel, and a smoothing tool to press seams flat. Before you cut anything, unroll the wallpaper and let it relax for a few hours if it has been stored tightly. Check the pattern repeat printed on the label or measure it yourself by finding the vertical distance between two identical points in the design. Write that number down; you will use it for every panel.
How to calculate panels with the repeat in mind
Measure your wall height from the top of the baseboard to the ceiling, then add the pattern repeat plus a few inches for trimming. For example, if your wall is 96 inches and the repeat is 24 inches, cut panels at 124 inches so you can slide each panel up or down to align the pattern without running short. Divide the total wall width by the panel width to get the number of panels, then add one extra panel for mistakes or future repairs. If the repeat is large, expect more waste; that is normal and worth planning for.
Step-by-step: matching patterns at the seam
Work in one direction, usually left to right, so you always align the new panel to the one already on the wall. Apply the first panel and smooth it. Before you press the second panel down, hold it next to the first and slide it up or down until the pattern lines up exactly at eye level. Mark that position on the back with a pencil, then trim the top and bottom. Peel back the bottom half of the second panel, press the top half in place, and smooth downward. Repeat this for every panel, always matching to the previous one, not to the first panel. If you are using a self-adhesive wallpaper, you can lift and reposition it gently before pressing firmly, which makes alignment less stressful.
Seam checkpoints and common mistakes
Check each seam before moving on. Stand back a few feet and look at the seam at eye level; if the pattern is off by even a fraction, lift the panel and adjust. Do not rely on the pattern matching at the top only, because walls and ceilings are rarely perfectly level. Another common mistake is over-smoothing the seam, which can stretch the material and cause a gap later. Press the seam flat with a smoothing tool, but do not drag it across the seam repeatedly. If a seam still shows a slight gap, a small amount of seam roller pressure can help, but if the gap is large, the panel is misaligned and should be repositioned.
Pattern matching steps at a glance
- Measure the repeat and add it to your cut length: Find the vertical distance between two identical points in the pattern. Add that number plus a few inches to your wall height for each panel. Checkpoint: write the repeat on your cutting list so you do not forget it.
- Cut all panels in sequence from the same batch: Unroll the wallpaper and cut panels one after another, matching each new panel to the previous one as you go. Do not cut panels from different rolls or batches. Mistake to avoid: cutting each panel independently, which causes the pattern to drift.
- Apply the first panel and smooth it: Start at the left edge and work right. Press the first panel firmly, leaving a few inches at the top and bottom for trimming. Checkpoint: make sure the panel is plumb before moving on.
- Align the next panel before pressing: Hold the dry panel next to the installed one and slide it up or down until the pattern matches at eye level. Mark the position, then trim. Mistake to avoid: matching only at the ceiling, where uneven walls can hide a misalignment.
- Press and smooth the seam: Peel back the bottom half, press the top half in place, and smooth downward with a tool. Do not overwork the seam. Checkpoint: stand back and check the seam at eye level before moving to the next panel.
- Repeat for every panel, matching to the previous one: Always align the new panel to the one you just installed, not to the first panel. This keeps small differences from accumulating. If a seam is off, lift and reposition while the adhesive is still workable.
Product facts
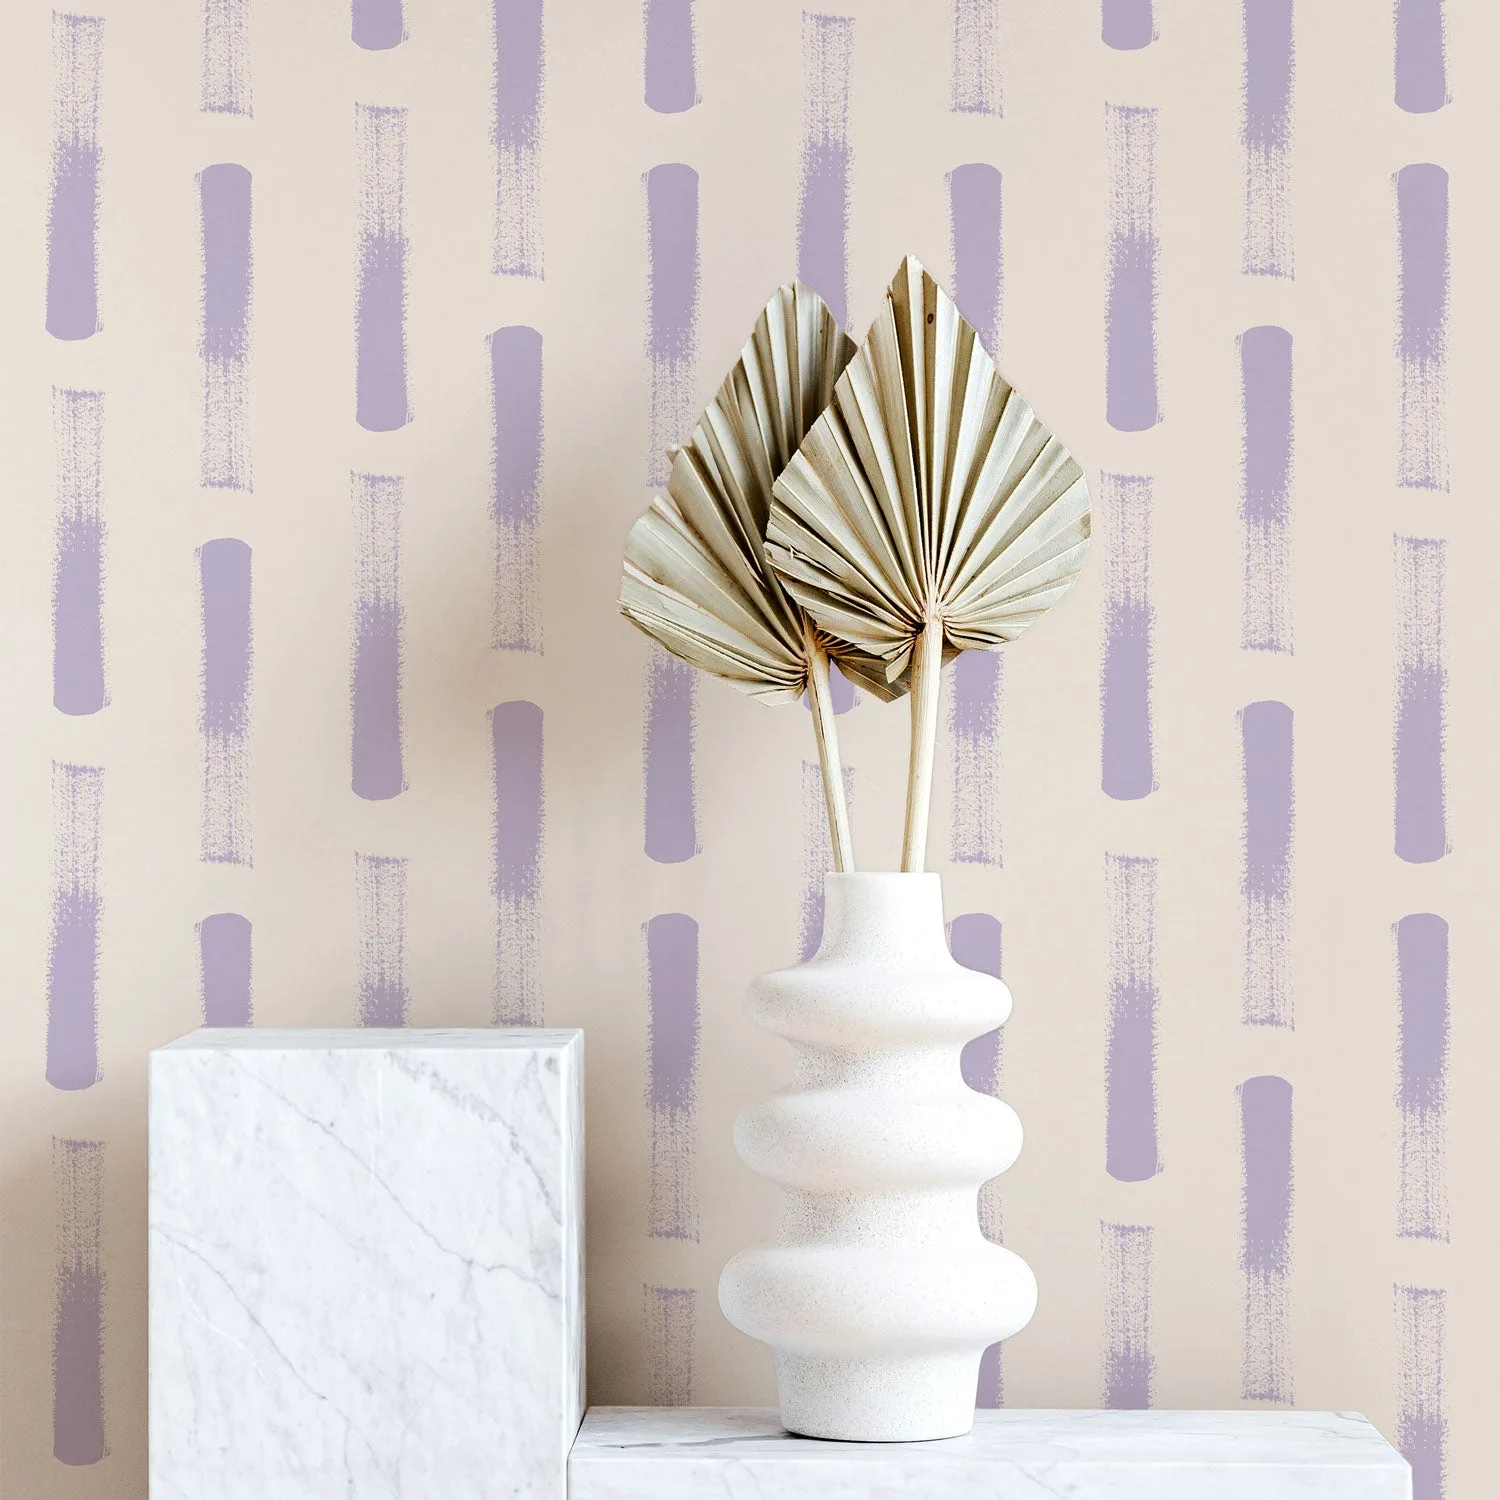
- Pastel Abstract Piano Pattern © Wallpaper: Self adhesive removable textile wallpaper with water-resistant, gently cleanable PVC free material, printed with GreenGuard Gold. Repositionable adhesive makes it easier to slide panels into pattern alignment before pressing, and the cleanable surface handles occasional seam adjustments.
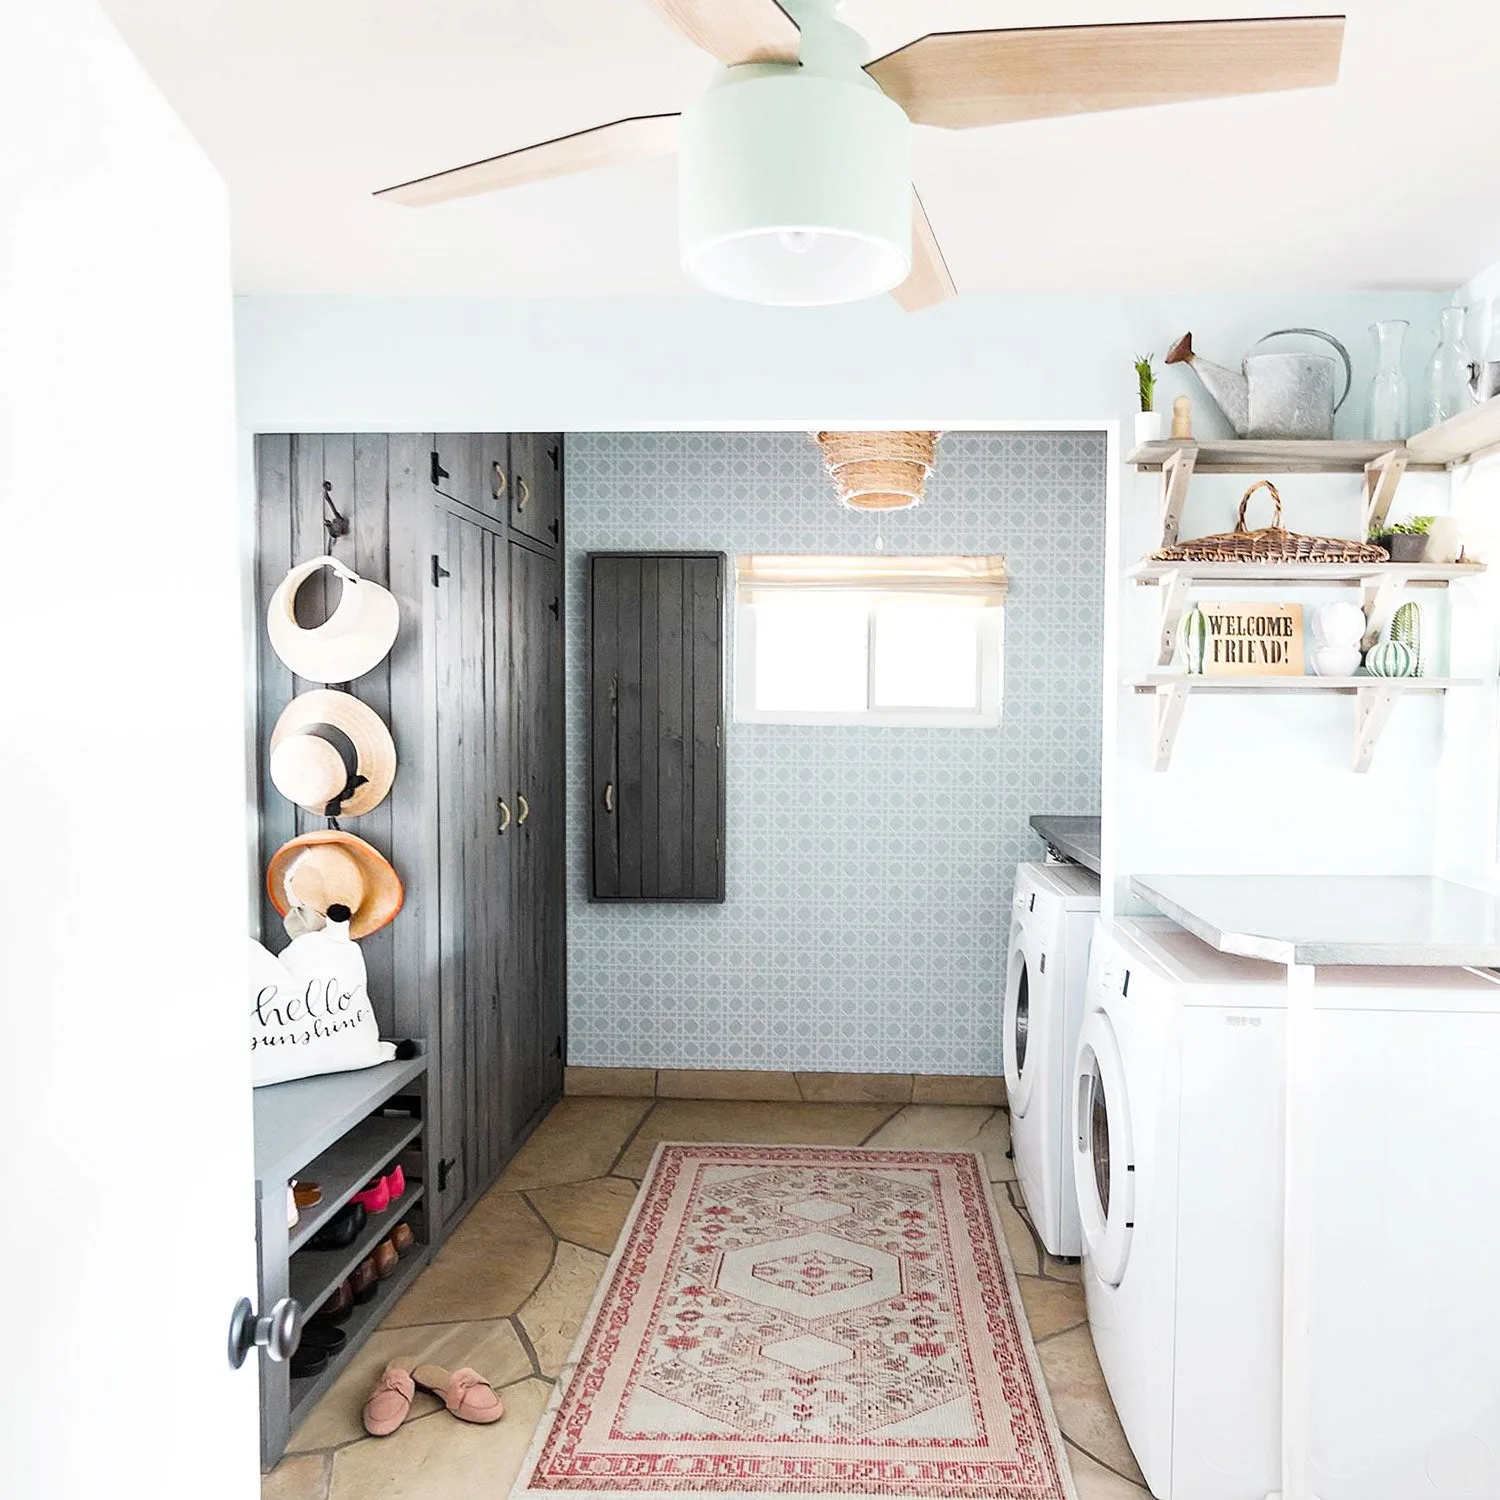
- Light Blue Cane pattern wallpaper: Self adhesive removable textile wallpaper with water-resistant, gently cleanable PVC free material, printed with GreenGuard Gold. The same repositionable and cleanable qualities apply, so you can correct a misaligned seam without damaging the panel.
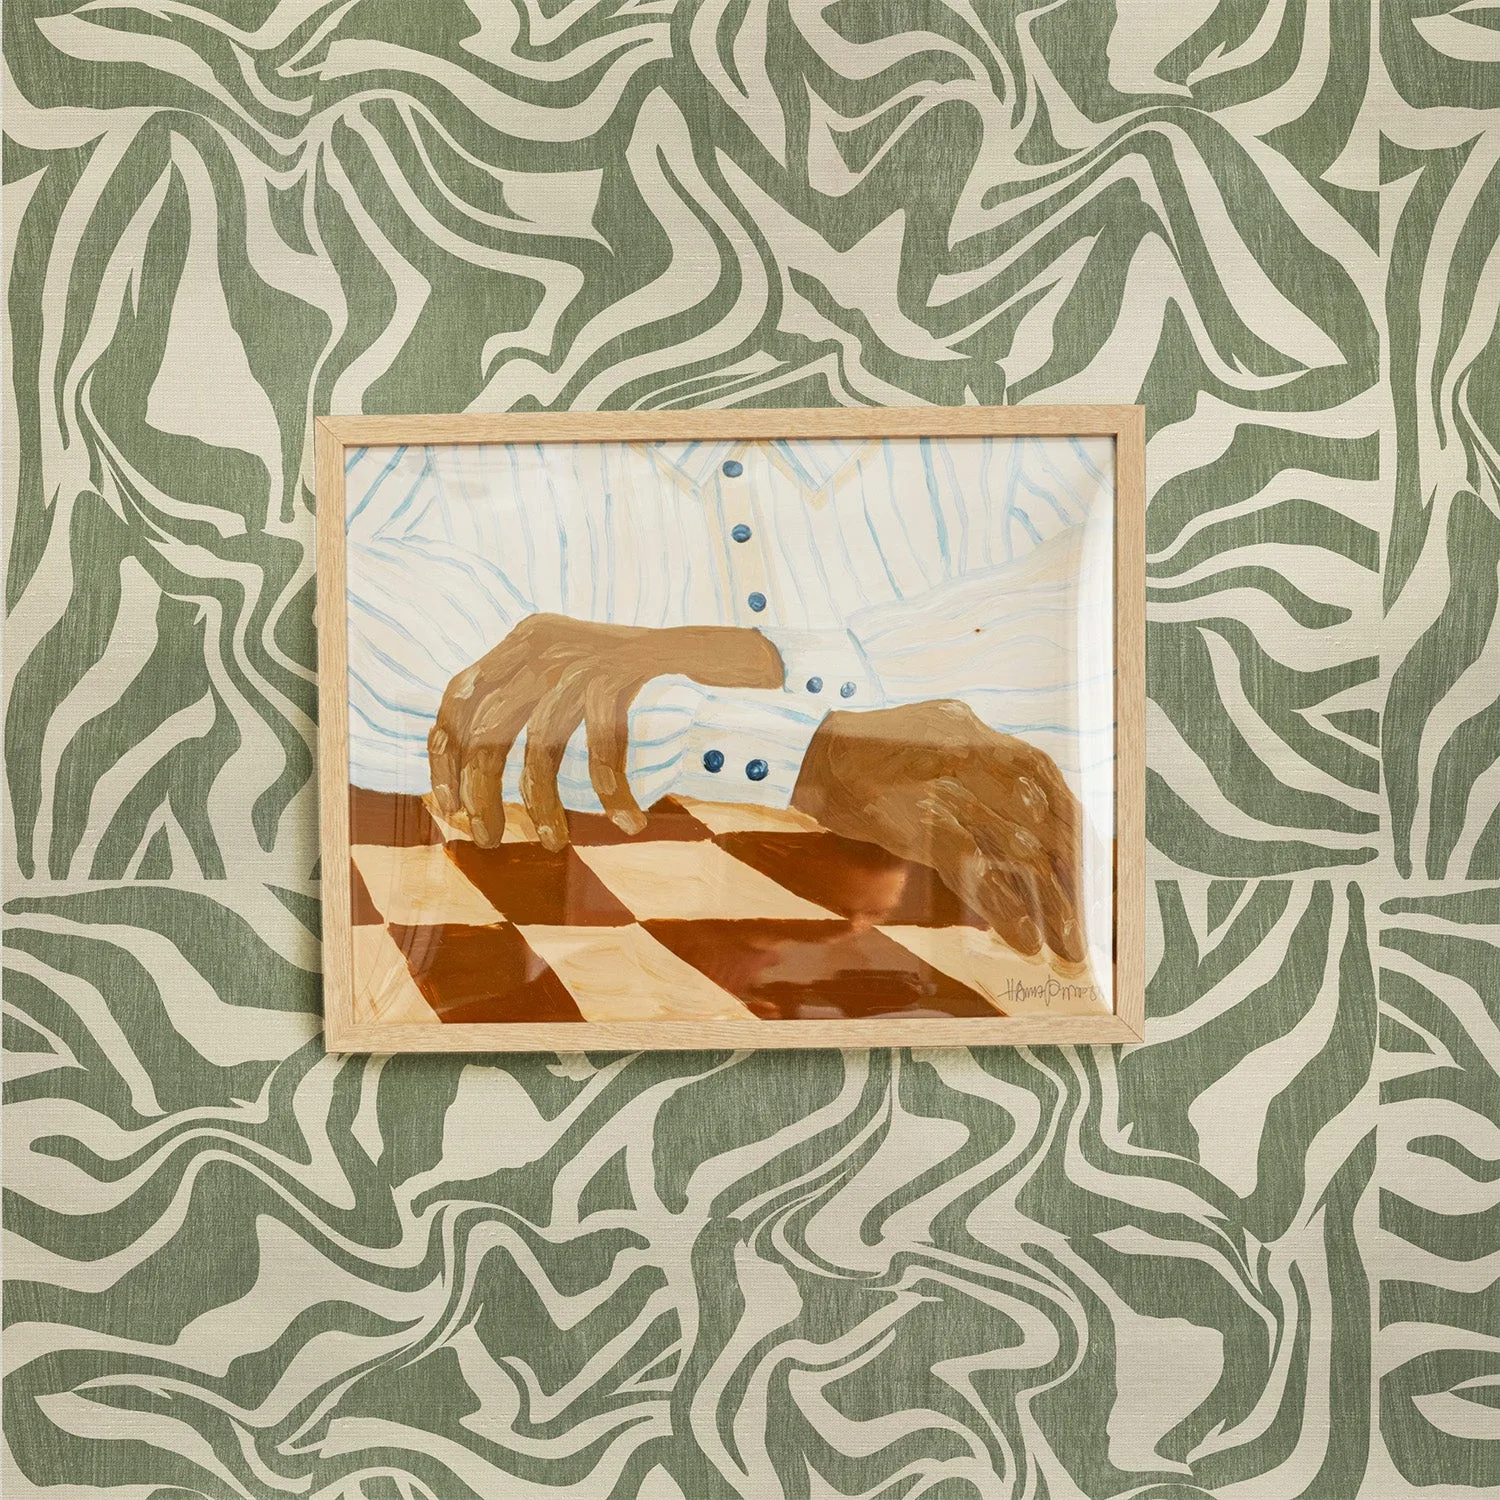
- Wooden Zebra Pattern Silk Wallpaper: Premium silk substrate offers a subtle sheen and easy application. A smooth silk finish can make seam lines more visible if the pattern is not matched precisely, so take extra care to align the repeat before pressing.