Quick answer
To measure your ring size at home for stacking rings, wrap a strip of paper or a piece of string around the base of your finger, mark where it overlaps, and measure that length in millimeters against a ring size chart. For stacking, always size to your largest knuckle and add a quarter to half size so multiple bands sit comfortably without pinching. If you want to skip sizing entirely, a sizeless ring alternative like a mystery box of necklaces, bracelets, or earrings removes the guesswork.
Why stacking rings need a different sizing approach
Stacking rings sit side by side, so each band takes up horizontal space on your finger. If every ring is sized exactly to your snug solo fit, the stack can feel tight and restrict movement. A good rule is to size your stack to the largest knuckle and add a quarter to half size of breathing room. This extra space lets the rings slide slightly without falling off, and it prevents the dreaded pinch when your fingers swell in warm weather or after salty meals.
Tools you already have (and what to avoid)
You do not need a professional ring sizer to get a reliable measurement. A strip of paper, a piece of non-stretchy string, a ruler with millimeter markings, and a pen are enough. Avoid using stretchy string or elastic, because it distorts the measurement. Also skip measuring when your hands are cold, as fingers shrink slightly and can give you a size that is too small.
How to measure your finger step by step
Follow these steps in order, and write down each measurement. If you are between sizes, always round up for stacking rings.
- Step 1: Cut a strip of paper about 6 inches long and 1/4 inch wide. Wrap it around the base of your finger, just below the knuckle. Make sure it is snug but not tight. Common mistake: wrapping too loosely, which adds millimeters and gives you a size that is too large.
- Step 2: Mark the exact point where the paper overlaps. Use a pen to draw a line. Checkpoint: the paper should feel like it is barely touching your skin all the way around.
- Step 3: Lay the paper flat and measure from the start of the paper to your mark using a ruler with millimeter markings. This is your finger circumference. Common mistake: measuring from the wrong end or stretching the paper while measuring.
- Step 4: Compare your millimeter measurement to a ring size chart. If you are between two sizes, choose the larger size for stacking. Checkpoint: measure your finger at the end of the day when it is at its largest.
- Step 5: Measure the finger you plan to wear the stack on, and measure it two or three times to confirm. Common mistake: assuming your ring finger is the same size on both hands—it often is not.
- Step 6: If you already own a ring that fits well, measure its inside diameter with a ruler. Compare that to the chart as a cross-check. Checkpoint: the inside diameter should match the chart for your measured circumference.
Adjusting for stacking rings fit
Once you have your base size, add a quarter to half size for a stack of two to three rings. For four or more rings, consider adding a full size. This extra room keeps the stack from feeling tight and allows each band to move independently. If you are buying rings with different widths, note that wider bands feel tighter, so you may need to go up another quarter size for those.
When to skip sizing: the sizeless ring alternative
If you are buying a gift or want to avoid the sizing process altogether, a sizeless ring alternative like a mystery box of necklaces, bracelets, or earrings can be a practical choice. These pieces do not require a finger measurement, so they work for anyone. For rings, however, sizing is still the best way to ensure a comfortable stack.
Step-by-step ring sizing for stacking rings
- Measure your finger circumference: Wrap paper or non-stretchy string around the base of your finger, mark the overlap, and measure in millimeters. Common mistake: wrapping too loosely. The paper should be snug but not tight.
- Check against a ring size chart: Use the millimeter measurement to find your size on a chart. If between sizes, round up for stacking. Checkpoint: measure at the end of the day when fingers are largest.
- Add room for stacking: Add a quarter to half size for two to three rings, or a full size for four or more. Wider bands may need extra room. This prevents pinching and allows rings to move independently.
- Cross-check with an existing ring: Measure the inside diameter of a ring that fits well and compare to the chart. If the measurements disagree, trust the larger size for stacking.
- Consider a sizeless alternative: If you cannot measure or are buying a gift, a sizeless mystery box of necklaces, bracelets, or earrings avoids sizing entirely. For rings, sizing is still best for a comfortable stack.
Product facts
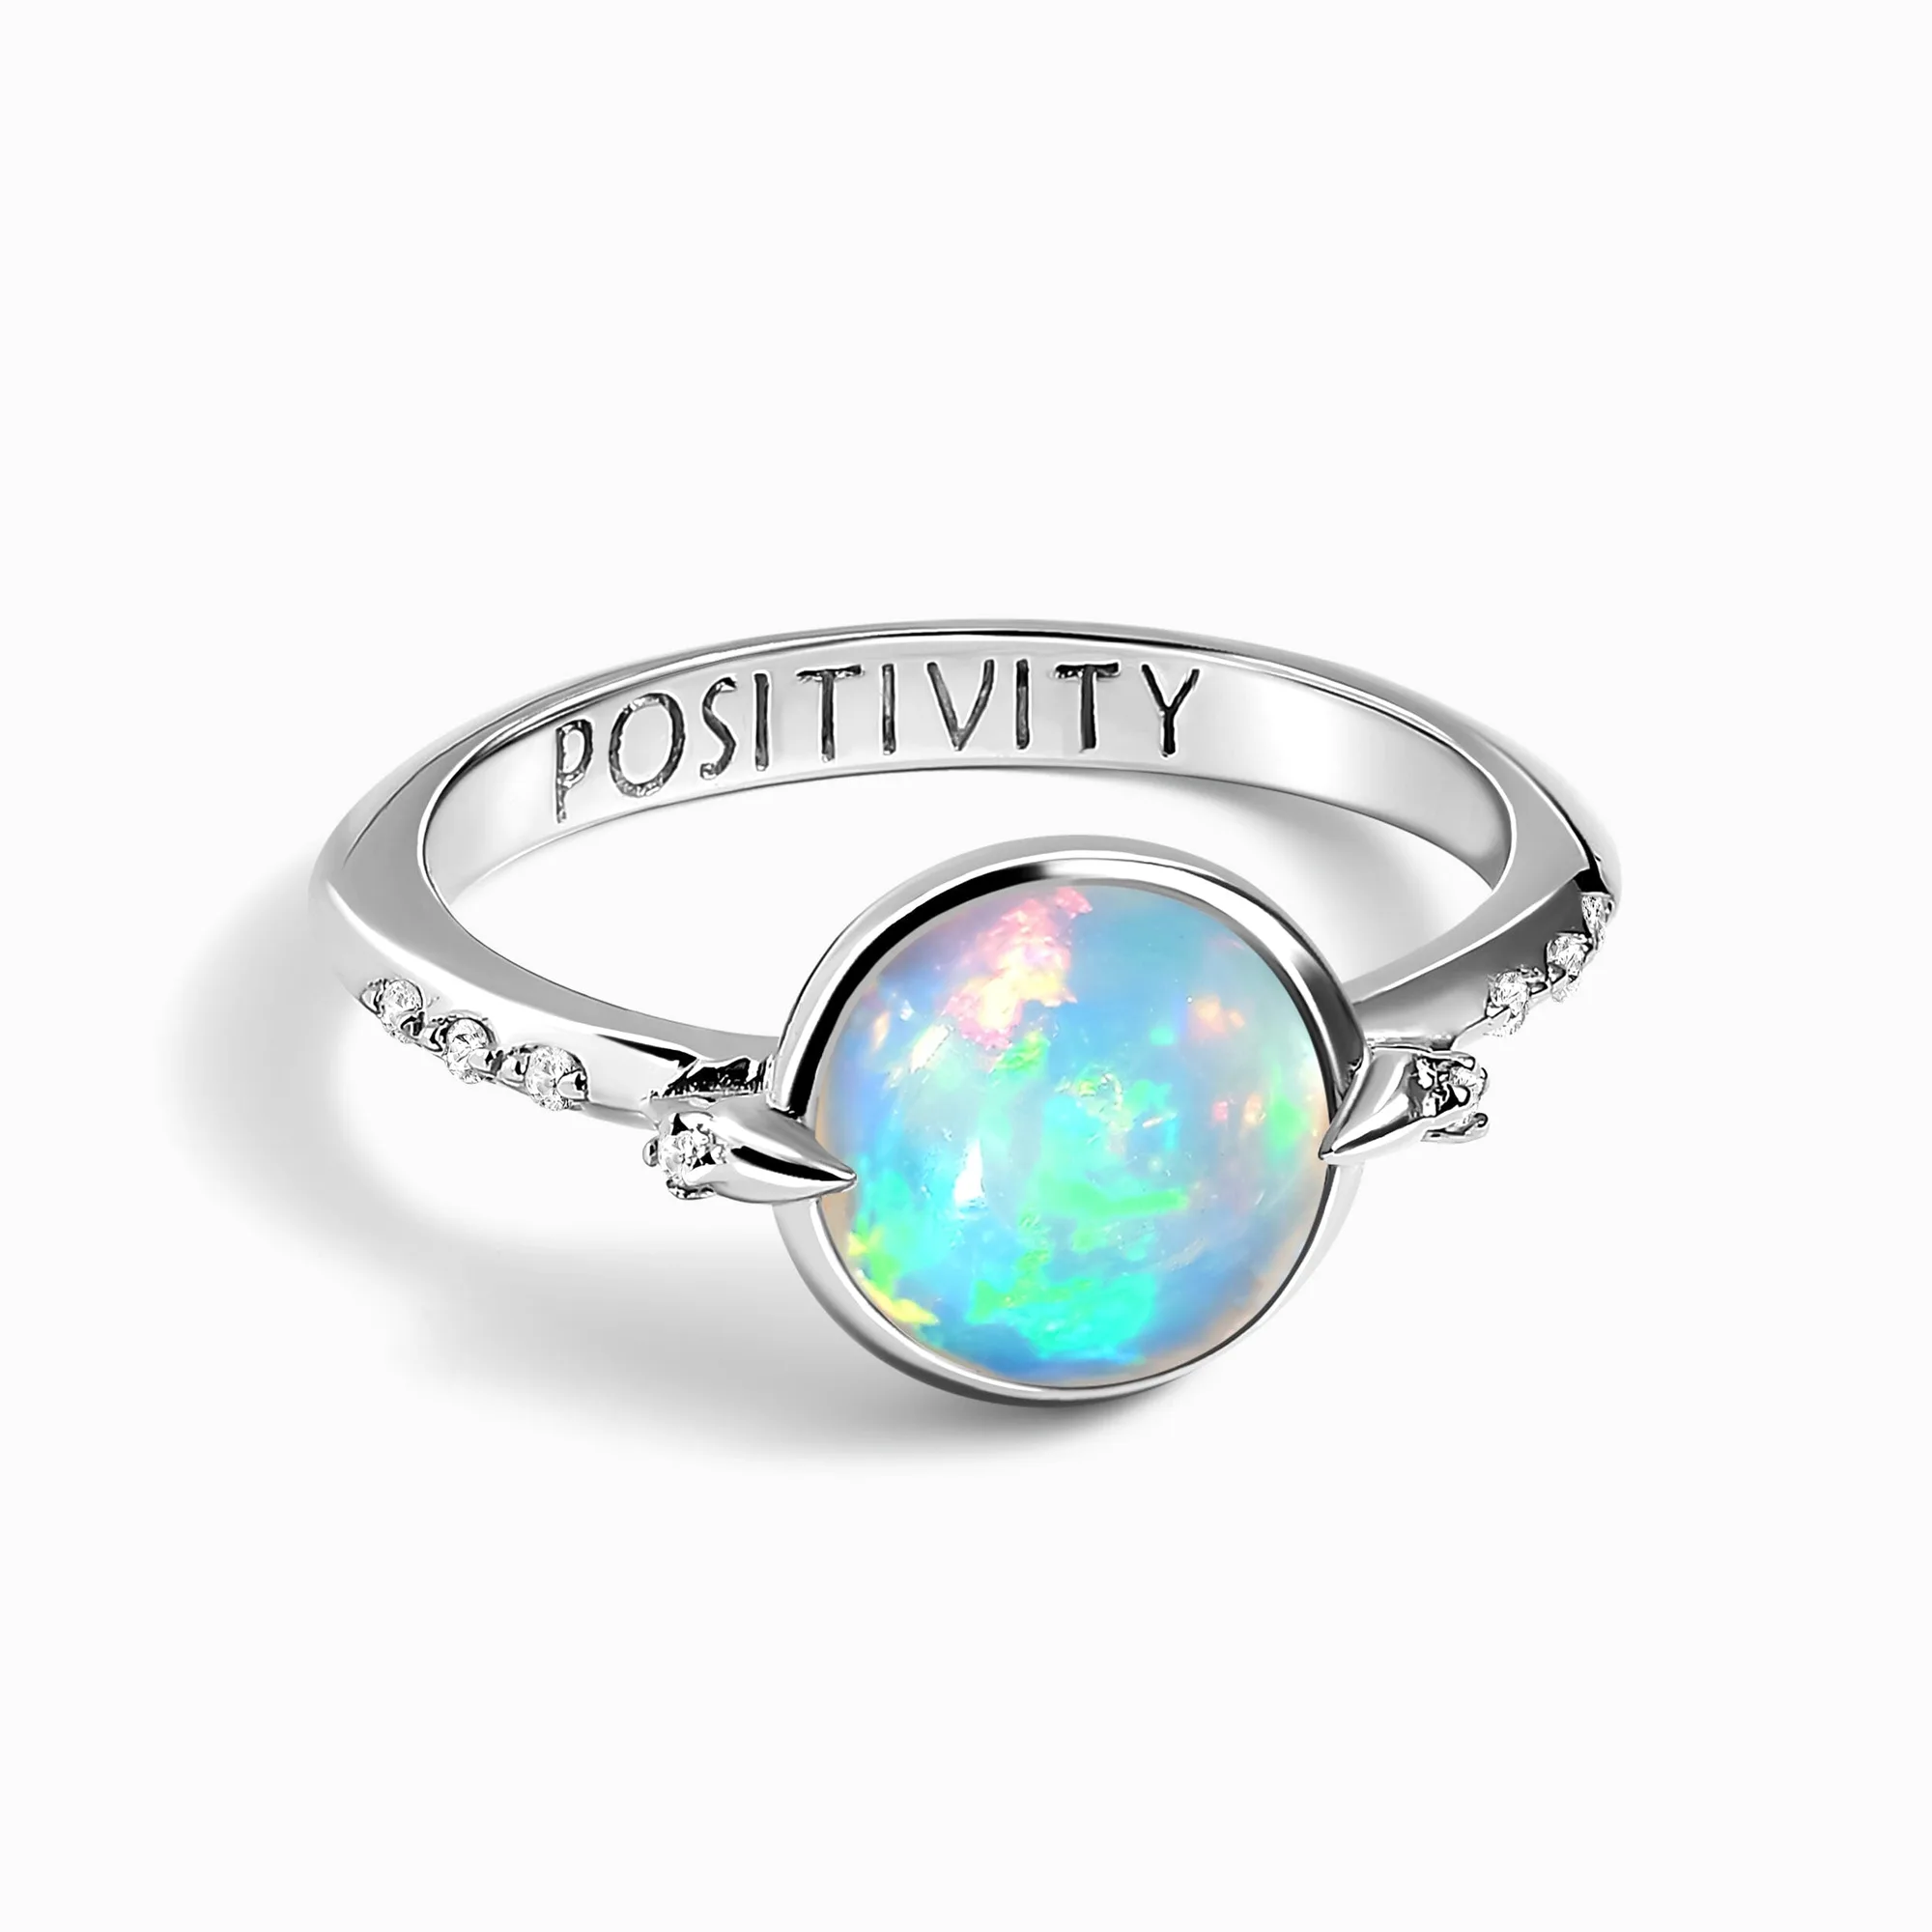
- Opal Energy Ring - Positivity Engraved: Opal Energy Ring - Positivity Engraved: "Positivity" engraved inside the tarnish-resistant band; available in Material and Size options. The engraved message and tarnish-resistant band make it a meaningful stacking piece, and since it comes in multiple sizes, you can order the exact size you measured for a comfortable fit.
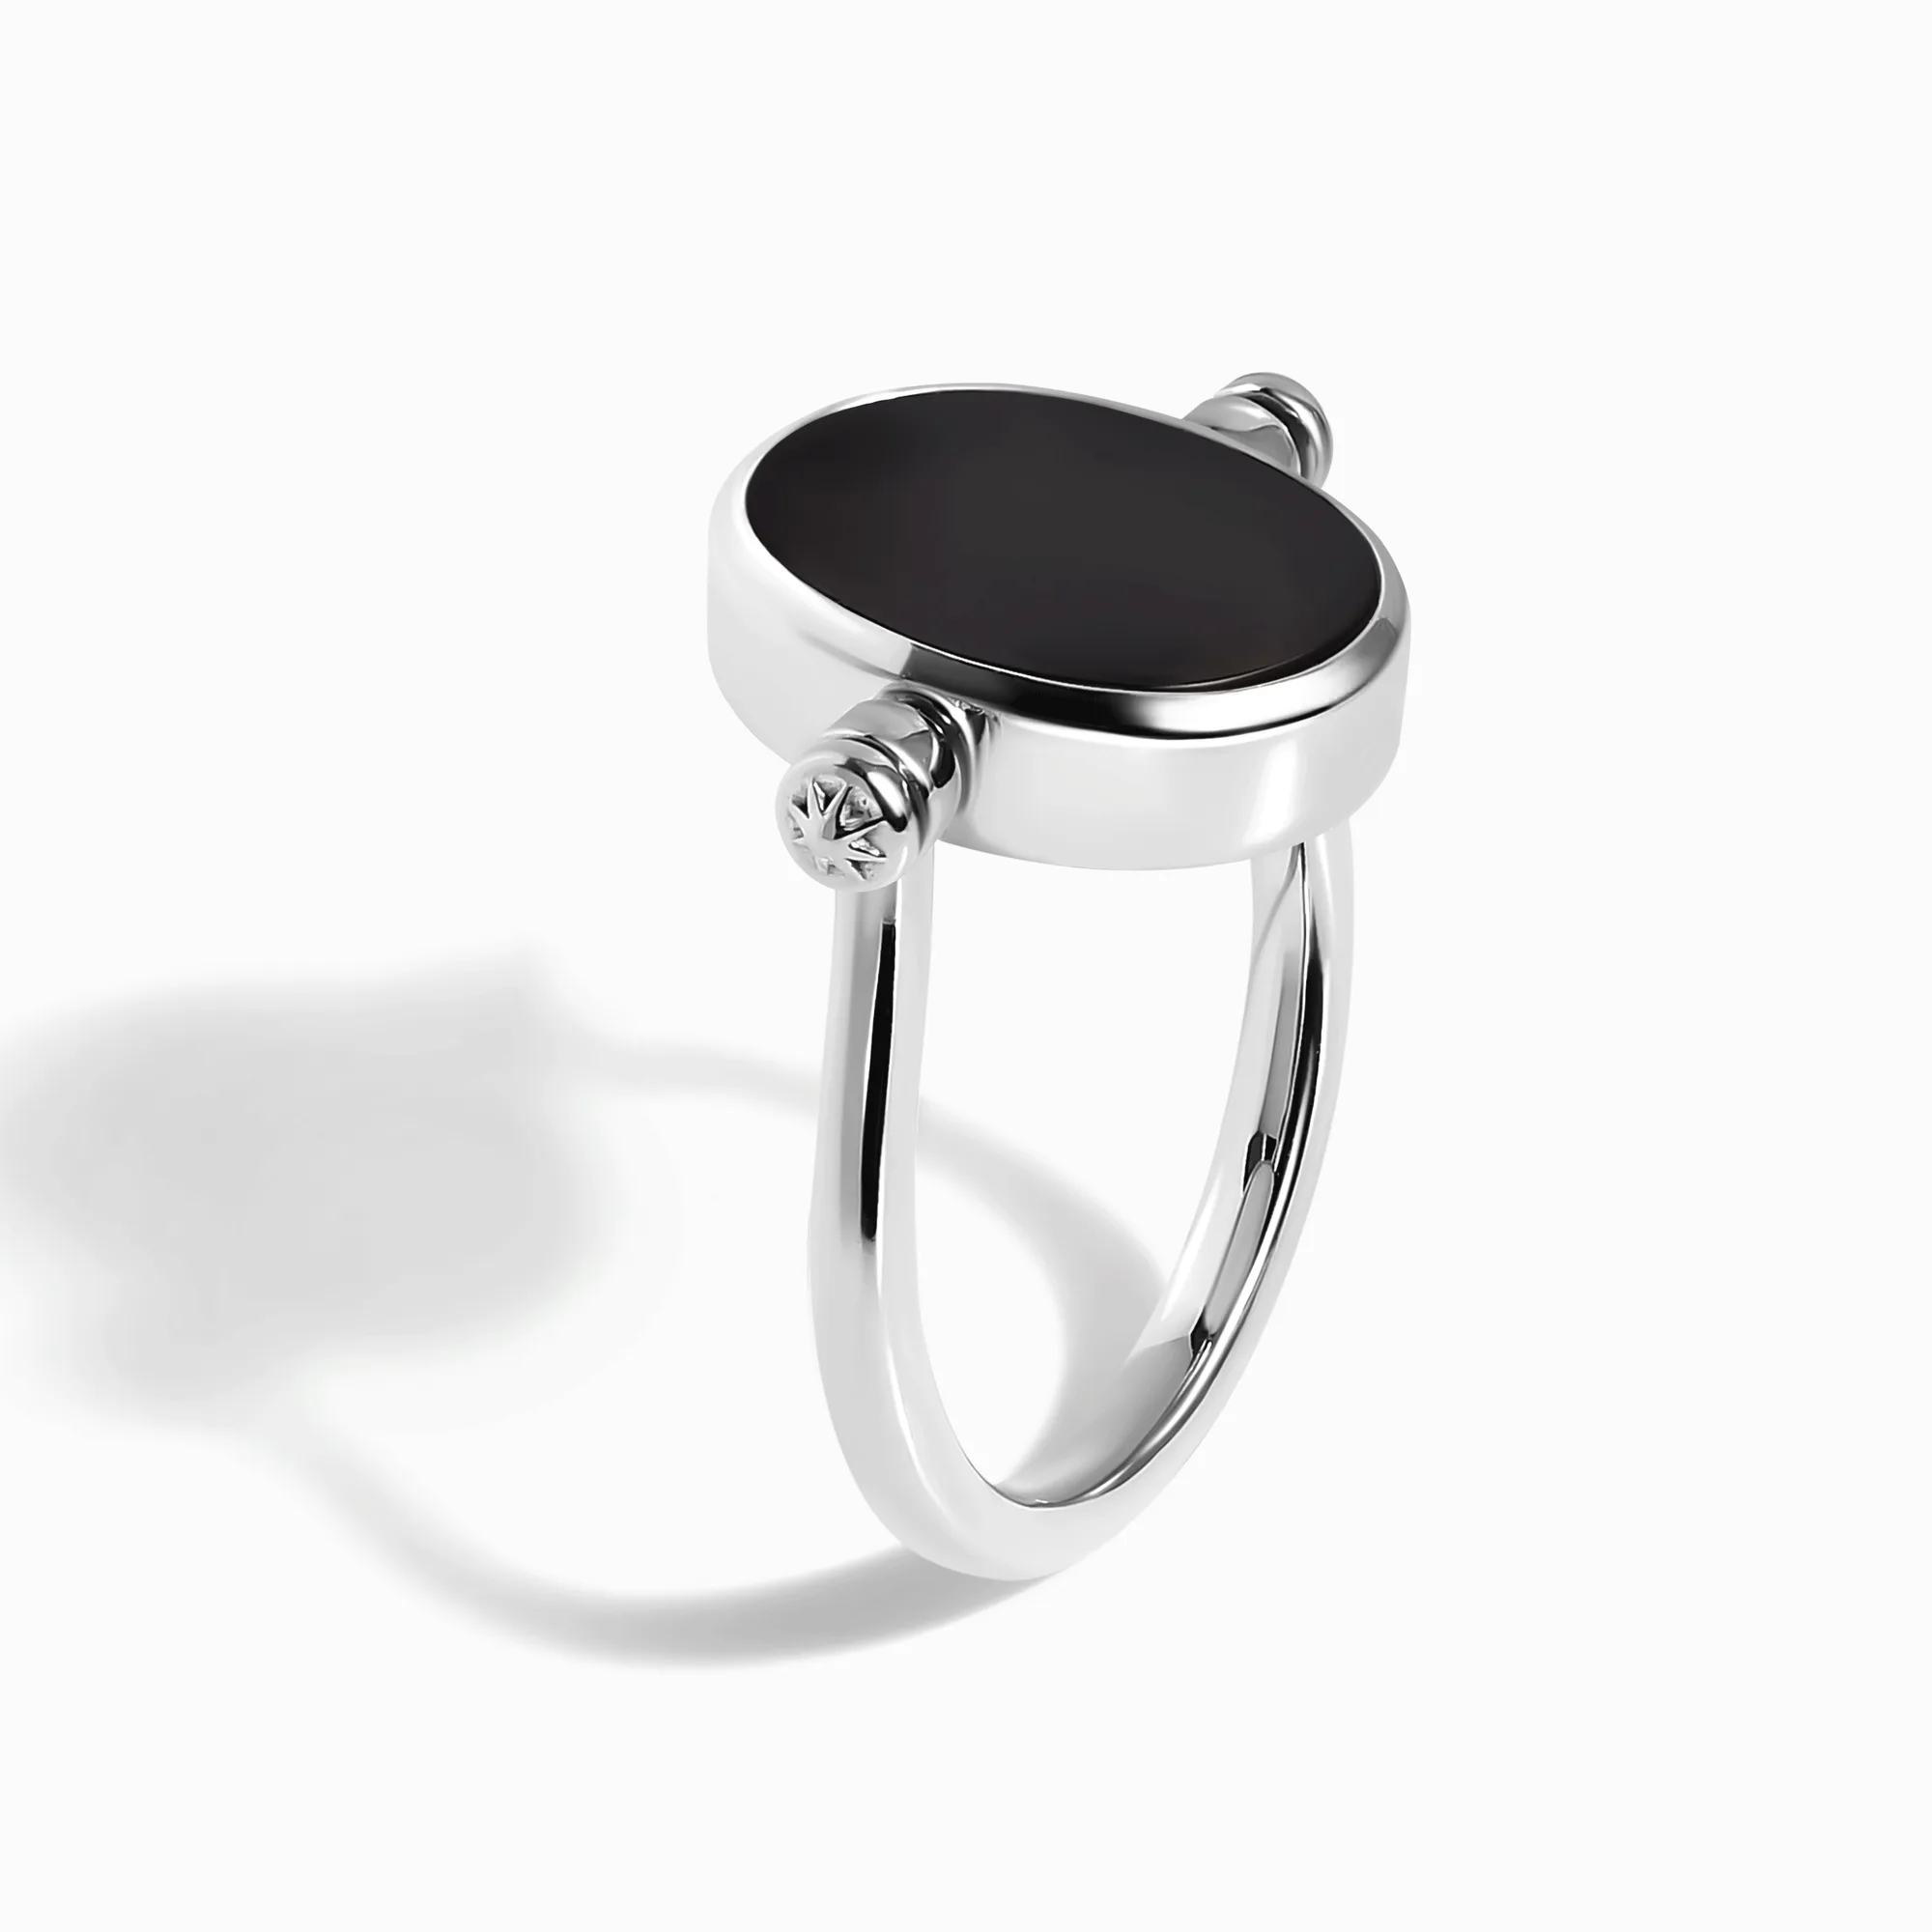
- Black Onyx Mother of Pearl Fidget Ring - Spinning Enfolded: Black Onyx Mother of Pearl Fidget Ring - Spinning Enfolded: features a spinning design with Mother of Pearl on one side and Black Onyx on the other; available in Material and Size options. The spinning mechanism adds a tactile element, and because it is sized, you can choose the right fit for stacking. The dual stones let you switch energy as you like.
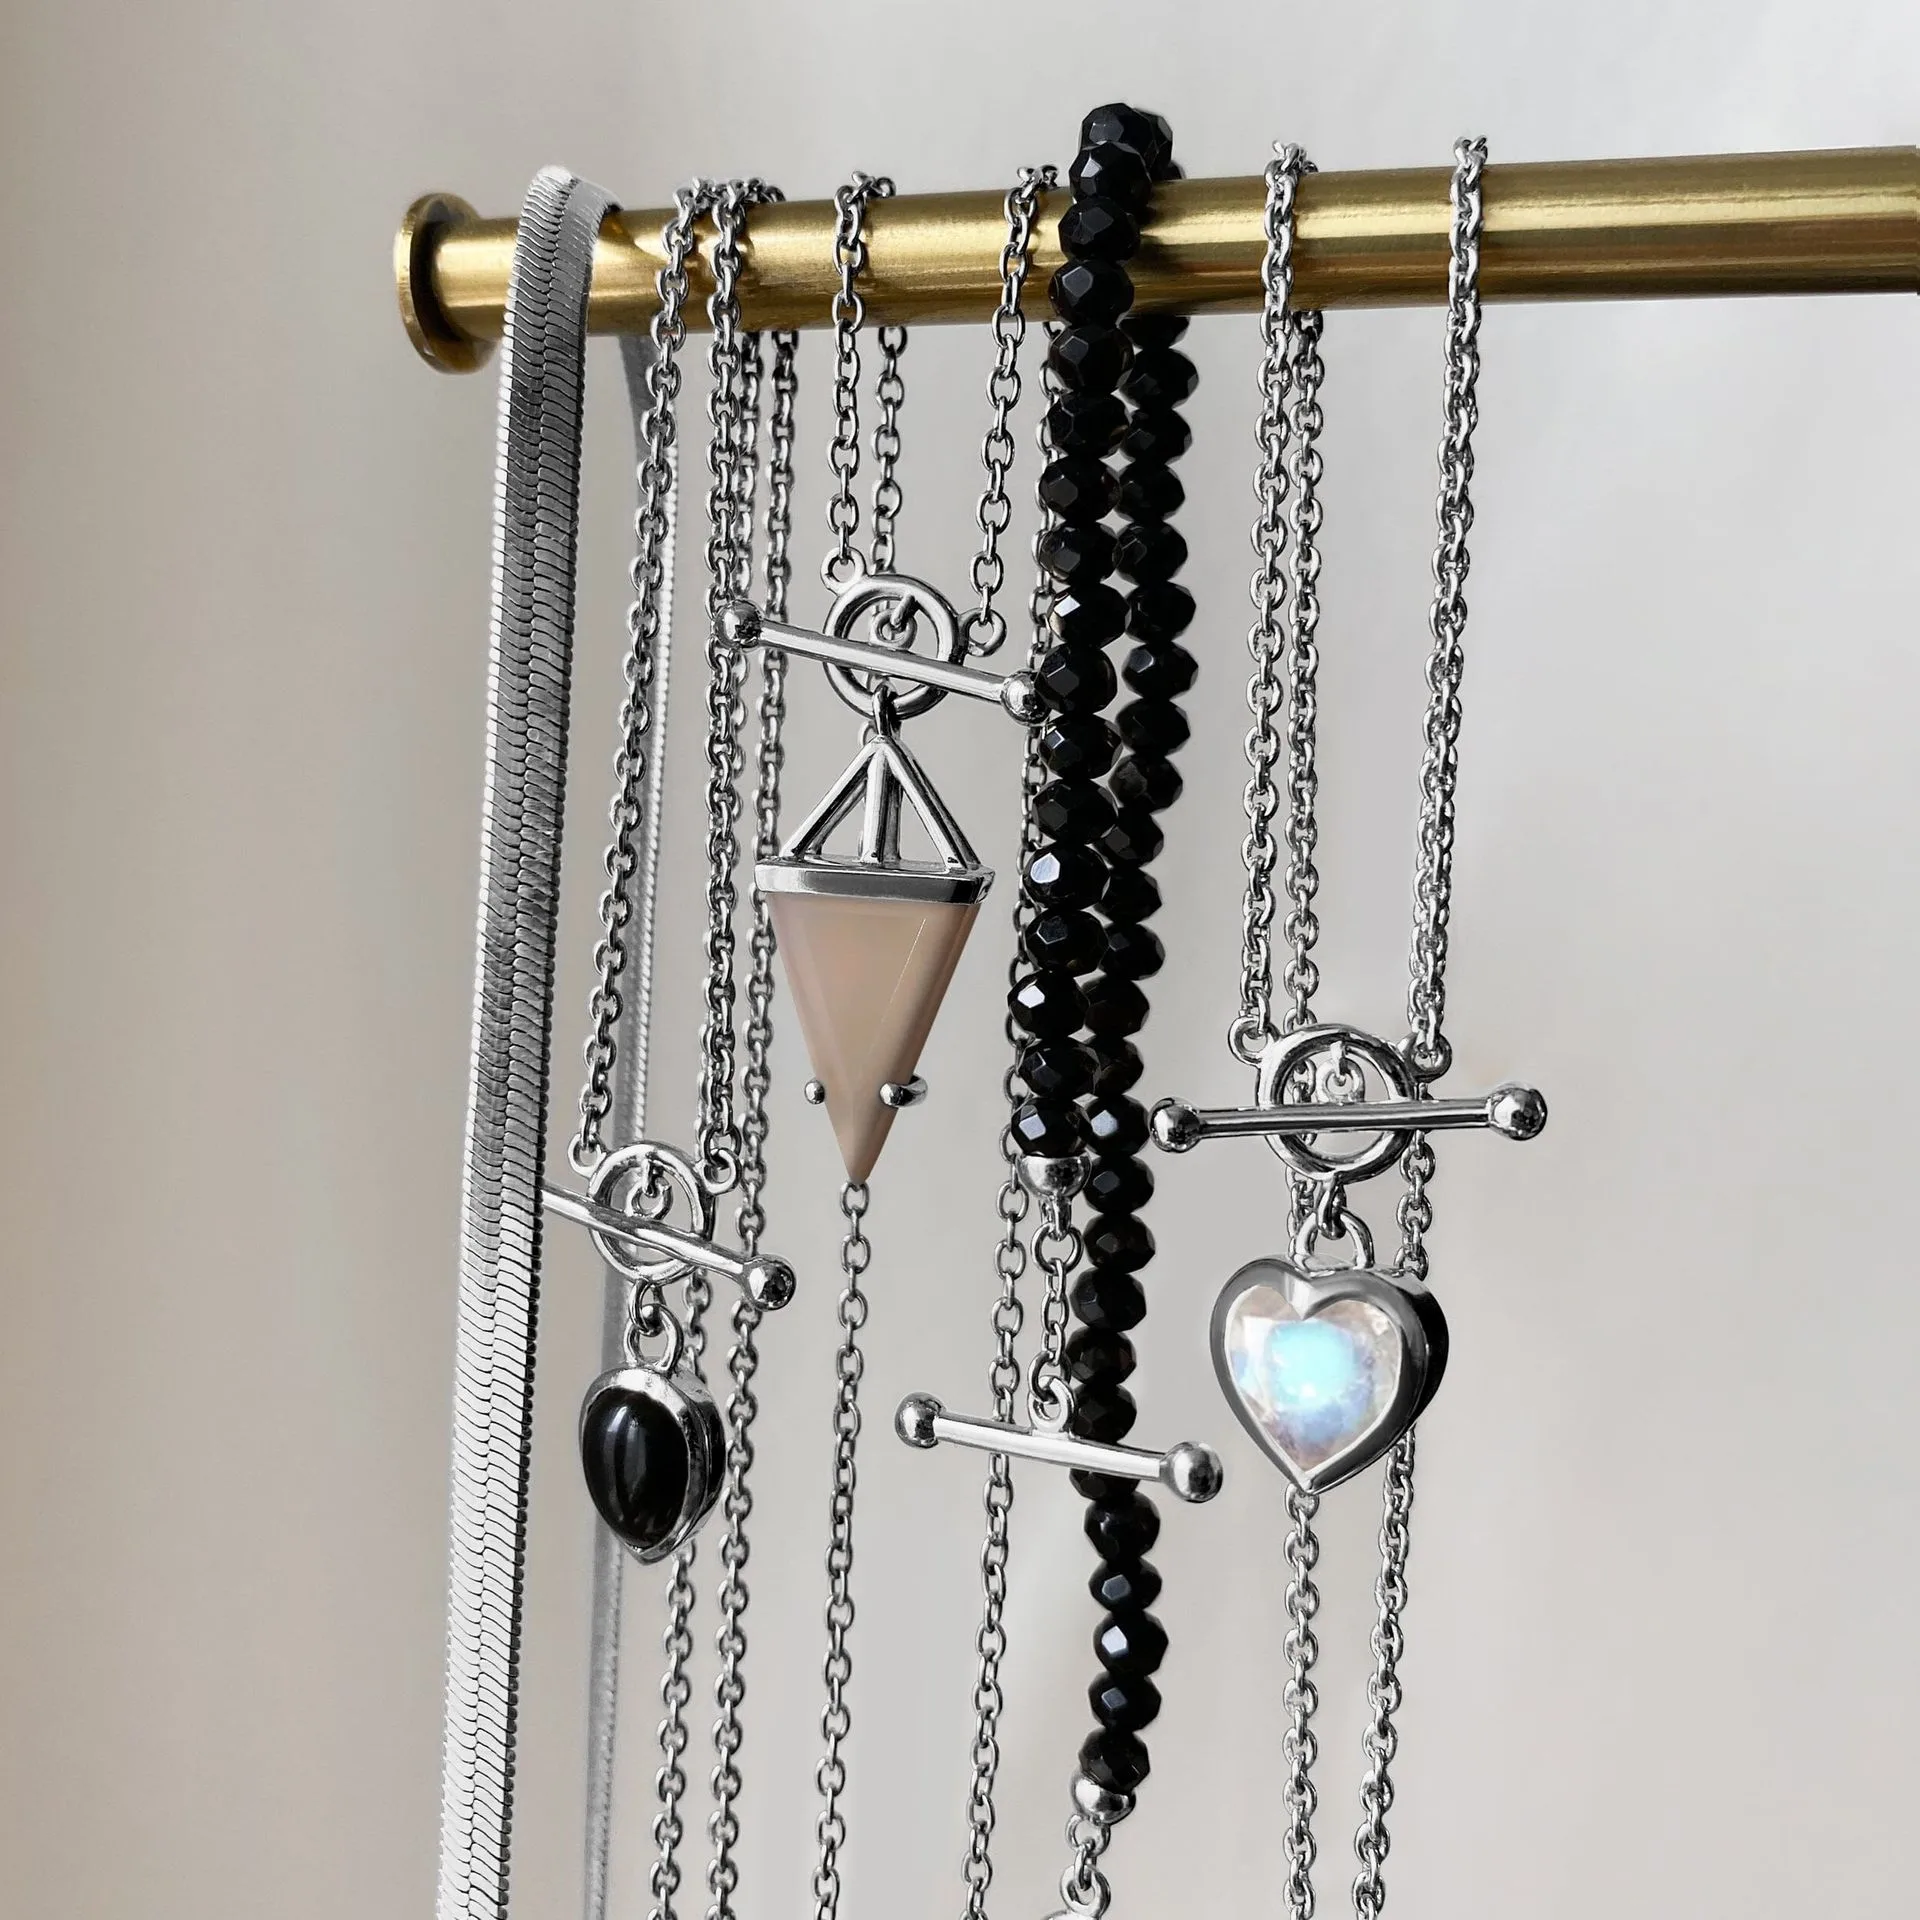
- Mystery Box - Sizeless Mixed Five: Mystery Box - Sizeless Mixed Five: includes 5 genuine Moon Magic pieces with a guarantee of at least one necklace, bracelet, or pair of earrings; sizeless and curated for anyone. A sizeless ring alternative that eliminates sizing guesswork, making it a good option for gifts or if you are unsure of your ring size.