Quick Answer
Measure your band size by wrapping a soft tape snugly around your ribcage just under your bust, then measure your bust at the fullest point. Subtract your band measurement from your bust measurement to find your cup size. Re-measure on a second day to confirm, because bra sizing steps work best when you average two readings.
A bra that fits starts with two numbers: your band and your bust. Most people guess one or both, which is why straps dig in, bands ride up, and cups gap. You can get accurate numbers in about five minutes with a soft measuring tape and a mirror.
This bra size measuring guide walks through the process in order, flags the mistake that throws off each step, and explains how to translate your numbers into a wireless bra that actually feels like a second skin.
What You Need Before You Start
You need a soft, flexible measuring tape, a mirror, and a well-fitting unpadded bra or a fitted camisole. Bulky or padded bras add inches you do not have, so keep the layer thin. If you have a helper, even better, but the steps work solo with a mirror.
Write your numbers down as you go. Guessing from memory is the fastest way to end up with a band that is one size off. Keep the tape parallel to the floor at every step; a tape that slopes changes the reading by an inch or more.
- Use a soft tape, not a metal ruler or a piece of string that stretches.
- Wear a thin, unpadded layer so the tape sits against your body, not fabric bulk.
- Stand in front of a mirror so you can see if the tape is level.
Step 1: Measure Your Band Size
Wrap the tape around your ribcage, directly under your bust, keeping it snug but not tight. The tape should sit level all the way around, touching your skin without pressing in. Breathe normally and read the number at the point where the tape meets itself in front.
If the number is even, that is your band size. If it is odd, round up to the next even number. A snug band is what holds a wireless bra in place, so do not add extra room here out of habit.
- Common mistake: measuring over a padded bra or a thick shirt, which inflates the band number.
- Checkpoint: the tape should feel like a gentle hug, not a squeeze. If it leaves a red mark, loosen it and re-measure.
Step 2: Measure Your Bust Size
Move the tape to the fullest part of your bust, usually across the nipple line. Keep it level and snug, but do not compress breast tissue. Let your arms rest at your sides and read the number in the mirror or with a helper.
This is the measurement people rush, and it is the one that changes your cup size most. Take it twice. If the two readings differ, use the average.
- Common mistake: pulling the tape tight to flatten the bust, which understates your cup size.
- Checkpoint: the tape should touch your bust all the way around without digging in or leaving a gap at the back.
Step 3: Calculate Your Cup Size
Subtract your band measurement from your bust measurement. Each inch of difference equals one cup size: 1 inch is an A, 2 inches is a B, 3 inches is a C, and so on. For example, a 34 band with a 37 bust gives a 3-inch difference, or a 34C.
Write the result as band plus cup, like 34C. If the difference is less than 1 inch, you are likely an AA. If it is more than 4 inches, you may need a specialty size, which is worth checking against a brand's own size chart.
- Common mistake: using the band number from Step 1 without rounding it to an even number first.
- Checkpoint: your cup letter should change if your bust measurement changes by a full inch.
Step 4: Confirm Your Size on a Second Day
Hormones, salt, and time of day can shift your measurements by half an inch or more. Repeat Steps 1 through 3 on a different day, ideally at a similar time, and compare. If both readings match, you have a reliable size. If they differ, use the average.
This is the step most people skip, and it is the reason a bra that fit last week feels wrong today. Two readings give you a range you can trust rather than a single snapshot.
- Common mistake: measuring right after a workout or a salty meal, when the body holds extra fluid.
- Checkpoint: if your two band readings differ by more than an inch, re-measure a third time before deciding.
Step 5: Translate Your Size Into a Bra That Fits
Your measurements are a starting point, not a verdict. Brands cut their bras differently, and a wireless seamless bra often feels best when you size to your band and let the stretch fabric handle the rest. Check each product's size chart before ordering.
If you land between two sizes, choose the smaller band for more support or the larger band for a looser feel. Removable padding and adjustable straps can fine-tune coverage without changing your measured size.
- Common mistake: ordering a cup size up to compensate for a band that is too loose. Fix the band first.
- Checkpoint: a new bra should fasten on the loosest hook so you have room to tighten it as the fabric relaxes.
Your Five-Step Bra Sizing Routine
- Step 1: Measure your band: Wrap a soft tape snugly under your bust, keep it level, and round an odd number up to the next even number. Checkpoint: the tape should feel snug, not tight enough to leave a mark.
- Step 2: Measure your bust: Measure across the fullest part of your bust without compressing tissue, and take the reading twice. Checkpoint: the tape stays level and touches your bust all the way around.
- Step 3: Subtract band from bust: Each inch of difference equals one cup size, so a 3-inch difference is a C cup. Checkpoint: use the rounded even band number, not the raw measurement.
- Step 4: Repeat on a second day: Measure again on a different day and average the two readings to account for normal body changes. Checkpoint: if band readings differ by more than an inch, take a third reading.
- Step 5: Match your size to the bra: Check each brand's size chart, start on the loosest hook, and use adjustable straps or removable pads to fine-tune. Checkpoint: if the band rides up, go down a band size before changing cup size.
Coobie Bras That Work With Your Measurements
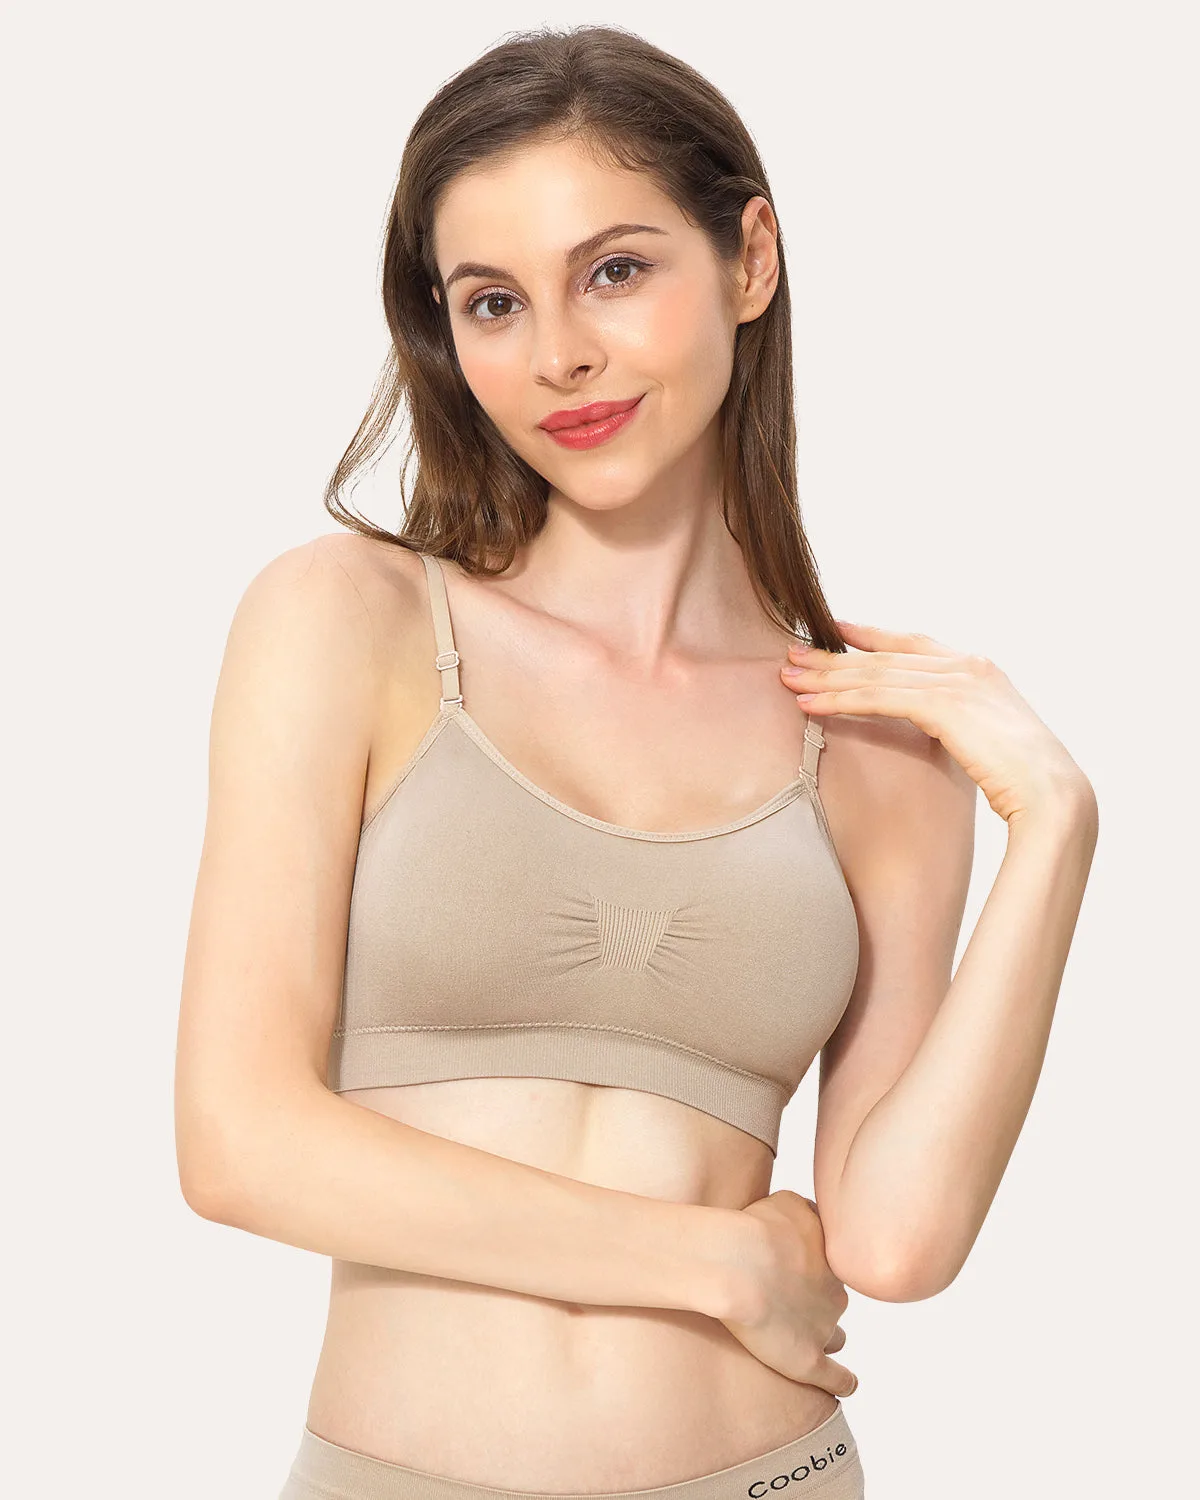
- Coobie Scoopneck Cami Bra 9012: Made with a spandex blend that feels like a second skin, with a tagless, scratch-free band and removable, adjustable straps. The stretch fabric and adjustable straps let you fine-tune fit around your measured band size, and the tagless band means no irritation where the tape sat.
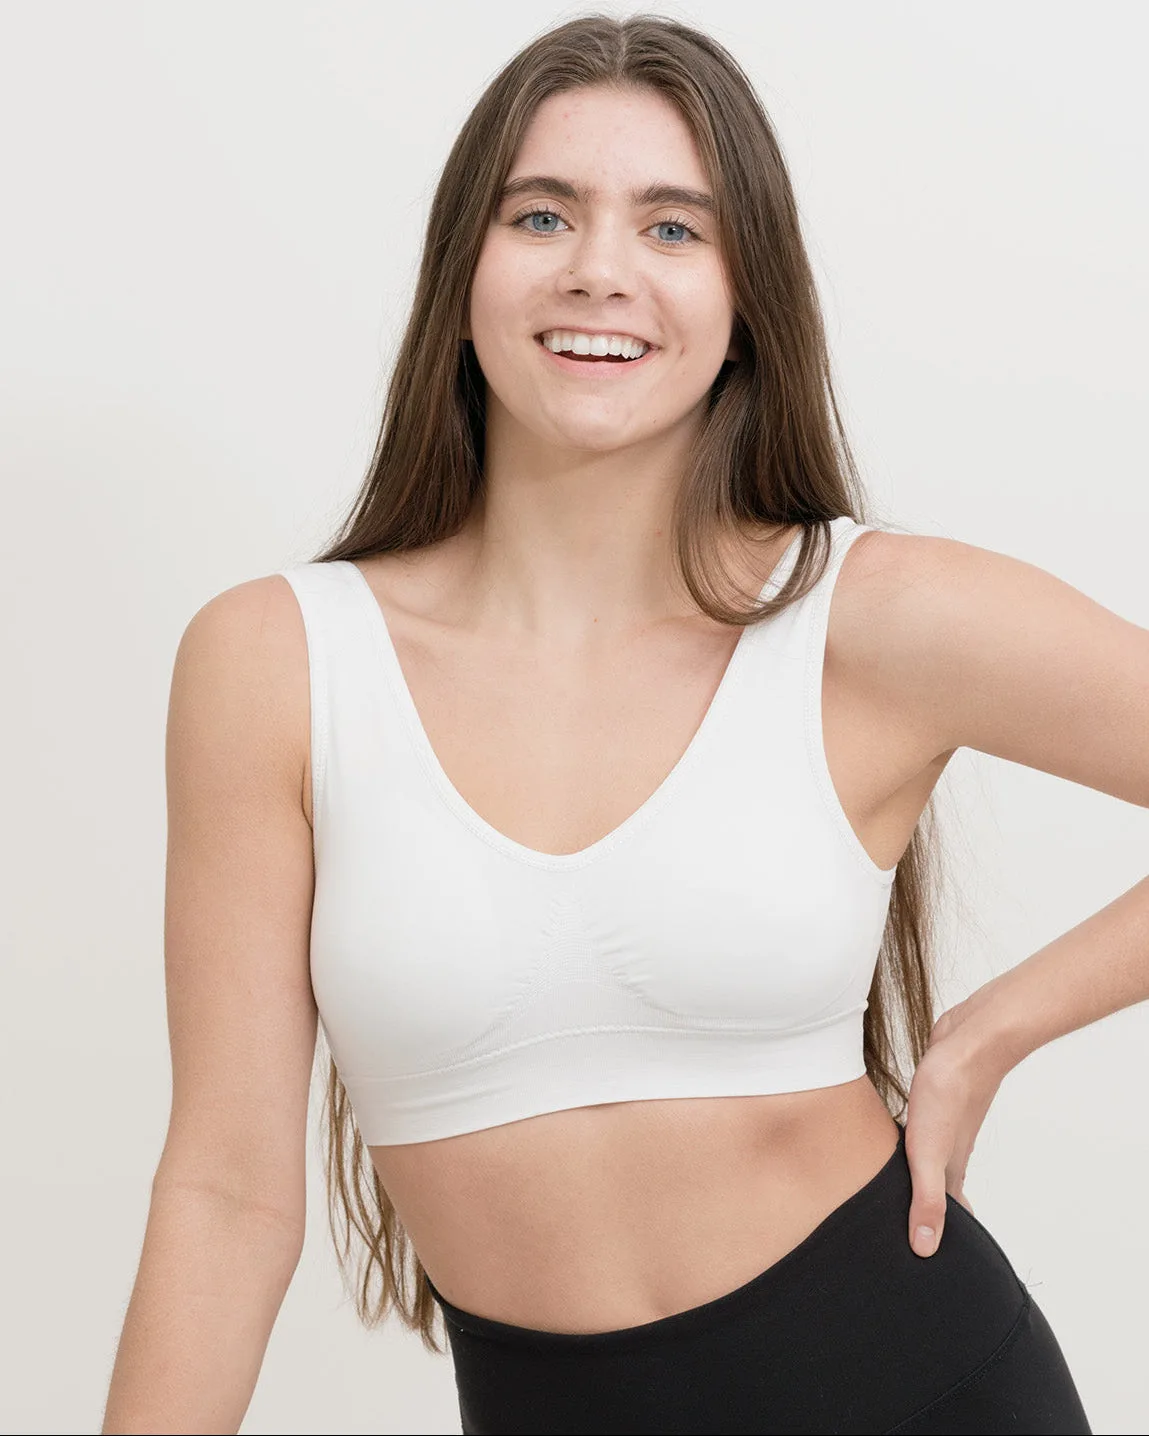
- Coobie Comfort Bra 9060: Wire-free, tagless, and hardware-free, with extra-wide no-slip straps and full-coverage cups. If your measurements put you at the fuller end of a size range, the wide straps and full coverage distribute support without digging in.
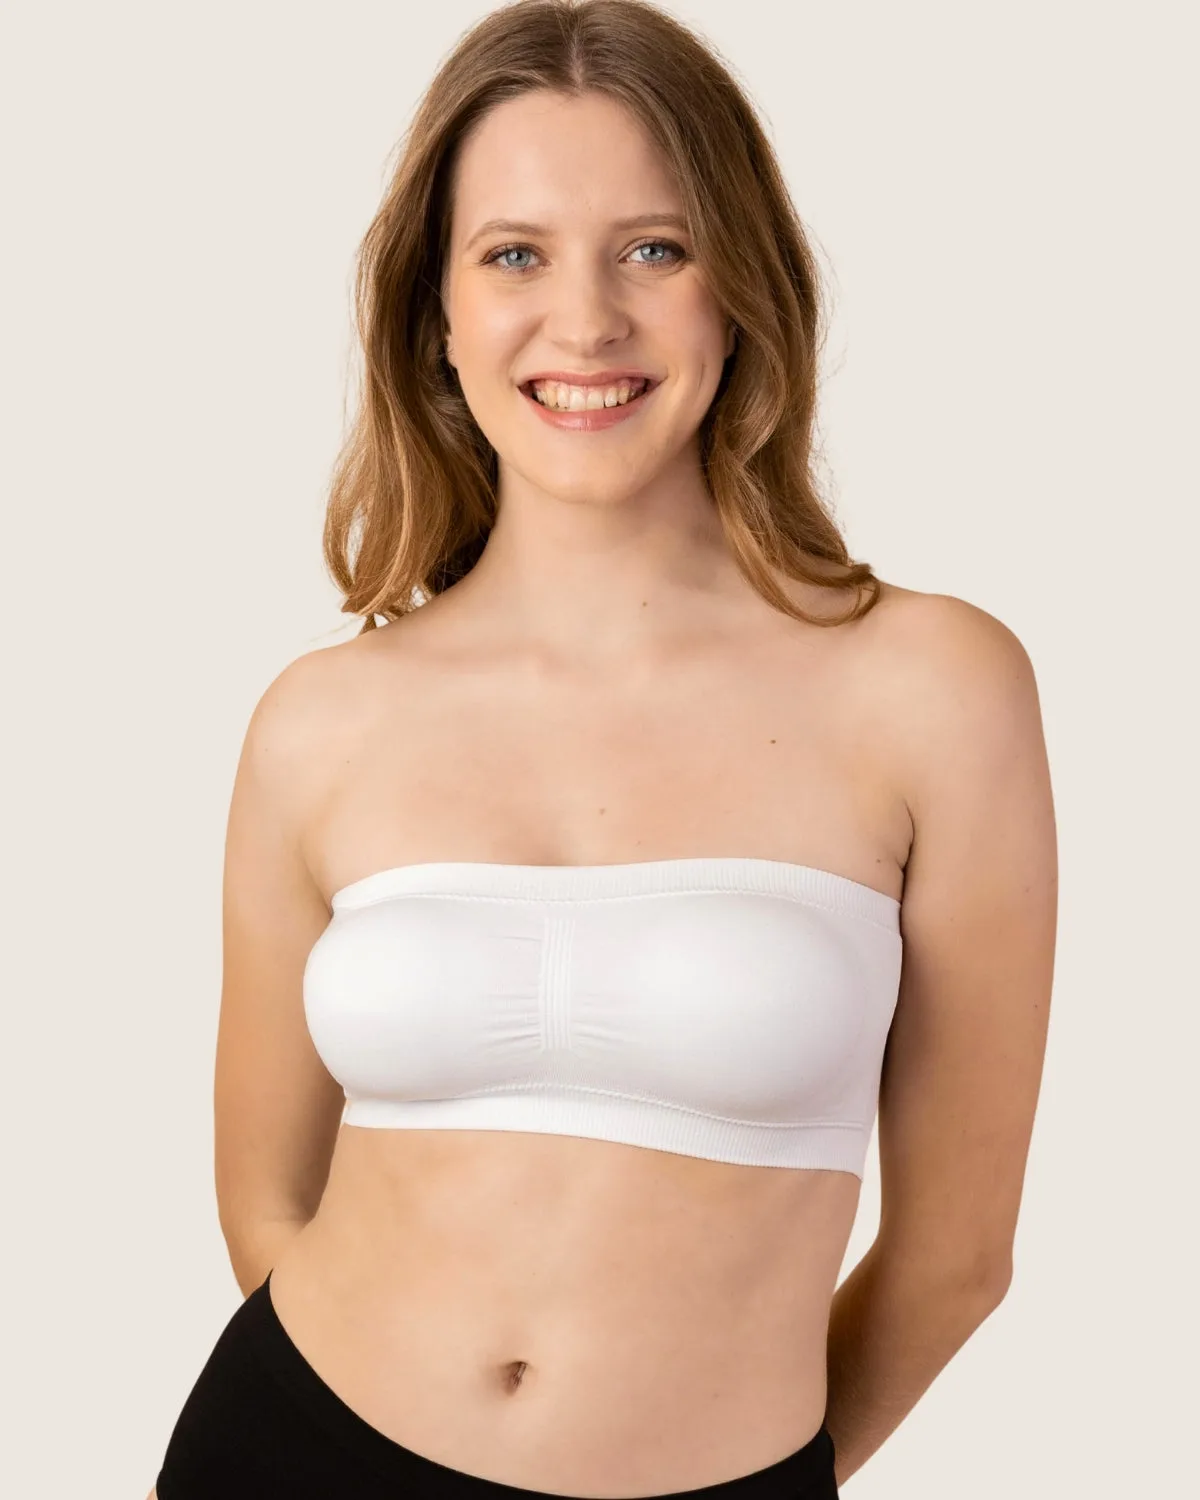
- Coobie All-Match Bandeau Bra 9002: Seamless bandeau with ribbed elastic bands at the top and bottom and removable padding. A useful option when your band measurement is accurate but you want strapless coverage, since the elastic bands do the holding rather than straps.
Measuring at home takes five minutes and two readings, and it gives you a size you can order with confidence. Start with your band, confirm your cup, and let the stretch and adjustability of a seamless bra handle the small differences. If your numbers land between sizes, size to the band and adjust from there.