Quick answer
Measure your band size snugly around your ribcage directly under your bust, then measure your bust at the fullest point. Subtract the band from the bust measurement to find your cup size. If you land between sizes, round the band down to the nearest even number and size up in the cup. Timpa bras are cut for petite frames, so trust your measurements over the size you wear in other brands.
Most bra-fit problems start with a number that was never quite right. Measuring yourself at home takes about five minutes and gives you a reliable starting point before you choose a Timpa style.
You will need a soft measuring tape, a mirror, and a bra that is not padded. Measure over bare skin or a thin, unlined bra, keep the tape level all the way around, and write both numbers down before you look at any size chart.
Before you start: set up for an accurate reading
Stand in front of a mirror so you can see whether the tape stays parallel to the floor. A tape that dips at the back adds inches to your band measurement and throws off the cup calculation. Wear a thin, unlined bra or no bra at all; a padded or push-up style adds volume that is not yours.
Breathe normally and let your arms rest at your sides between measurements. Holding your breath or lifting your arms changes the numbers. If you are measuring alone, take each measurement twice and use the average to smooth out small inconsistencies.
- Use a soft tape, not a metal ruler or a piece of string that stretches.
- Keep the tape snug but not tight enough to leave a mark on your skin.
Step 1: Measure your band size
Wrap the tape around your ribcage, directly under your bust, keeping it level across your back. Pull it snug against your body. This is your underbust measurement. Write it down in inches. If the number is odd, round down to the nearest even number to get your band size. For example, a 33-inch underbust becomes a 32 band.
The most common mistake here is letting the tape ride up at the back. That gap makes the band read larger than it is, and you end up ordering a bra that slides around. Check the mirror before you read the number.
- Checkpoint: the tape should feel firm against your ribs, not loose and not digging in.
Step 2: Measure your bust at the fullest point
Wrap the tape around your back and bring it across the fullest part of your bust, usually level with your nipples. Keep the tape parallel to the floor and relaxed, not pulled tight. This is your bust measurement. Write it down next to your band number.
Do not press the tape into your bust or let it gap away from your back. Both errors change the cup calculation. If you are fuller on the bottom or the top, measure at the point where your bust projects the most, not where it looks fullest in a bra.
- Checkpoint: the tape should touch your skin all the way around without compressing it.
Step 3: Calculate your cup size
Subtract your band measurement from your bust measurement. Each inch of difference equals one cup size: 1 inch is an A, 2 inches is a B, 3 inches is a C, and so on. If your bust is 36 inches and your band is 32, the 4-inch difference points to a D cup.
If the difference lands on a half inch, round up to the next cup. A bra that is slightly too large in the cup is easier to adjust than one that cuts into your bust. This calculation is a starting point, not a verdict, because cup depth varies between styles.
- Checkpoint: if your band measurement is 32 and your bust is 34, you are a 32B, not a 34A.
Step 4: Match your numbers to a Timpa style
Your measurements tell you the size range to shop, but the style you choose changes how the bra fits. A plunge bra is engineered to center the bust and create natural cleavage, while a demi bra focuses on a balcony-style shelf lift. If you want a rounded shape without extra volume, a padded half-cup works differently again.
Timpa cuts are designed for petite frames, so a 32 band here may feel closer to a 30 in a brand with a roomier fit. Read the product description for cup construction and padding before you commit, and check whether the style is final sale, since those pieces cannot be exchanged.
- If you measure between two band sizes, choose the smaller band and the larger cup.
- For low-cut necklines, look for a plunge silhouette; for everyday lift, a demi is the safer pick.
Step 5: Test the fit and adjust
Put the bra on and fasten it on the loosest hook. The band should sit level and stay put when you lift your arms. The center gore should rest against your sternum, and the cups should contain your bust without gaps or spillage. If the band rides up, it is too loose; if it digs in, it is too tight.
Scoop your bust into the cups and adjust the straps so they stay put without pulling. A new bra should feel snug on the loosest hook, because the band will relax with wear. If you are between sizes, use your measurements and the fit check together rather than guessing.
- Checkpoint: if the band rides up at the back, size down in the band before you change cup size.
Your five-step at-home fitting routine
- Measure your band: Wrap a soft tape snugly under your bust, level across your back, and round an odd number down to the nearest even number. Checkpoint: the tape should not ride up at the back.
- Measure your bust: Measure around the fullest point of your bust, keeping the tape parallel to the floor and relaxed against your skin. Checkpoint: do not compress or gap the tape.
- Calculate your cup: Subtract your band from your bust. One inch equals an A, two inches a B, three a C, and so on; round half inches up. Checkpoint: a 32 band with a 36 bust is a 32D.
- Match the style: Use your numbers to choose between a plunge, demi, or padded silhouette, and remember Timpa cuts for petite frames. Between sizes, size down in the band and up in the cup.
- Test the fit: Fasten on the loosest hook, scoop your bust into the cups, and check that the band stays level when you lift your arms. If the band rides up, size down before changing cup size.
Timpa styles and how they fit your measurements
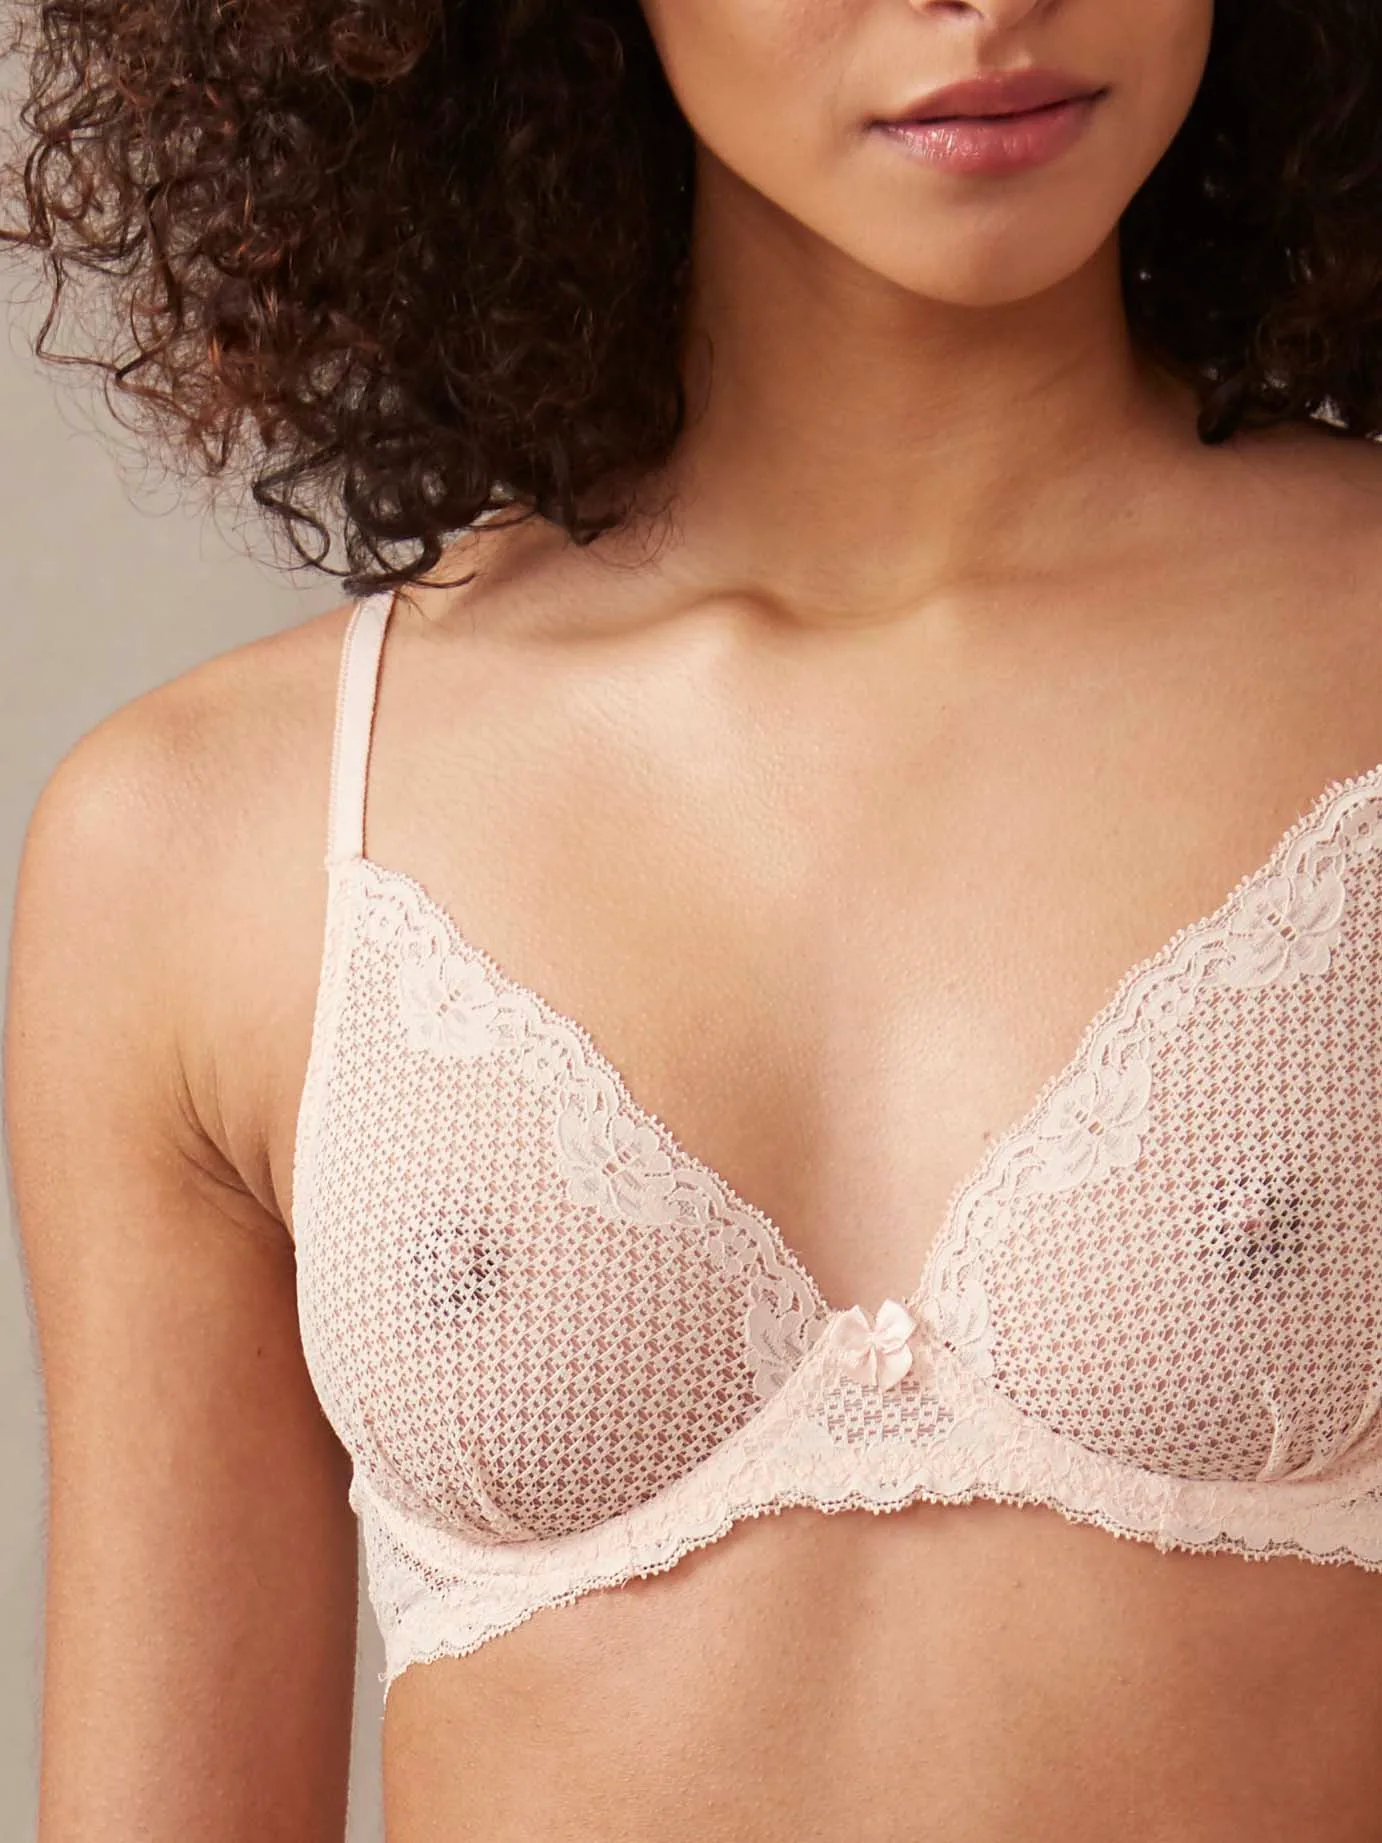
- Alice Plunge Bra: The Alice Plunge Bra uses seamless crochet lace in a Deep V silhouette that disappears under low-cut tops and is engineered to center the bust for a smooth, natural cleavage. If your measurements put you in a plunge, this style gives secure lift without showing above a deep neckline.
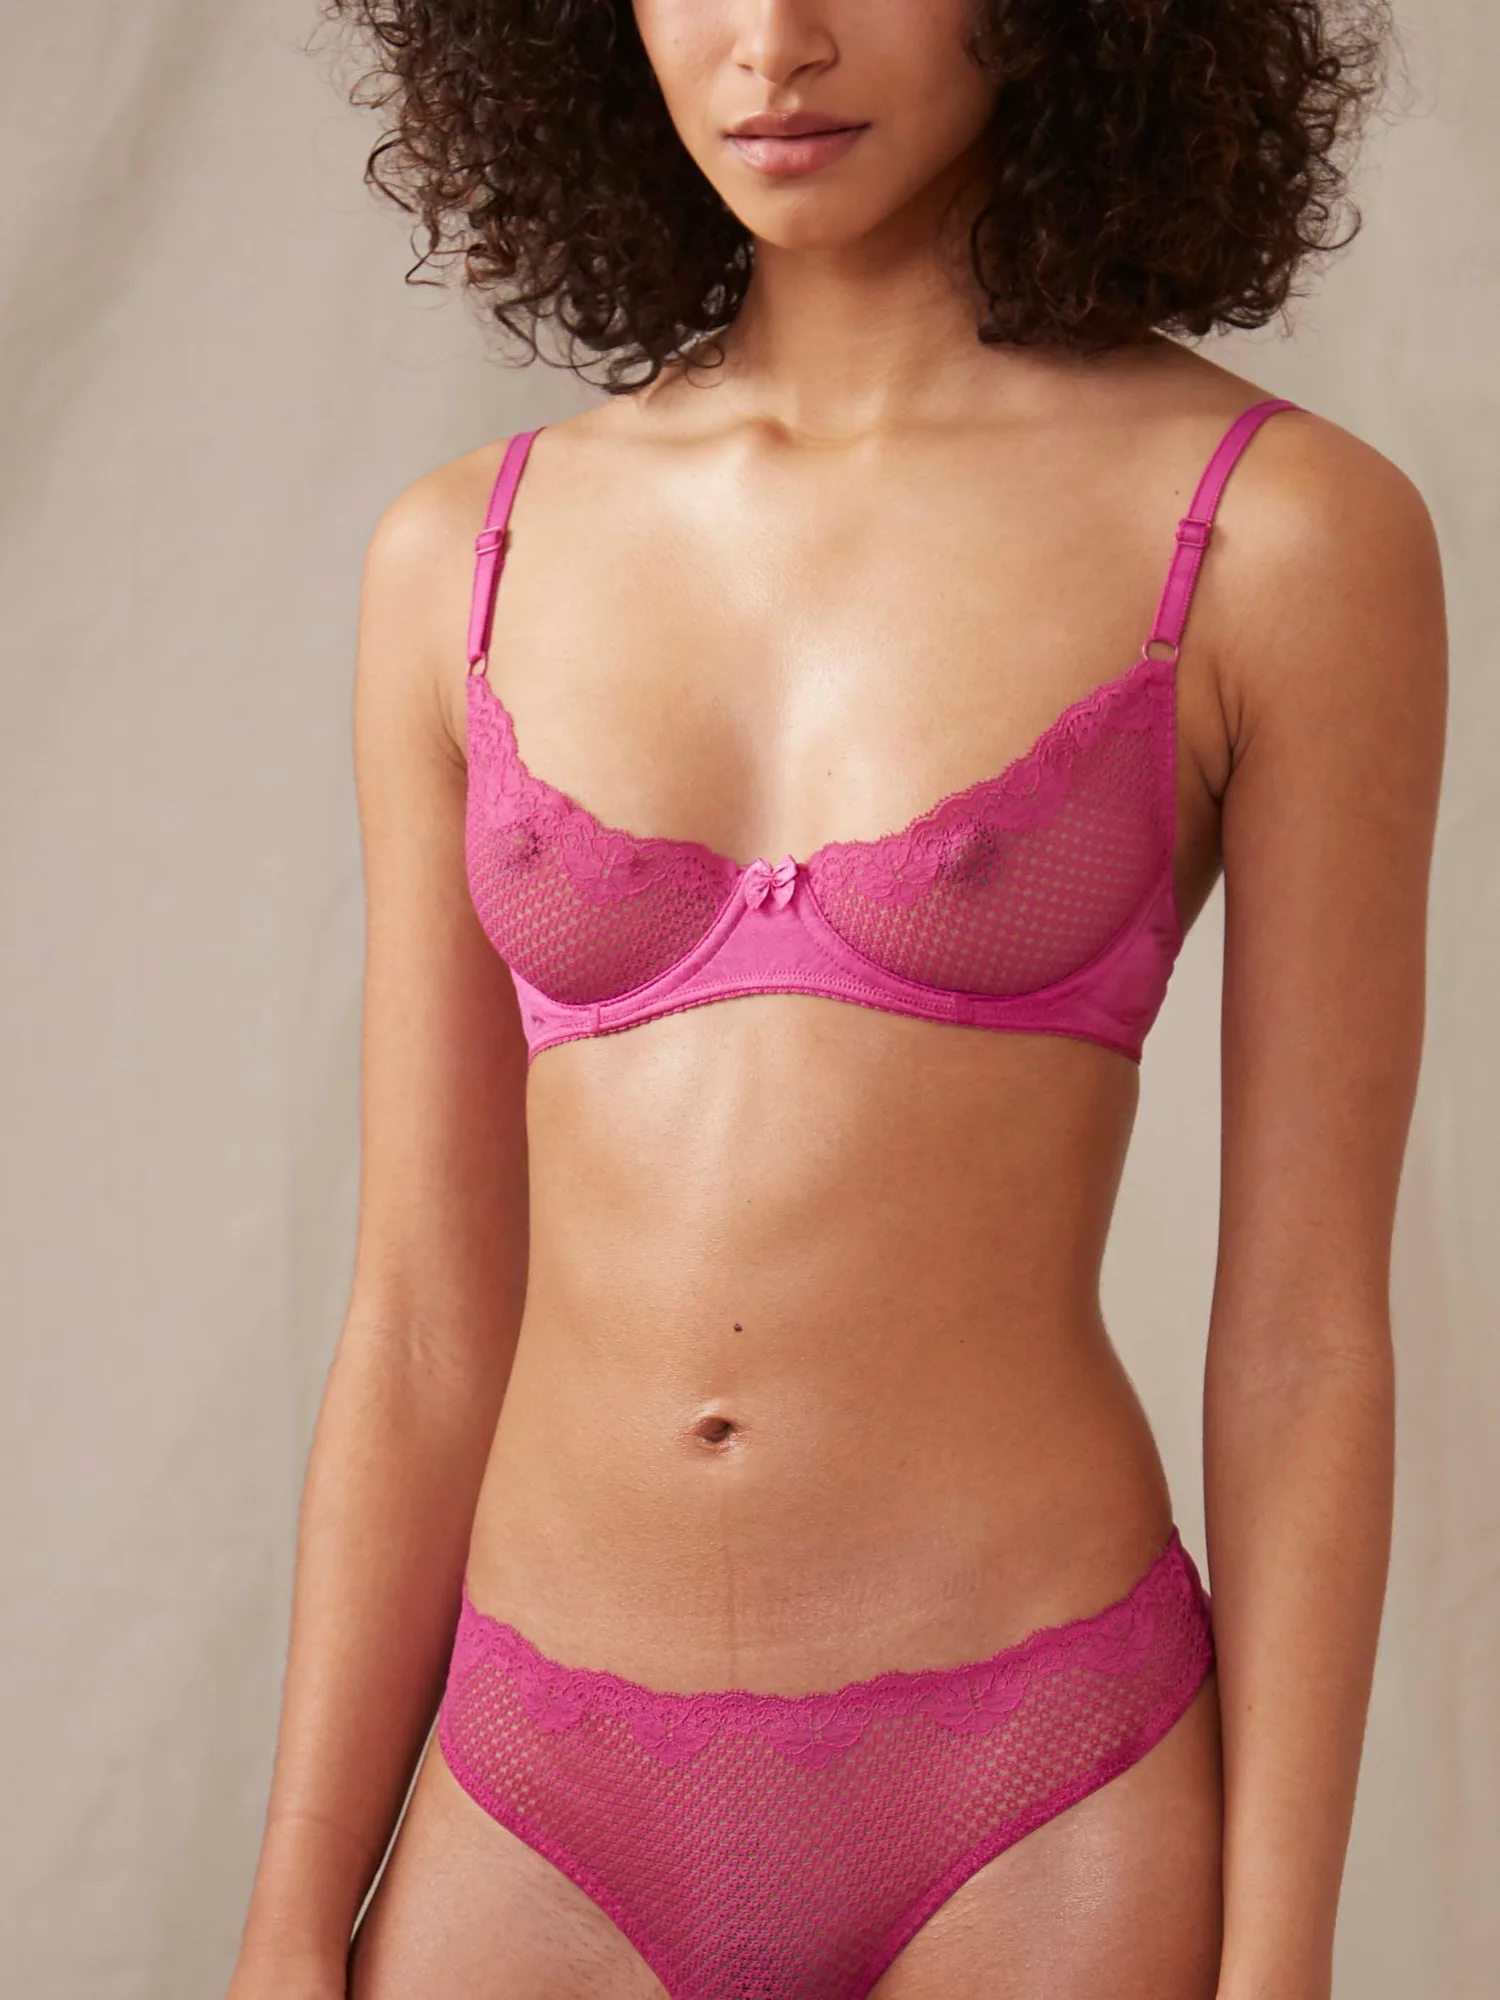
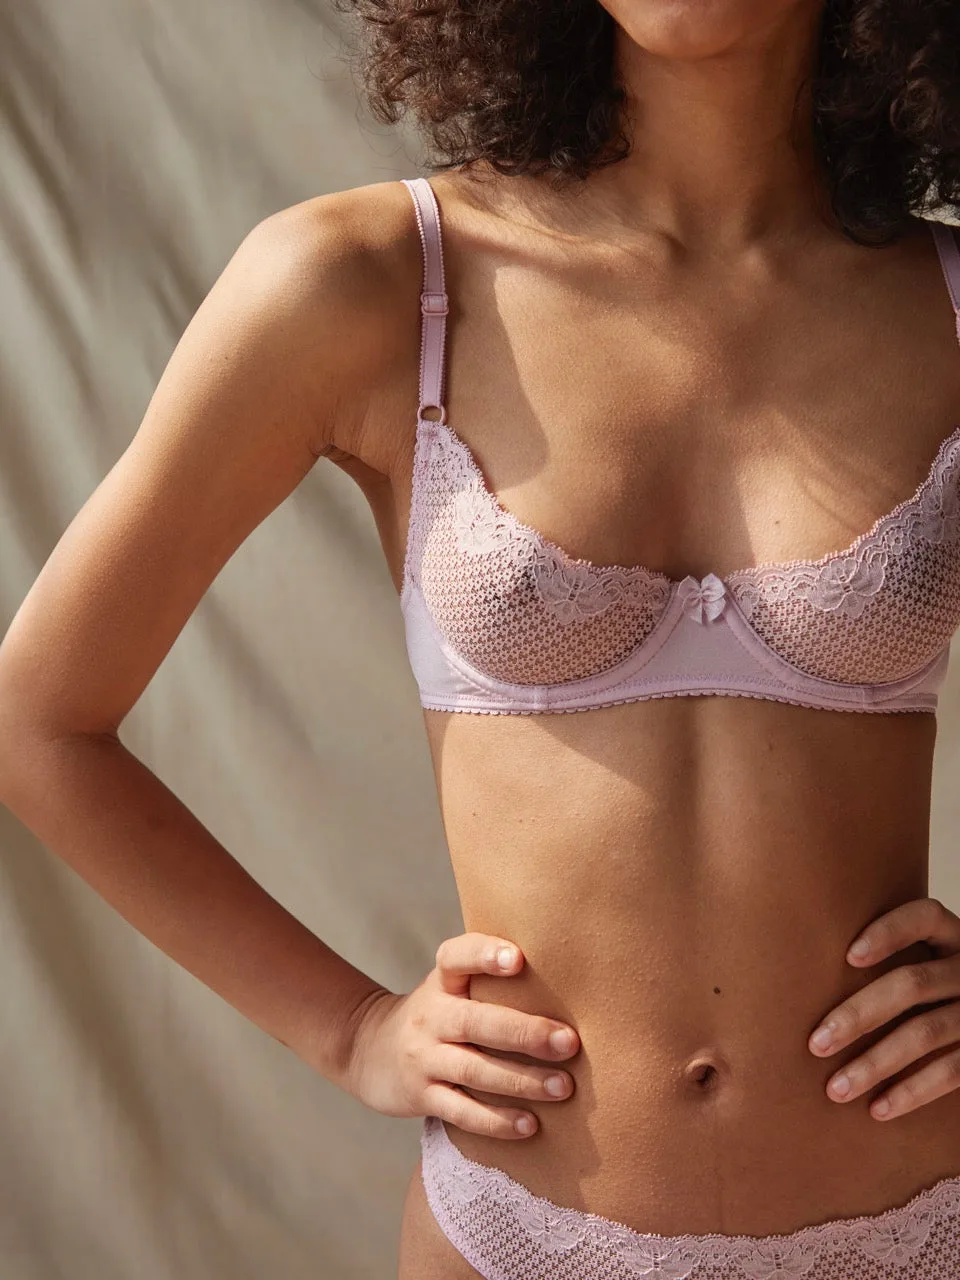
- https://timpalingeriecn.com/products/alice-demi-bra-sale-94ac6208aed76f9852aa7f64-1422755Alice Demi Bra - Sale: The Alice Demi Bra has a soft underwire and delicate lace with stretch, providing gentle lift without padding, and the cups are cut from a single panel with no middle seams. A good match if you want a natural silhouette and your cup calculation lands in a demi range; note it is final sale and cannot be exchanged.
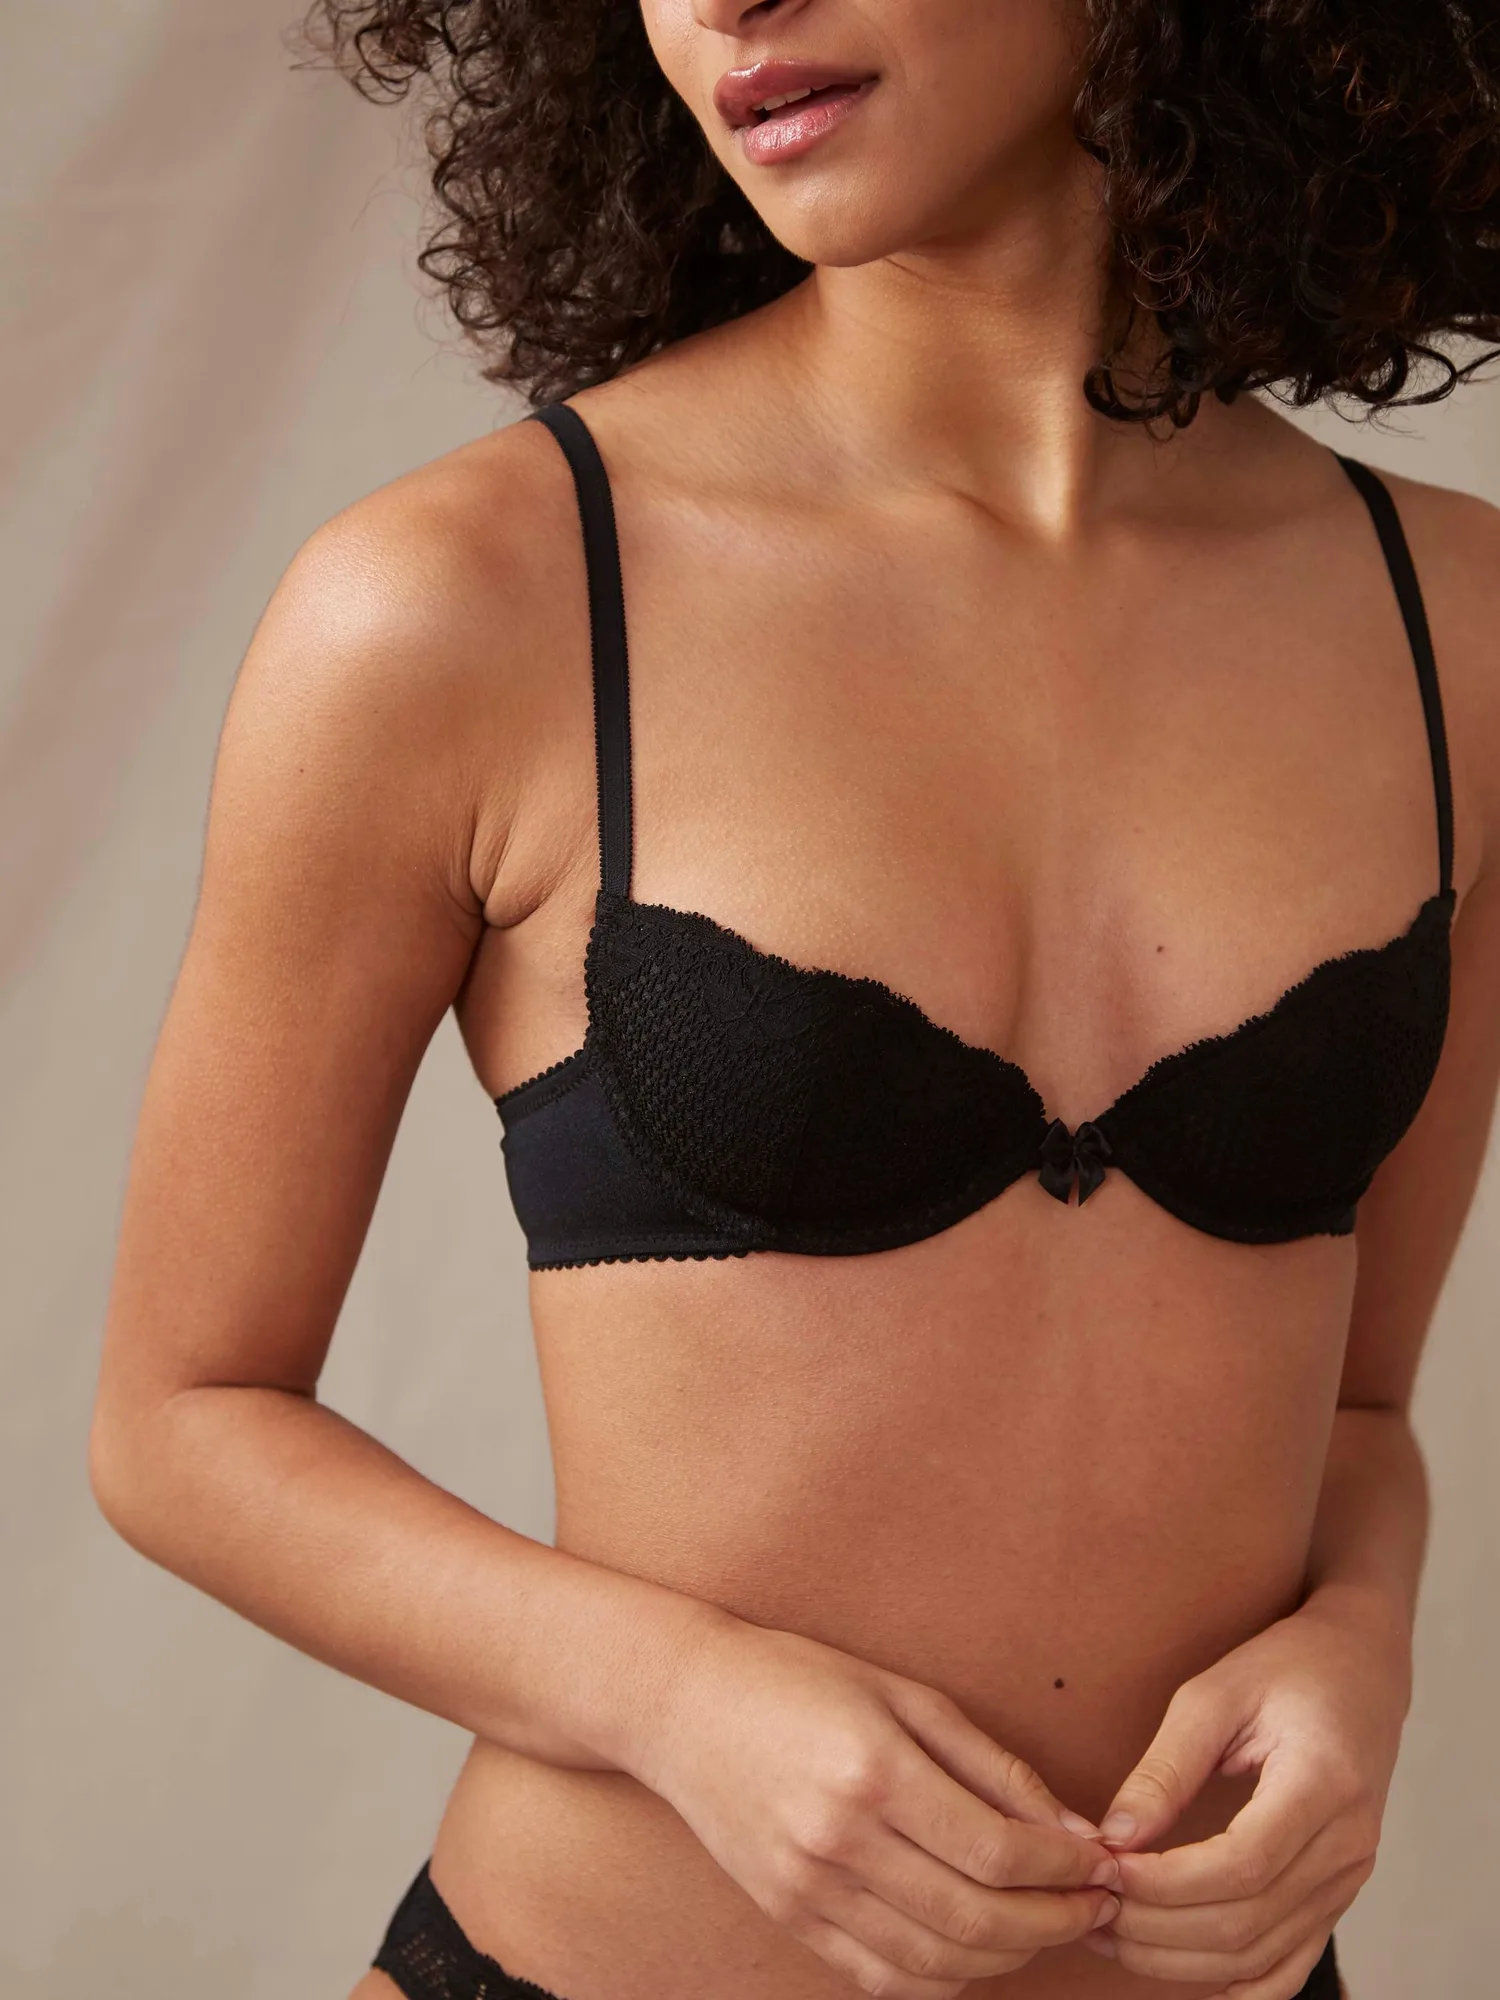
- Alice Padded Bra: The Alice Padded Bra is designed for smaller busts (A-C cups) and combines a low-cut silhouette with light foam padding for a smooth, rounded shape without the gap. If your cup calculation is A through C and you want a little more volume, this is the style to try first.
- Natacha Demi bra: The Natacha Demi bra swaps lace for double-layered lightweight mesh, creating a moiré effect with the Timpa swoop and lift and no foam padding. A smooth everyday option if your measurements point to a demi and you prefer a seamless look under clothing.
Measure once, write the numbers down, and keep them in your phone for the next time you shop. A five-minute at-home fitting saves you the guesswork and the returns, and it makes choosing between a plunge, demi, or padded Timpa style far easier.