Quick answer
Mount gears before you tighten surrounding beams: slide the gear onto its axle, seat any bushing fully, then check that the teeth meet the neighbouring gear without pressure. If the gear binds or wobbles, loosen the beam screws, adjust the axle position, and retighten only once the gear turns freely by hand.
Check module and tooth count before you start
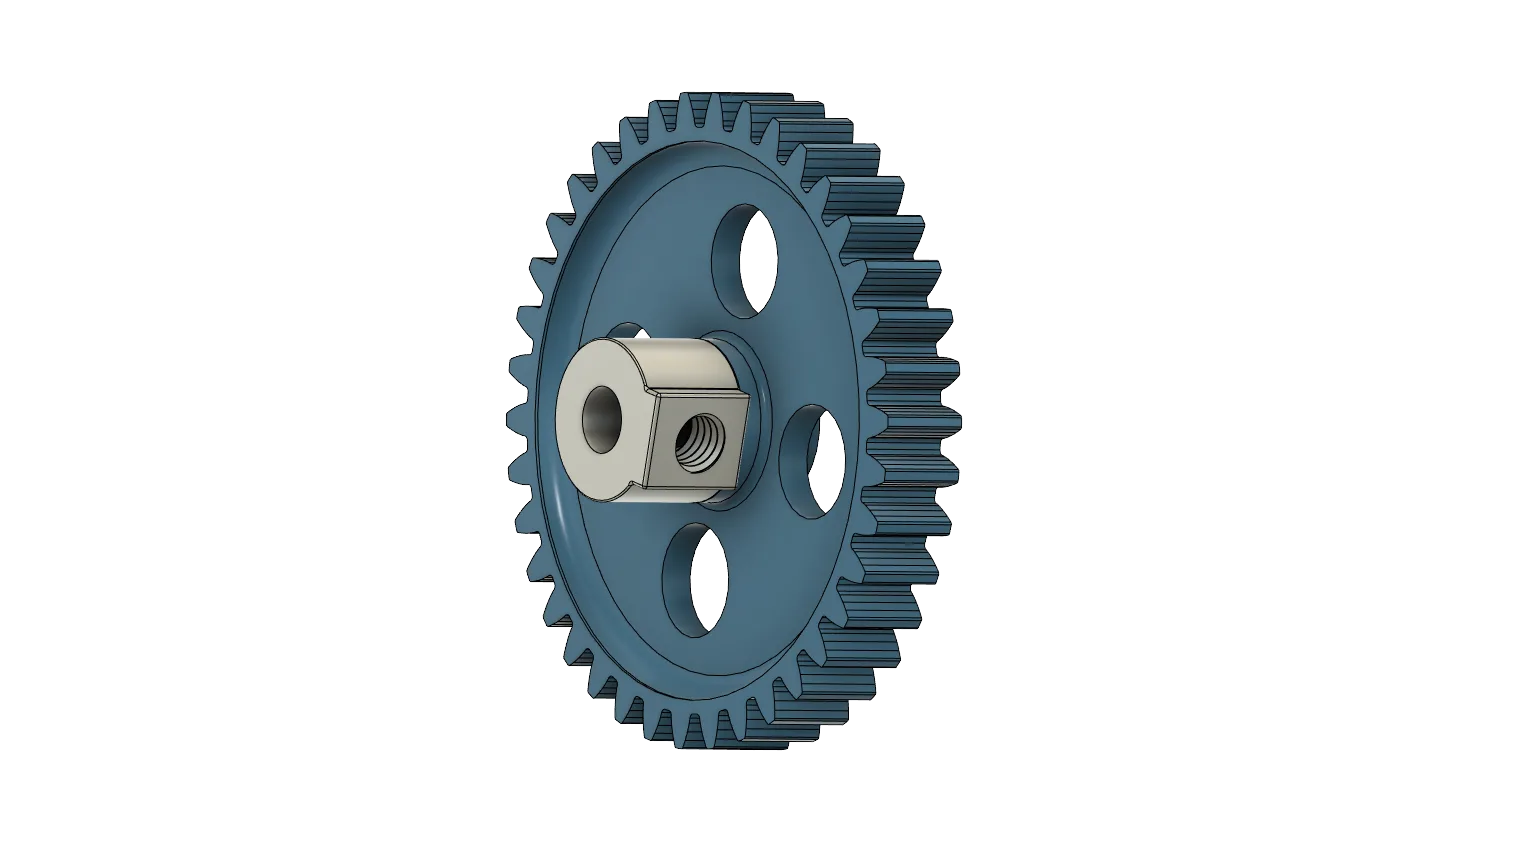
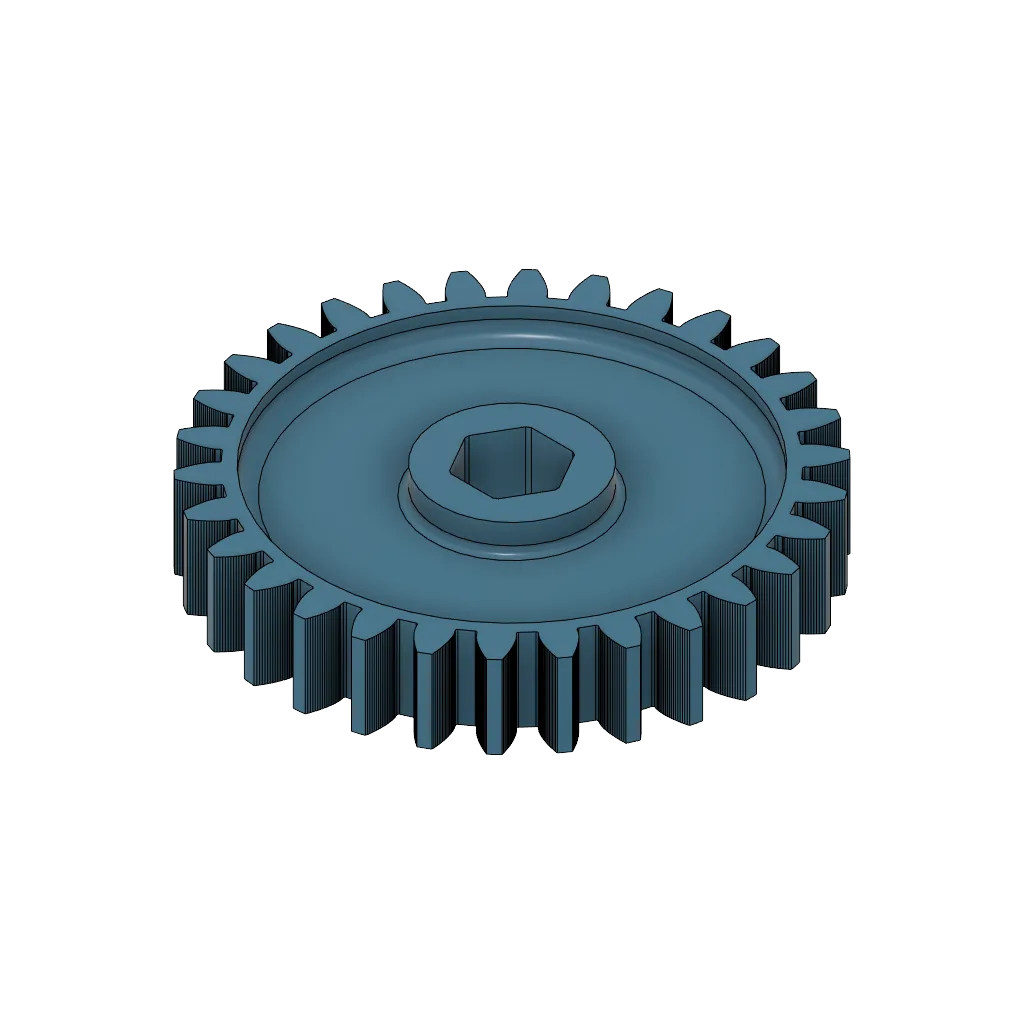
eitech gears are identified by tooth count and module, and only gears of the same module mesh correctly. The Gear 30 teeth module 1 hexagon socket and the Gear 40 teeth with bushing module M1 are both module 1, so they can work together in one train. Mixing a module 1 gear with a different module will produce a tight or loose mesh that no amount of screw adjustment can fix.
The hexagon socket designation on the 30-tooth gear tells you how it drives: the axle passes through a hex opening rather than a round bore. That means the gear turns only when the axle turns, which is exactly what you want for a driven shaft. The 40-tooth gear instead carries a bushing, so its behaviour depends on how that bushing seats against the axle and the surrounding frame.
Prepare the axle and the frame opening first
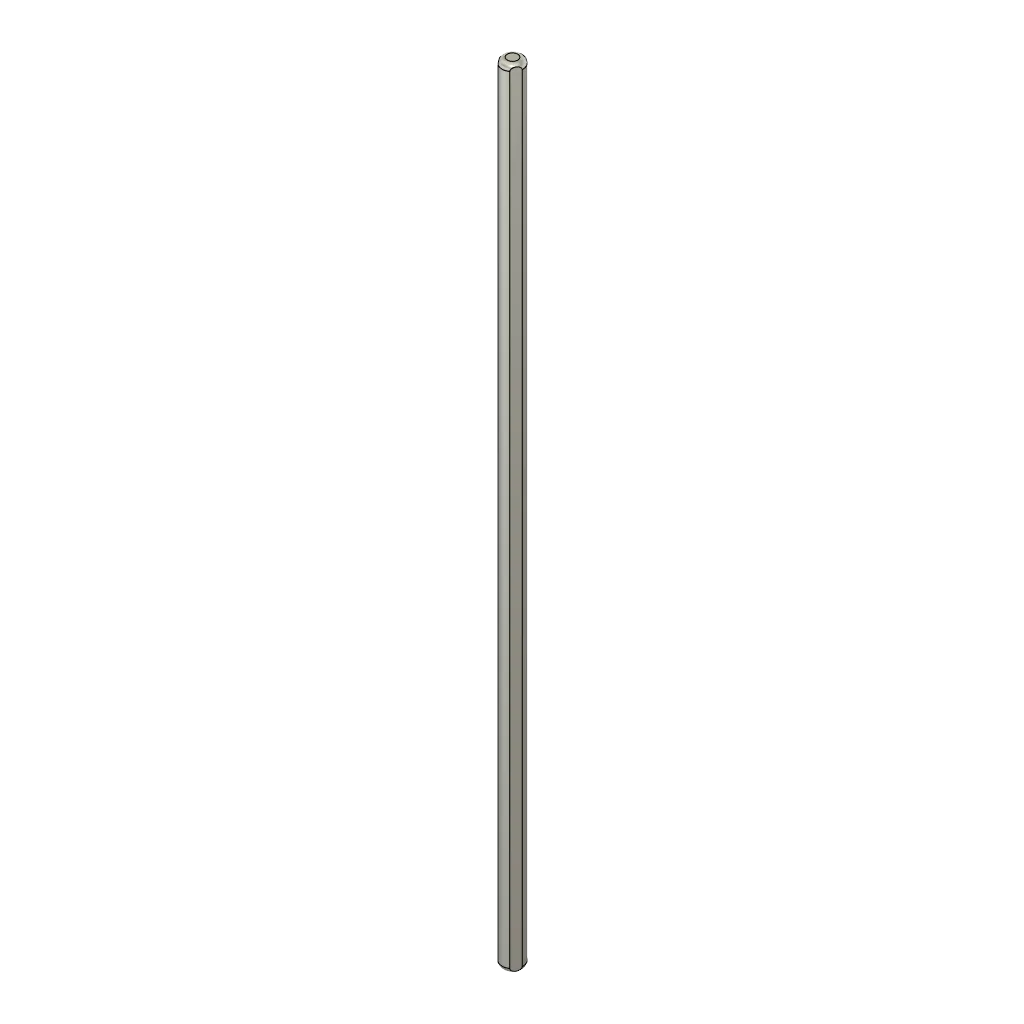
A gear is only as true as the axle it sits on. Before fitting anything, slide the axle through its beam holes and spin it with your fingers. If the axle catches, the holes are misaligned and the gear will wobble no matter how carefully you mount it. The Axle profile 4x150 mm galvanized is a typical choice for longer shafts because its 4 mm profile matches the standard eitech hole pattern.
Leave the frame screws slightly loose at this stage. You need a little movement in the beams to line up the axle, and tightening everything first is the most common reason a gear ends up skewed.
Seat the bushing before the gear
On a bushing gear, the bushing is the bearing surface, so it has to be fully seated before the gear takes any load. Press it in until it sits flush against the gear face, then slide the assembly onto the axle. If the bushing sits proud, the gear will run at an angle and the teeth will ride on their tips instead of their flanks.
Check the bushing by turning the gear by hand. It should rotate with light, even resistance. A gritty or notchy feel usually means the bushing is not square in the gear or the axle has a burr.
Set the mesh, then tighten the frame
Push the two gears together until the teeth just touch, then back off a fraction so there is a small amount of play. Correct module 1 mesh has a little backlash: you should feel a slight click when you rock one gear against the other, not a solid block. Too tight and the model will bind and wear the teeth; too loose and the teeth will skip under load.
Once the mesh feels right, tighten the beam screws in a cross pattern, a little at a time, checking the mesh after each pass. Tightening one screw fully first pulls the frame out of square and closes the mesh on one side.
Test the whole train under hand power
Turn the input axle slowly through several full revolutions and watch each gear in the train. Every gear should stay centred on its axle, and the tooth contact should stay constant around the full circle. A gear that runs true for half a turn and then tightens usually has a bent axle or an out-of-square frame rather than a faulty gear.
Run the model in both directions. A train that works one way but not the other almost always has a mesh that is too tight, because reversing the load pushes the gears into each other.
Mounting sequence: step by step
- 1. Match the module: Confirm every gear in the train is module 1 before you build anything. Compare the tooth count and module marking on each gear. Checkpoint: if the modules differ, stop and swap the gear rather than forcing the mesh.
- 2. Fit the axle and check it spins: Slide the axle through the frame holes with the screws loose and turn it by hand. It should rotate without catching. Common mistake: tightening the frame before the axle is aligned, which locks in a skew.
- 3. Seat the bushing flush: On a bushing gear, press the bushing in until it sits flush with the gear face, then slide the gear onto the axle. Checkpoint: turn the gear by hand; it should feel smooth, not notchy.
- 4. Set the mesh with slight backlash: Bring the gears together until the teeth touch, then ease them apart a fraction so there is a small amount of play. Common mistake: a mesh with no play, which binds and wears the teeth.
- 5. Tighten the frame in stages: Tighten the beam screws a little at a time in a cross pattern, rechecking the mesh after each pass. Checkpoint: the gears should still turn freely after the frame is fully tight.
- 6. Run the train in both directions: Turn the input axle through several full revolutions forwards and backwards, watching for wobble or tight spots. If it binds in one direction only, loosen the frame and reset the mesh.
Parts used in this guide
- Gear 30 teeth module 1 hexagon socket: eitech Gear 30 teeth module 1 hexagon socket, SKU 01805, Standard configuration with the Manufaktur tag. The hexagon socket means the gear is locked to the axle rotation, so it is the part to use when you need to drive a shaft rather than let it spin freely.
- Gear 40 teeth with bushing module M1: eitech Gear 40 teeth with bushing module M1, SKU 01476, Standard variant. The bushing is the running surface, so seating it squarely before mounting prevents the gear from running at an angle.
- Axle profile 4x150 mm galvanized: eitech Axle profile 4x150 mm galvanized, SKU 01358P, Manufaktur tag. A straight 4 mm axle keeps the gear centred; if this axle is bent, no gear mounted on it will run true.