Quick answer
Mount your Turtlebox by choosing a flat, low-traffic spot on the boat, attaching stainless marine-grade Anchor tie-down points, and securing the speaker with the 36-inch Tie-Down Straps. The Grande's IP-67 rating means spray and rain are not a problem, but a good mount keeps it from sliding or going overboard when the water gets rough.
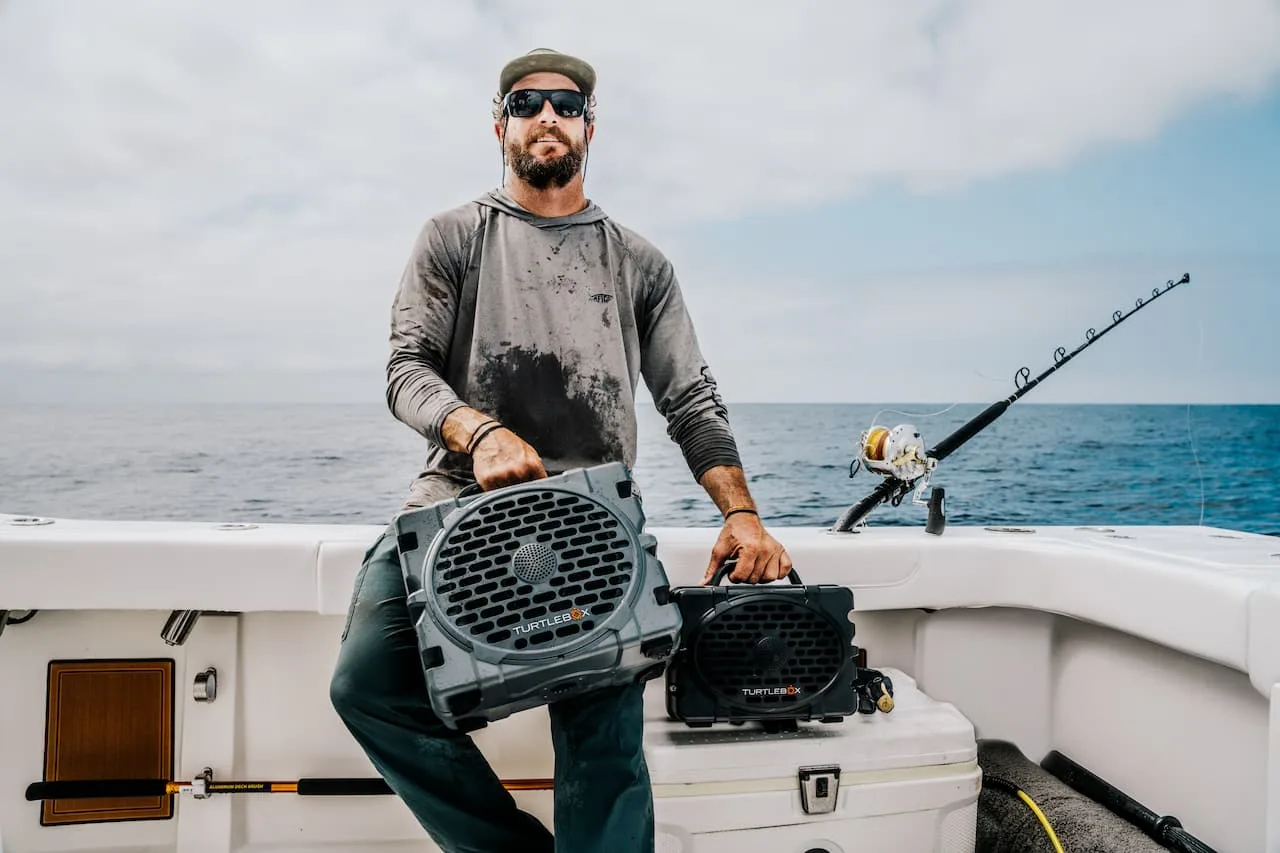
A Turtlebox is built to take a beating on the water, but even a rugged speaker can slide across a wet deck or bounce over the gunwale if it is not tied down. The good news is you do not need a custom bracket: Turtlebox makes simple accessories that let you strap the speaker wherever you want it.
This guide walks through the whole job in order, from picking the mounting spot to tensioning the straps. It works for the Grande and other Turtlebox speakers, and it takes about fifteen minutes with basic tools.
Pick a flat, protected spot on the boat
Start by finding a flat surface where the speaker will not block steering, throttle, lines, or foot traffic. A console top, a bench seat, or a gunwale ledge all work well. You want the speaker low enough that it cannot easily tumble overboard, but high enough that it is not sitting in standing water.
Check that the surface is solid enough to hold the Anchor tie-down points. Fiberglass, aluminum, and wood decks are all common mounting surfaces. If the spot flexes or is thin, move to a sturdier area rather than forcing it.
- Avoid mounting where the speaker blocks your view or the helm controls.
- Keep the speaker out of the direct path of anchor lines and dock lines.
Attach the Anchor tie-down points
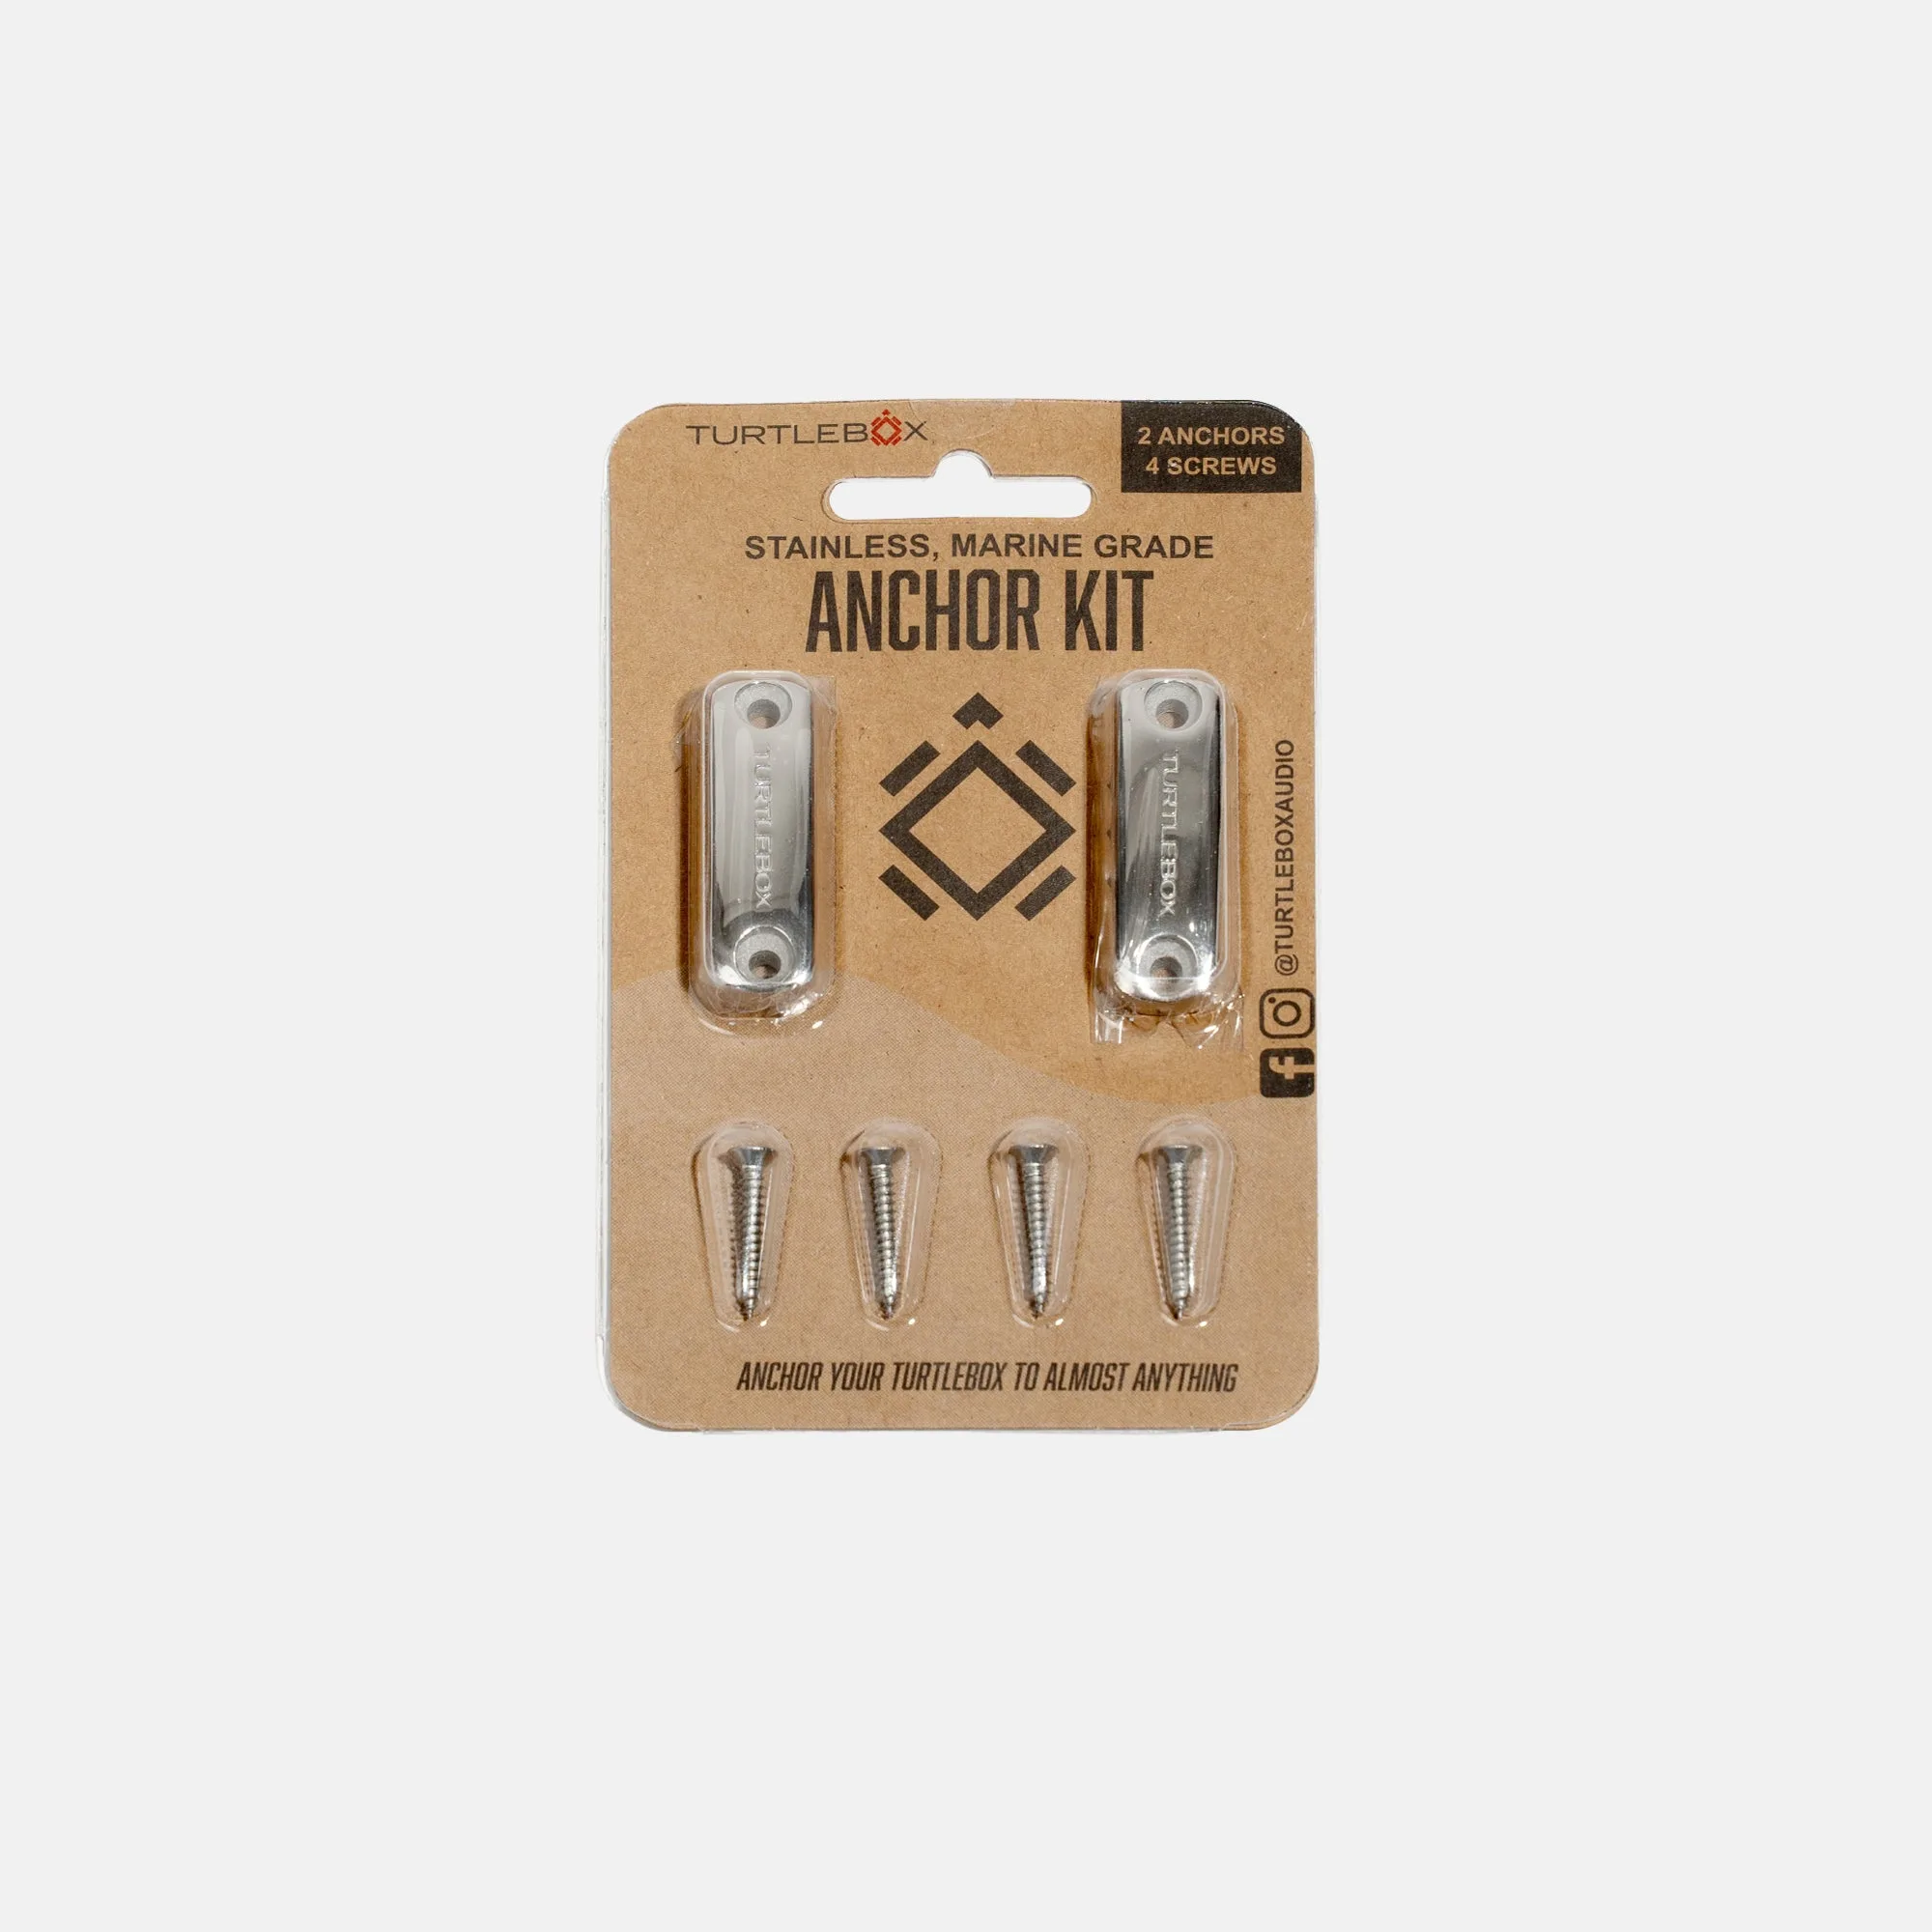
The Anchor is a stainless, marine-grade tie-down point sold as a set of two. Its low-profile design makes it a good fit for boats, four-wheelers, and anywhere else you need to strap down a speaker. Position the two anchors so they sit on opposite sides of where the speaker will rest, giving the straps a straight, even pull.
Drill and fasten each anchor according to the hardware and surface you have. If you are not comfortable drilling into your boat, a marine shop can install them quickly. Once mounted, give each anchor a firm tug to confirm it is solid before you trust it with the speaker.
- Line the anchors up so the straps run parallel, not at an angle across the speaker.
Run the Tie-Down Straps through the anchors
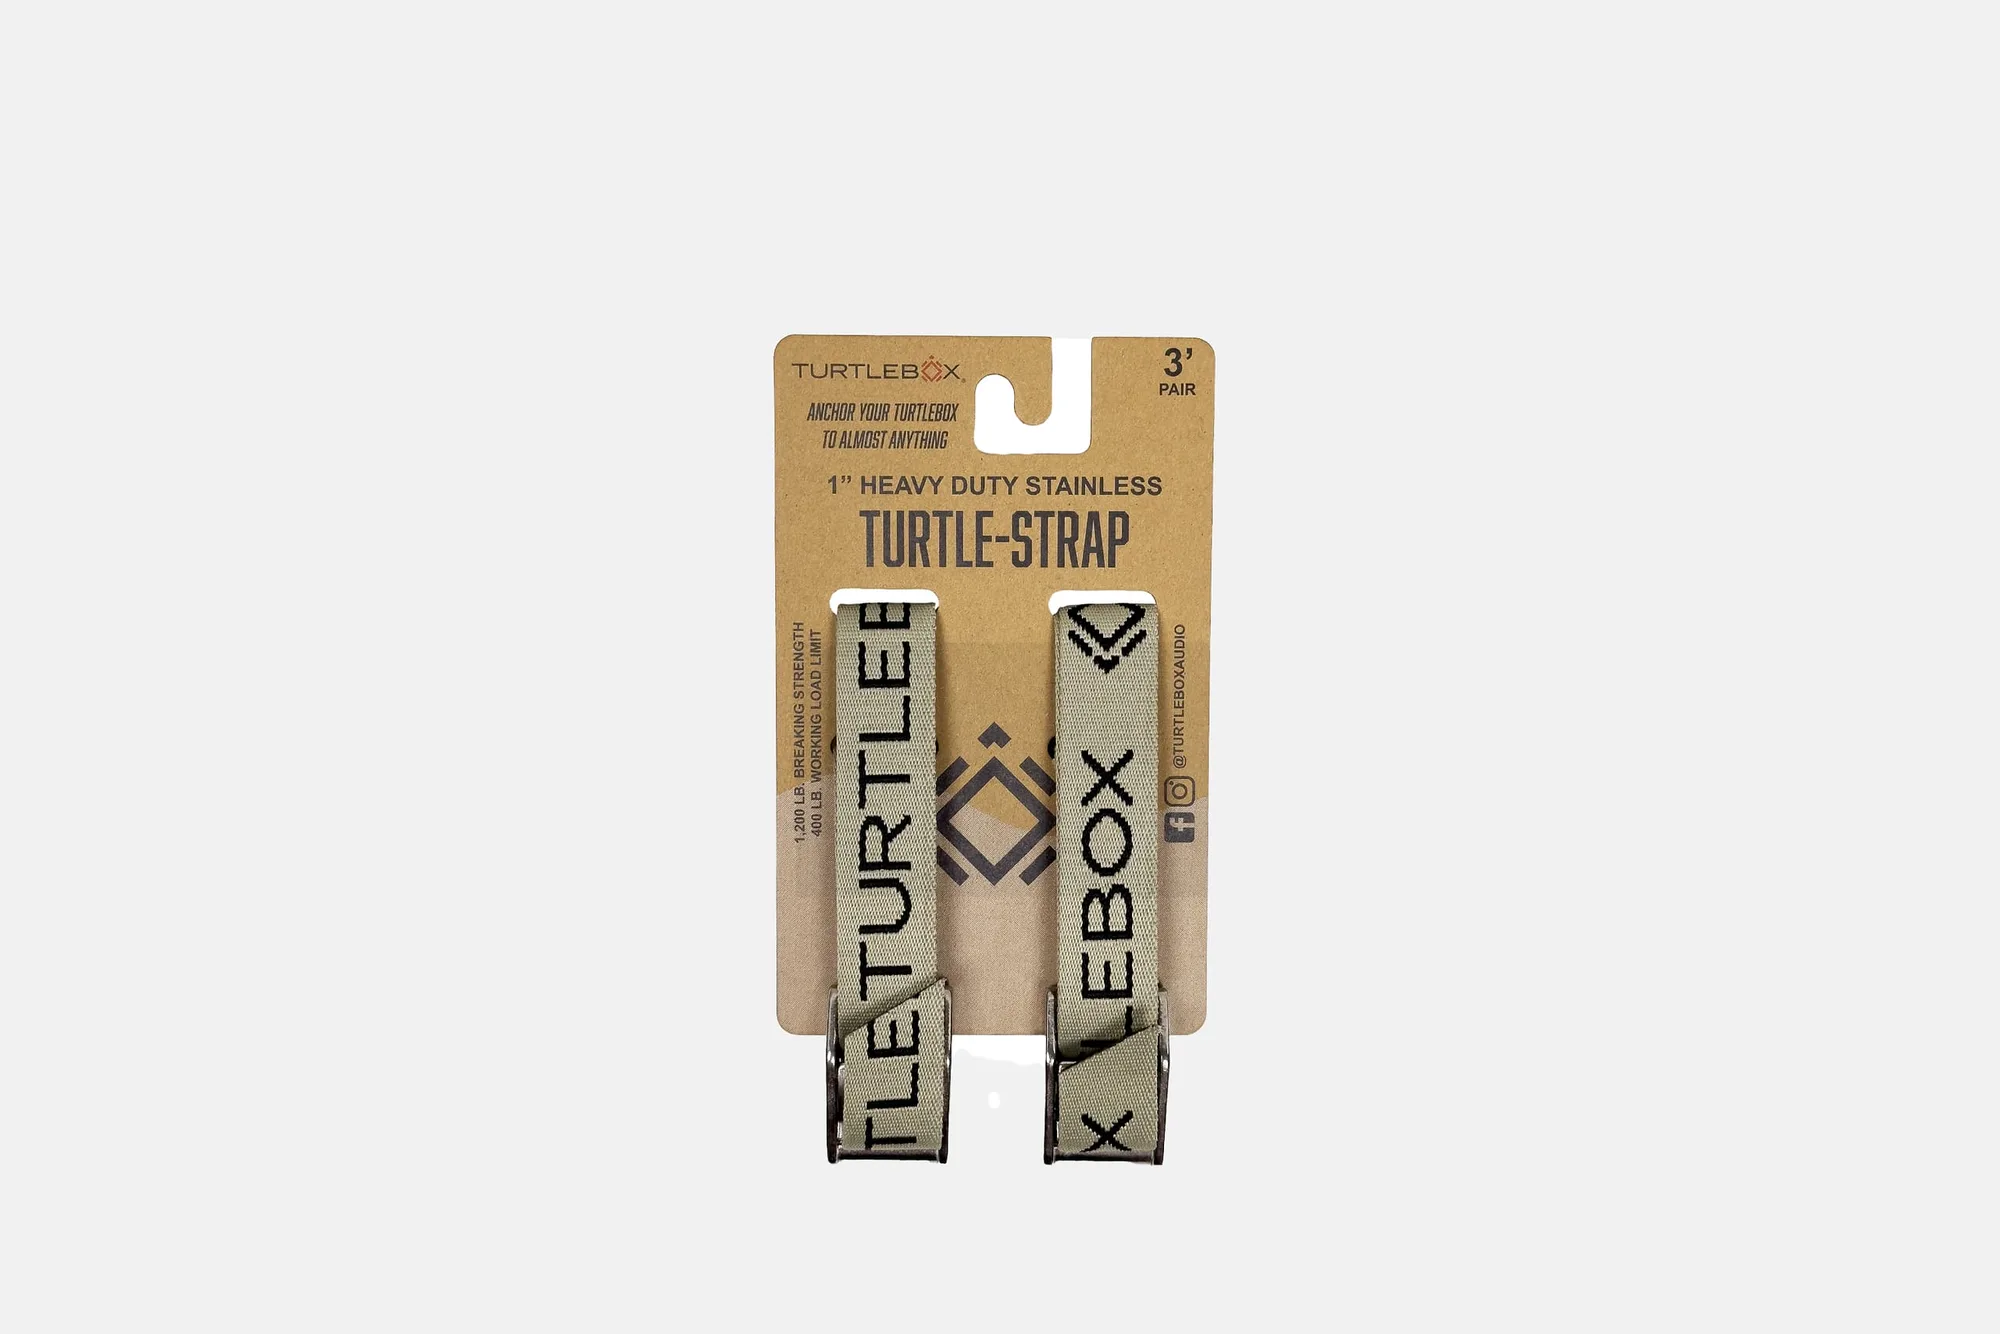
The Tie-Down Straps are 36 inches long, which is a practical size for a boat because you are not left wrapping a huge amount of extra slack around the hardware. Feed each strap through or around its anchor point, then bring it over the top of the speaker.
Route the straps so they cross over the speaker body rather than pressing on the drivers or the control panel. If your setup allows, run one strap over the front and one over the back for a balanced hold.
- Keep straps clear of buttons and ports so you can still power the speaker on and off.
Tension the straps and test the hold
Tighten the straps until the speaker cannot shift side to side, but stop before you compress or deform the housing. The goal is a firm, even hold, not a crushing one. Once tensioned, push the speaker in several directions by hand to check for movement.
Then test it in real conditions. Run the boat at speed, cross a wake, and check the speaker again. If it moved at all, retension the straps or reposition the anchors. A speaker that stays put at idle can still walk across the deck at planing speed.
- Recheck strap tension after the first rough ride and again at the end of the day.
Set up your audio and enjoy the ride
With the speaker secured, power it on and pair it as you normally would. If you are running more than one Turtlebox, Party Mode or true wireless stereo lets you link compatible models, so a second speaker can be mounted elsewhere on the boat for fuller sound.
Keep in mind that pairing compatibility depends on the model. The Grande pairs with Grandes, Original Gen 3's, Cubs, and Rangers, but it does not pair with the Original Gen 2. Check your specific models before you plan a multi-speaker setup.
- Confirm pairing compatibility between models before relying on a two-speaker setup.
Boat mount steps at a glance
- 1. Choose the spot: Find a flat, protected surface that does not block the helm, lines, or foot traffic. Checkpoint: the surface should be solid enough to hold fasteners.
- 2. Install the Anchors: Fasten the two stainless marine-grade Anchor points on opposite sides of the speaker position. Checkpoint: tug each anchor firmly before trusting it.
- 3. Route the Tie-Down Straps: Run the 36-inch straps through the anchors and over the speaker body, avoiding buttons and drivers. Checkpoint: straps should pull evenly, not diagonally.
- 4. Tension and test: Tighten until the speaker cannot shift, then push it by hand in several directions. Checkpoint: retension after the first rough ride.
- 5. Pair and play: Power on and pair as usual; add a second compatible Turtlebox for Party Mode or true wireless stereo. Checkpoint: confirm model pairing compatibility first.
Gear that makes the mount work
- Anchor: Stainless, marine-grade tie-down anchors with a low-profile, durable design, sold as a set of 2. These give you a corrosion-resistant mounting point that pairs directly with the Tie-Down Straps, so the speaker stays put on a boat, four-wheeler, or anywhere else you need to strap it down.
- Tie-Down Straps: At 36 inches long, the straps are sized to secure a Turtlebox without leaving excess slack to wrap up. The shorter length keeps the install clean on a boat or kayak and makes it faster to tension and release the speaker.
- Grande: Rugged, portable speaker with IP-67 water, drop-, and crush-proof rating and a 3-day battery life. Spray, rain, and the occasional bump are not a concern, so the mount only needs to stop the speaker from sliding or going overboard, not protect it from water.
A secure mount is the difference between great sound all day and a speaker sliding around the deck. With a couple of Anchor points and a set of Tie-Down Straps, your Turtlebox stays exactly where you put it, so you can focus on the water instead of your gear.