Quick answer
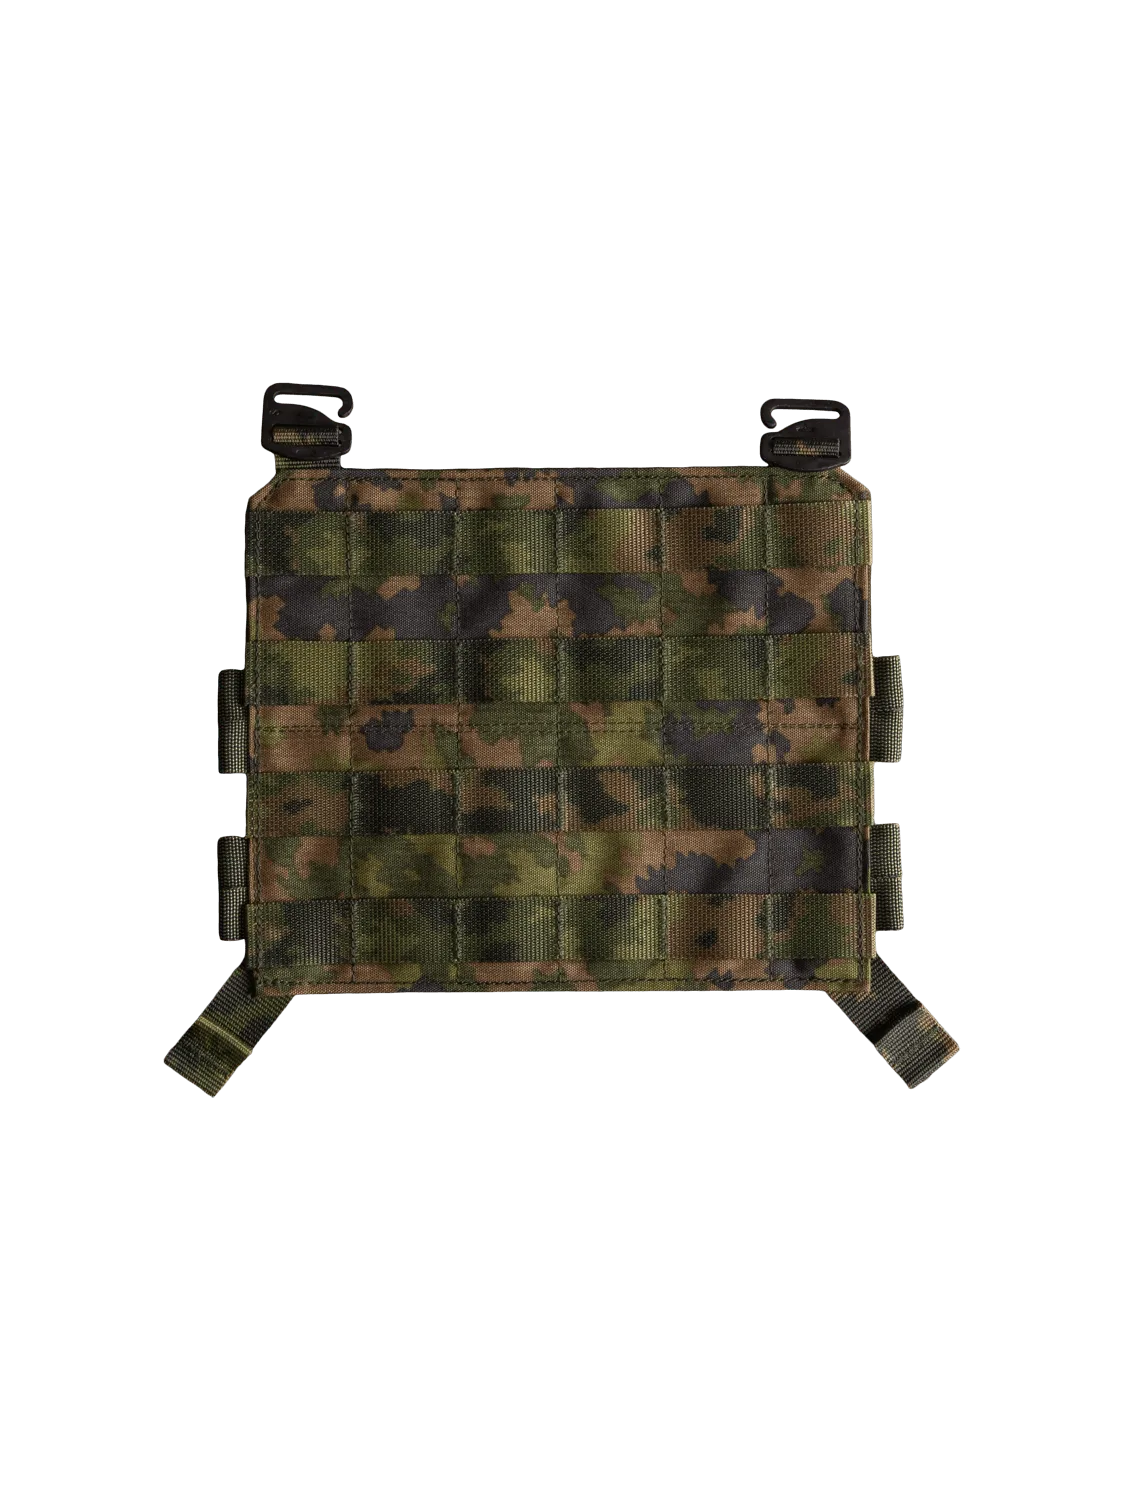
Mount your Varjelus PALS placard by aligning its PALS columns with the carrier's front webbing, weaving the straps top-down and bottom-up in a locking pattern, then tensioning evenly. For side coverage, add the Sioen 22,5 x 14 cm NIJ IIIA panels to the Varjelus side armour bags. Check that no strap crosses the plate edge or blocks the shoulder buckle path.
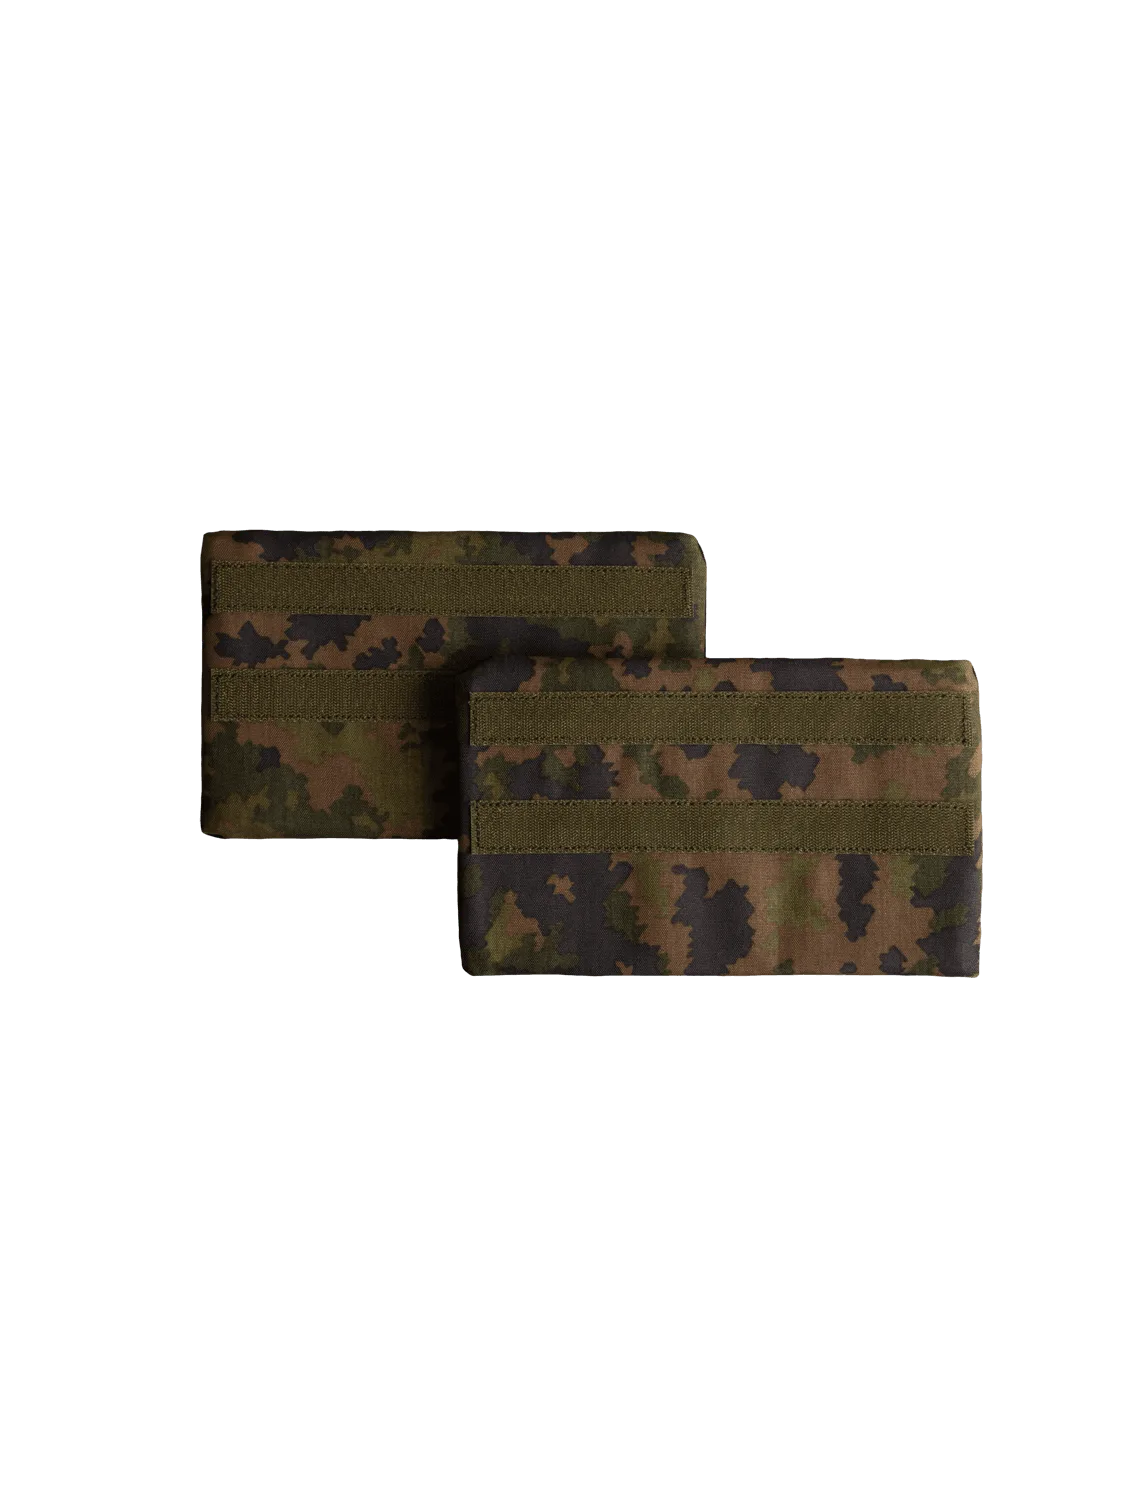
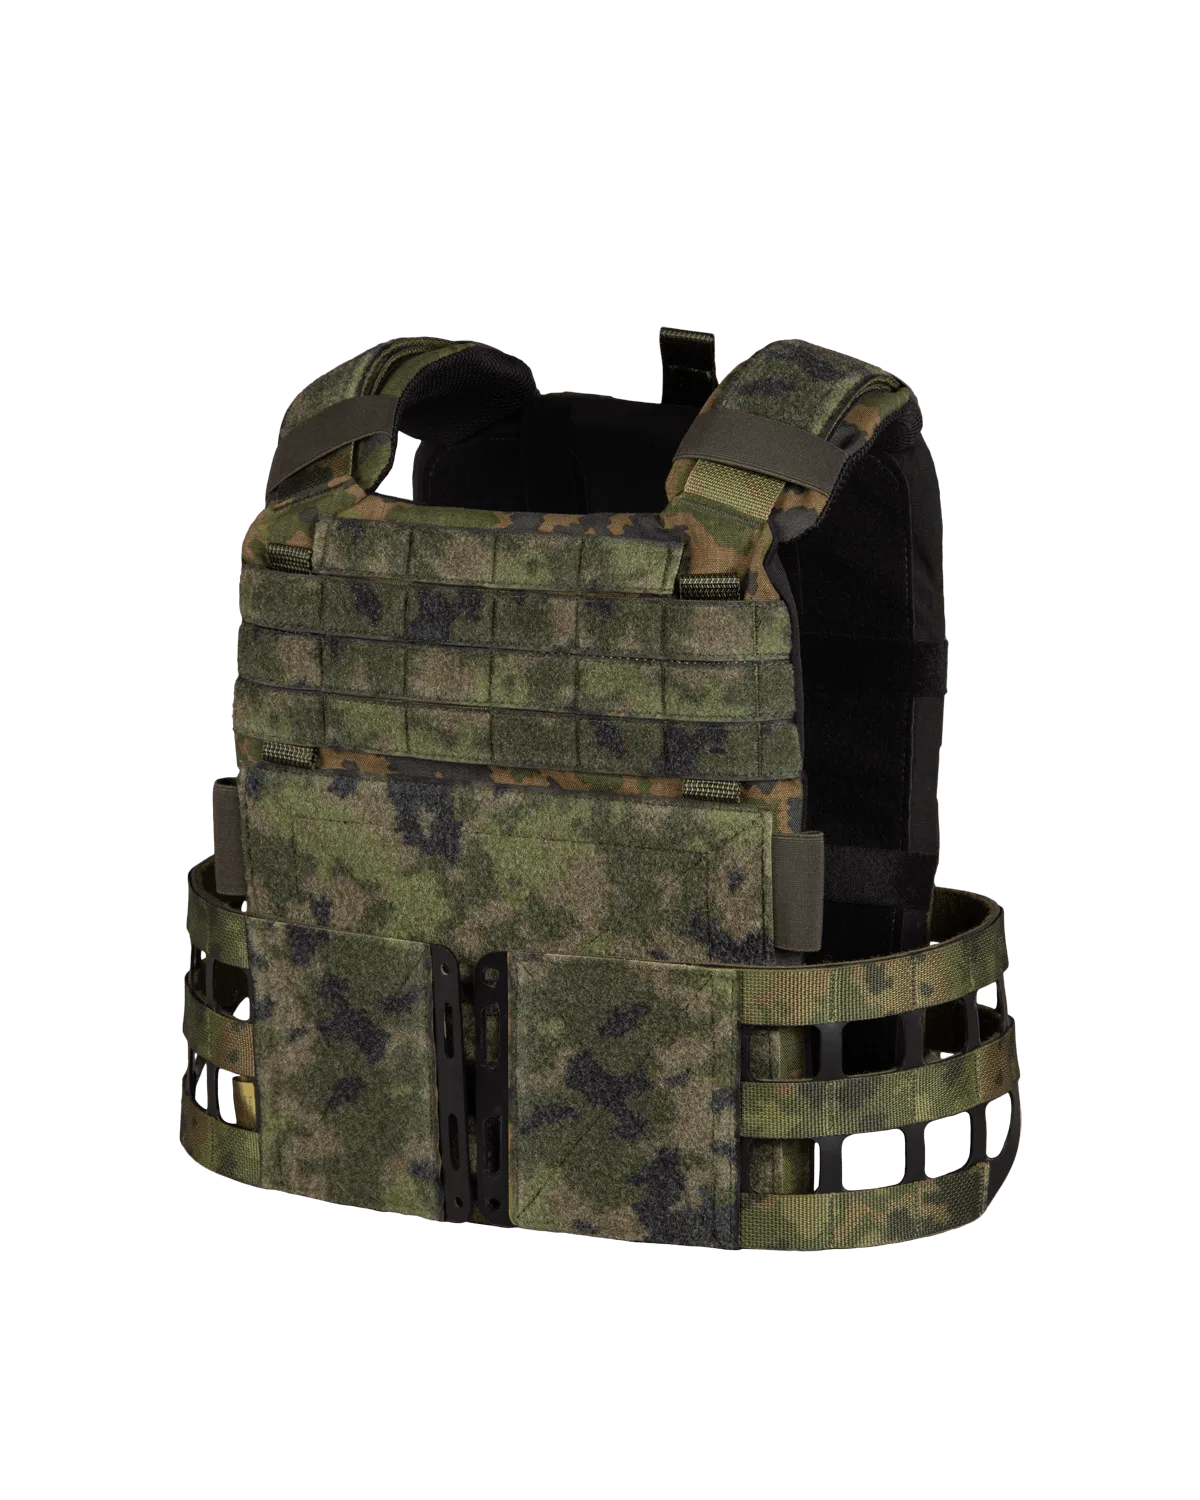
Varjelus side armour bags
A placard is only as good as its mounting. If the PALS weave is loose or misaligned, the placard shifts under load and the rest of your plate carrier placard setup feels unstable. The Varjelus PALS placard is designed to sit flat and stay put when you follow the webbing pattern correctly.
This guide walks through the full process: preparing the carrier, mounting the placard, adding side panels, and doing a final function check. It also covers the small parts that make the difference between a secure mount and a loose one, including the 2M WB SR PALS-mount buckles and the Sioen NIJ IIIA side panels.
Prepare the carrier and placard
Lay the plate carrier flat with the front panel facing up. Remove any existing front flap or accessory that occupies the same PALS real estate, and clear the loop field if your carrier uses one. Inspect the placard's straps for twists and confirm the PALS columns are clean and free of debris.
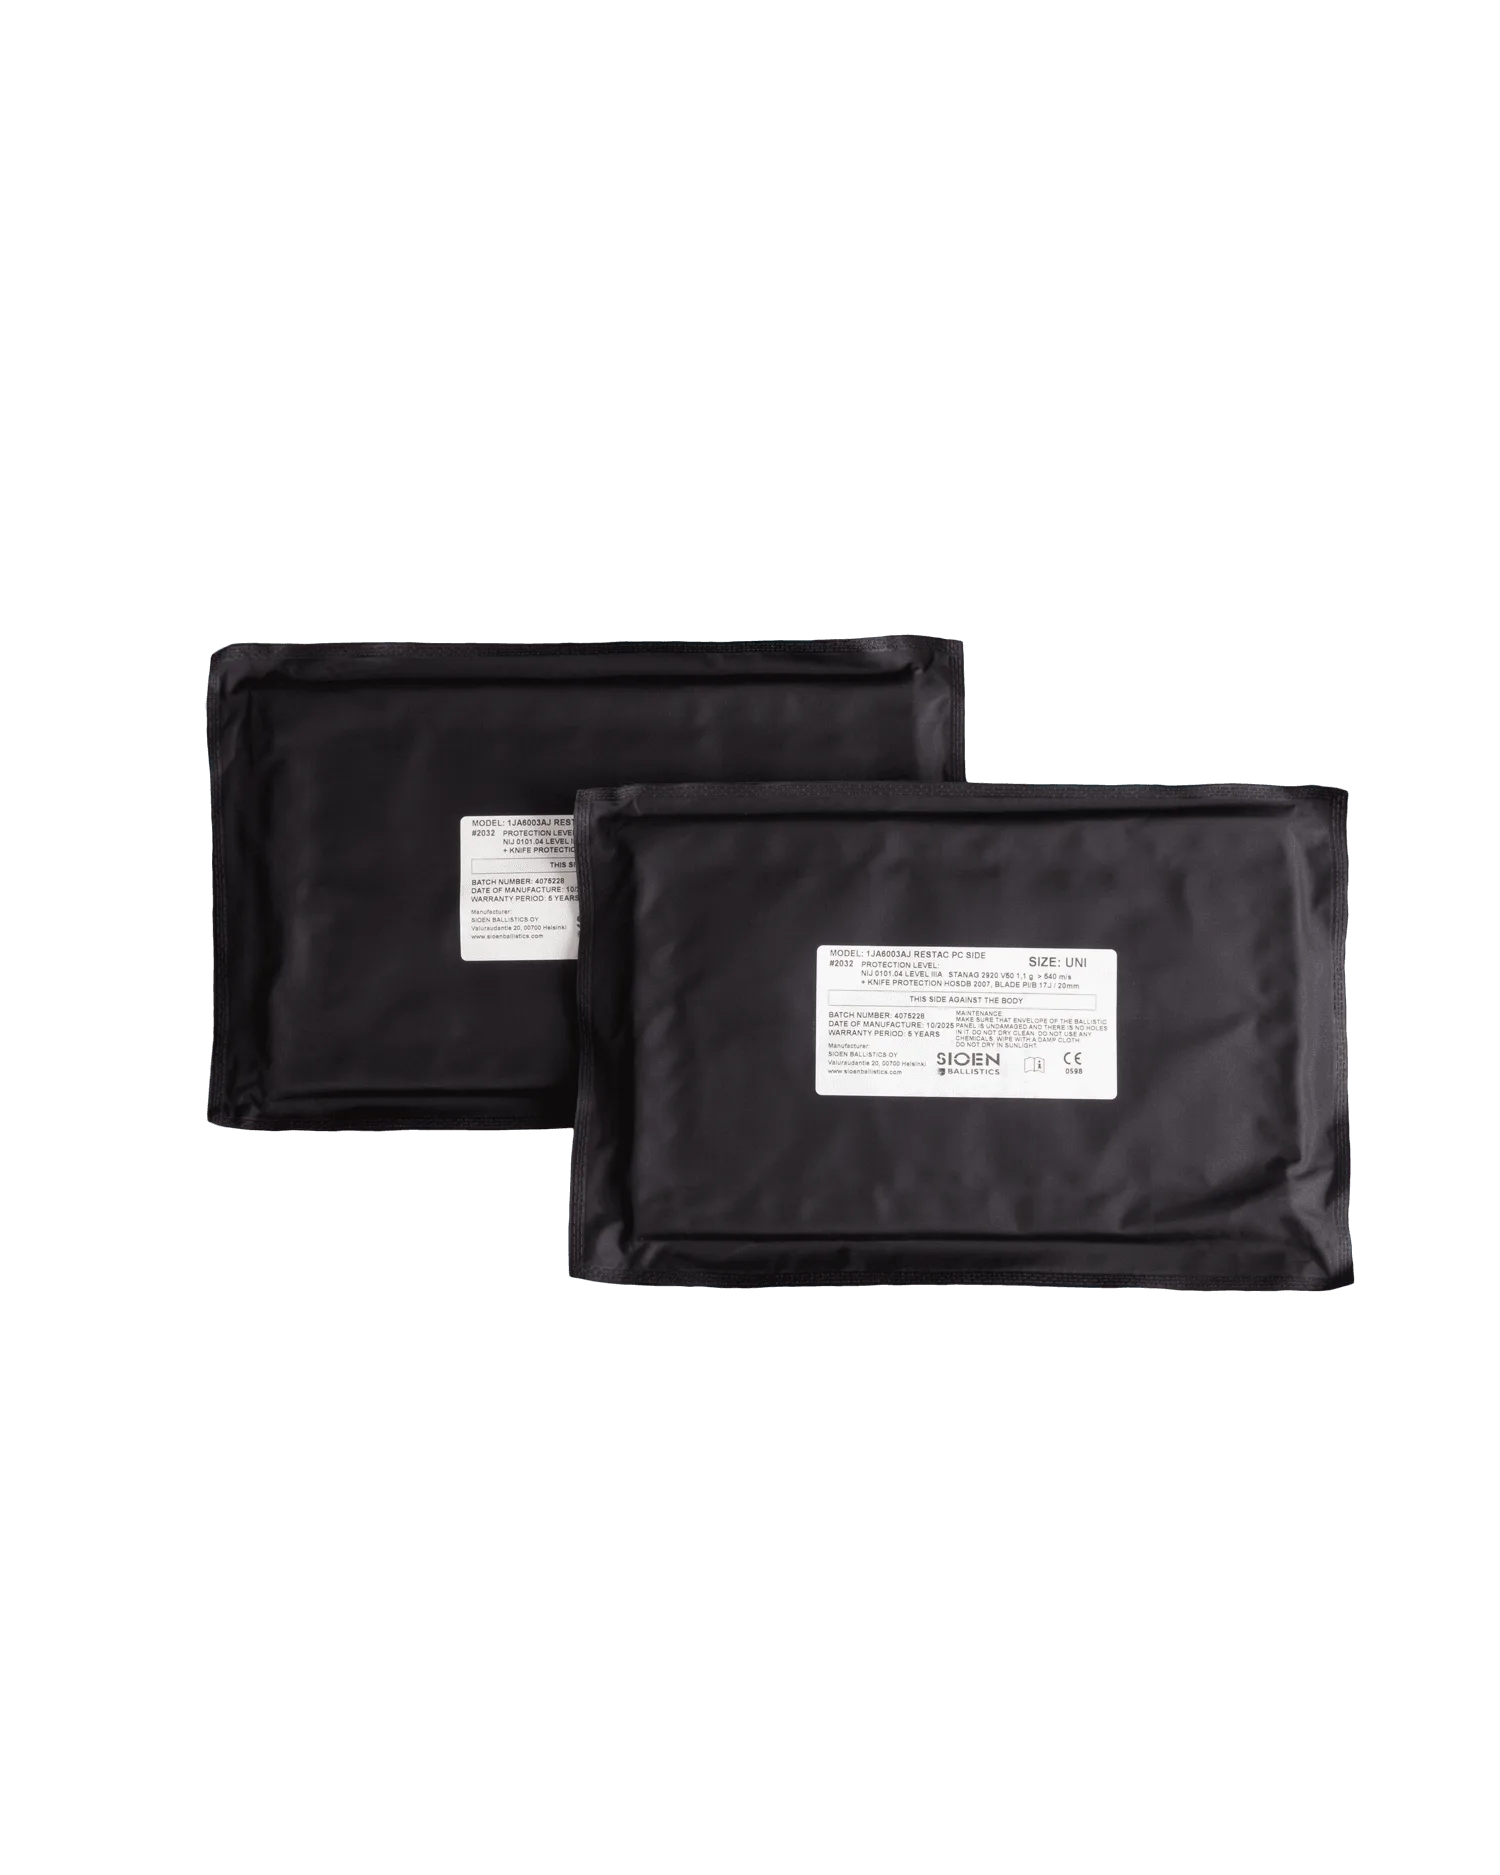
If you plan to run side armour, have the Sioen 22,5 x 14 cm NIJ IIIA panels ready. These are cut for the FDF M17 plate carrier side panel and fit the Varjelus plate carrier side armour bags. Note that due to export restrictions on ballistic material, these panels cannot be shipped outside Finland.
- Common mistake: forcing the placard onto a carrier with a different PALS spacing. If the columns do not line up, stop and check compatibility before bending anything.
Weave the PALS straps in a locking pattern
Start at the top row. Thread the first strap down through the placard and carrier webbing, then back up through the next column. Alternate over-under as you move across so the weave locks itself. Repeat on the bottom row, working in the opposite direction to balance tension.
Do not pull any single strap tight until all straps are threaded. Once everything is in place, tension them evenly from the center outward. This prevents the placard from skewing to one side, which is a common cause of hot spots and shifted gear.
- Checkpoint: run a finger under each strap. If you can slide it freely, the weave is too loose and will shift under load.
Add side panels and route accessories
If your setup includes side armour, insert the Sioen panels into the Varjelus side armour bags before mounting the placard. Doing this first keeps the carrier flat and prevents the placard from being disturbed later. The panels are sold as pairs, so you get two pieces per package.
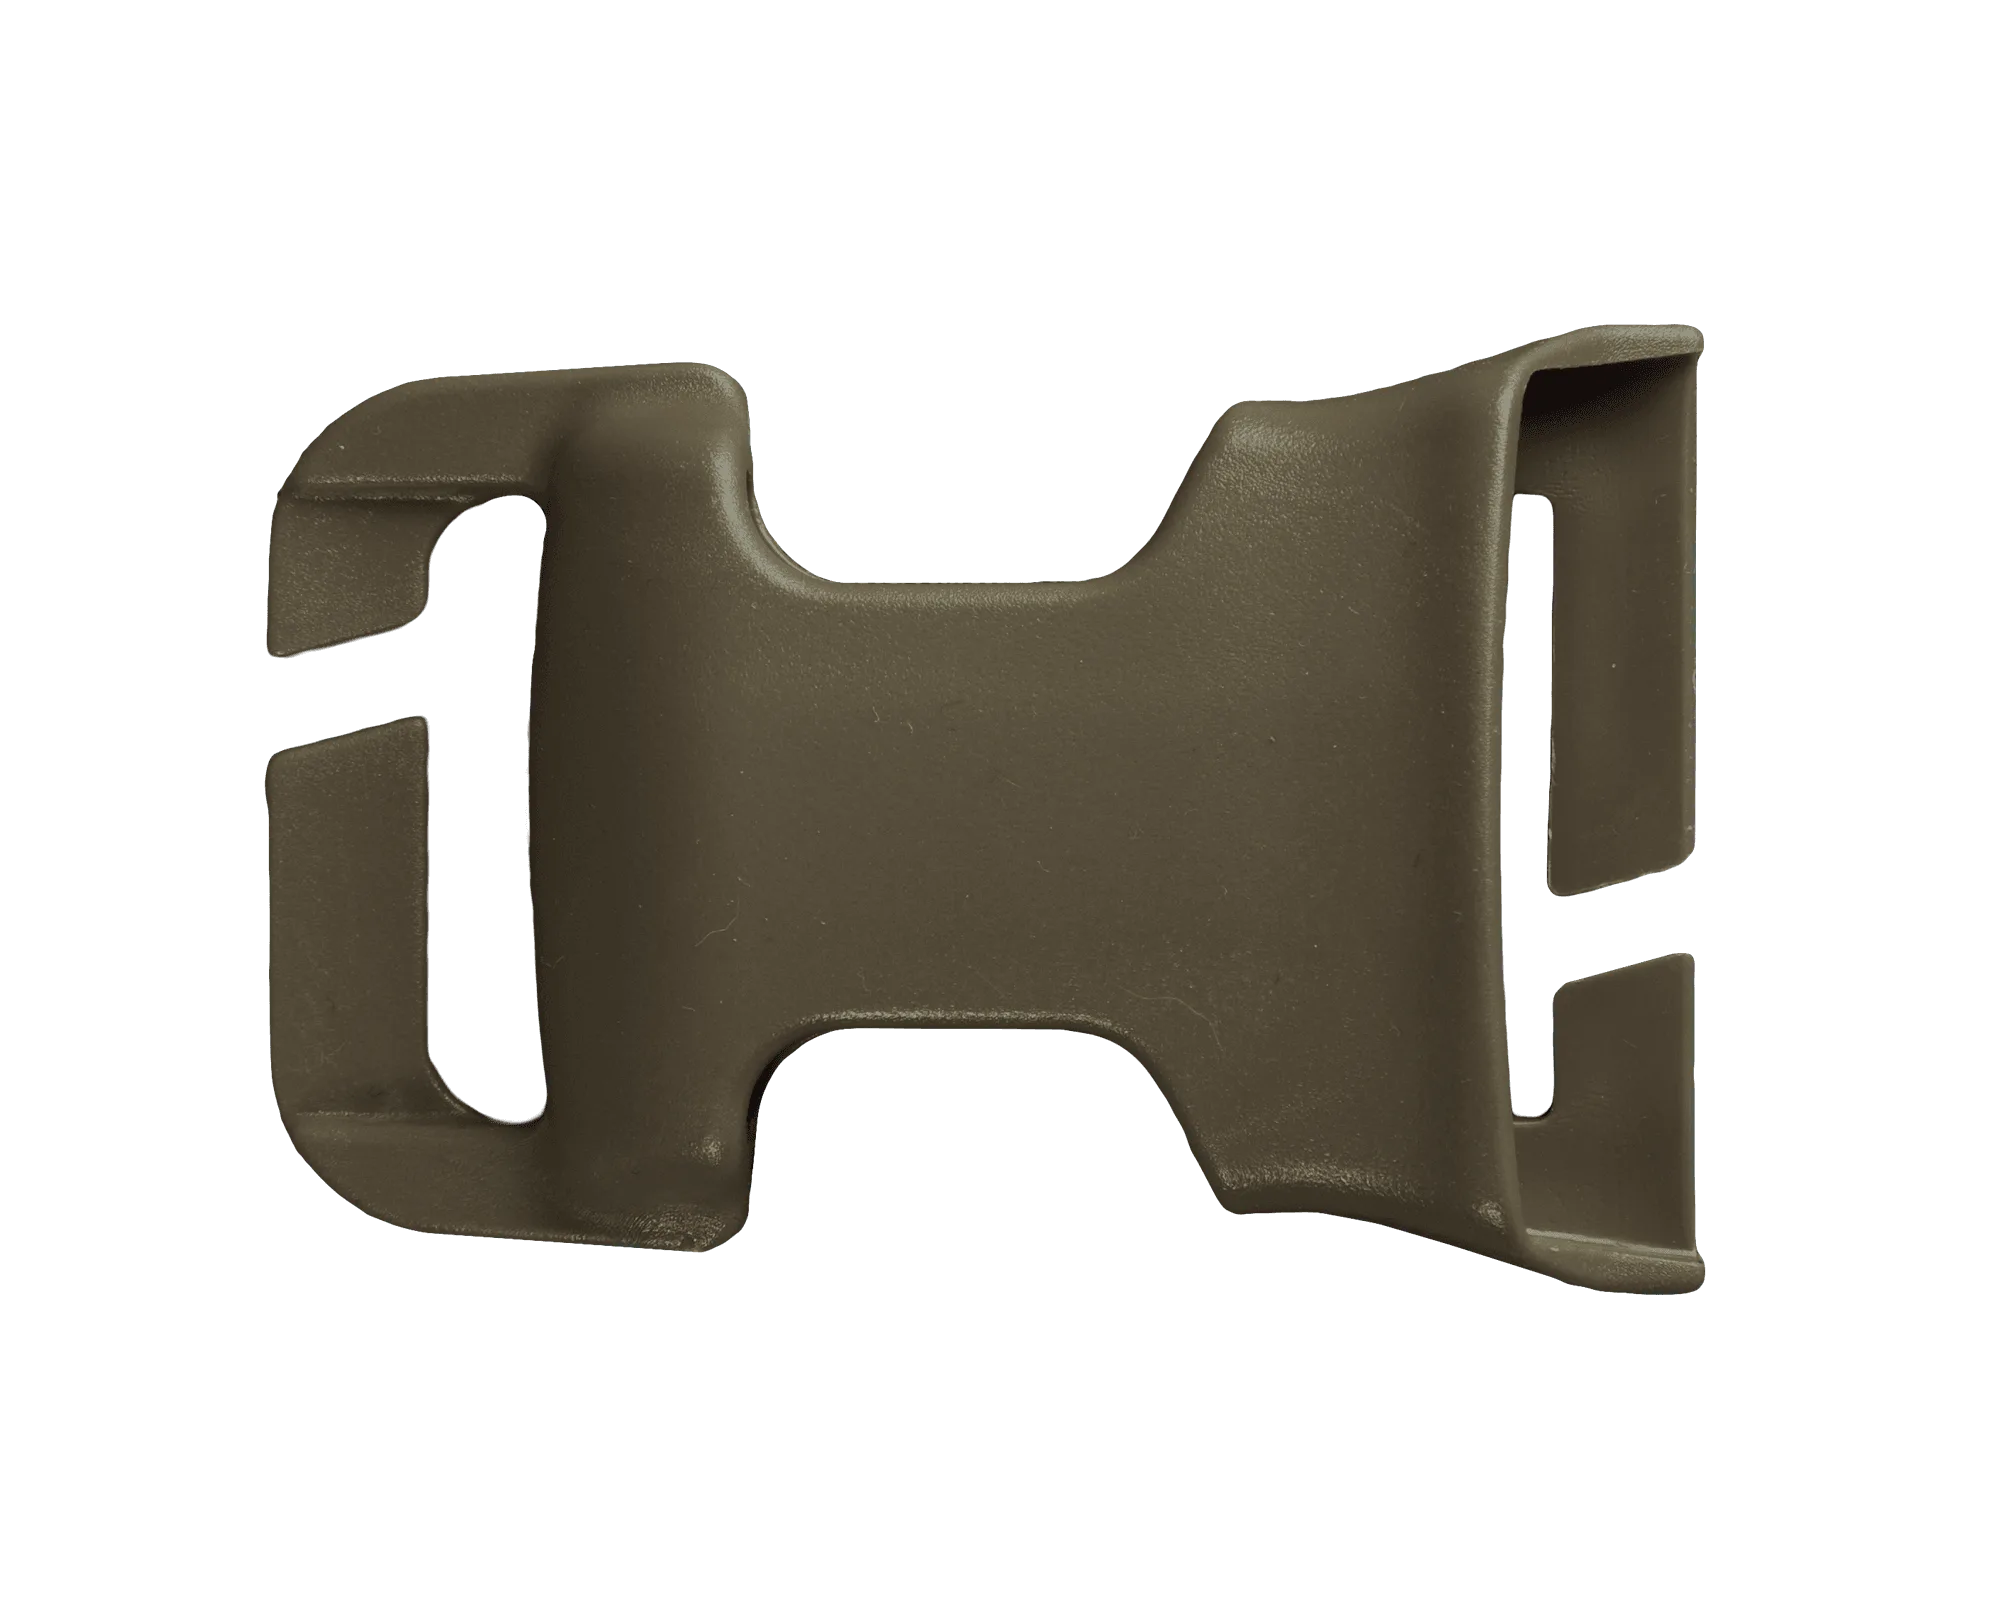
For pouches or accessories that need to quick-attach, use PALS-mountable side release buckles. The 2M WB SR PALS-mount, 25 mm, female buckle is a direct fit for PALS webbing and works for modifying packs and pouches. If you are attaching a Hatka 12L to the front of a Jääkäri M, L, XL, or Kantamus 40L or 60L, you will need four of these buckles for a secure attachment.
- Common mistake: mounting the placard over a side panel bag that is not fully seated. Always insert panels first, then mount the placard.
Final function check
Put the carrier on and tighten the shoulder straps. Reach across your chest and tug the placard in four directions. It should not lift away from the carrier or rotate. Check that the placard does not interfere with the shoulder buckle path or your drawstroke for any attached pouches.
If you use a chest pack or other front-mounted gear, confirm there is no overlap that blocks access. A placard that sits too high can crowd the sternum area; one that sits too low can dig into the belt line. Adjust the weave position by one row if needed.
- Checkpoint: after 10 minutes of wear, re-tension the straps. Webbing settles slightly on first use.
Mounting steps at a glance
- Clear the front panel: Remove any existing flap or accessory from the PALS area and inspect the placard straps for twists. A clean, flat mounting surface prevents the placard from sitting crooked.
- Weave top and bottom rows: Thread the top row in a locking over-under pattern, then repeat on the bottom row in the opposite direction. Alternating direction balances tension and keeps the placard from skewing.
- Tension evenly from the center out: Once all straps are threaded, tighten from the middle outward, not one side at a time. Even tension prevents hot spots and keeps the weave locked.
- Insert side panels before mounting: If using Sioen NIJ IIIA panels, seat them in the Varjelus side armour bags first, then mount the placard. Panels that are not fully seated will push the placard out of alignment.
- Do a wear check: Put the carrier on, tug the placard in four directions, and confirm no interference with buckles or pouches. Re-tension after 10 minutes of wear as the webbing settles.
Parts that make the mount work
- Sioen 22,5 x 14 cm NIJ IIIA, panel, pair: FDF M17 plate carrier side panel cut NIJ IIIA ballistic panels that fit the Varjelus plate carrier side armour bags. Made in Finland by Sioen Ballistics Oy and sold as pairs. If you run side coverage, these panels slide into the Varjelus side bags before you mount the placard. Remember the export restriction: they cannot be shipped outside Finland.
- 2M WB SR PALS-mount, 25 mm, female: PALS webbing mountable 2M Warrior Buckle series side release female buckle. Four are needed to securely attach the Hatka 12L to the front of a Jääkäri M, L, XL, or Kantamus 40L or 60L. These buckles let you quick-attach pouches and packs to PALS webbing, which is useful when your placard setup needs to scale up or swap accessories.
A secure placard mount comes down to a clean surface, a locking weave, and even tension. Take the extra minute to seat side panels first and check the fit under load. If you need to scale your setup, PALS-mountable buckles like the 2M WB SR give you room to grow without redoing the whole carrier.