Quick answer
Empty the pot as much as you can, slide a furniture slider or dolly under the base rather than dragging it, and lift with your legs while keeping the pot close to your body. For ceramic planters, never tip the pot onto its rim to roll it, since that is the fastest way to chip the edge and scratch the floor.
Moving a large planter is mostly a planning problem, not a strength problem. The pot that looked manageable at the garden center becomes awkward once it is full of wet soil, and the two things most likely to get damaged are your floor and your lower back.
This guide walks through the order that works: reduce the weight first, protect the surface second, then move the pot with a tool instead of your arms. It applies to ceramic, clay, and composite planters, indoor and outdoor, and it takes about fifteen minutes for a single large pot.
Start by making the pot lighter
Water is the hidden weight in any planter. A pot that felt fine when you bought it can double in weight after a few waterings, so stop watering two or three days before the move and let the soil drain. If the plant is small enough to lift out, slide it out with the root ball intact and set it in a bucket or on a tarp while you move the empty pot.
For a plant you cannot remove, scoop out the top few inches of soil into a bucket. You do not need to strip the pot bare; removing even a third of the soil can take off enough weight to make the difference between a controlled lift and a strained back. Keep the removed soil to put back afterward.
- Checkpoint: if you can rock the pot side to side with one hand, it is light enough to move with a slider.
- Mistake to avoid: watering the plant right before the move to 'settle' the soil. That adds weight and turns a spill into a mud puddle.
Clear the path and protect the floor
Walk the route before you carry anything. Move shoes, pet bowls, and floor lamps out of the way, and check that doorways are wide enough for the pot plus your hands. Measure the pot's widest point and the narrowest door in the path; if the pot is wider than the doorway, it has to be moved in pieces or on its side with padding.
On hardwood, tile, or vinyl, lay down a runner rug, a moving blanket, or a sheet of cardboard along the route. On carpet, you mostly need to worry about snagging, so tape down any loose edges. This is the step people skip, and it is the one that prevents the scratch you notice a week later.
- Checkpoint: the path should be clear enough that you never have to step over anything while holding the pot.
- Mistake to avoid: dragging a ceramic pot 'just a few inches' across a hard floor. Grit under the base acts like sandpaper.
Choose the right moving tool for the surface
Furniture sliders, also called planter sliders, are the simplest option for hard floors. Tip the pot just enough to slip a slider under each side of the base, then push from the base, not the rim. On carpet, sliders grip and fight you, so use a furniture dolly or a hand truck with a strap instead.
For very heavy pots, a dolly is safer than sliders because it keeps the weight vertical and lets you steer. Strap the pot to the dolly at the base and again higher up so it cannot tip. If you have neither tool, a sturdy piece of cardboard under the pot works for short distances on hard floors, but it will not survive a long move.
- Checkpoint: push the pot, never pull it toward you, so you stay balanced if it shifts.
- Mistake to avoid: lifting a heavy pot by the rim. On hand-thrown and high-fired ceramics, the rim is the thinnest part.
Lift with your legs when you have to carry it
Some moves, like carrying a pot up stairs or over a threshold, cannot be done with a slider. Squat down with your feet shoulder-width apart, grip the pot at the base with both hands, and stand by pushing through your heels. Keep the pot close to your chest rather than out in front of you, because a load held away from the body puts far more strain on your back.
If the pot is too wide to grip at the base, use a pot lifter or a strap sling under the base. Two people should carry a large pot, one on each side, and the taller person should call the steps so you move together. Never twist your torso while holding the pot; turn your whole body with your feet.
- Checkpoint: if you cannot stand up with the pot while keeping your back straight, it is too heavy to carry alone.
- Mistake to avoid: carrying a pot up or down stairs while facing sideways. Face the stairs and take one step at a time.
Set the pot down and check the plant
Place the pot on its final surface before you refill it, so you are not lifting a heavy pot twice. If the pot has a detached saucer, set the saucer down first and center the pot on it. Refill the soil you removed, firm it gently, and water lightly to settle the roots.
Give the plant a few days to adjust before you fertilize or repot it. A move is a small shock even when you do everything right, and a droopy leaf or two in the first week is normal. If the pot is going back outside, check that it sits level so it does not rock in wind.
- Checkpoint: press down on opposite sides of the pot. If it rocks, shim the base or reset the saucer.
- Mistake to avoid: fertilizing immediately after the move. Wait until you see new growth.
The move in seven steps
- Stop watering and let the soil drain: Give the pot two or three days without water before the move so the soil is lighter and less likely to spill. Checkpoint: the top inch of soil should feel barely damp, not wet.
- Remove the plant or scoop out topsoil: Lift out small plants with the root ball intact, or scoop the top few inches of soil into a bucket for larger ones. Mistake to avoid: stripping all the soil, which exposes roots and makes the plant harder to re-settle.
- Clear and measure the route: Move obstacles, then compare the pot's widest point to the narrowest doorway on the path. If the pot is wider than the door, plan a different route or move it in pieces.
- Lay down floor protection: Use a runner, moving blanket, or cardboard on hard floors and tape down loose carpet edges. Checkpoint: no bare hard floor should be visible along the entire path.
- Slide, do not drag: Put planter sliders under the base on hard floors, or strap the pot to a dolly on carpet. Push from the base and keep the pot upright the whole way.
- Lift with your legs for stairs and thresholds: Squat, grip the base, keep the pot close to your body, and stand by pushing through your heels. If you cannot stand with a straight back, get a second person or a pot lifter.
- Set down, refill, and wait to fertilize: Place the saucer first, center the pot, return the soil, and water lightly. Wait for new growth before fertilizing; a little droop in the first week is normal.
Planter details that affect how you move them
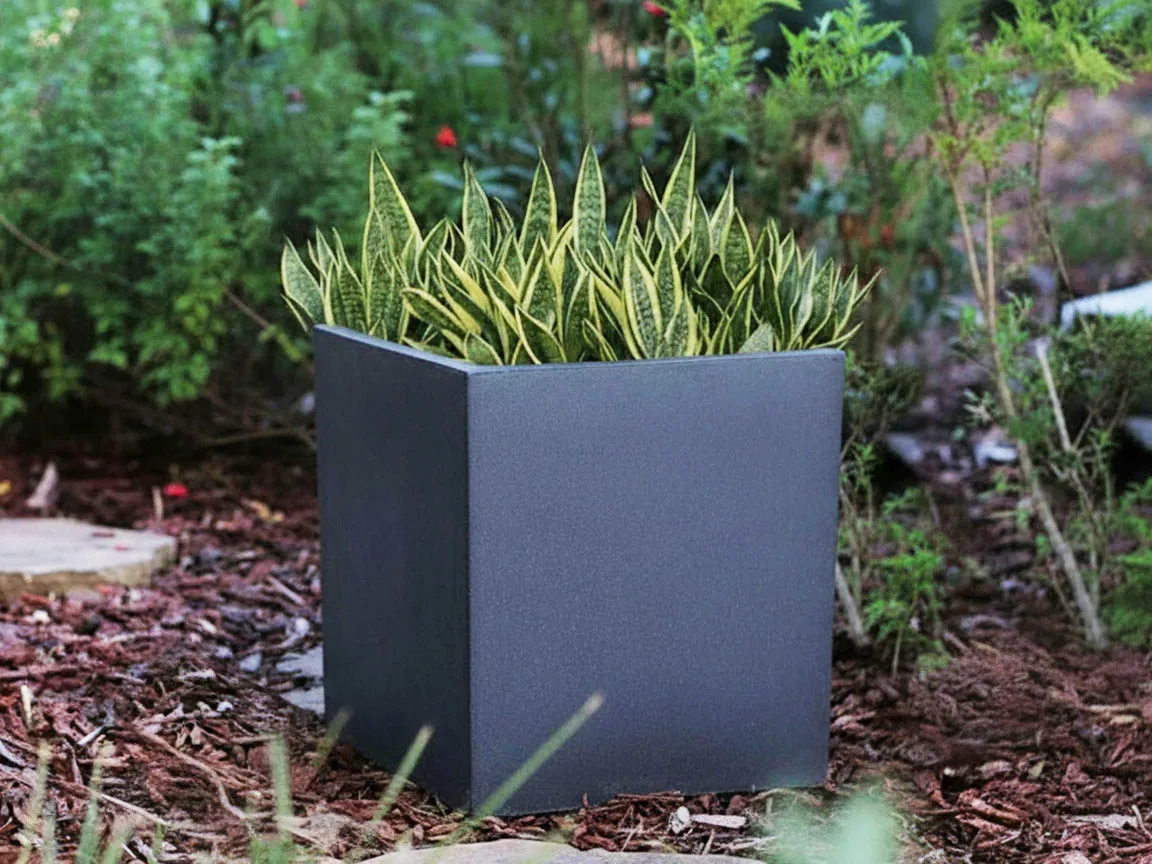
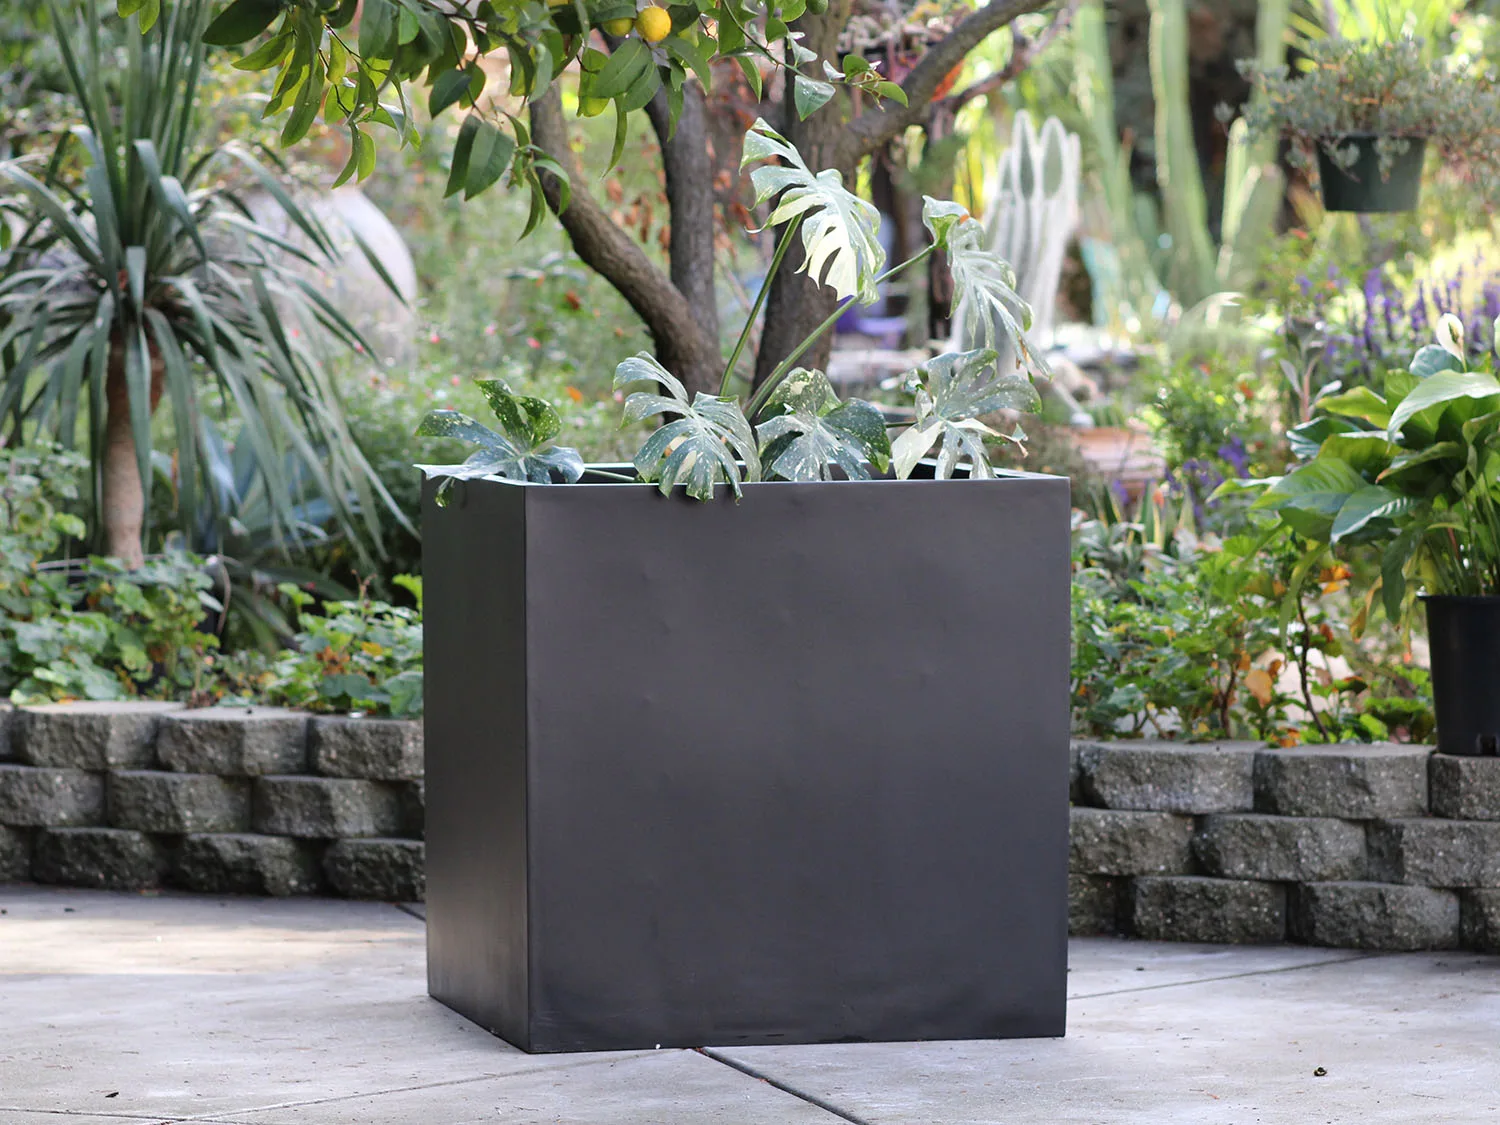
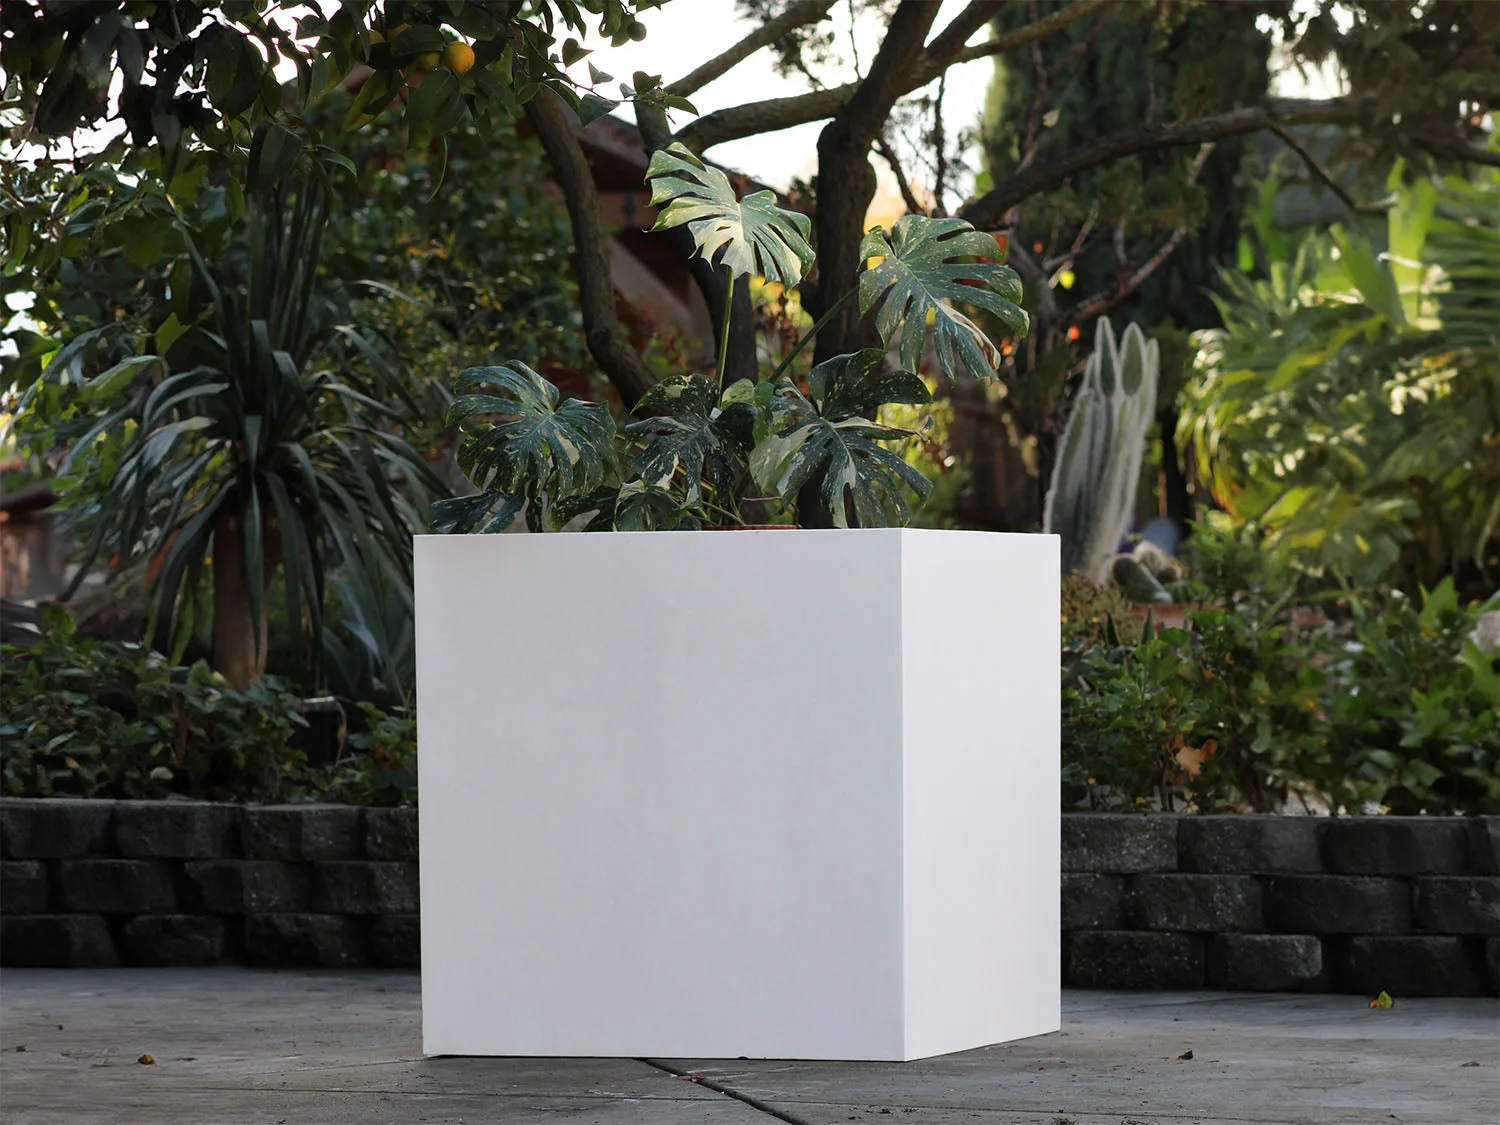
- https://plantatoremez.com/products/cube-planter-set-of-4-142dfd429e3183dcb3ad375a-2580418https://plantatoremez.com/products/cube-planter-set-of-6-23192b281122421108f2256b-2580421https://plantatoremez.com/products/cube-planter-set-of-7-fb56041995b68c9e34e9d4d4-2580422Cube Planter By Plantatorem: Available in four sizes from 12.0" D x 12.0" H up to 23.5" D x 23.5" H, in Black, White, and Dark Grey, sold as a single pot or in a case of 5. The largest size is wider than many interior doorways, so measure before you plan a straight carry. The flat cube base also takes sliders well on hard floors.
- Cylinder Pot with Detached Saucers (LARGE) By Plantatorem: A ceramic indoor planter in a cylinder shape, 4.0" D x 3.5" H, with detached saucers included, available in Matte White, Matte Pink, Matte Grey Green, and Matte Cool Grey. The detached saucer is a separate piece, so move the saucer first and set the pot on it afterward. That avoids the saucer sliding out mid-move and scratching the surface.
- English Tumbled Pots Medium By Plantatorem: Hand-thrown ceramic outdoor pots shaped from high-quality clay and tumbled for a rustic finish, available as a Set of 2 in multiple colors and sizes. Hand-thrown ceramics vary slightly in shape and rim thickness, so grip these at the base rather than the rim, and pad the contact points if you stack them for storage.
The safest move is the one where the pot never leaves the ground. Empty what you can, protect the floor, and let sliders or a dolly do the work, and both your floors and your back will come through it fine.