Quick answer
Fit a trunk lid organizer by first checking lid clearance and latch travel, then cleaning the lid surface, test-fitting the organizer empty, and loading it with light items on the hinge side and heavier tools near the latch. If your trike has a factory lid pouch or a thick liner, measure before buying so the lid still closes without pressure.
A trunk lid organizer turns the underside of your trike trunk lid into usable space instead of a surface you have to work around. On a Tri Glide or Freewheeler, the lid is the one part of the trunk that travels with you every time you open it, so mounting storage there keeps small items visible and off the floor of the trunk.
The catch is that every trike lid is a little different. Latch hardware, hinge geometry, and the thickness of any existing liner all change how much room you have. This guide walks through the order that avoids the common mistakes: measure first, clean properly, test-fit empty, then load with weight in mind.
Check lid clearance and latch travel before you buy
Open the trunk lid and watch how the latch striker and any cables move through their full range. A trunk lid organizer adds thickness to the inside of the lid, and if that thickness sits in the path of the latch or a hinge arm, the lid will not close cleanly or will need extra force. Measure the depth from the lid surface to the nearest moving part at several points, not just the center.
This is also the step where you confirm which trike you actually have. A tri glide trunk organizer and a freewheeler trunk lid organizer are not the same shape, and model years within the Tri Glide line changed over time. If the listing does not state a year range, treat that as a limitation and measure rather than assume.
- Checkpoint: close the lid slowly by hand after any test fit and listen for contact before you trust it on the road.
Clean and prep the lid surface
Trunk lids collect road film, polish residue, and sometimes a light oil sheen from latch lubrication. Adhesive-backed organizers and hook-and-loop panels need a clean, dry, room-temperature surface to hold. Wipe the mounting area with a mild cleaner, let it dry fully, and avoid applying anything right after you have waxed or treated the paint.
If your lid has a textured or lined interior, decide whether the organizer mounts to the liner or to the painted surface. Mounting to a loose liner usually fails, because the liner itself moves. Press on the liner with your palm first; if it flexes or lifts, that spot is not a stable base.
- Common mistake: sticking an organizer onto a cold or damp lid, then wondering why the adhesive releases in summer heat.
Test-fit the organizer empty
Set the organizer in place with no contents and close the lid. You are checking three things: whether the lid closes to the same position as before, whether the organizer rubs anywhere, and whether the latch still engages with normal effort. Do this before you commit to permanent fasteners or before you load anything into the pockets.
If the lid needs a push to close, the organizer is too thick for that location. Move it lower on the lid, trim the backing if the design allows, or choose a slimmer organizer. Forcing a lid closed puts stress on hinges and latch hardware that is expensive to repair and annoying to live with.
- Checkpoint: the lid should close with the same feel as before the organizer was added.
Load it so weight works with the hinge, not against it
The lid swings on hinges, so weight placement matters more than total weight. Keep heavy items such as tools and a tire gauge low and close to the latch side, and put light items like registration copies, gloves, or a small map pouch higher up. This reduces the effort needed to hold the lid open and lowers the load on the hinge hardware.
Pockets that face down when the lid is open will drop contents when you close it. Pouches with flaps, zippers, or elastic retention hold small items better than open sleeves. If you carry anything that can roll, secure it rather than letting it shift into the latch area.
- Common mistake: loading a heavy tool roll at the top of the lid, which makes the lid feel heavy and can stress the hinges.
Keep the latch path and seal clear
After loading, close the lid and check that nothing bulges into the latch or pinches the trunk seal. A seal that is held open lets water and dust in, which defeats the purpose of organizing your gear. Run a hand along the seal line with the lid closed to feel for gaps or hard spots.
Recheck the load after the first ride. Vibration moves things, and a pouch that was clear in the garage can shift into the latch path on rough roads. A quick look each time you open the trunk takes seconds and prevents a stuck lid.
- Checkpoint: the trunk seal should sit evenly with no pinched or lifted sections.
Adjust for the seasons and what you actually carry
Harley trike storage needs change with the weather. Rain gear and heated gloves take up more room in cool months, while summer rides may only need water, sunscreen, and a light layer. Rearranging the organizer seasonally keeps the most-used items in the easiest pockets instead of buried behind gear you rarely touch.
If you regularly carry a passenger, agree on which pockets are shared and which are personal. Labeling or color-coding small pouches avoids the mid-ride search for a specific item and keeps the load balanced.
- Practical tip: empty the organizer completely once a season and wipe it out so crumbs and grit do not wear through the fabric.
Trunk lid organizer install order
- Measure clearance and latch travel: Open the lid, watch the latch and hinge arms move, and measure depth from the lid surface to the nearest moving part at several points. If the listing does not state a year range for your trike, measure instead of assuming it fits.
- Clean and dry the mounting area: Wipe away road film, polish residue, and oil, then let the surface dry fully before applying any adhesive or hook-and-loop panel. Do not mount to a loose or flexible liner; it will not hold.
- Test-fit empty and close the lid: Place the organizer with nothing in it, close the lid by hand, and confirm the latch engages with the same effort as before. If the lid needs a push, the organizer is too thick for that spot.
- Load with weight near the latch: Put heavy tools low and close to the latch side, and keep light items in the upper pockets. Heavy weight at the top of the lid stresses hinges and makes the lid hard to hold open.
- Check the seal and recheck after the first ride: Run a hand along the trunk seal with the lid closed, then look again after your first ride for anything that shifted into the latch path. A pinched or lifted seal lets water and dust in.
- Reset the load each season: Empty and wipe the organizer once a season, then rearrange pockets for the gear you are actually carrying. Seasonal gear changes are the main reason a good layout stops working.
Kemimoto storage options worth knowing
- Upgrade Anti-Theft Bed Storage Box for Ranger 1000 XP 900 800 700 570 500: Kemimoto upgraded boxes have an interior locking mechanism so no one can steal the box and keep it firmly in place, and the enhanced installation design is meant to keep the bed box sturdier. If you already run a locking bed box for tools, you can leave the heavy hardware there and use the trunk lid organizer only for light, frequently reached items.
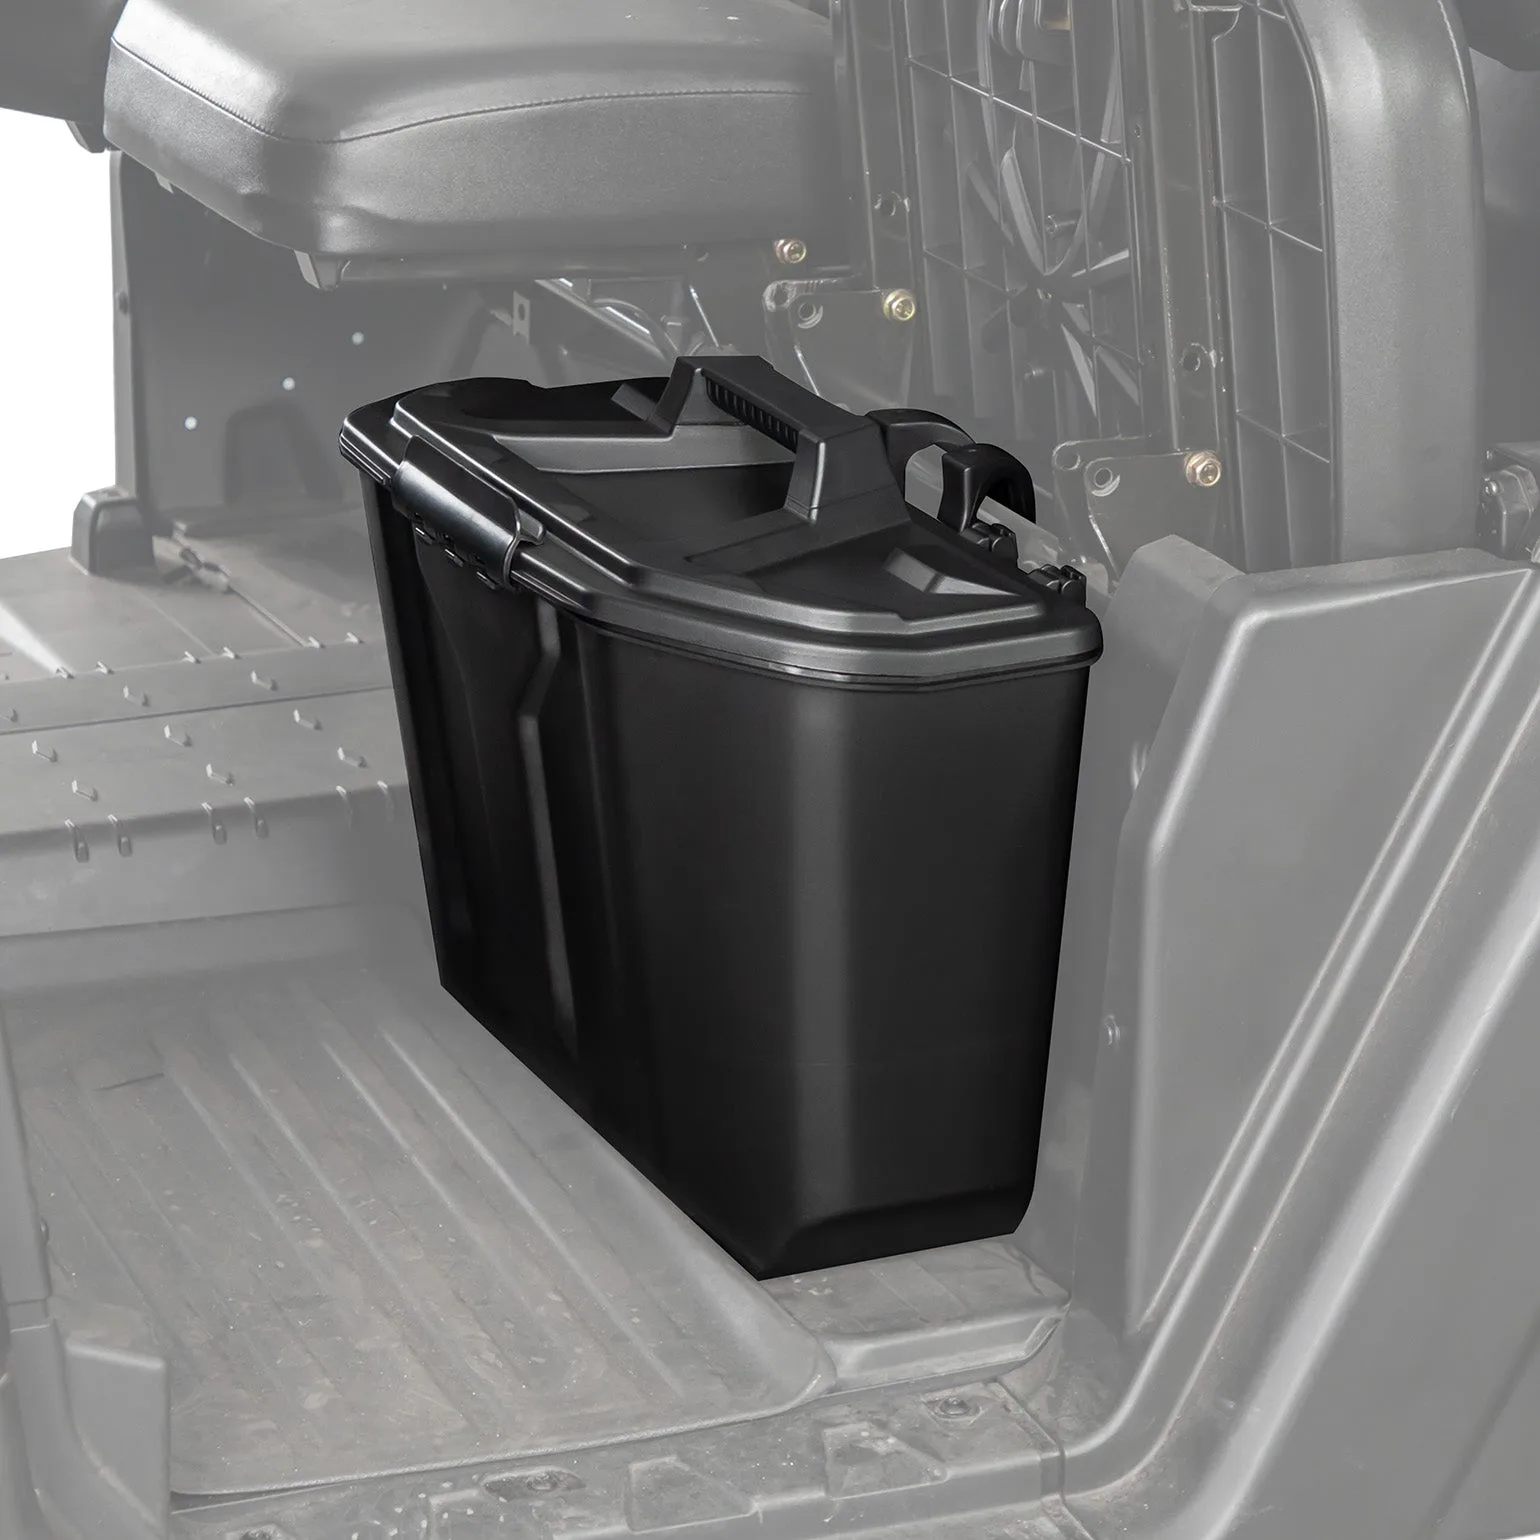
- Removable Storage Bin / Box 14.7L for Can-Am Defender HD5|7|8|9|10: The removable storage box is polypropylene-injected for high density and resistance to sunlight, crushing, and severe weather, with a rubber-gasket lid that reduces noise on rough roads. A gasketed bin is a good model for how a trunk organizer should behave: quiet, dust-resistant, and able to survive being loaded and unloaded repeatedly.
A trunk lid organizer works best when you treat it as a measured addition, not a decoration. Check clearance, close the lid empty before you load it, and keep weight near the latch. Done in that order, your Harley trike storage stays quiet, dry, and easy to use for years of riding.