Packing a camo kit bag for field use is an art that combines practicality, tradition, and attention to detail. Whether you are a reenactor preparing for a weekend event, a collector testing your gear, or a history enthusiast wanting to experience the loadout of a WWII soldier, knowing how to organize your kit bag properly can make the difference between a comfortable march and a miserable hike. The key lies in balancing weight, accessibility, and authenticity—all while ensuring your equipment stays protected and functional.
In this guide, we will walk you through the essential steps to pack a camo kit bag for field use, drawing on proven military techniques and modern best practices. We will cover gear selection, packing order, and tips to avoid common mistakes. By the end, you will have a system that keeps your kit organized, your back happy, and your impression authentic.
Choosing the Right Camo Kit Bag and Essential Gear
Before you start packing, you need the right bag. A quality camo kit bag should be durable, weather-resistant, and sized appropriately for your mission. For WWII reenactors, the M31 Rucksack is an excellent choice—it offers ample space for a multi-day impression and features a sturdy frame that distributes weight evenly. Alternatively, a simpler canvas haversack works well for shorter outings or when you need quick access to your items.
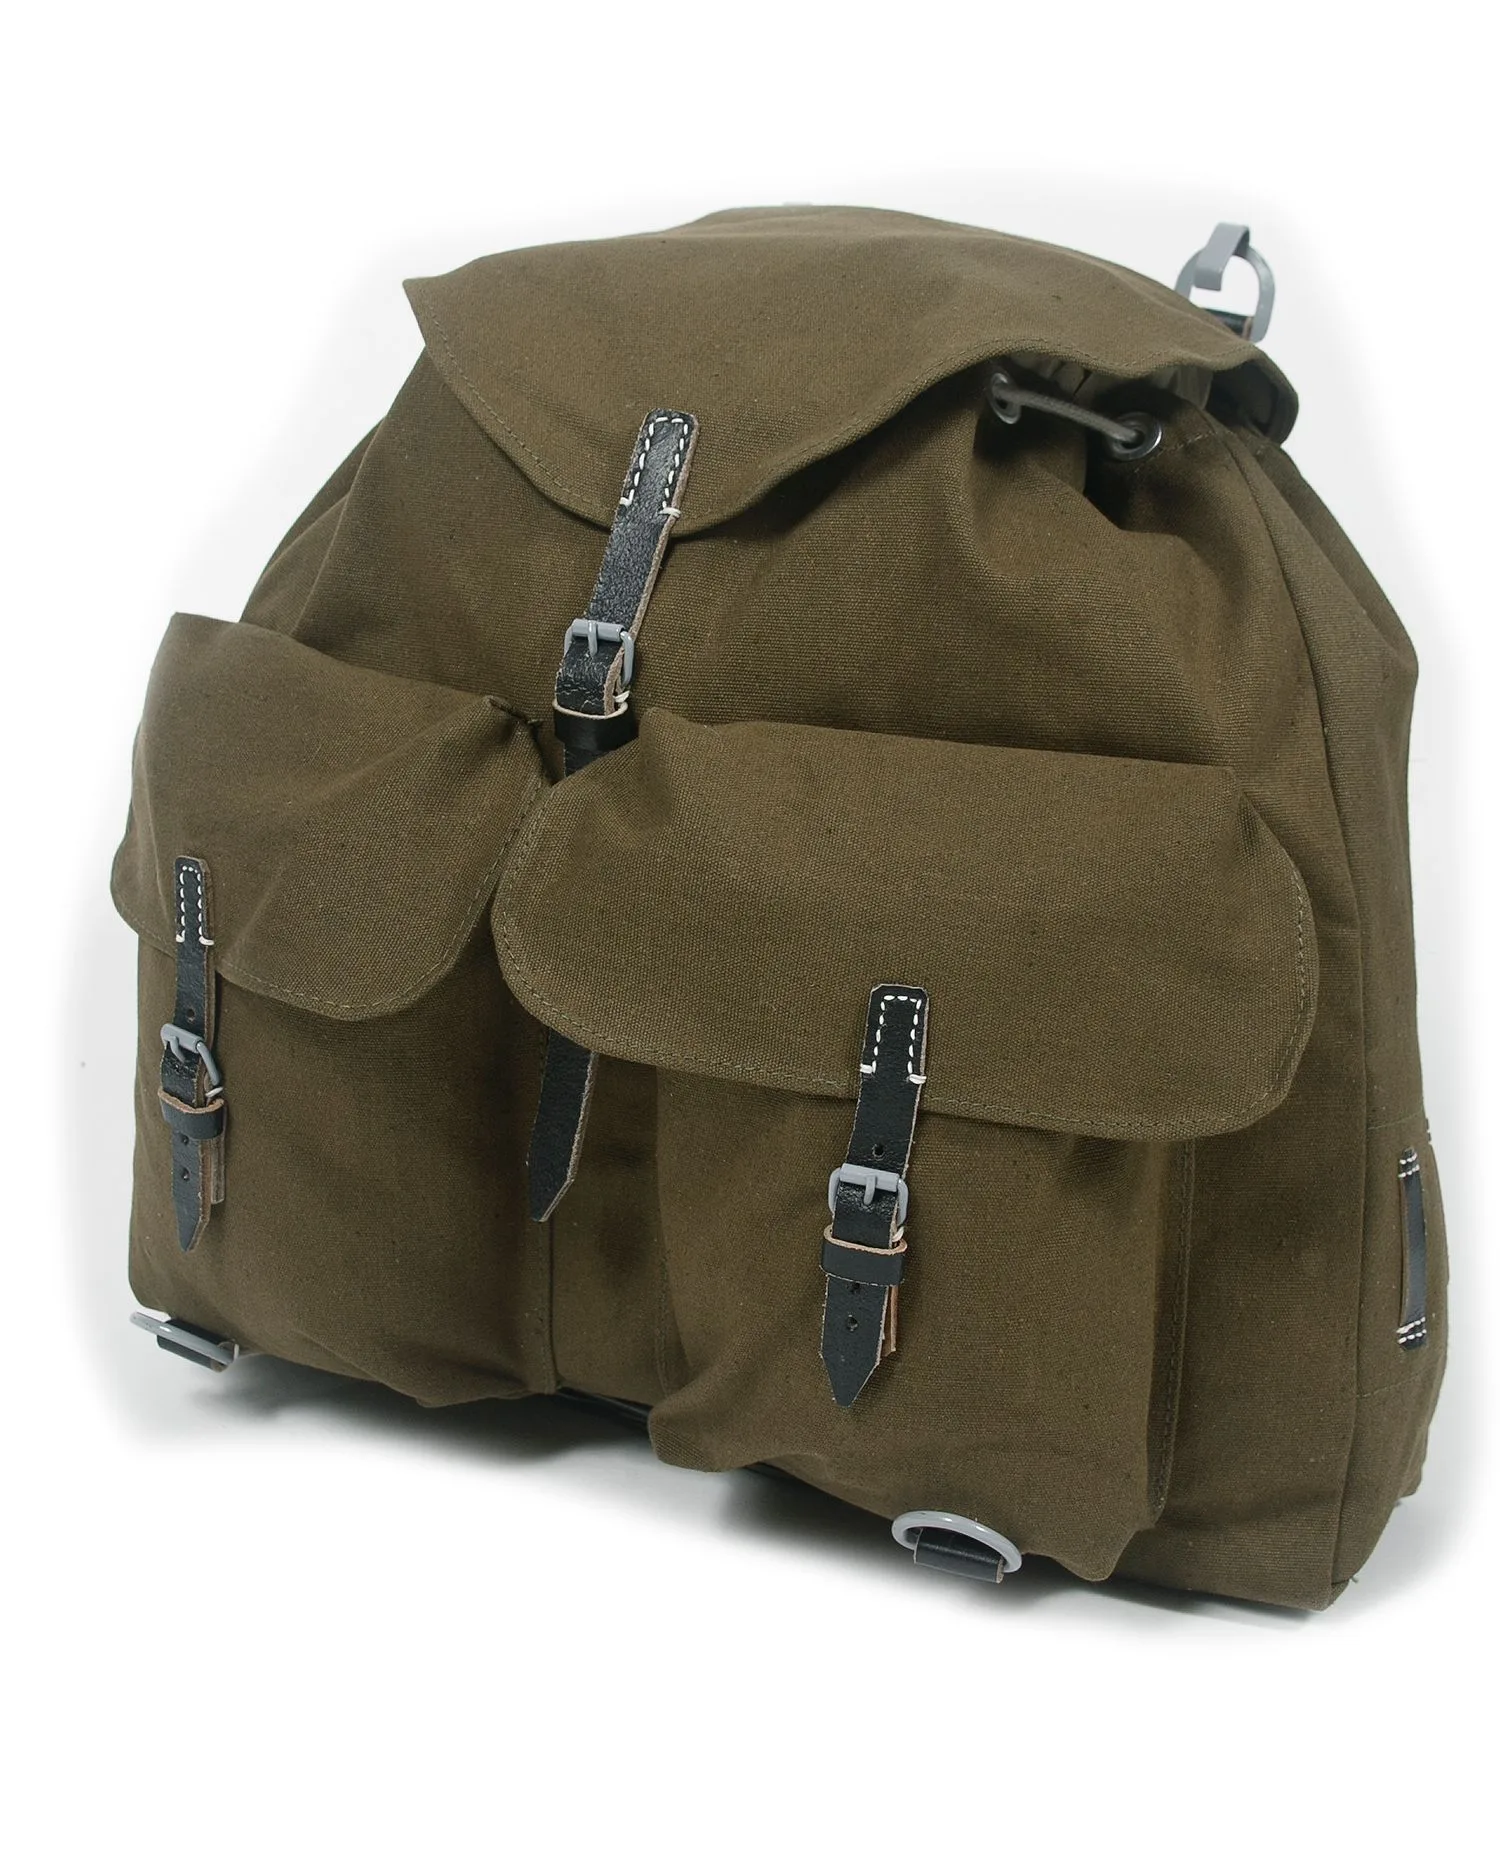
M31 Rucksack
Once you have your bag, select the gear you will carry. Focus on essentials: a mess kit, canteen, first aid supplies, spare clothing, and tools. For authenticity, consider adding a https://wildernessworks.shop/products/us-parachute-harness-snap-hook-99175US Parachute Harness Snap Hook to secure extra items externally, or a JQMD Medic Equipment Package if you are portraying a medic. Remember, every item should serve a purpose—avoid overloading your bag with non-essential gear that will slow you down.
- Choose a bag that matches your impression: M31 Rucksack for long patrols, haversack for day trips.
- Prioritize items by necessity: water, food, first aid, shelter, then comfort items.
- Use a US Parachute Harness Snap Hook to attach a canteen or helmet cover externally for quick access.
Step-by-Step Packing Order for Balance and Accessibility
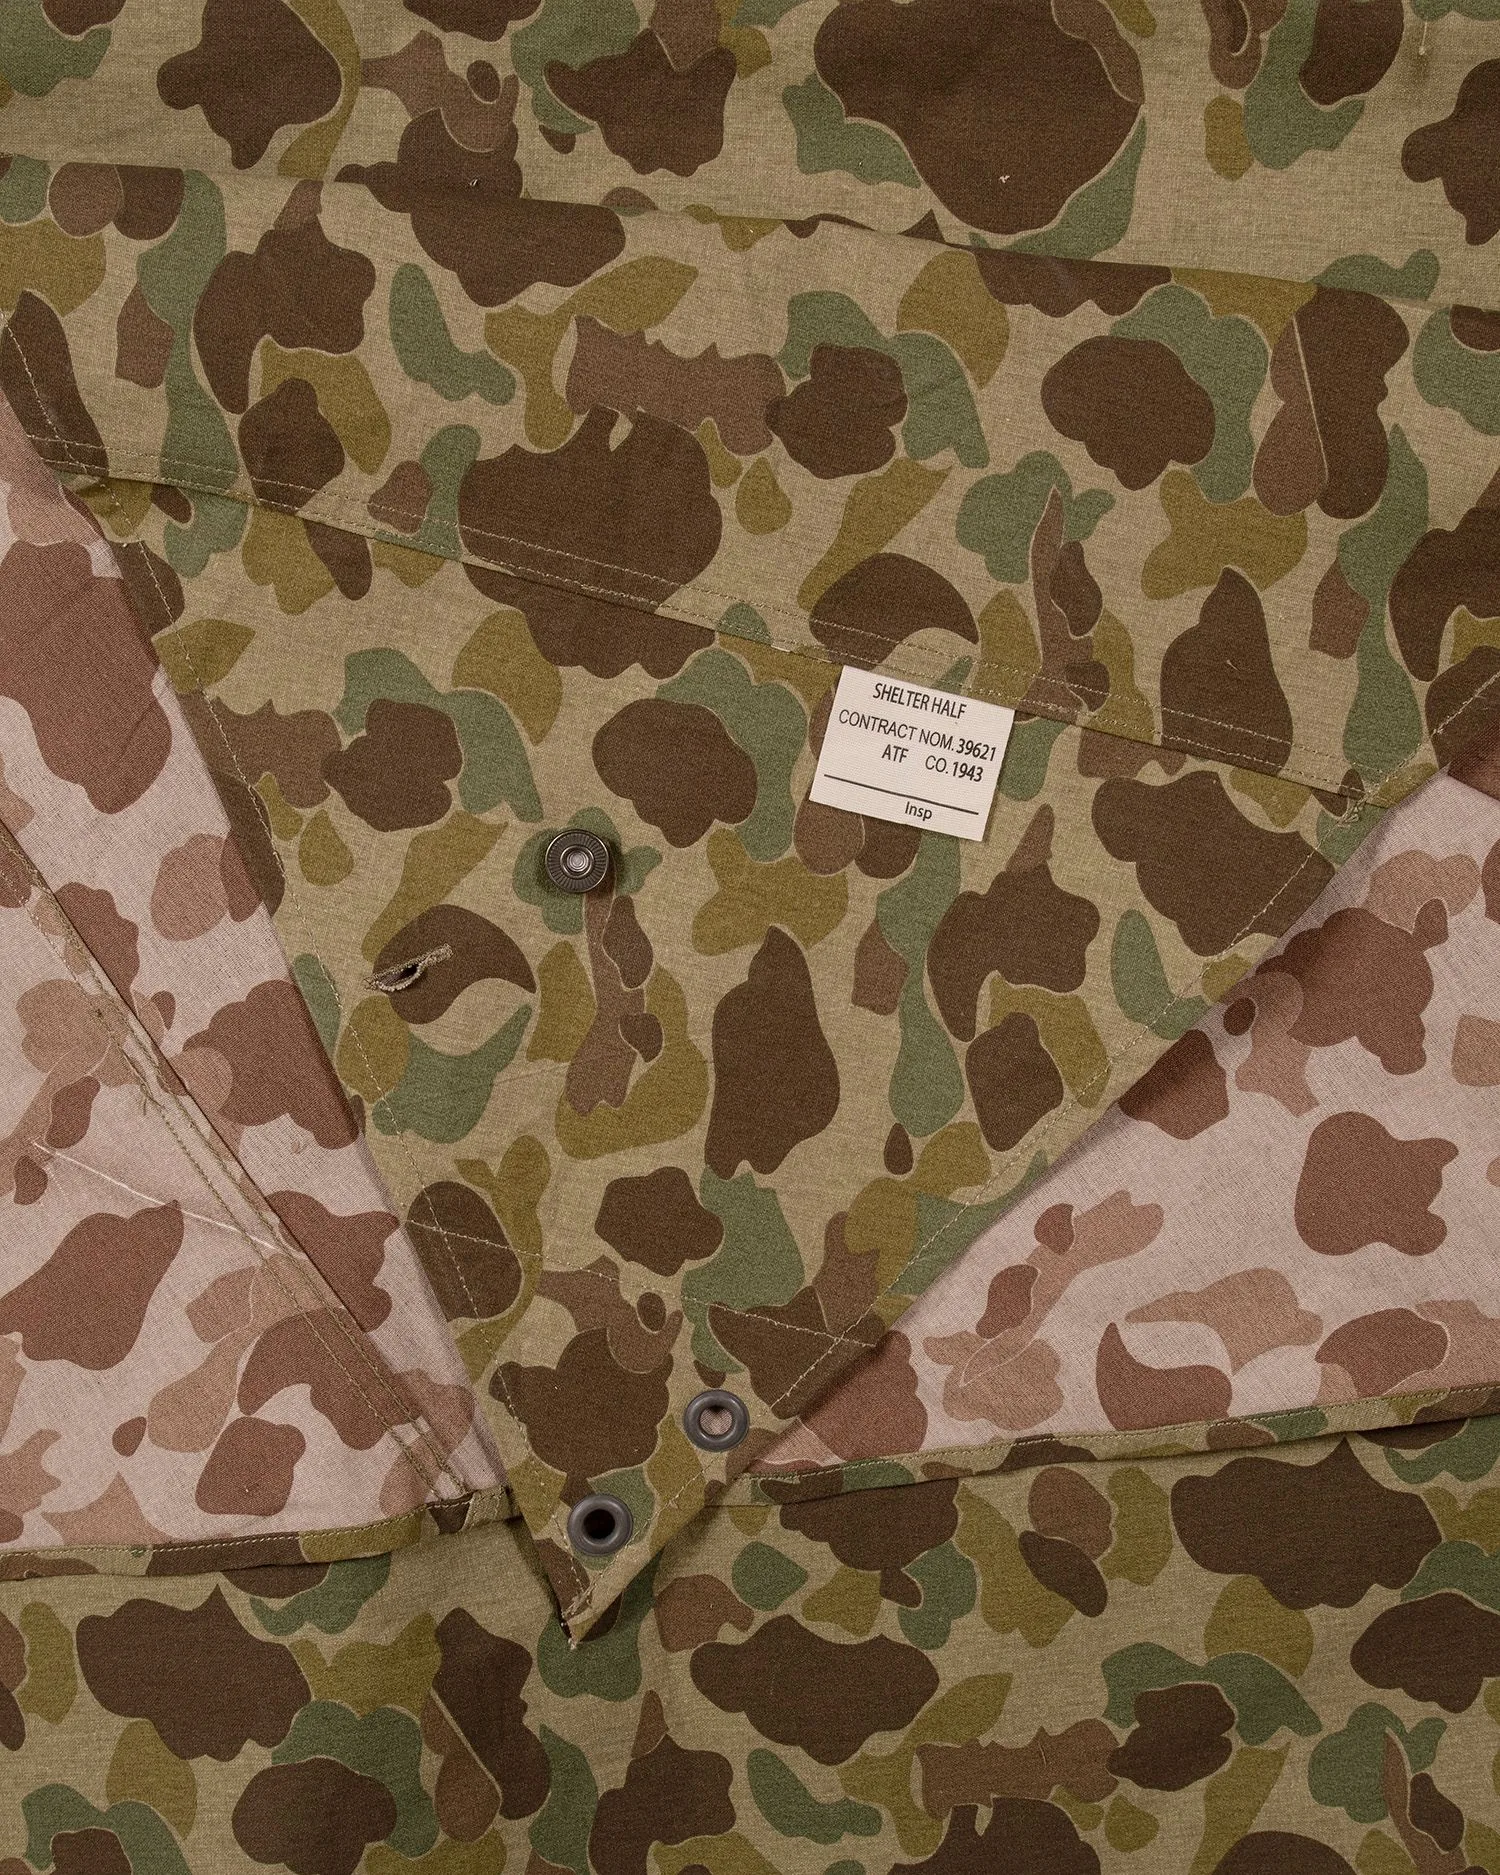
The golden rule of packing a camo kit bag is to place heavy items high and close to your back. This keeps the center of gravity stable and reduces strain on your shoulders. Start by placing your sleeping bag or shelter half at the bottom of the bag—this creates a soft base. Next, add your mess kit and cooking gear in the middle, followed by heavier items like rations or ammunition pouches near the top.
Accessibility is just as important. Items you need frequently—such as a compass, map, or first aid kit—should go in external pockets or the top flap. For example, a WWII Carlisle Bandage can be stored in a small pouch on the shoulder strap for emergency use. Avoid burying critical gear deep in the bag where you cannot reach it quickly. Finally, compress your load using straps or a compression sack to minimize bulk and prevent shifting.
- Heavy items: place high and close to your back (e.g., rations, ammo pouches).
- Frequent-use items: store in external pockets or top flap (e.g., compass, bandage).
- Compress your load to reduce bulk and prevent gear from rattling.
Avoiding Common Packing Mistakes
One of the most frequent errors is overpacking. Reenactors often want to carry every piece of gear they own, but this leads to an uncomfortably heavy bag and a slow, exhausting march. Stick to the essentials and leave non-essential items like extra uniforms or decorative patches at home. Another mistake is poor weight distribution—if your bag is lopsided, you will struggle to maintain balance on uneven terrain.
Additionally, do not neglect weather protection. Even if your camo kit bag is made of canvas, a sudden rainstorm can soak your gear. Use a waterproof liner or pack items in dry bags. For smaller items like the M38 Palm Helmet Cover, consider wrapping them in a cloth or placing them inside a separate pouch to prevent damage. Finally, test your packed bag by walking around for 10 minutes before heading out—adjust straps and redistribute weight as needed.
- Avoid overpacking: carry only what you need for the duration of your event.
- Balance your load: check that both sides of the bag weigh roughly the same.
- Protect your gear: use dry bags or liners to keep items dry in wet conditions.
Maintaining Your Kit Bag and Gear in the Field
Once you have packed your camo kit bag, proper maintenance ensures your gear lasts for years. After each use, empty the bag completely and shake out any dirt or debris. Inspect straps, buckles, and seams for wear—replace any damaged hardware promptly. For canvas bags, brush off mud and let them air dry before storing; never machine wash, as it can shrink or damage the fabric.
Metal components like the US Parachute Harness Snap Hook should be cleaned with a dry cloth and lightly oiled to prevent rust. Leather items, such as a USMC M1907 Sling, benefit from occasional conditioning with leather balm. Store your kit bag in a cool, dry place away from direct sunlight to prevent fading and deterioration. With regular care, your gear will remain functional and authentic for many impressions to come.
- Empty and clean your bag after every use to prevent mold and mildew.
- Oil metal hardware (e.g., snap hooks) to prevent rust.
- Condition leather items like the USMC M1907 Sling to keep them supple.
Packing a camo kit bag for field use is a skill that improves with practice. By choosing the right gear, following a logical packing order, and avoiding common mistakes, you can create a loadout that is both authentic and comfortable. Start with a reliable bag like the M31 Rucksack and build your kit around your specific needs. For your next impression, consider adding a US Parachute Harness Snap Hook to your setup—it is a simple but versatile tool that enhances your ability to organize and secure your gear. Explore our collection to find all the essentials for a well-packed kit bag.