Quick answer
Pack one stove, one pot or cup, one utensil, one lighter, and a small dry bag. Everything else is optional. Lay the full kit out, cut anything you have not used on a previous trip, then pack it as a single unit so it never gets scattered through your pack. A minimalist camp kitchen is a system, not a collection of gadgets.
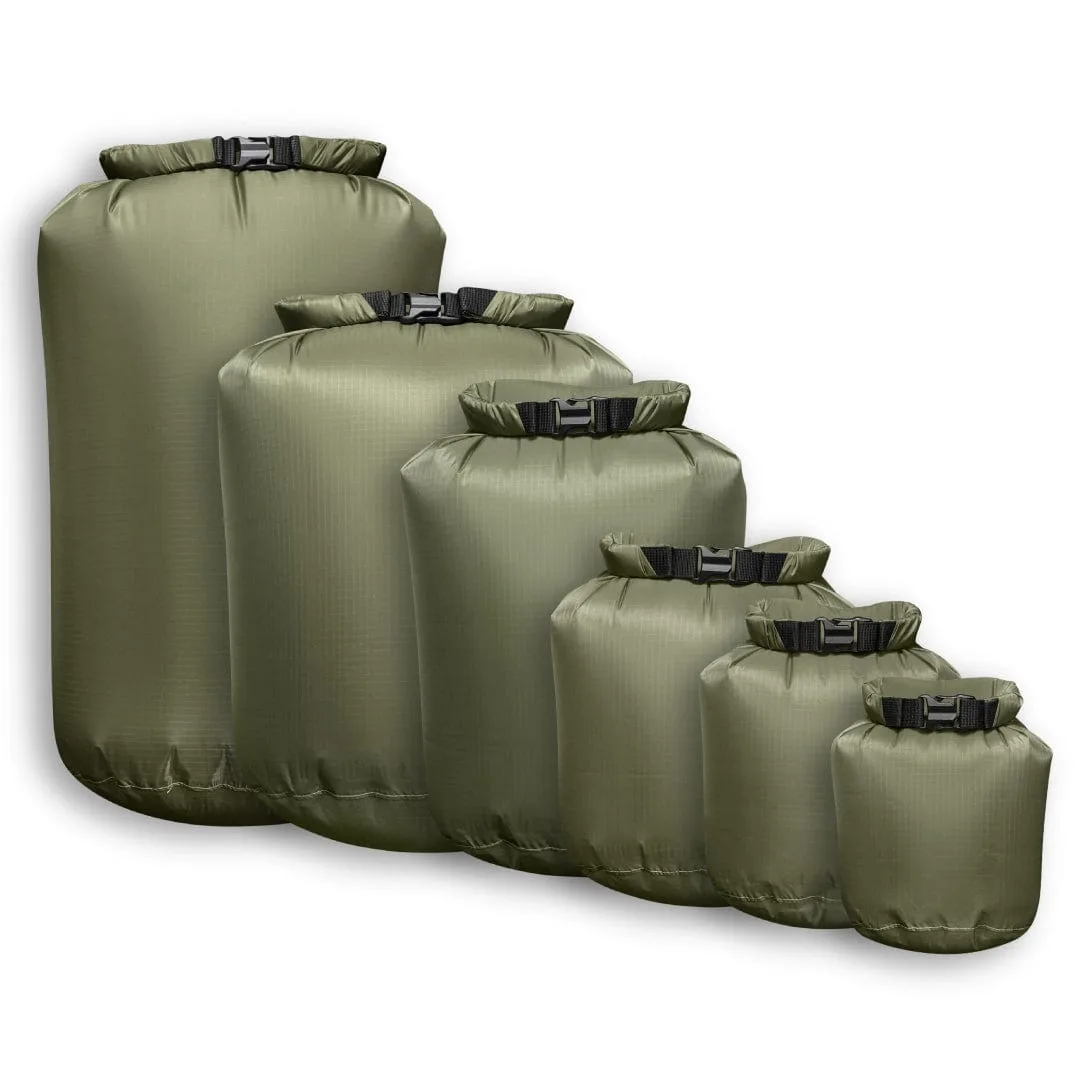
dry bag
A camp kitchen that weighs too much is usually not a stove problem. It is a duplicates problem. Two lighters, a spare pot, a folding spatula, a full spice roll, and a bowl you never used on the last three trips add up fast.
The fix is a short, ordered packing process: decide the meals, choose the tools those meals actually require, then protect and organize the kit so it works in wind, rain, and dark. Here is how to do it without turning your food bag into a hardware store.
Start with meals, not gear
Before you touch a stove, write down every meal for the trip and mark which ones need hot water, which need actual cooking, and which need nothing at all. Most backcountry hunters eat the same three or four meals on repeat, so this list takes five minutes. The list tells you whether you need a pot, a mug, or both, and whether a single burner is enough.
This step prevents the most common mistake: packing gear for meals you will not cook. If every dinner is a freeze-dried pouch, you do not need a frying pan, a bowl, or a second pot. If you plan one real cooked meal, plan the one pot and one utensil that meal requires.
- Checkpoint: if a meal needs no hot water, it needs no stove time and no fuel.
Choose one heat source and commit
Pick a single stove or stove system and pack only the fuel it uses. A second heat source is only worth the weight if you are hunting in conditions where a failure would end the trip, and even then it should be a small backup, not a full duplicate kit. Match fuel quantity to the number of hot meals plus a small margin for wind and cold.
The mistake here is packing fuel for the stove you wish you brought. Fuel types are not interchangeable, and partial canisters are easy to forget. Weigh or count what you are carrying, and note that cold temperatures reduce canister performance, so plan extra margin on late-season hunts.
- Checkpoint: one stove, one fuel type, one known fuel quantity.
Limit cookware to what the menu proves you need
A single pot with a lid handles boiling, rehydrating, and simple one-pot meals. A mug doubles as a bowl if you eat from pouches. Anything beyond that has to earn its place with a specific meal on your list. Nest the pot, mug, and stove so the kit occupies one compact shape in your pack.
The common mistake is bringing cookware that only works for one meal. If you carry a pan, you also carry oil, a spatula, and cleaning gear, which is a different trip. Keep the kit honest and you keep it light.
- Checkpoint: every piece of cookware maps to a meal on your list.
Pack utensils and cleanup in one small pouch
One long-handled spoon or spork covers stirring and eating. Add a small lighter, a tiny cloth, and a few drops of soap only if you are cooking real food rather than rehydrating. Keep these items together so you are not digging through a food bag in the dark with cold hands.
The mistake is treating cleanup as an afterthought. Greasy residue attracts animals and smells, so a dedicated small stuff sack for utensils and the cleaning cloth keeps your food bag and your shelter cleaner. It also makes the next morning faster.
- Checkpoint: utensils, lighter, and cloth live in one pouch, not loose in the pack.
Protect the kit from water before you pack it
Rain, snow, river crossings, and condensation all find their way into a pack. A watertight dry bag keeps your stove, fuel, matches, and dry food usable when everything else is wet. It also contains food smells and keeps the kit from spreading through your load.
The mistake is assuming a pack cover is enough. Pack covers shed rain but do not survive a crossing or a soaked pack bottom. Put the kitchen inside a dry bag, squeeze out the air, and pack it as one unit.
- Checkpoint: shake the closed dry bag. If air escapes, it will take on water.
Place the kitchen where you will actually use it
The kitchen should sit near the top of your pack or in an accessible side pocket, not at the bottom under a sleeping bag. You will use it at the end of the day when you are tired and it is getting dark, so access matters as much as weight.
The mistake is packing by category instead of by use. Group the kitchen as one module, and keep the fuel with it so you are never searching two places for one job. If you cook inside a tipi, keep the kit in the same spot every night so you can find it by feel.
- Checkpoint: you can reach the entire kitchen without unpacking your shelter or sleeping bag.
The seven-step pack-out sequence
- 1. Write the meal list: List every meal and mark hot-water, cooked, or no-cook. This single page decides everything else you carry. Checkpoint: no meal on the list, no gear in the bag.
- 2. Pick one heat source: Choose one stove and one fuel type, then measure fuel for the hot meals plus a cold-weather margin. Checkpoint: one stove, one fuel type, known quantity.
- 3. Match cookware to the menu: One pot with a lid, plus a mug if you eat from pouches. Nest them so the kit is one compact shape. Checkpoint: every pot and mug maps to a meal.
- 4. Build the utensil pouch: One long-handled spoon or spork, a small lighter, a cleaning cloth, and a few drops of soap if you cook real food. Checkpoint: everything small lives in one pouch.
- 5. Waterproof the whole kit: Load stove, fuel, matches, and dry food into a watertight dry bag and squeeze out the air before sealing. Checkpoint: squeeze the sealed bag. No air out means no water in.
- 6. Pack it as one module: Place the closed kitchen near the top of the pack or in an accessible pocket, never under the sleeping bag. Checkpoint: reachable without unpacking shelter or bag.
- 7. Cut one item after the trip: When you get home, remove anything you did not use. Repeat this after every trip until the kit stops shrinking. Checkpoint: if you did not touch it, it does not go next time.
Gear that earns its place in a minimalist kitchen
- DRY BAG: The PEAX watertight Dry Bag protects clothing, food, electronics, and other essential gear from rain, snow, river crossings, and unexpected moisture in the backcountry. It is lightweight, durable, and built for demanding conditions. Your stove, fuel, matches, and dry food are useless if they are soaked. A dry bag turns a loose kitchen into one protected module that survives a wet pack and a river crossing.
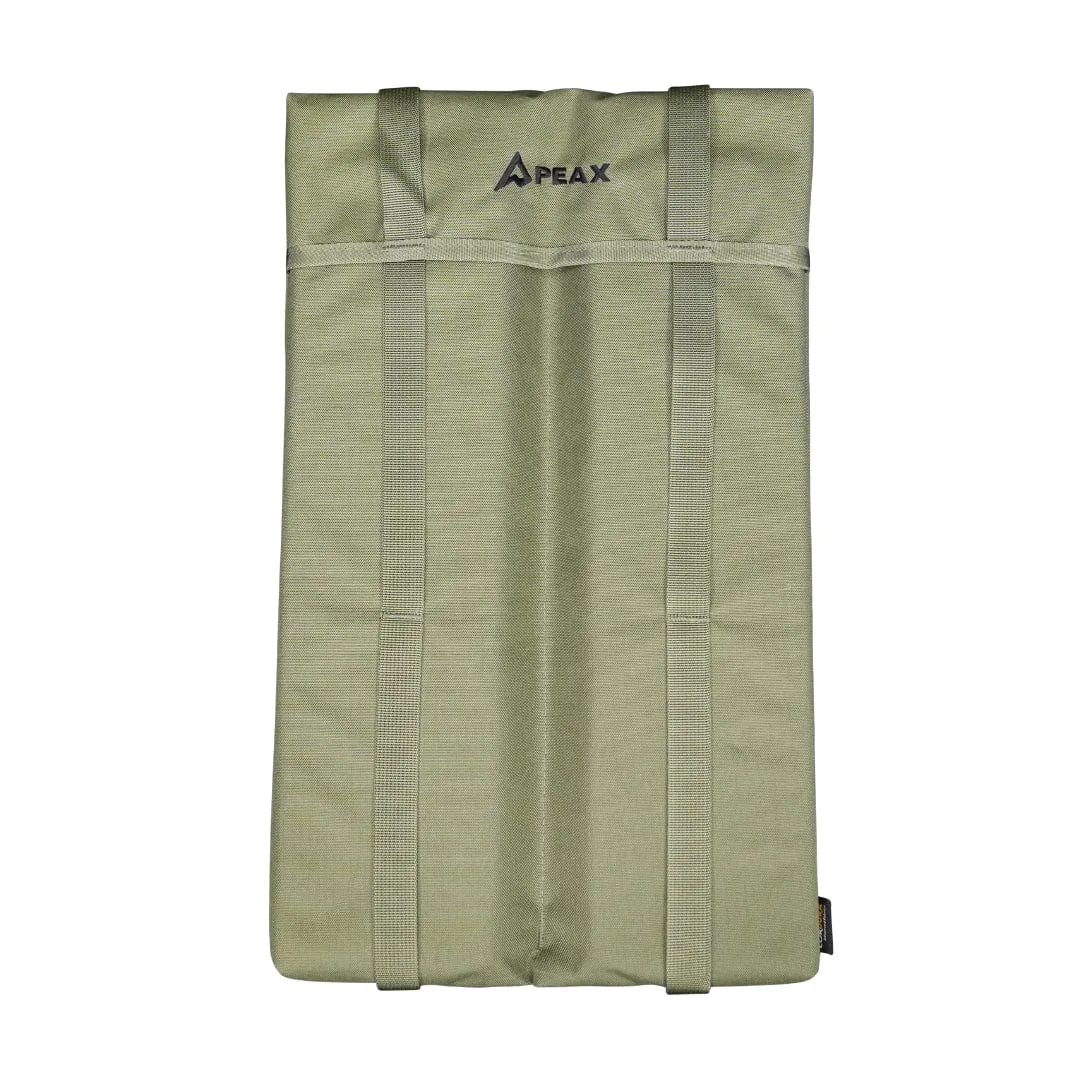
- GLASSING PAD: The PEAX Glassing Pad provides lightweight insulation and cushioning that helps hunters stay comfortable, focused, and behind the optics longer, without adding unnecessary bulk to the pack. It is not cookware, but it doubles as a dry, insulated seat for cooking and eating on cold ground or wet terrain, which keeps you off the snow while your water boils.
A minimalist camp kitchen is less about buying less and more about deciding before you pack. Write the meals, choose one heat source, protect the kit in a dry bag, and cut one item after every trip. Do that and your kitchen gets lighter on its own.