Quick answer
To pack a toiletry pouch for travel, start with a clear layout, group items by use, decant liquids into travel sizes, and use packing cubes or bags to keep everything organized and accessible.
Why a dedicated toiletry pouch beats a plastic bag
A dedicated toiletry pouch keeps your liquids, brushes, and small bottles from leaking onto clothes. It also makes airport security checks faster because you can pull out one pouch instead of rummaging through your bag.
The trade-off is space: a structured pouch takes up more room than a zip-top bag. Choose a slim, flexible design that fits flat in your carry-on, and reserve bulky items like a hairdryer for your main luggage.
Step-by-step packing process
- Lay out everything you plan to bring: Empty your current toiletry bag and place every item on a flat surface. Group them by category: liquids, solids, tools, and medications. This helps you see duplicates and non-essentials before you pack. Checkpoint: Remove items you haven't used in the last month—they're likely not needed for this trip.
- Decant liquids into travel-size containers: Transfer shampoos, lotions, and gels into 3.4-ounce (100 ml) bottles or smaller. Use a funnel to avoid spills and label each container. This keeps you under TSA limits and saves space. Checkpoint: Verify every liquid container is at or below the limit before sealing your pouch.
- Pack by frequency of use: Place daily essentials like toothpaste and deodorant on top or in an outer pocket. Put less-used items like a first-aid kit or sewing kit at the bottom. This way you won't have to dig through everything each morning. Checkpoint: If you need to access something more than once a day, it should be in the top layer.
- Use small bags or pouches for organization: Separate liquids into a clear, leakproof bag and keep dry items like brushes or makeup in a separate compartment. This prevents cross-contamination and makes security checks easier. Checkpoint: Ensure the liquid bag is easily removable from your main pouch.
- Zip and place strategically in your carry-on: Once packed, zip the pouch and place it flat on top of your clothes or in an outer compartment. Avoid overstuffing—if you have to force the zipper, remove an item. A flat pouch is easier to slide into overhead bins or under the seat. Checkpoint: Test that the pouch lies flat and doesn't bulge, which saves space and prevents damage.
Product spotlight
-
MacBook Pro Sleeve: The MacBook Pro Sleeve is water resistant and engineered with AiroFoam® technology for shock and drop protection. While designed for laptops, the same water-resistant and impact-resistant construction makes it a sturdy choice for protecting fragile toiletries like glass bottles or a razor in your carry-on.
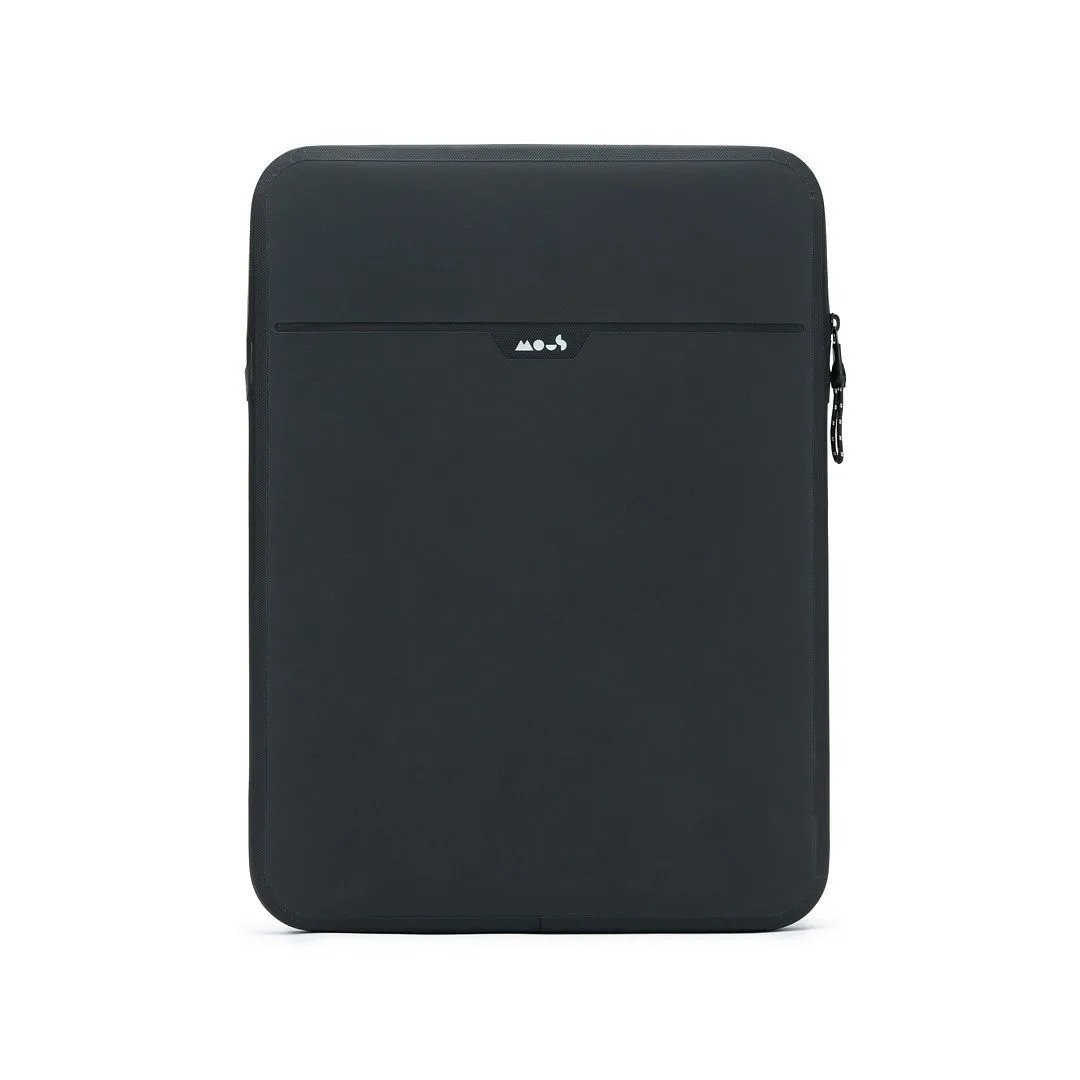
MacBook Pro Sleeve