Quick answer
Pack for a cold weather trip in three layers and one spare set: a moisture-moving base layer, an insulating mid layer, and a wind- and water-resistant outer layer, plus gloves, a hat, and a neck gaiter. Check the coldest expected temperature and precipitation first, then add extras like sleepwear and a repair kit. That approach covers most winter trips without overpacking.
Most cold weather packing lists fail for the same reason: they list items instead of a system. If your layers do not work together, no single jacket will save the trip.
This guide walks through the order that actually works. You will start with the forecast, build a three-layer clothing kit, then add the small items people forget. Each step includes a checkpoint so you can stop before your bag gets heavy.
Step 1: Read the forecast like a local
Before you touch a suitcase, look up the expected low, wind speed, and precipitation for each day of the trip. Wind makes 0°C feel much colder, and wet cold is harder to manage than dry cold. Write down the single coldest number you expect to face; that is the temperature your layers must handle.
Your checkpoint: if you cannot name the coldest expected temperature and whether it will be wet, do not start packing. Guessing here is the most common mistake, and it leads to either a bag full of unused clothes or a day spent shivering.
- Note the coldest low, not the average daily temperature.
- Flag any day with rain or snow, because that changes your outer layer choice.
Step 2: Build your base layer first
The base layer sits against your skin and moves moisture away so you stay dry. For cold trips, pack two base layer sets: one to wear and one spare. Merino wool and synthetics both work; the key is that the fabric fits close without being tight.
Your checkpoint: if your base layer feels loose or bunches under the arms, size down or choose a different cut. A loose base layer traps sweat and defeats the whole system.
- Pack two sets for trips longer than three days.
- Avoid cotton next to the skin in cold weather.
Step 3: Add a mid layer for warmth
The mid layer is your insulation. A half zip or full zip sweater is easier to vent than a pullover, because you can open the front when you warm up. Fleece and wool sweaters both work; choose based on how much warmth you need and how much space you have.
Your checkpoint: try on your base layer and mid layer together before you pack. If the combination feels tight across the shoulders, you will not want to wear it for a full day outside.
- One mid layer is enough for most trips if your outer layer is roomy.
- Zip openings let you regulate heat without removing layers.
Step 4: Choose one outer layer that blocks wind and water
Your outer layer should stop wind and shed light rain or snow. It does not need to be the warmest jacket you own, because the layers underneath do the insulating. A shell that fits over your mid layer without compressing it is the right size.
Your checkpoint: put on all three layers and reach forward. If the jacket pulls tight across your back, it is too small and will feel cold when you move.
- Check that the hood fits over a hat.
- Make sure the cuffs close over or under your gloves.
Step 5: Cover your extremities
Hands, head, and neck lose heat quickly, and they are the first places to feel miserable. Pack gloves, a hat, and a neck gaiter or balaclava. A hat that covers your ears matters more than style on a cold trip.
Your checkpoint: if you have never worn your gloves and hat together with your jacket, do it once at home. Small gaps at the wrist and neck are where cold air gets in.
- Pack a spare pair of gloves if you will be outside all day.
- A neck gaiter doubles as a face cover in wind.
Step 6: Add pants, footwear, and sleepwear
For pants, one everyday pair and one warmer or weather-resistant pair covers most trips. Footwear should fit thick socks without pinching. Sleepwear matters more than people expect, because cold nights are when a trip can feel uncomfortable.
Your checkpoint: wear the socks you plan to take when you try on your boots. If your toes touch the front, the boots are too small for cold weather.
- Pack one pair of shoes for indoors and one for outdoors.
- Bring warm socks, not just thick ones; fit matters more than thickness.
Step 7: Pack the small extras and a repair kit
Small items make a big difference: a spare buff, a lightweight bag for day trips, and a basic repair kit with a needle, thread, and spare button. If your trip includes hiking, a backpack that carries layers when you warm up is worth the space.
Your checkpoint: lay everything out and remove one item you are not sure about. If you cannot explain when you will wear it, leave it at home.
- A packable day bag keeps your hands free.
- A repair kit saves a trip when a seam or button fails.
Cold weather packing steps at a glance
- Check the coldest forecast number: Write down the lowest expected temperature and whether precipitation is likely. Checkpoint: if you cannot name the number, you are not ready to pack.
- Pack two base layer sets: Choose moisture-moving fabrics that fit close to the skin. Checkpoint: a loose base layer traps sweat and feels cold.
- Add one zip mid layer: Pick a half zip or full zip sweater you can vent without removing. Checkpoint: test the base and mid layer together before packing.
- Choose a roomy shell: The outer layer blocks wind and light precipitation and fits over your mid layer. Checkpoint: reach forward in all three layers; if it pulls, size up.
- Cover hands, head, and neck: Pack gloves, a hat, and a neck gaiter or balaclava. Checkpoint: wear them with your jacket once at home to find gaps.
- Add pants, footwear, and sleepwear: One everyday pair, one warmer pair, and boots that fit thick socks. Checkpoint: if your toes touch the front of the boot, it is too small.
- Finish with extras and a repair kit: Add a day bag, spare buff, needle, thread, and spare button. Checkpoint: remove one item you cannot justify wearing.
Products that fit this packing system
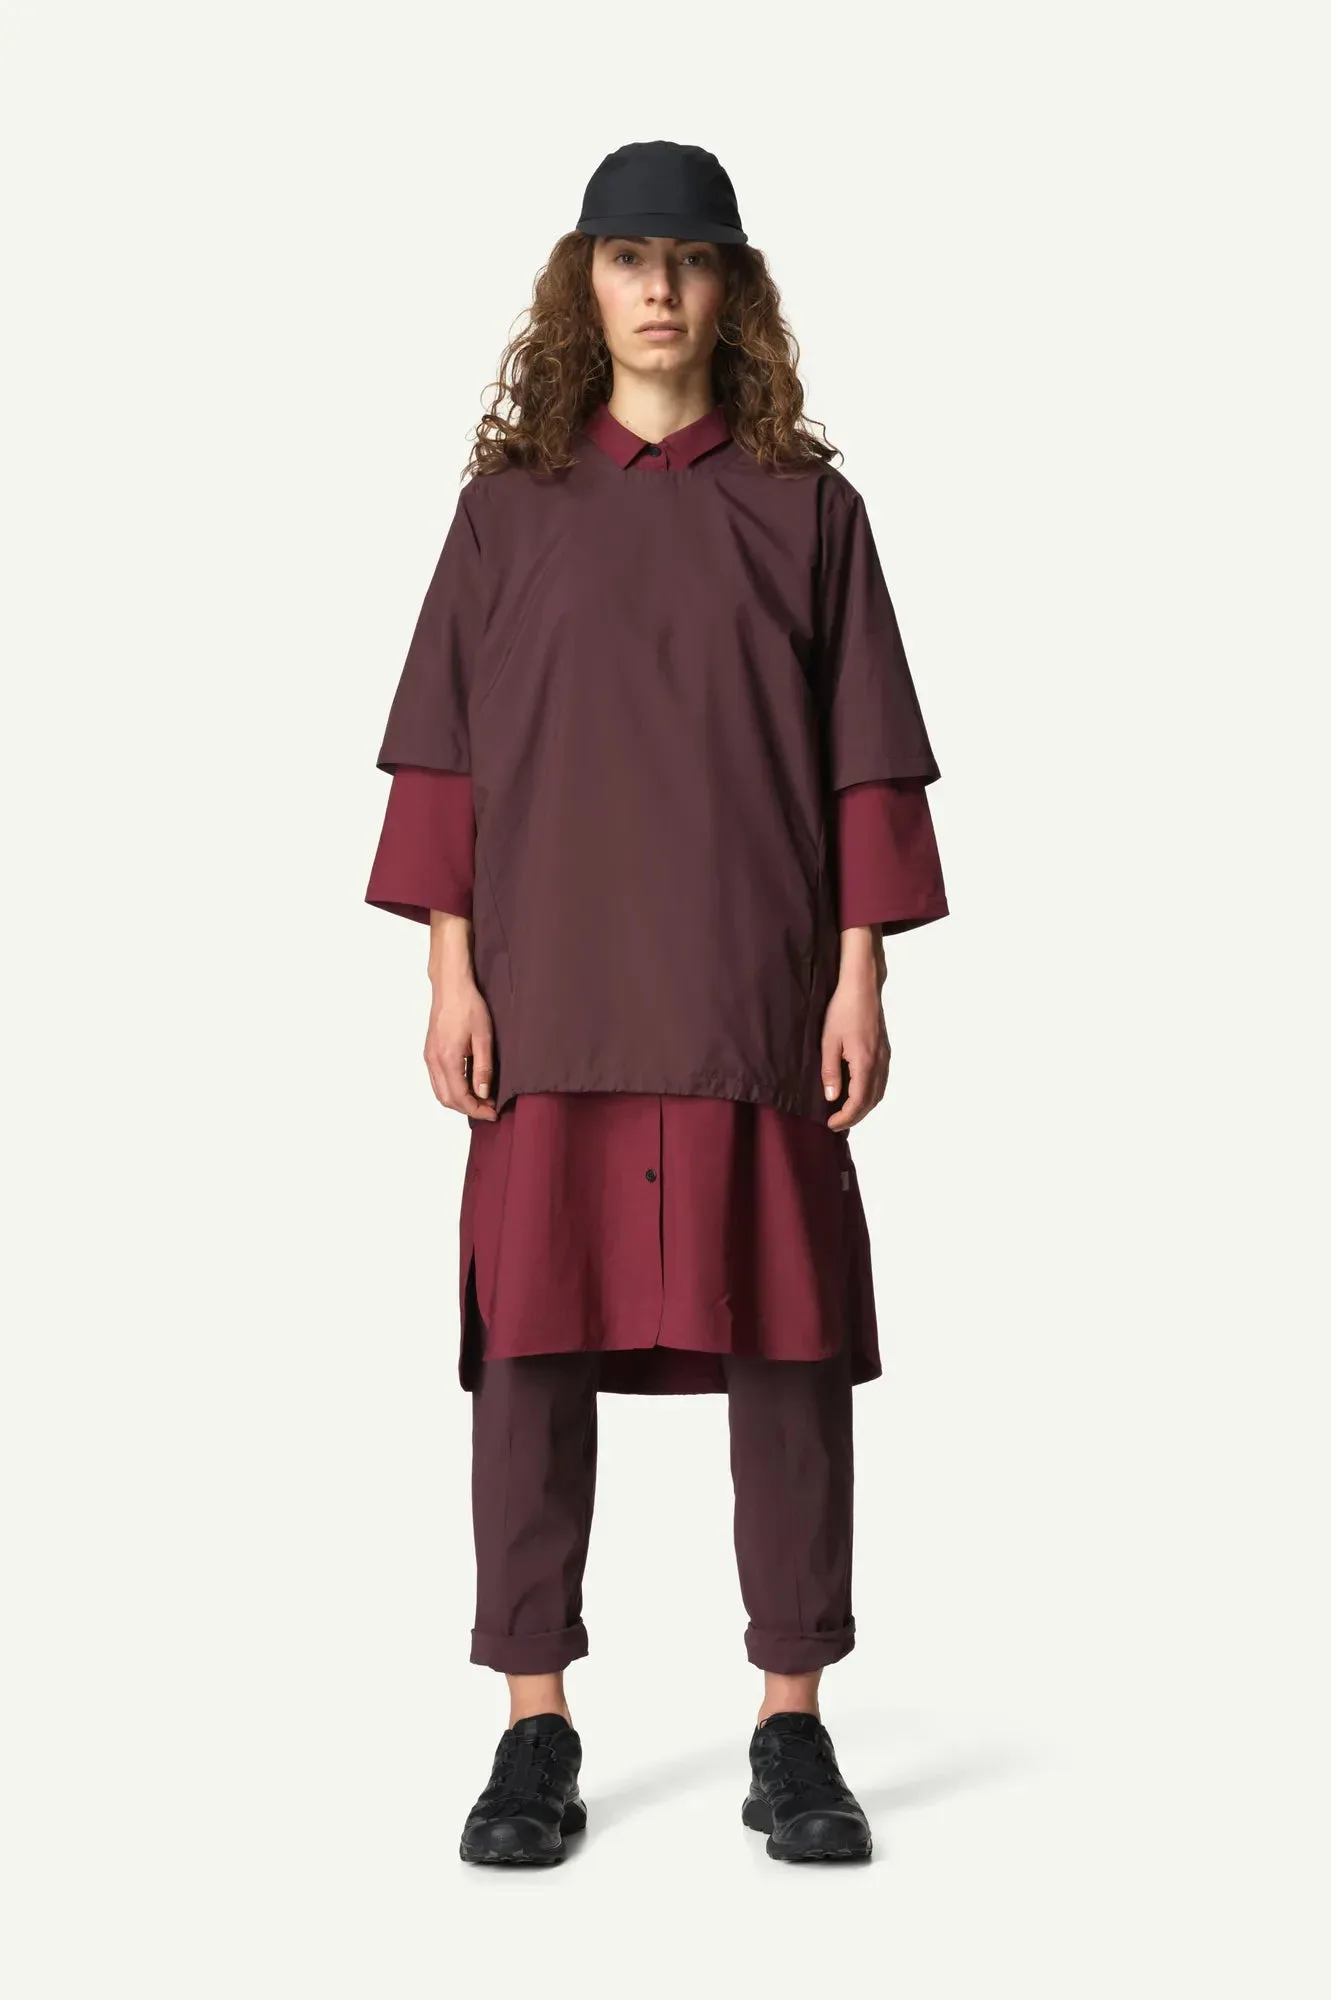
- Weather Tee: Weather Tee is a wind- and water-repellent t-shirt in a thin fabric that breathes well, made for running, kayaking, ski touring, or climbing when you need a little extra weather protection. It works as a light outer layer on milder cold days or as a breathable layer under a shell when you are moving fast.
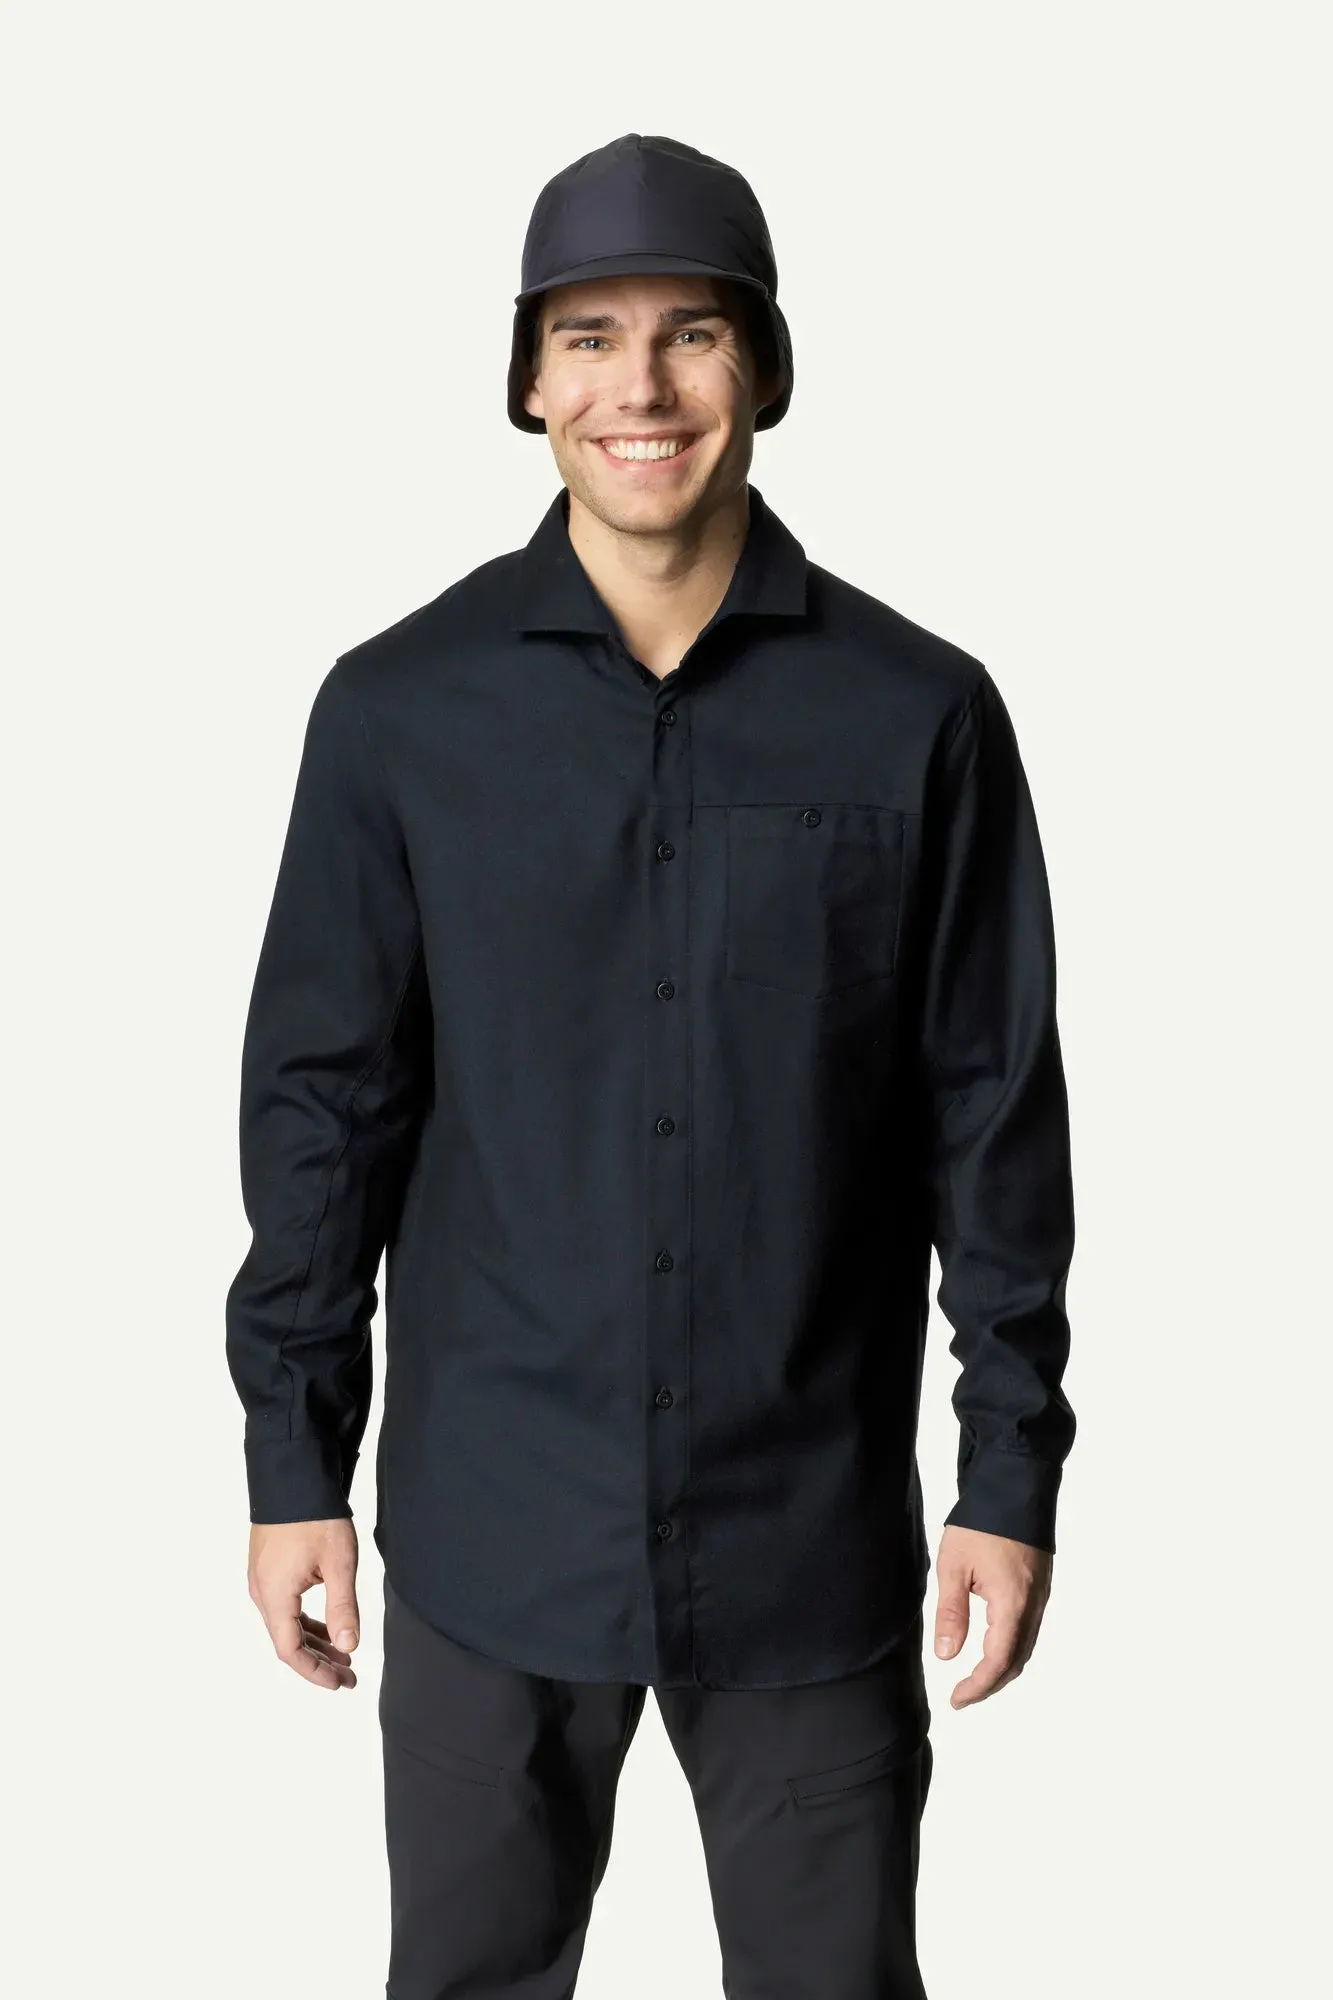
- Zissou Hat: Zissou Hat is made from Australian 19.5 micron merino wool that is guaranteed mulesing-free, with a normal fit, and can be worn folded up or loose. A merino hat covers the step 5 extremity check and packs small, so it earns its place in a cold weather kit.
A cold weather packing list works when it follows a system, not a pile of items. Start with the forecast, build three layers, cover your extremities, and finish with small extras. If you get those steps right, you can pack lighter and still stay comfortable.