The Pintler pack from Mystery Ranch is a favorite among day hikers for its versatility and comfort. But even the best pack can feel heavy and awkward if you don't pack it correctly. In this guide, we'll walk you through the art of packing your Pintler for a day hike, focusing on load distribution, organization, and accessibility.
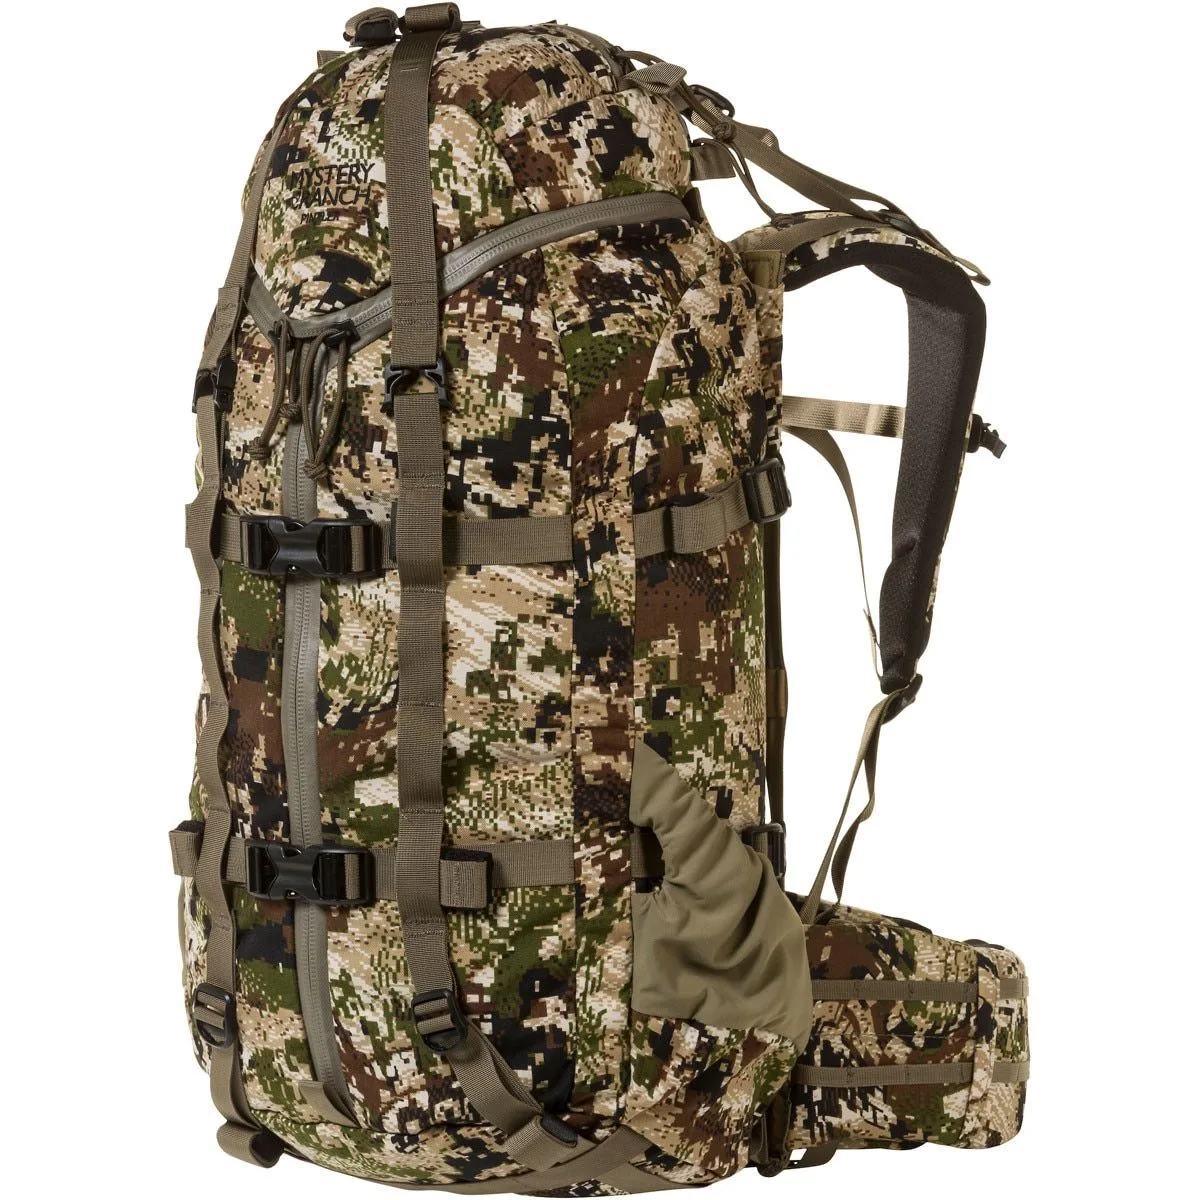
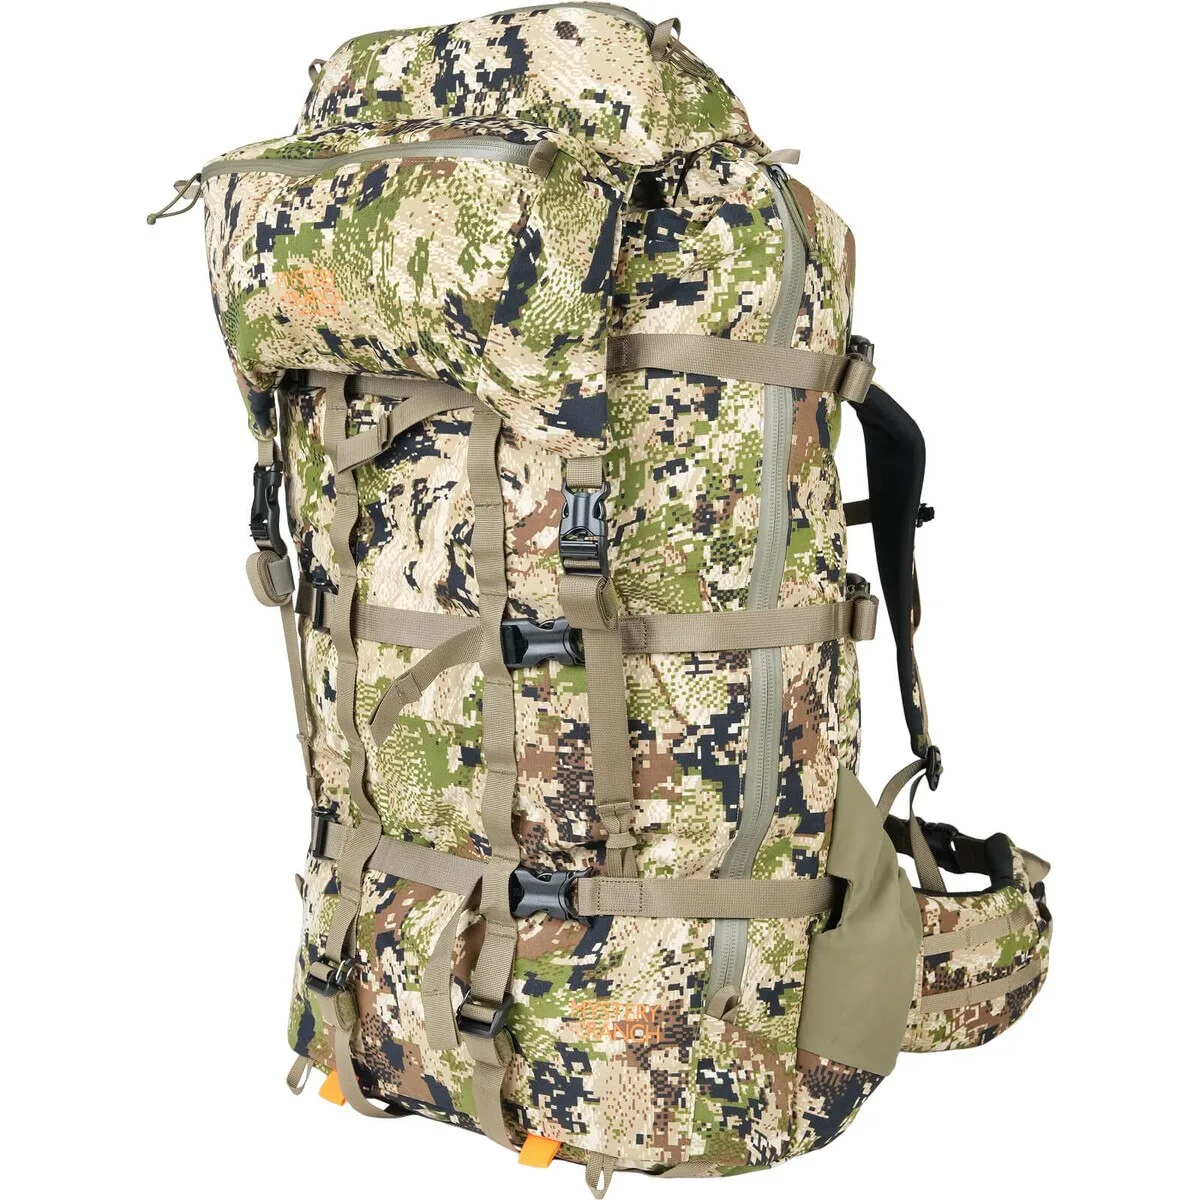
Pintler pack
Whether you're heading out for a quick trail run or a full-day trek, knowing how to arrange your gear can make a world of difference. We'll cover everything from the heaviest items in your pack to the small essentials you need within arm's reach. Let's dive in and make your next hike more enjoyable.
Understanding Your Pintler Pack
The Pintler is designed with multiple compartments and attachment points, making it a versatile choice for day hikes. Its main compartment is spacious enough for layers, food, and water, while the front pocket and side pockets offer quick access to smaller items. The pack also features a hydration sleeve, which is perfect for keeping your water supply close at hand.
Before you start packing, take a moment to familiarize yourself with the pack's layout. Knowing where each pocket is and what it's best suited for will help you make smart packing decisions. The Pintler's adjustable straps and hip belt also allow you to fine-tune the fit, which is crucial for distributing weight evenly across your body.
- Main compartment: for bulkier items like clothing and food
- Front pocket: for items you need often, like maps and snacks
- Side pockets: for water bottles or small gear
- Hydration sleeve: for a water reservoir
Load Distribution: The Key to Comfort
One of the most important aspects of packing any backpack is ensuring that the weight is distributed evenly. For a day hike, you want to place heavier items, such as a water bladder or a packed lunch, closer to your back and in the middle of the pack. This keeps the center of gravity stable and reduces strain on your shoulders.
Lightweight items like a puffy jacket or a rain shell should be placed at the bottom of the pack, while items you might need during the hike, like a first-aid kit or a trail snack, should be near the top or in the front pocket. This way, you won't have to dig through your entire pack to find what you need.
- Heavy items: place against your back, mid-pack
- Light items: at the bottom
- Frequently used items: top or front pocket
- Balance: keep left and right sides even
Step-by-Step Packing Order
Start by rolling or folding your clothing items to save space and reduce wrinkles. Place them at the bottom of the main compartment. Next, add your heavier gear, such as a packed lunch or a camera, in the center of the pack, close to your back. This ensures that the weight is carried by your hips rather than your shoulders.
After that, fill the top of the main compartment with lighter items like a fleece or a hat. Use the front pocket for items you'll need quickly, such as sunscreen, a map, or a compass. Finally, use the side pockets for water bottles or a small tripod. If you have a hydration reservoir, slide it into the dedicated sleeve and route the hose through the designated port.
- Step 1: Place clothing at the bottom
- Step 2: Add heavy gear in the middle, close to your back
- Step 3: Fill the top with light items
- Step 4: Use front pocket for quick-access items
- Step 5: Store water in side pockets or hydration sleeve
Organizing for Accessibility
A well-organized pack is a joy on the trail. Keep your essentials within easy reach. For example, store your snacks in the front pocket so you can grab them without stopping. Your phone and keys should be in a secure but accessible spot, like a small zippered pocket on the hip belt if your pack has one.
If you're carrying a camera or binoculars, consider using a chest pack or a strap that attaches to the pack's shoulder straps. This keeps them handy and reduces the need to take off your pack. The Pintler's multiple attachment points make it easy to customize your setup.
- Use the front pocket for snacks, sunscreen, and map
- Keep phone and keys in a secure pocket
- Attach camera or binoculars to shoulder straps
- Use side pockets for water bottles
Tips for a Balanced, Secure Fit
Once your pack is loaded, it's time to adjust the fit. Start by loosening all the straps, then put the pack on and tighten the hip belt first. The hip belt should sit snugly over your hip bones. Next, pull the shoulder straps so they fit comfortably without digging in. Finally, adjust the load lifter straps (if your Pintler has them) to pull the top of the pack closer to your back.
A well-fitted pack should feel like part of your body. If you feel any pressure points or imbalance, stop and readjust. It's also a good idea to practice packing your Pintler at home before your hike so you can perfect your setup.
- Tighten hip belt first
- Adjust shoulder straps for comfort
- Use load lifters to bring pack closer to back
- Practice at home to find your ideal setup
Packing your Pintler pack correctly can turn a good hike into a great one. By following these steps and tips, you'll ensure a comfortable, balanced carry and have everything you need within reach. For more gear that enhances your hiking experience, check out the Women's Metcalf 50 Pack and the Spotting Scope Sling from Mystery Ranch.