Quick Answer
Pack the bento box cold, keep wet and dry foods in separate compartments, and use an insulated container for anything that must stay warm. Chill the box, the lunch, and any drink pouch before they go in the bag, then add a freezer pack next to the box rather than on top of it. That single sequence does more for freshness than any compartment layout.
Start With a Cold Box, Not a Cold Fridge
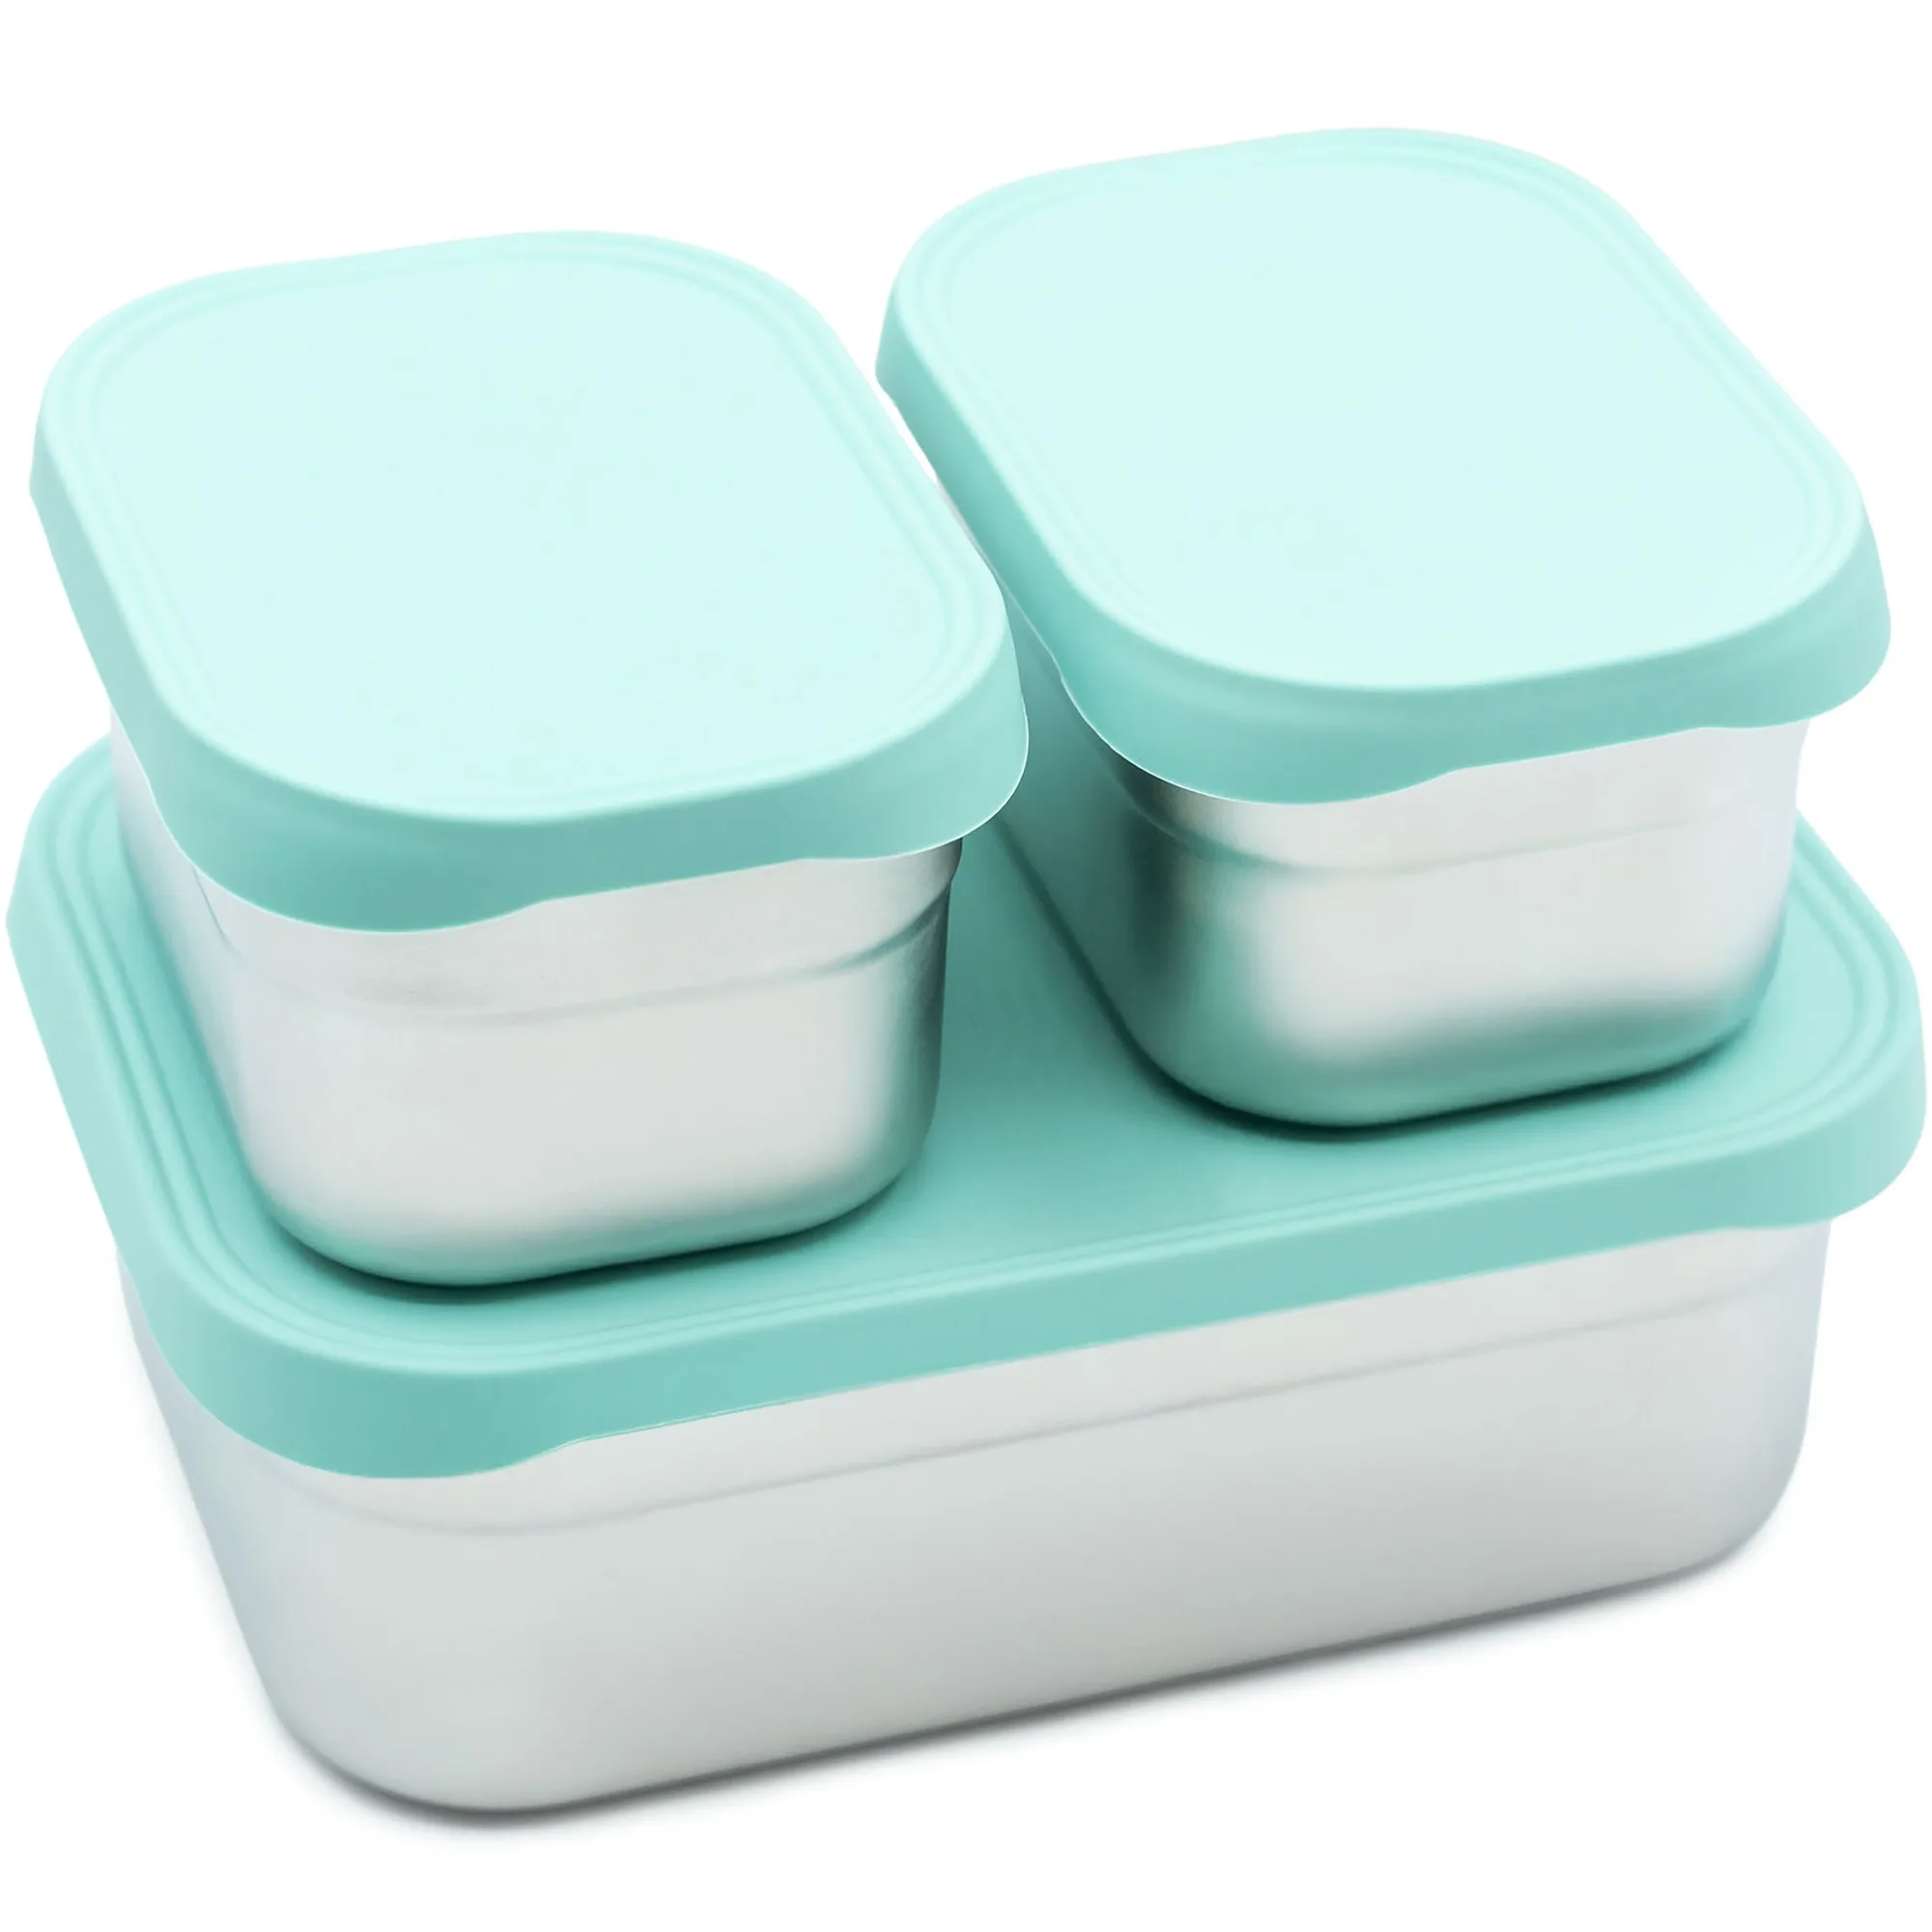
A bento box pulled straight from the cupboard warms everything you put in it. Put the empty box in the fridge the night before, or fill it and refrigerate the whole thing for at least an hour before it goes into the lunch bag. If you pack at 7 a.m. and lunch is at 11:30, that head start is the difference between crisp cucumber and limp cucumber.
The same logic applies to the drink. A chilled water bottle or pouch sitting beside the box acts as a second cold source, so you can sometimes skip the freezer pack entirely on short days.
Separate Wet From Dry Before You Separate Anything Else
The most common bento failure is not spoilage, it is sogginess. A single compartment holding crackers, berries, and yogurt turns into a paste by mid-morning. Use the box's dividers to keep moisture-heavy foods away from anything crunchy, and if your box has only one large well, use silicone cups or reusable pouches as movable walls.
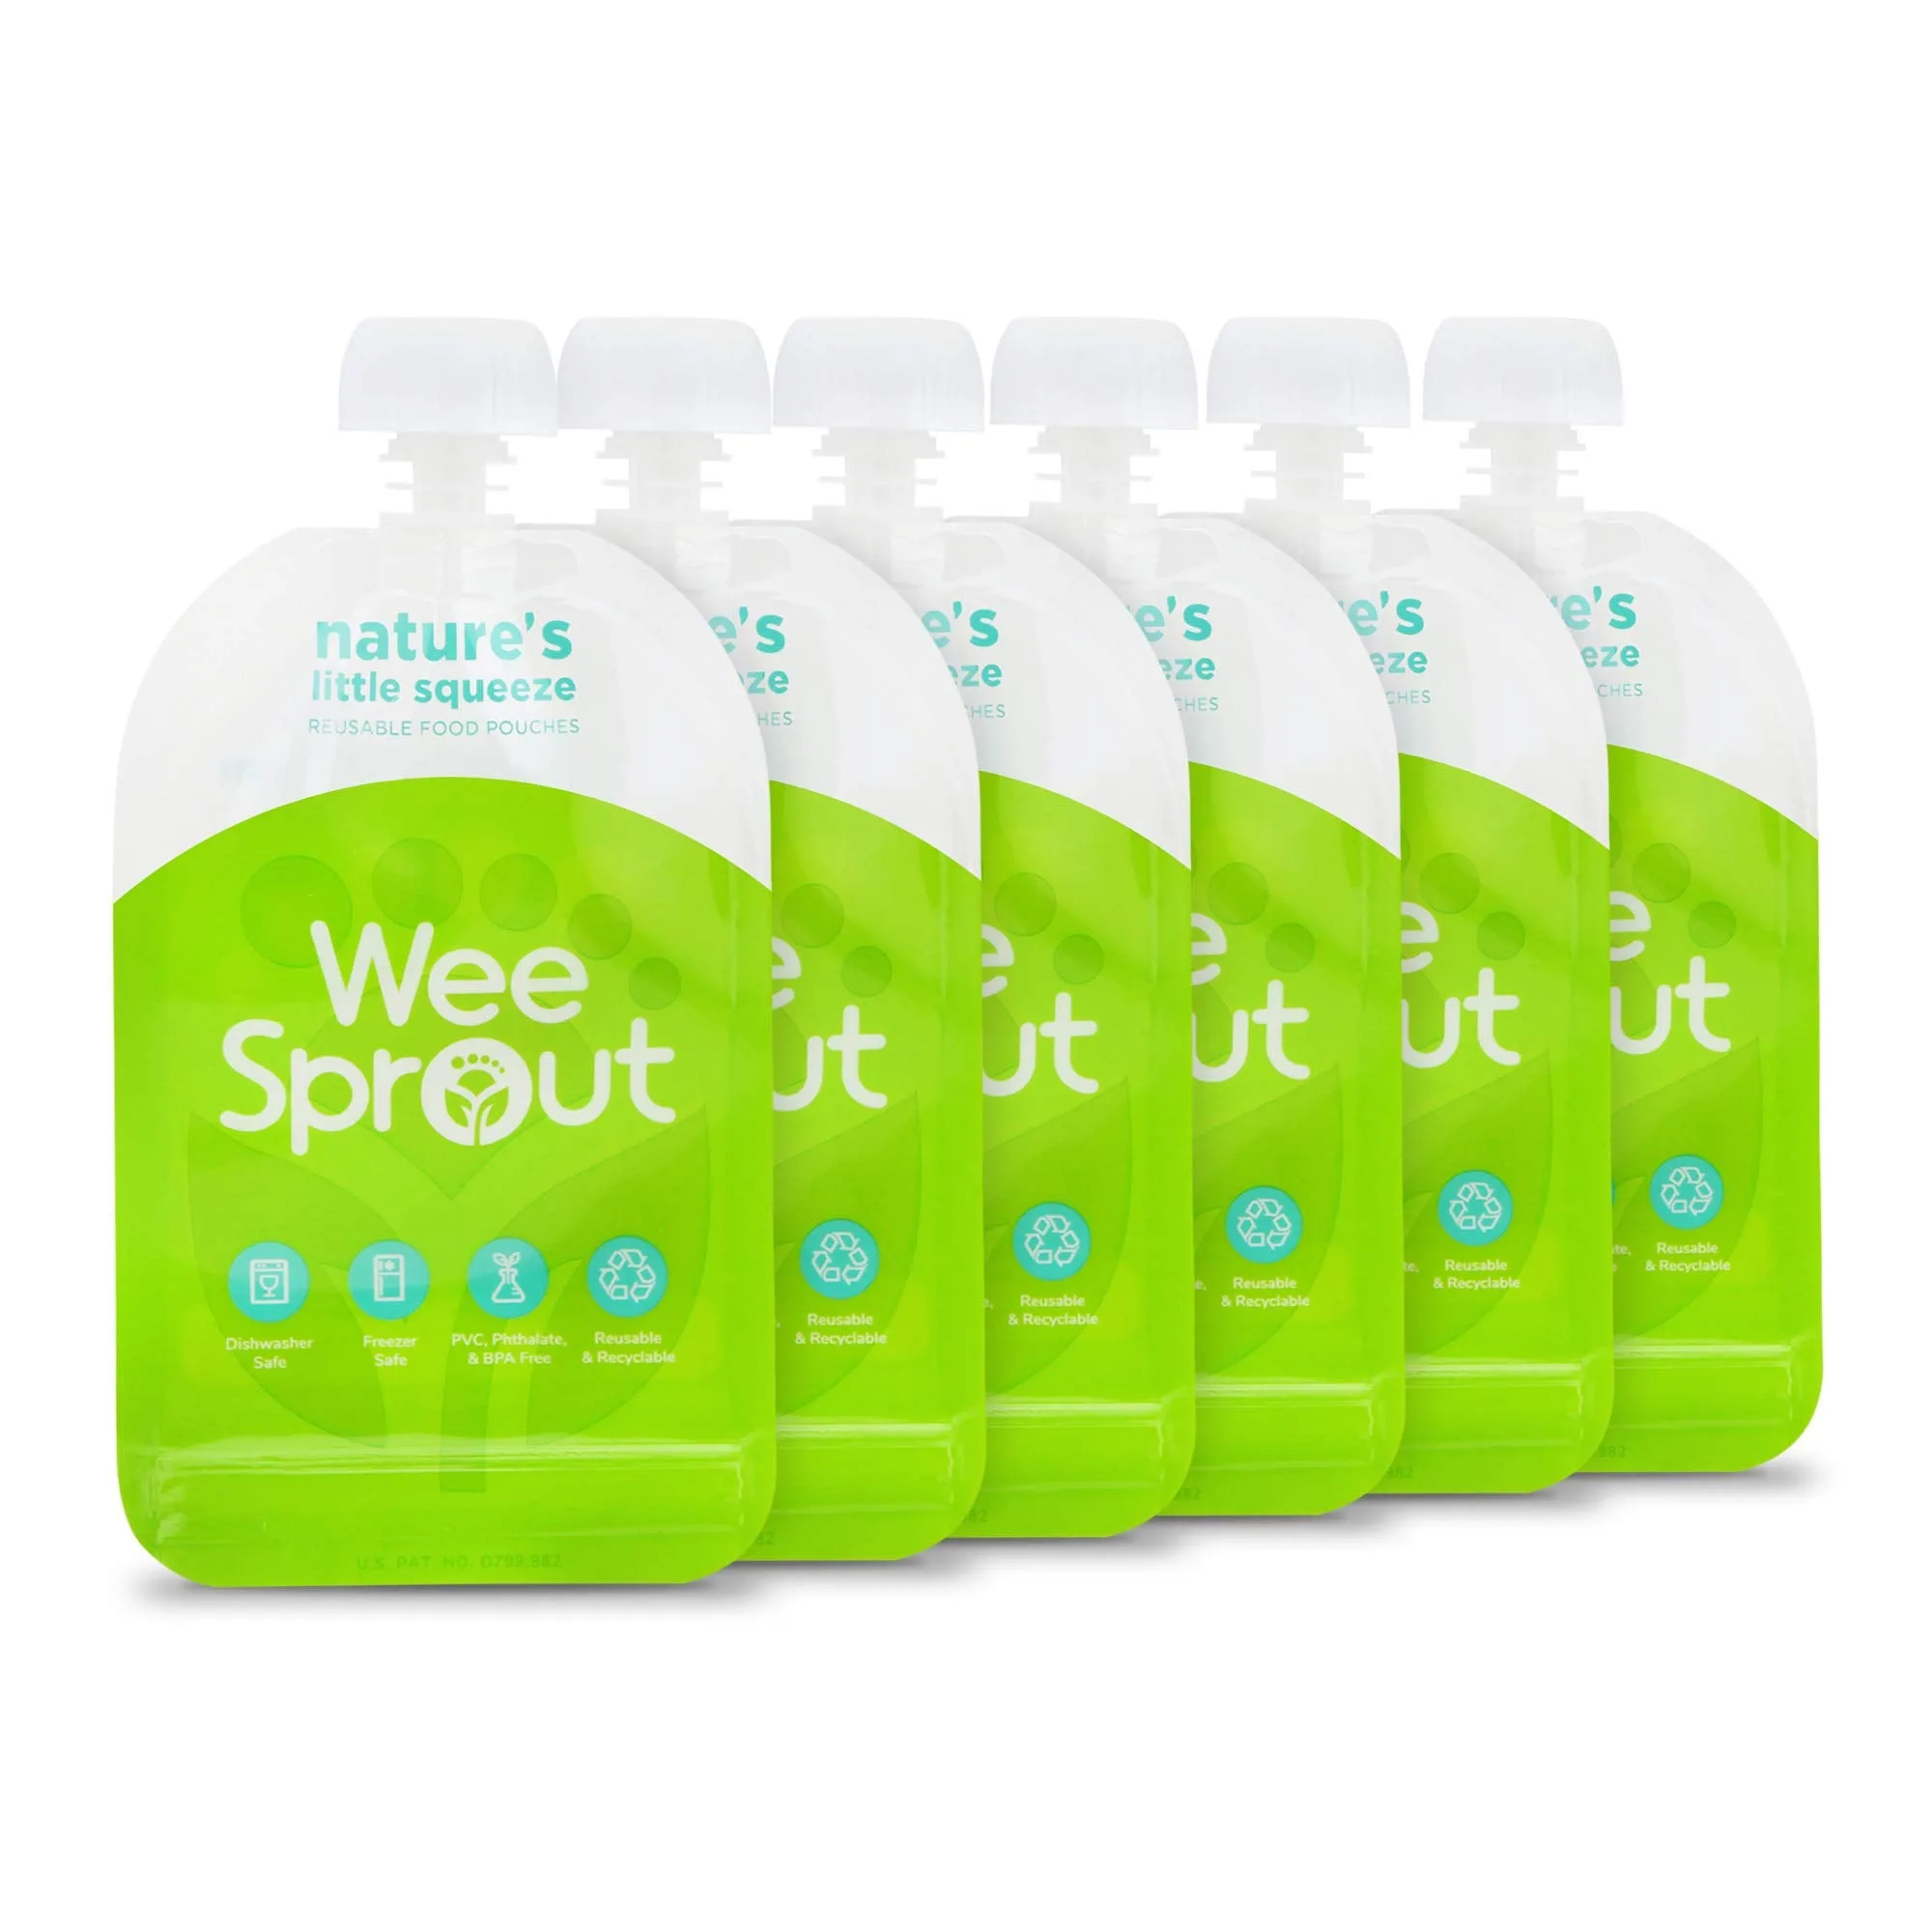
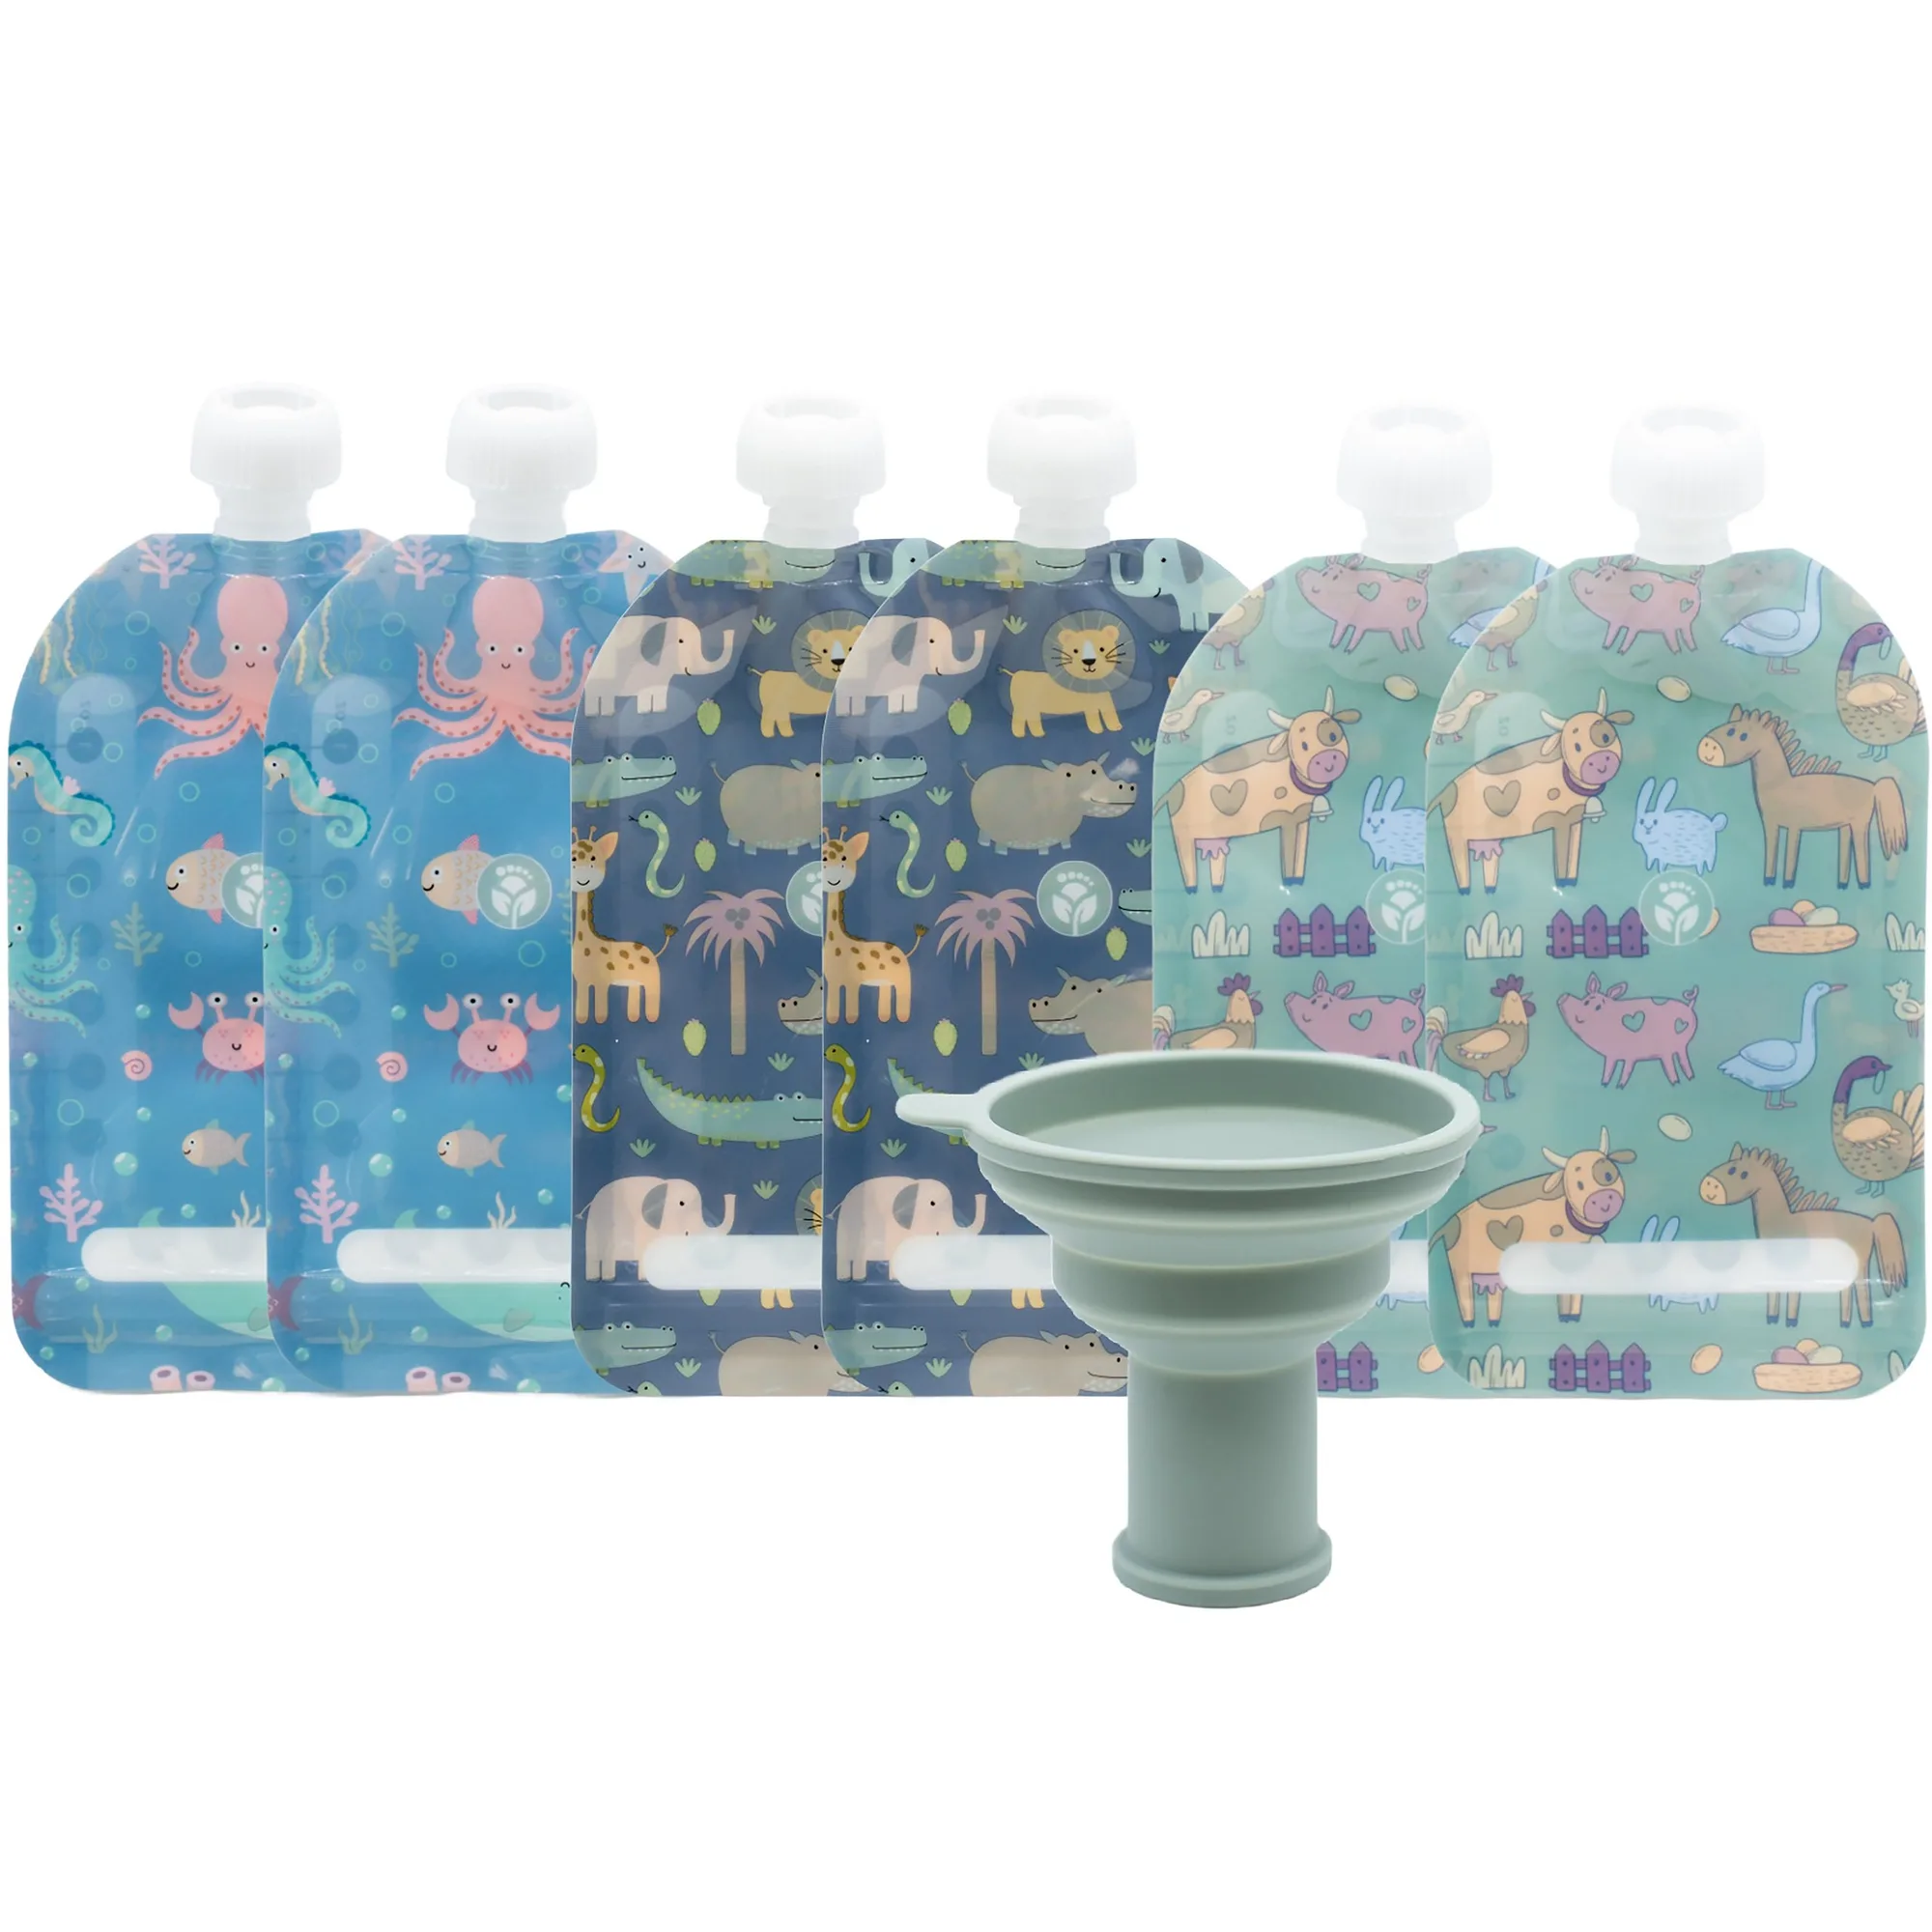
Reusable food pouches are especially useful here because they seal liquid foods independently. A pouch of yogurt or applesauce can sit in the same box as crackers without touching them, and it gives your toddler a familiar squeeze format they already know how to use.
Build the Lunch in a Repeatable Order
Packing in the same order every time prevents the two mistakes that ruin toddler lunches: putting heavy items on top of soft ones, and forgetting a utensil. Start with the firmest, driest items in the bottom or back compartments, then add soft foods, then add anything in a pouch or lidded cup last.
For hot foods, the order changes. Fill a preheated thermos first, seal it, and pack the cold items around it. Never put the thermos in the same compartment as a pouch you want cold, because the two will fight each other for temperature.
Match Portions to a Toddler Appetite, Not an Adult One
A bento box that comes home half-eaten usually means too much food, not a picky eater. Toddler stomachs are small, and a lunch that looks sparse to you is often the right size. Pack two or three small components rather than one large serving, and let your child see the whole box before it closes so they know what is in it.
This is also where toddler lunch packing tips from daycare teachers tend to converge: fewer items, easy to open, and nothing that requires adult help to eat.
The Packing Sequence, Step by Step
- Chill the empty box overnight: Store the clean, dry bento box in the fridge so it is already cold when you start packing. A room-temperature box pulls heat out of every cold item you add. Checkpoint: if the box still feels warm to the touch, it has not been in long enough.
- Preheat or prechill the insulated container: For hot food, fill the thermos with boiling water, let it sit a few minutes, empty it, then add the hot food. For cold food, do the same with ice water. This step is what makes the insulation actually work. Common mistake: skipping this and pouring hot soup into a cold thermos, which drops the food into the temperature danger zone before lunch.
- Pack dry foods first, wet foods last: Crackers, cereal, and firm fruit go into the compartments first. Yogurt, applesauce, and dips go into sealed pouches or lidded cups and are placed in last so nothing shifts onto the dry items. Checkpoint: tilt the closed box gently. If you hear liquid moving freely, something is not sealed.
- Add the cold source beside the box, not on top: Place a freezer pack along the side wall of the lunch bag so cold air circulates around the box rather than pressing on one spot. If the bag has an outer pocket, that pocket is the right place for the pack. Common mistake: putting the ice pack directly on top of the food, which freezes the top layer and leaves the bottom warm.
- Add utensils and do a lid check: Drop in a toddler-sized fork or spoon, then press the lid down at each corner and listen for the seal. A bento box that clicks on one side and not the other will leak in a backpack. Next step: label the box and pouch with your child's name if it is going to daycare or school.
Products That Solve Specific Packing Problems
- Reusable Food Pouches – Available in 3.4 oz, 5 oz, 7 oz, and Variety Packs: WeeSprout Reusable Food Pouches are refillable, freezer-safe, and available in 3.4 oz, 5 oz, 7 oz, and variety packs, with color and size options. A sealed pouch keeps yogurt, smoothies, or purees from leaking into dry foods in the same box, and the size options let you match the pouch to your toddler's actual appetite instead of guessing.
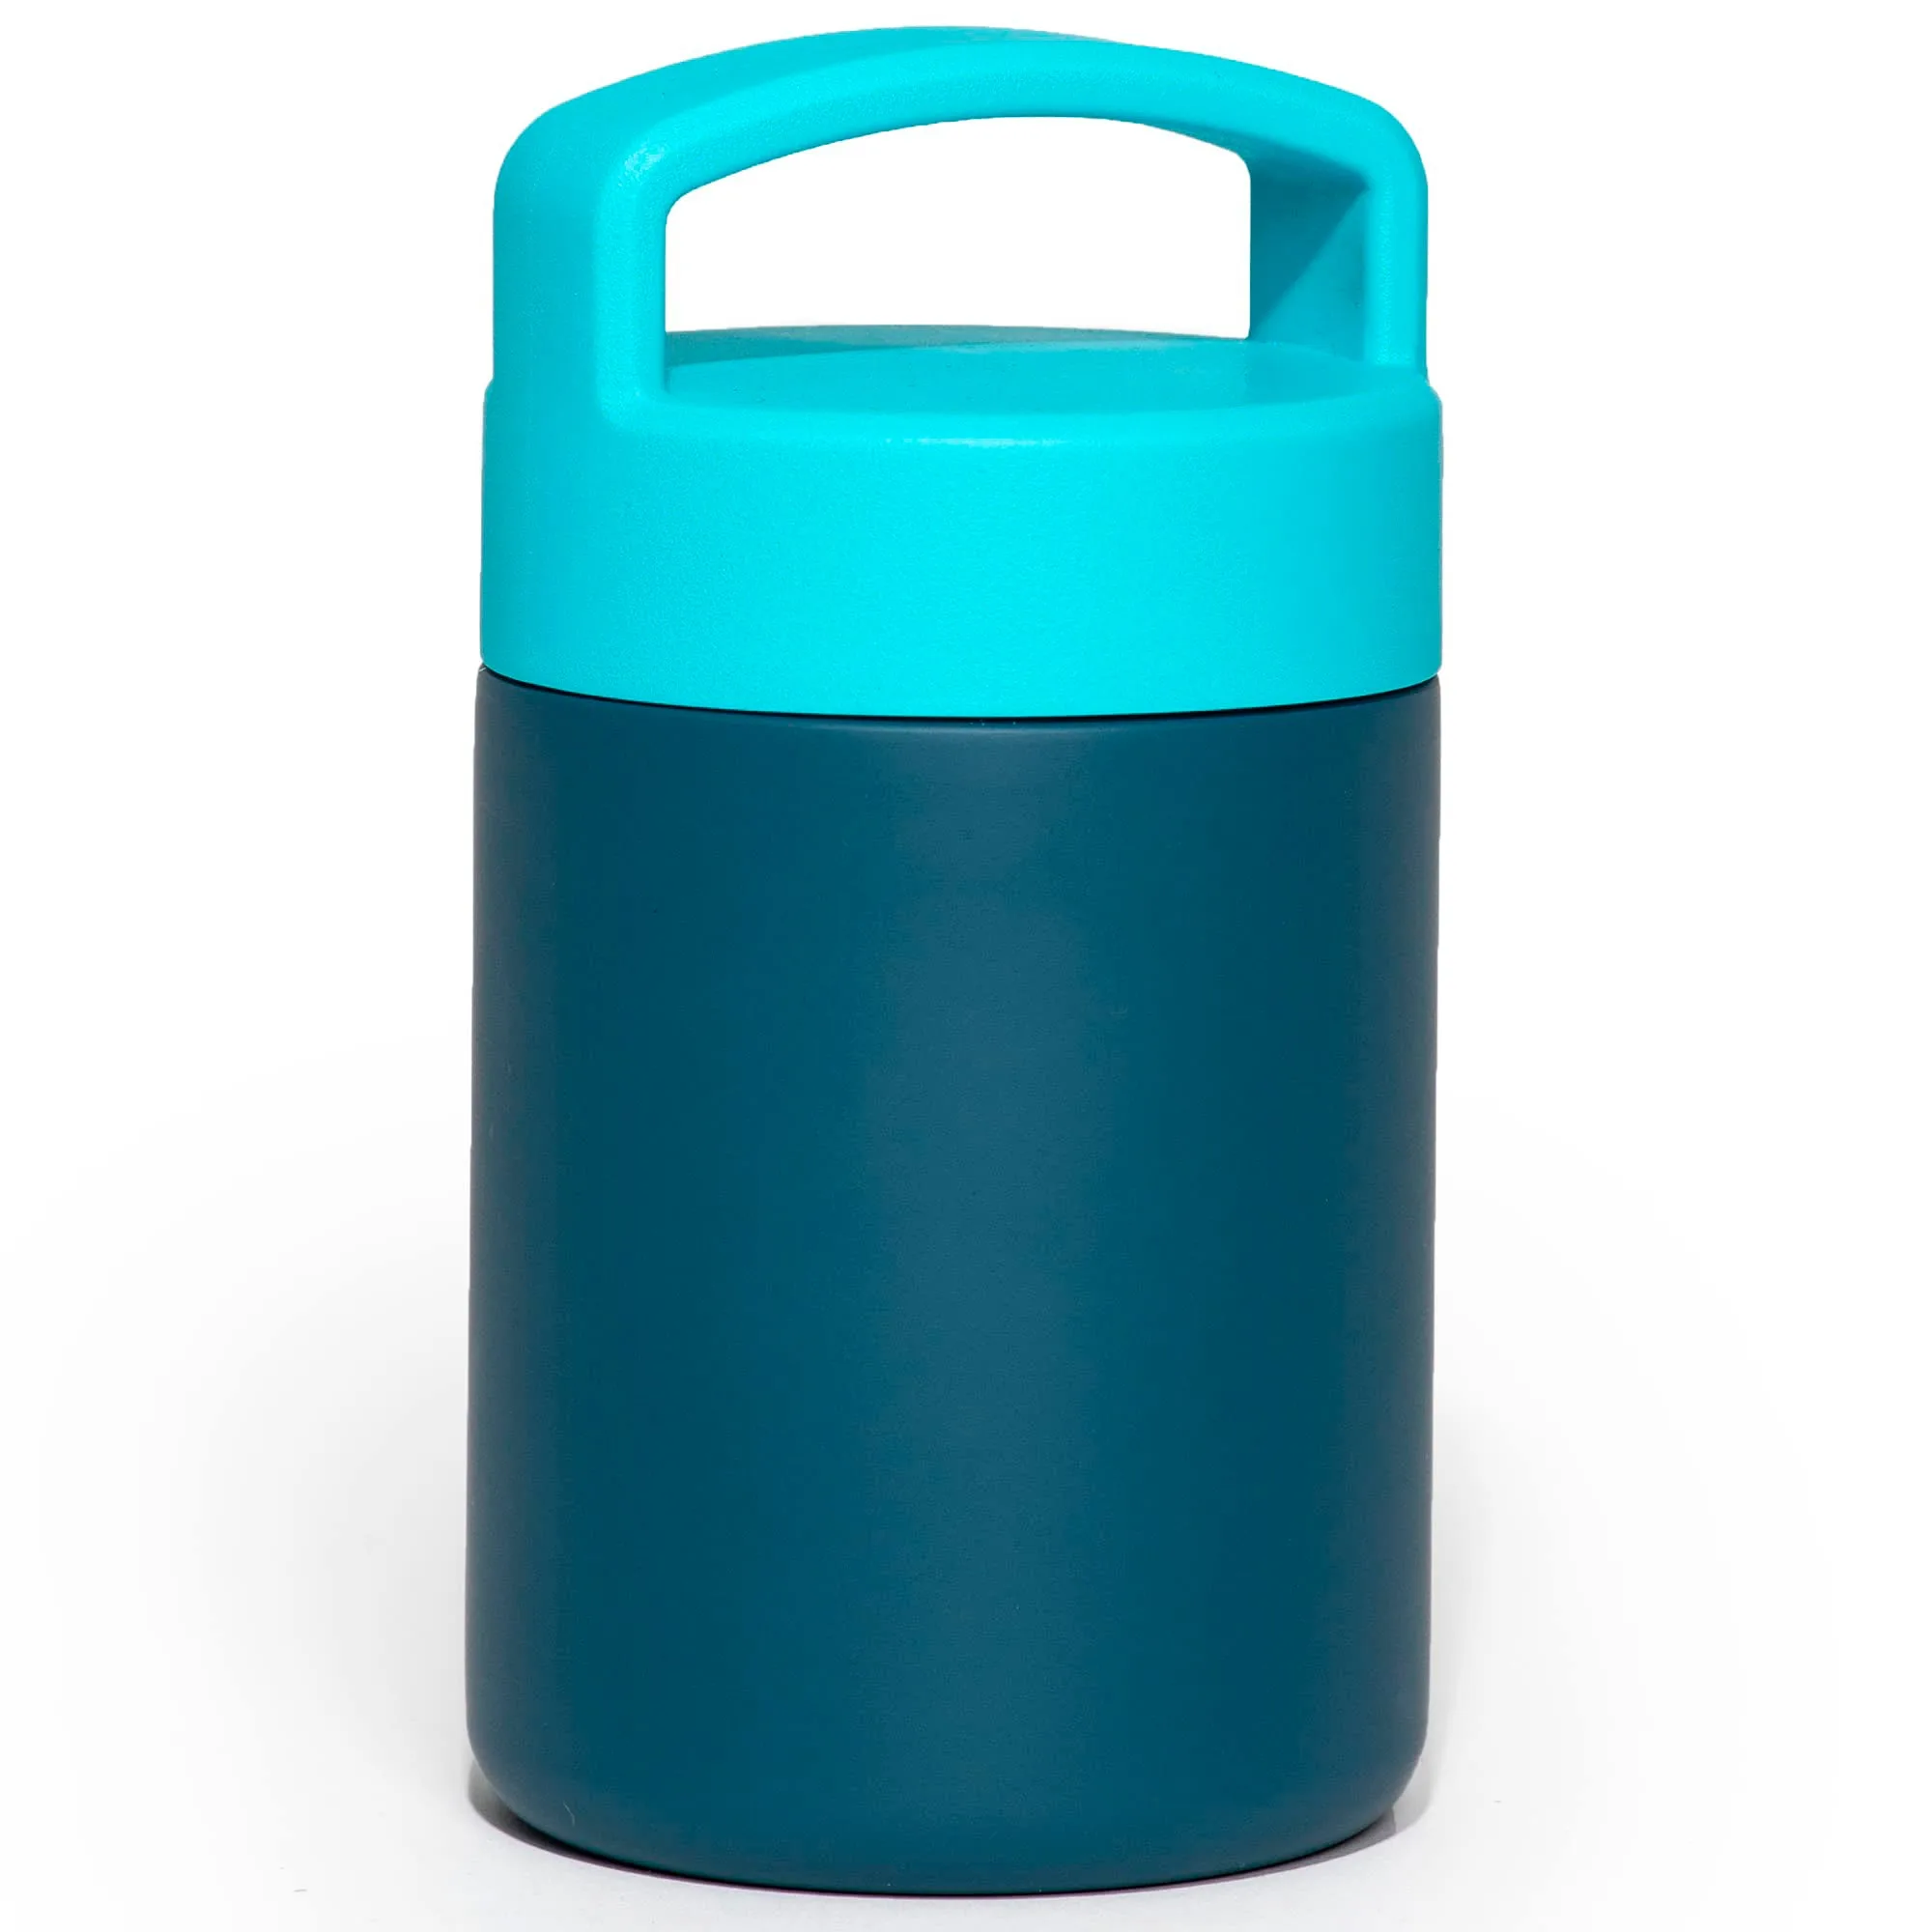
- Stainless Steel Kids Thermos – 12 oz: The WeeSprout Kids Thermos is a 12 oz vacuum-insulated container made from 18/8 stainless steel with an airtight twist lid and a copper-coated inner wall. If your bento plan includes warm leftovers, this is the piece that keeps them warm without a microwave, and the twist lid is the part that prevents the leak that would otherwise soak the rest of the bag.
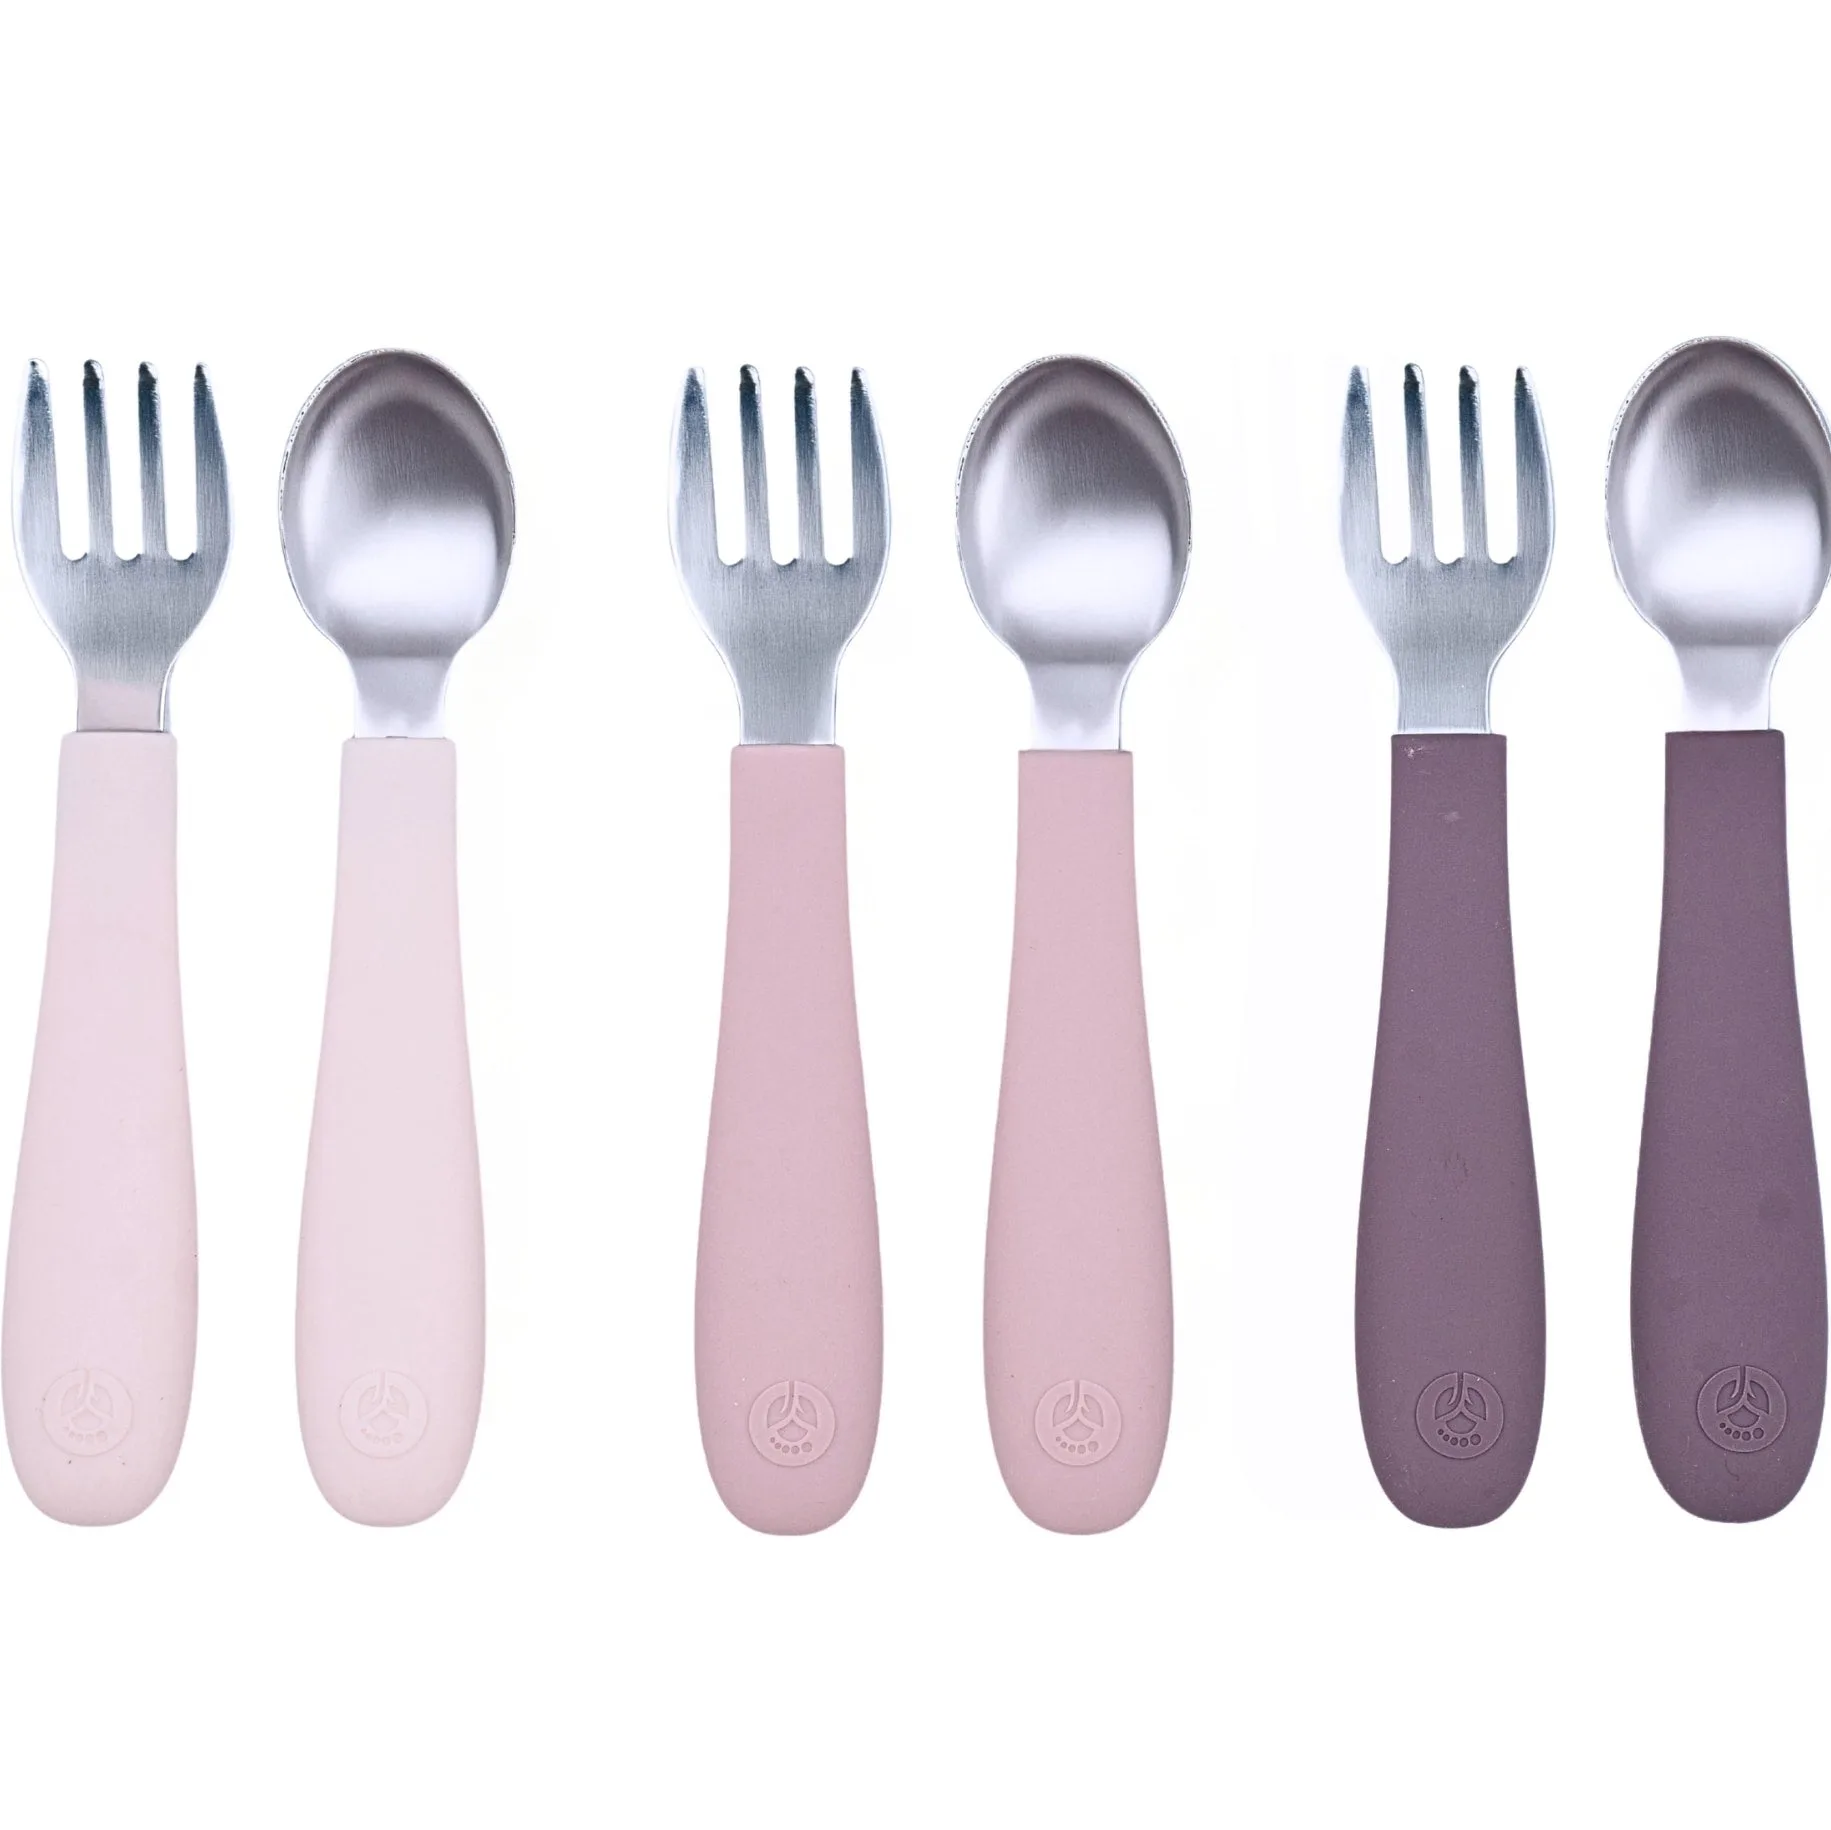
- Stainless Steel & Silicone Toddler Utensils – Set of 6 (3 Forks + 3 Spoons): WeeSprout Toddler Utensils are a set of six (three forks and three spoons) with thick, easy-grip handles made from non-toxic, food-grade silicone, sized for small hands and mouths. A bento lunch your toddler cannot physically eat is a packed lunch wasted, so utensils sized between baby spoons and adult silverware let them feed themselves without giving up halfway through.