What You Get in the Pack
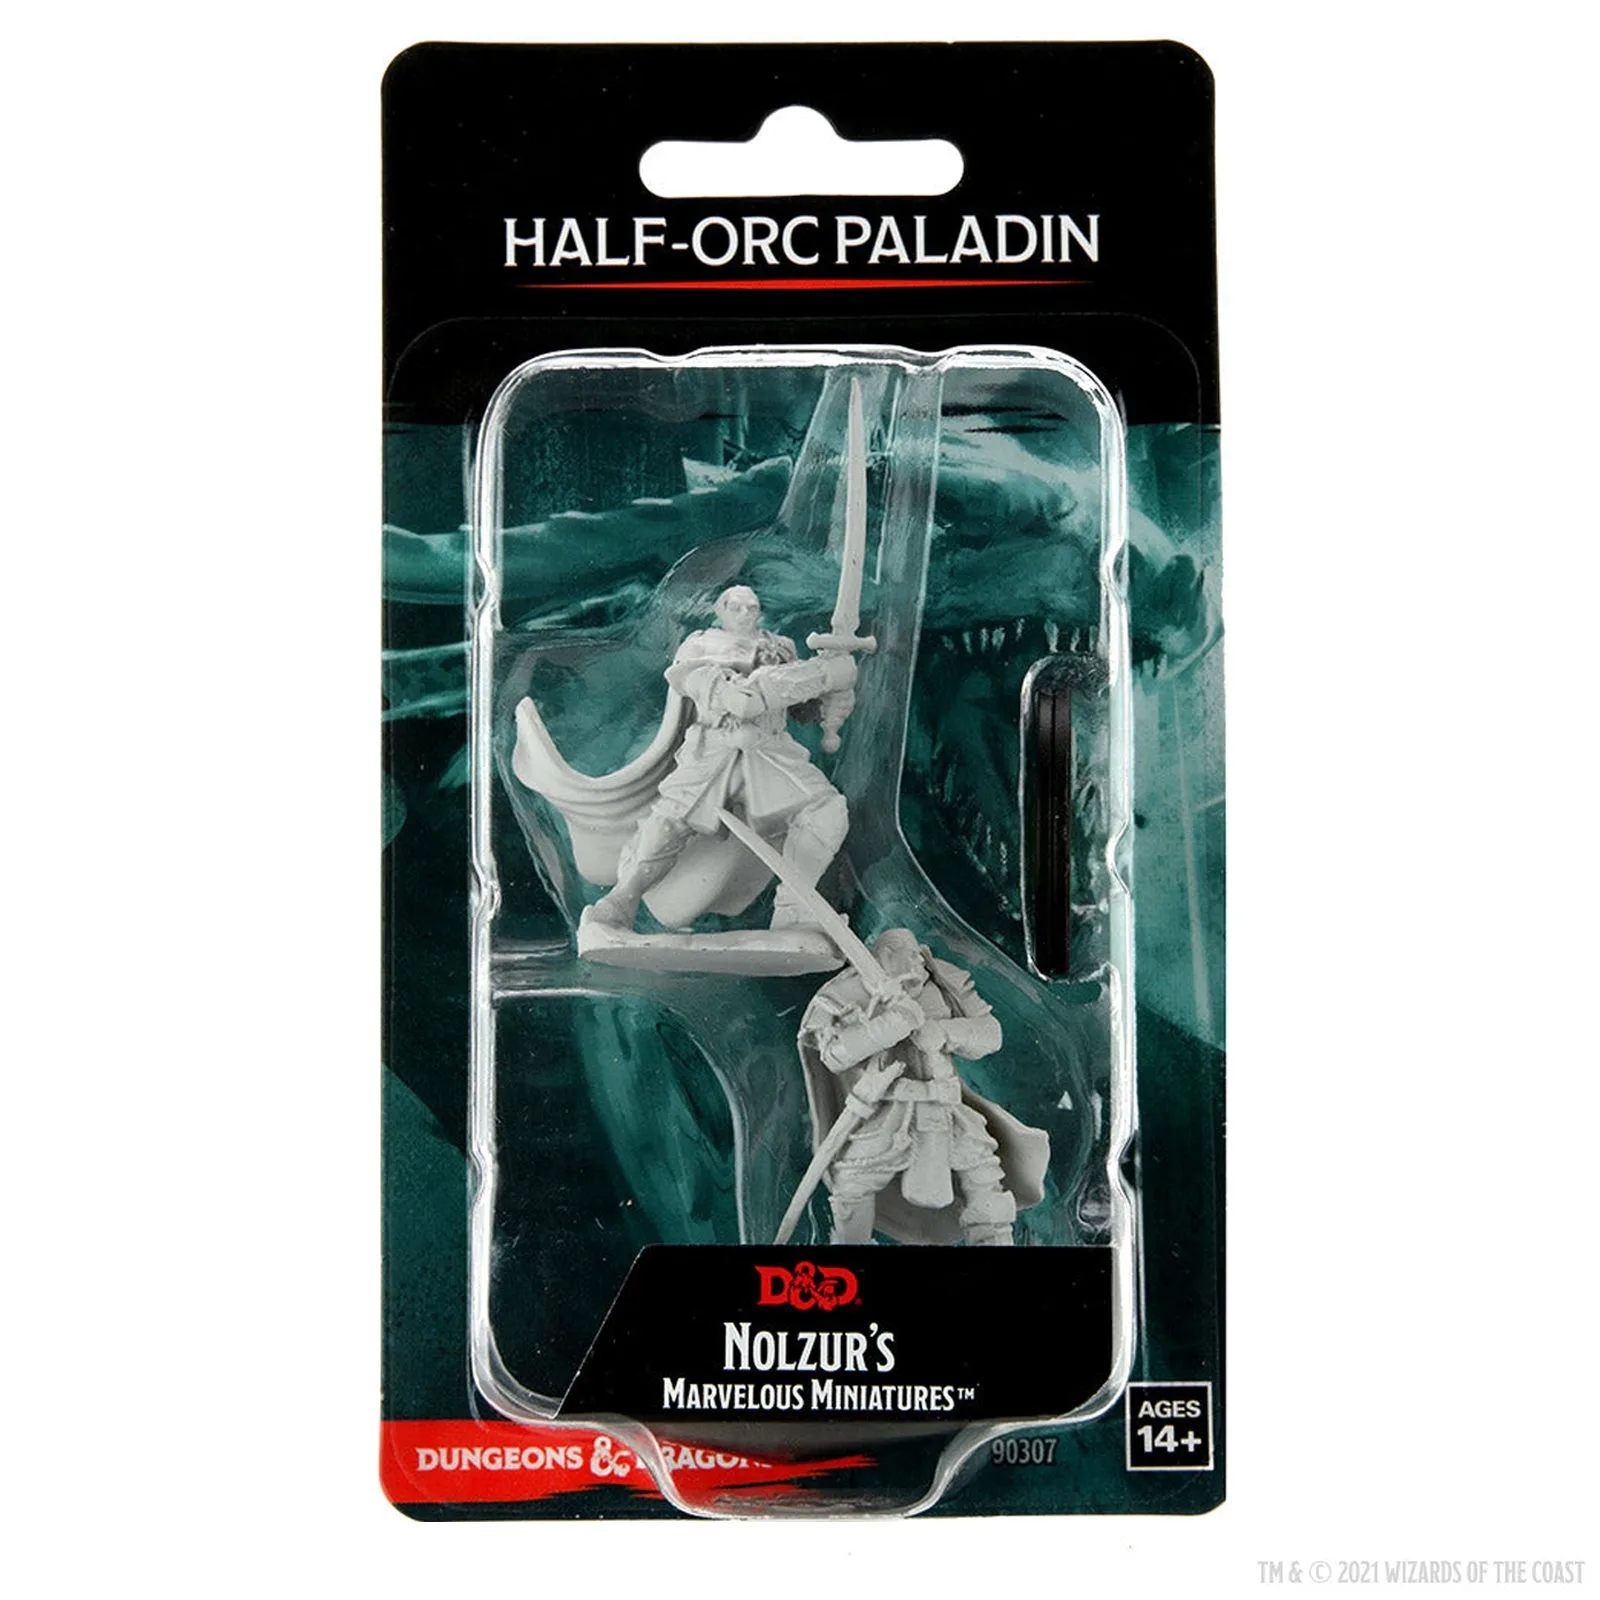
The D&D Nolzur's Marvelous Miniatures: Half-Orc Paladin Male pack includes two figures: a high-level and a low-level version of the same character. Both are highly detailed, pre-primed, and require little to no assembly. The deep cuts on the miniatures make it easier to apply paint precisely, which is especially helpful for the armor and facial details of a half-orc paladin.
Key Product Details
-
D&D Nolzur's Marvelous Miniatures: Half-Orc Paladin Male: Dungeons & Dragons Nolzur’s Marvelous Miniatures come with highly-detailed figures, primed and ready to paint out of the box. You can start painting immediately without needing to prime the miniature yourself, saving time and ensuring a consistent base coat.
D&D Nolzur's Marvelous Miniatures: Half-Orc Paladin Male
-
D&D Nolzur's Marvelous Miniatures: Half-Orc Paladin Male: These fantastic miniatures include deep cuts for easier painting. The recessed lines help guide your brush and keep paint from pooling in the wrong areas, which is ideal for painting armor, cloth, and facial features.
-
D&D Nolzur's Marvelous Miniatures: Half-Orc Paladin Male: Little to no assembly required. You spend less time gluing parts together and more time painting. The figures come ready to use.
Painting the Half-Orc Paladin
Since the miniature is already primed, you can dive straight into painting. Here is a practical sequence that works well for this figure.
- 1. Base coat the armor and skin: Start with the larger areas. For a classic half-orc paladin, paint the armor in a metallic color like silver or steel, and the skin in a green or gray tone. The deep cuts help keep the paint in the recesses, so you can be generous with your base coat.
- 2. Add the cloth and details: Paint the tabard, cloak, or any fabric areas. Choose a contrasting color like deep red or blue to make the miniature pop. Use a fine brush for the smaller details such as the belt, pouches, and weapon.
- 3. Apply a wash for depth: A dark wash (such as a thinned black or brown paint) will flow into the recessed lines and add shadow to the armor and skin. This step brings out the sculpted details and gives the miniature a more realistic look.
- 4. Highlight the raised areas: Once the wash is dry, lightly dry-brush or edge-highlight the armor and skin with a lighter shade. This step adds contrast and makes the miniature stand out on the tabletop.
- 5. Paint the base: The miniature comes with an integral base. You can paint it to match your dungeon or battlefield theme. A simple stone or earth tone works well. If desired, add static grass or small rocks for extra texture.
Tips for Working with Pre-Primed Miniatures
The pre-primed surface is ready for acrylic paint, but you may still want to wash the miniature with mild soap and water before painting to remove any mold release or oils from handling. Let it dry completely before you begin.
Because the miniature has deep cuts, you can use a wash that is slightly thinner than usual to ensure it flows into the recesses without pooling on the flat surfaces. If you make a mistake, acrylic paint is easy to correct by painting over the area once it dries.
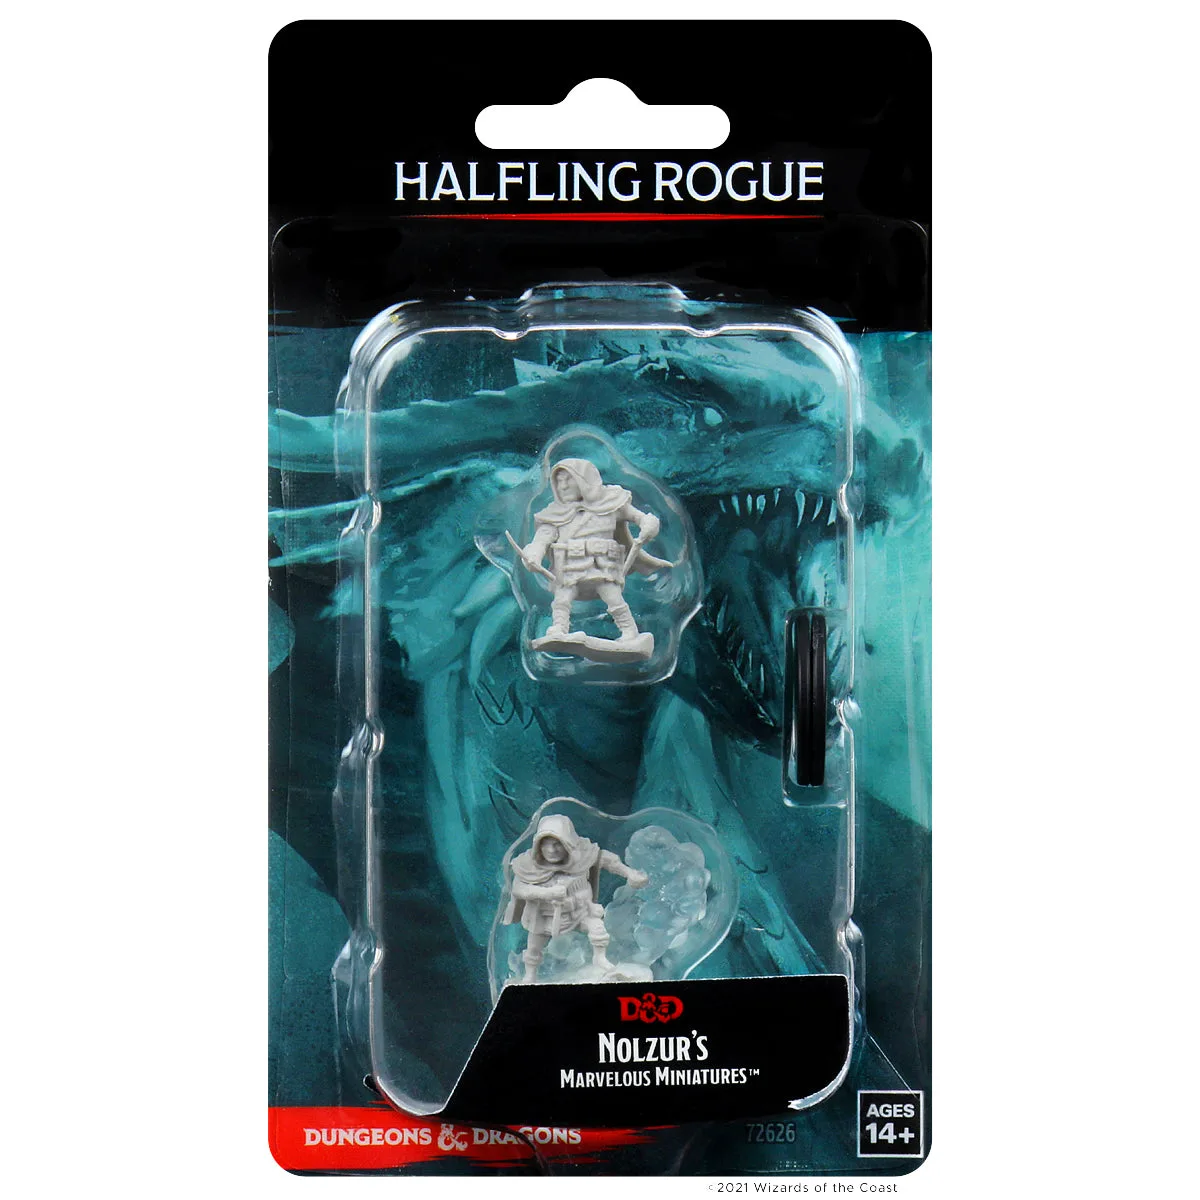
The packaging shows the miniatures clearly, so you know exactly what you are getting. This transparency helps you plan your color scheme before you start.