Quick answer
Assemble the wooden peacock puzzle first, then paint it using the included non-toxic paints. Follow the steps below for a smooth, vibrant finish.
Why paint the peacock after assembly?
Painting after assembly prevents paint from seeping into puzzle joints and weakening the fit. It also lets you see the full shape before choosing your colors, making it easier to plan a cohesive design.
Choosing your color palette
The kit includes vibrant, non-toxic paints that work well for traditional peacock shades like teal, gold, and emerald. You can also mix colors or use your own acrylic paints for a custom look. Test colors on a scrap piece of wood or the back of a puzzle piece before committing.
Step-by-step painting guide
- 1. Assemble the puzzle on a flat surface: Press each wooden piece firmly into place. Do not glue the pieces yet—painting is easier when you can separate large sections. Common mistake: forcing pieces can break tabs. If a piece doesn't fit, check orientation.
- 2. Lightly sand the surface (optional): Use fine-grit sandpaper to smooth any rough edges or laser burn marks. Wipe away dust with a dry cloth before painting. Skipping sanding is fine, but paint may not adhere as evenly to glossy laser-cut edges.
- 3. Apply a thin primer coat (optional): A white or gray acrylic primer helps the colors pop and reduces the number of paint coats needed. Let it dry completely. Common mistake: applying thick primer hides the wood grain and can drip into puzzle gaps.
- 4. Paint the base colors first: Start with large areas like the body and tail feathers. Use the included non-toxic paints or your own acrylics. Apply thin, even coats and let each layer dry before adding details. Common mistake: painting details before the base layer leads to muddy colors.
- 5. Add details and highlights: Use a small brush for the eye, beak, and feather patterns. Dip only the tip to avoid excess paint. Let each color dry before applying the next. Common mistake: overloading the brush causes paint to pool in crevices.
- 6. Seal the paint (optional): Once the paint is fully dry, apply a clear acrylic sealer (matte or gloss) to protect the finish. Spray sealers work best to avoid brush streaks. Skipping sealer is fine for display, but the paint may chip if handled often.
What's in the kit
-
Hands Craft | Peacock: This captivating kit lets you assemble and personalize a stunning peacock, combining the joy of puzzle-building with the creativity of painting. You get both a puzzle and a painting project in one box, making it a two-in-one activity.
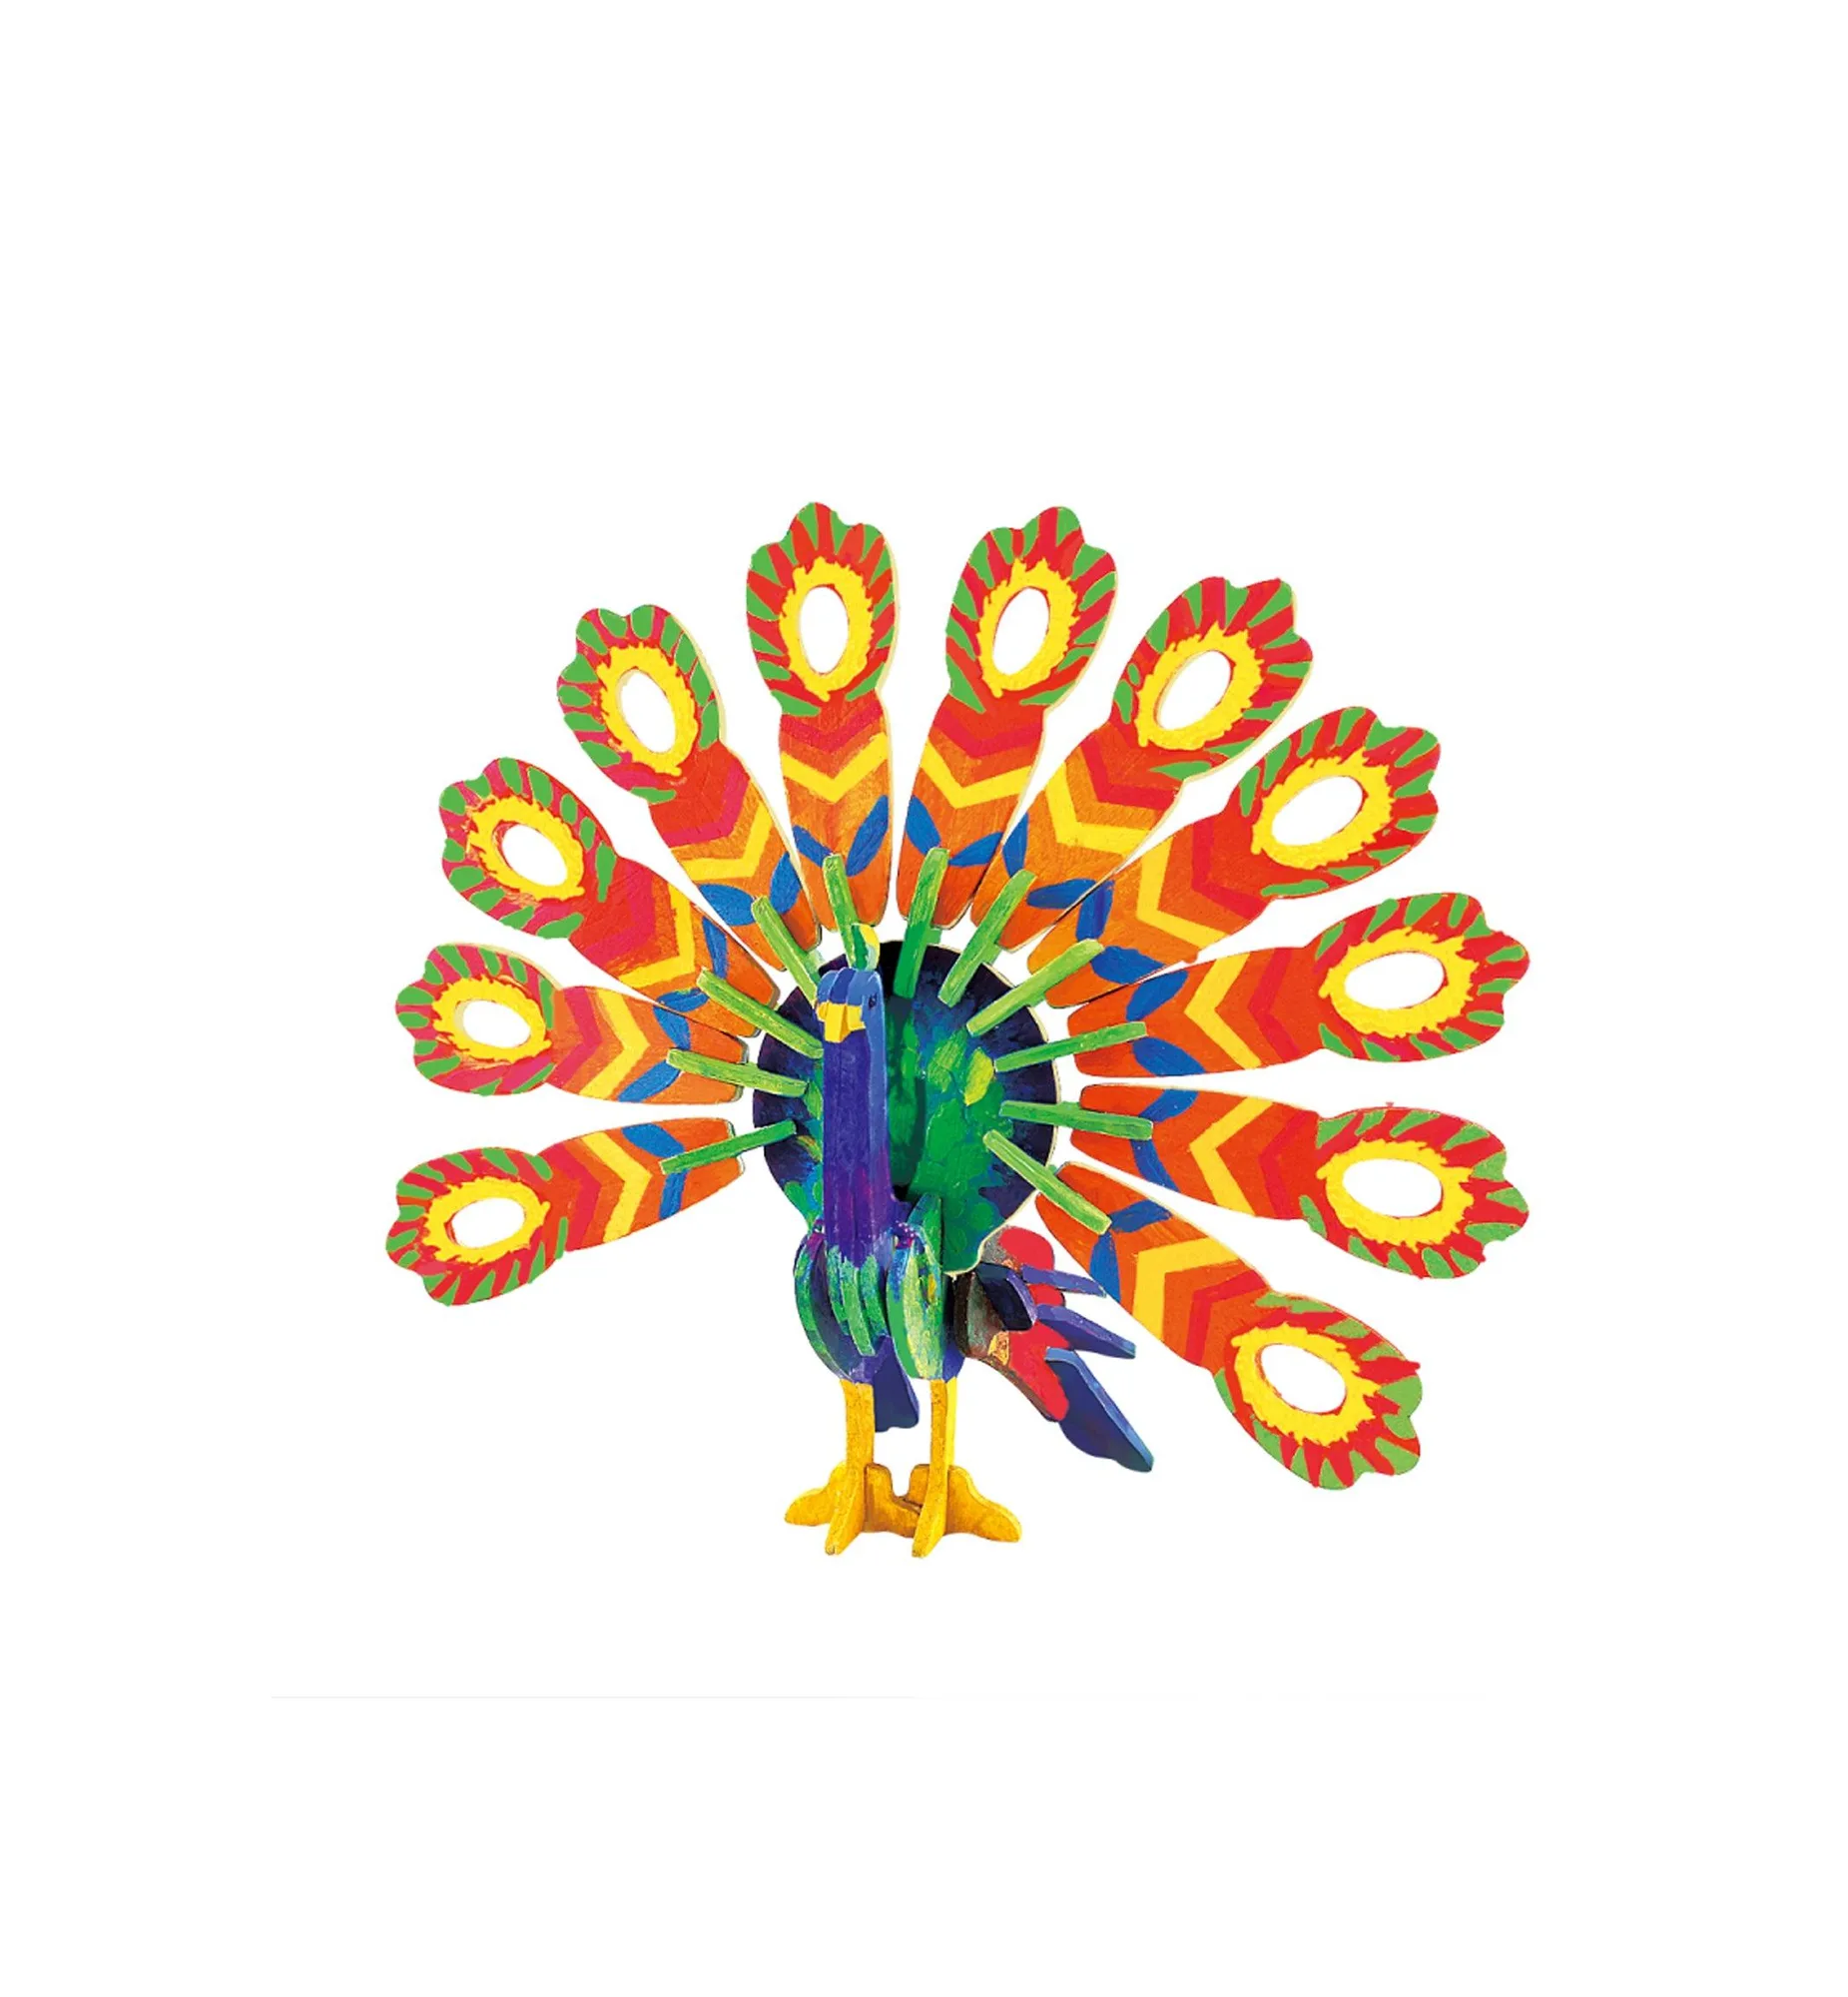
Hands Craft | Peacock