Getting Started with Your Hobgrot Slittas Kit
The Warhammer Age of Sigmar: Orruk Warclans - Hobgrot Slittas kit gives you 98 push-fit components to build 20 Hobgrots armed with slittaz, plus grenades and scavenged armour from duardin traders. The miniatures come unpainted and require some assembly, so a clear painting plan helps you get them on the table faster.
Before you open the glue, decide on your unit layout. The kit offers multiple build options: two units of 10 Hobgrots, each with a choice of boss, Scrap Totem Bearer, and Noise-maker, or a single unit of 20. This choice affects how you paint—if you want distinct unit markings, plan your colour schemes before you start.
Kit Contents at a Glance
-
Warhammer Age of Sigmar: Orruk Warclans - Hobgrot Slittas: This push-fit kit comprises 98 components, with which allows you to build 20 Hobgrots armed with slittaz, as well as grenades and armour they have acquired from duardin traders. Knowing you have 98 parts and 20 miniatures helps you plan your painting time and batch processes.
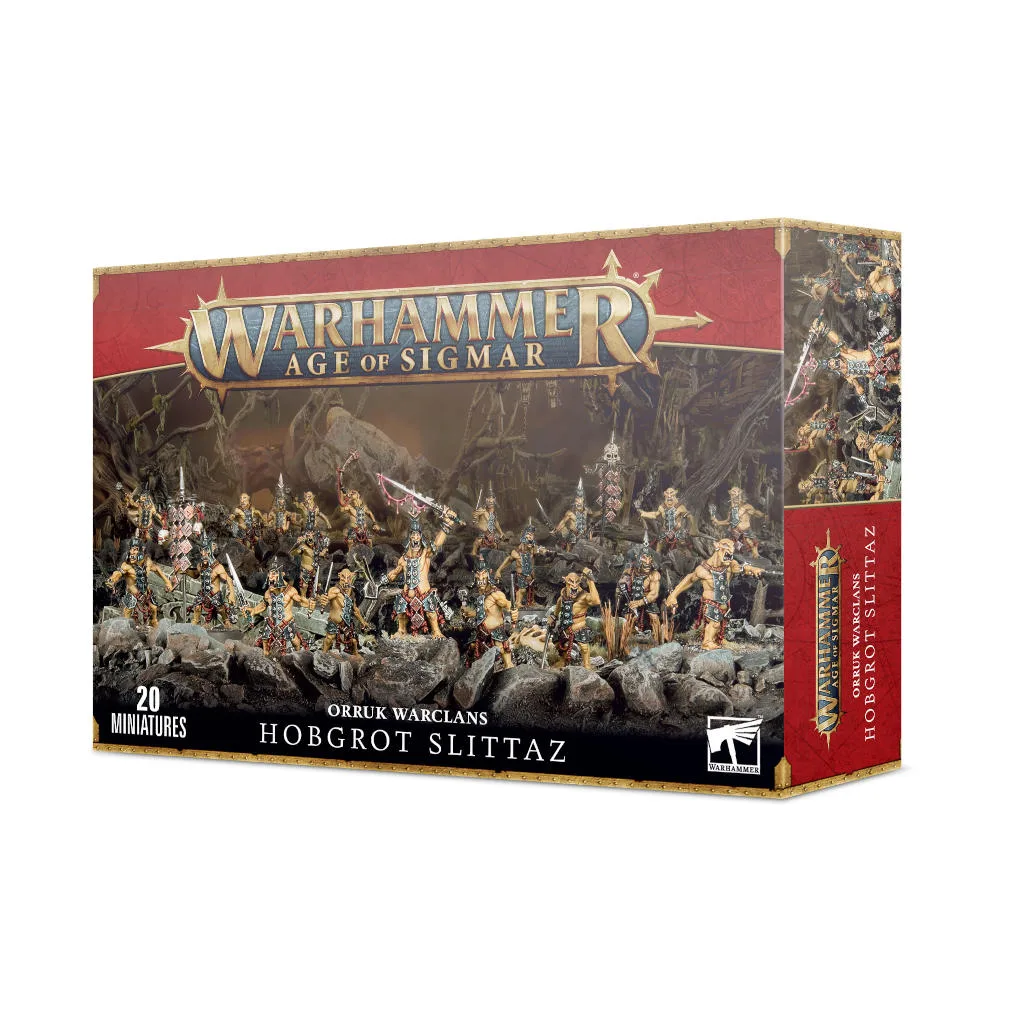
Warhammer Age of Sigmar: Orruk Warclans - Hobgrot Slittas
-
Warhammer Age of Sigmar: Orruk Warclans - Hobgrot Slittas: This kit comes supplied with 20x 25mm Citadel Round bases. Each Hobgrot stands on a standard 25mm round base, so you can use Citadel movement trays or magnetic storage without modification.
-
Warhammer Age of Sigmar: Orruk Warclans - Hobgrot Slittas: Miniatures are supplied unpainted and some assembly may be required. Unpainted means you have a blank canvas, but also that you need to plan for assembly steps before painting.
Assembly Before Painting: A Practical Sequence
Assemble the push-fit components first, but leave off any parts that would block brush access to the torso and face. The kit's push-fit design means you can test-fit everything before committing to glue.
For batch painting, assemble all 20 Hobgrots in sub-assemblies: bodies and heads separate, arms optional. This lets you paint the chest armour and face details without awkward angles.
- 1. Test-fit the components: Snap together a few Hobgrots to see how the push-fit joints work. Identify which head options you prefer for each unit.
- 2. Separate sub-assemblies: Keep heads, arms, and bodies in separate groups. This makes priming and basecoating faster.
- 3. Clean mold lines: Use a hobby knife or file to remove any flash on the push-fit connections. This ensures a tight fit after painting.
- 4. Attach to bases: Glue each Hobgrot to its 25mm Citadel Round base before priming. A primed base gives a consistent surface for basing materials later.
Priming and Basecoating for Orruk Skin Tones
Prime the assembled sub-assemblies with a rattle-can or airbrush primer. A neutral grey or brown primer works well as a base for Orruk green flesh. If you want a warmer skin tone, try a dark brown primer and build up layers of green from dark to light.
Batch prime all 20 Hobgrots at once to save time. Once dry, apply a basecoat of your chosen Orruk green. The armour and slittaz can be basecoated in a contrasting metal colour—dark steel or bronze fits the scavenged look described in the kit background.
Painting the Details: Heads, Armour, and Slittaz
With the basecoat done, focus on the heads. The kit offers a variety of head options, so each Hobgrot can have a unique face. Paint eyes, teeth, and any scars or warpaint in a contrasting colour. A simple bone-white for teeth and a dark wash for the eyes adds character without requiring advanced techniques.
The armour plates and grenades benefit from a drybrush with a lighter metallic shade. For the slittaz—the crude blades they carry—a quick edge highlight with silver or a rusted orange gives them a used, dangerous look. The Scrap Totem Bearers and Noise-makers are good candidates for bright accent colours, helping them stand out on the table.
Final Assembly and Finishing Touches
After painting all sub-assemblies, glue the heads and arms into place. Touch up any visible joints with a small brush and your base green. Apply a wash or shade to the whole model to tie the colours together.
- 1. Glue sub-assemblies: Use plastic glue or superglue to attach heads and arms. Hold each joint for a few seconds to set.
- 2. Touch up joints: Paint over any glue residue or exposed plastic with your base green.
- 3. Apply a wash: A thin dark wash (e.g., Agrax Earthshade or a homemade mix) over the armour and skin adds depth and hides minor mistakes.
- 4. Base the miniatures: Add sand, static grass, or a simple painted texture to the 25mm Citadel Round bases. Match the basing to your Orruk Warclans army theme.
Painting Tips for Batch Efficiency
Painting 20 Hobgrots at once can feel repetitive, but a few strategies keep the process smooth. Use a wet palette to keep your paints workable for longer sessions. Paint all the skin tones first, then armour, then weapons, and finally details. This assembly-line approach means each step is done across all models before moving on.
If you want to differentiate the two units, paint the Scrap Totem Bearers and Noise-makers in contrasting colours—red for one unit, yellow for the other. The boss models can have a slightly different armour colour or a unique warpaint pattern to make them recognisable on the table.