Quick answer
To paint metal miniatures, start with a clean, degreased surface, apply a quality metal primer, then build thin layers of acrylic paint. Metal miniatures hold fine detail well, so use multiple thin coats rather than one thick coat. Finish with a varnish to protect the paint from handling and chipping.
Metal miniatures have a satisfying weight and crisp detail that many painters enjoy, but they behave differently from resin or plastic. Paint adheres differently, and the metal surface can chip if you skip preparation. This guide walks you through a reliable process for painting metal miniatures, from cleaning to sealing.
Whether you are painting a single character or a whole squad, the steps below will help you get smooth, durable results. I will also point out common mistakes and checkpoints so you can avoid frustration. The techniques apply to most metal models, including those from Victoria Miniatures.
Why metal miniatures need a different approach
Metal miniatures are cast from alloys that can have a slightly oily surface from the casting process. Paint does not stick well to oil or mold release, so cleaning is non-negotiable. Unlike plastic, metal does not melt with most solvents, but you should still avoid harsh chemicals that could damage fine details.
Another difference is weight. Metal models are heavier, so they can tip over more easily during painting. A painting handle or a temporary base can help you keep a steady grip. Also, metal can bend, so handle thin parts like swords or antennas carefully to avoid bending the paint layer.
- Always degrease metal parts before priming.
- Use a painting handle to reduce hand contact and tipping.
Step 1: Clean and degrease the metal
Wash the metal parts in warm water with a few drops of dish soap. Use an old toothbrush to scrub gently, especially in recesses. Rinse thoroughly and let them air dry. This removes mold release and oils that would otherwise cause paint to flake.
If you see mold lines or flash, remove them with a hobby knife or needle file before washing. Be careful not to scratch the surface. After cleaning, avoid touching the model with bare fingers, as skin oils can transfer. Use gloves or handle the model by its base.
- Mistake to avoid: skipping the wash and priming over oily metal.
- Checkpoint: water should sheet off the metal, not bead up.
Step 2: Prime with a metal-friendly primer
Use a primer designed for metal or a general-purpose hobby primer. Spray in light, even coats from about 20 cm away. Shake the can well and test on a piece of sprue first. You want a thin, smooth layer that preserves detail, not a thick coat that fills recesses.
If you prefer brush-on primer, apply thin layers and let each dry completely. A good primer gives acrylic paint something to grip. Without it, paint can rub off during handling. Let the primer cure fully before painting; this often takes longer than the label suggests, especially in humid conditions.
- Mistake to avoid: spraying too close or too heavy, which obscures detail.
- Checkpoint: the primer should look like a thin, even film, not a thick crust.
Step 3: Build a base coat with thin layers
Thin your acrylic paint with a little water or medium to the consistency of milk. Apply the first layer, let it dry, then add more layers until you get solid coverage. This technique, often called layering, prevents brush strokes and preserves fine details. It may take three or four layers for some colors, especially light colors over dark primer.
Work in sections: skin, clothing, armor, and equipment. This helps you avoid smudging wet paint. If you make a mistake, let it dry and paint over it. Do not try to fix wet paint by adding more; that creates texture.
- Mistake to avoid: using paint straight from the pot, which is too thick.
- Checkpoint: the surface should look smooth, not streaky or lumpy.
Step 4: Add shading and highlights
Once the base coat is dry, you can add depth with washes and highlights. A wash is a thin, watery paint that flows into recesses. Apply it carefully, and wick away excess with a clean brush. For highlights, use a lighter color on raised areas. Dry brushing is another option: load a dry brush with paint, wipe most off, and lightly drag it across the surface.
Metal miniatures often have crisp edges that catch highlights well. Keep your highlights focused on the top surfaces where light would naturally hit. If you are painting a squad, keep a consistent light direction for a cohesive look.
- Mistake to avoid: letting wash pool on flat areas, which creates stains.
- Checkpoint: highlights should be visible but not chalky.
Step 5: Paint details and faces
With the main colors done, move to details like eyes, insignia, and metal trim. Use a fine brush and steady hand. For eyes, paint the white first, then a dark pupil. If you are painting a character, take your time on the face; it is the focal point. For metal trim, use a metallic paint and then a dark wash to add definition.
If you are painting a squad, you can simplify details to save time. Not every model needs a detailed face. Focus on the elements that will be seen on the tabletop. Remember that metal miniatures can have sharp details, so a little paint goes a long way.
- Mistake to avoid: overworking small details and making them muddy.
- Checkpoint: step back and view the model at arm's length; it should read clearly.
Step 6: Varnish for protection
Metal miniatures are prone to paint chipping because they are heavy and often handled. A varnish is essential. Use a matte or satin varnish, applied in thin coats. Spray varnish in a well-ventilated area, or use a brush-on varnish for more control. Let it dry completely between coats.
If you use a spray, be careful with humidity; it can cause a frosted effect. Test on a spare piece first. A good varnish will protect your paint job and reduce the need for touch-ups. It also unifies the finish, whether you used matte or glossy paints.
- Mistake to avoid: applying varnish too thickly, which can cloud details.
- Checkpoint: the varnish should be dry to the touch and even.
Your step-by-step metal miniature painting checklist
- Clean and degrease: Wash metal parts in warm soapy water and scrub with a toothbrush. Rinse and dry completely. Checkpoint: water should sheet off, not bead.
- Prime thinly: Apply a metal-friendly primer in light, even coats from a distance. Let cure fully. Checkpoint: detail should remain crisp, not filled.
- Base coat in thin layers: Thin acrylic paint to milk consistency and build up color with multiple layers. Checkpoint: smooth, opaque coverage without brush strokes.
- Shade and highlight: Use washes in recesses and lighter colors on raised areas. Keep light direction consistent. Checkpoint: depth reads clearly at arm's length.
- Paint details: Use a fine brush for eyes, insignia, and trim. Take your time on focal points. Checkpoint: details are sharp, not muddy.
- Varnish for protection: Apply thin coats of matte or satin varnish. Avoid humidity when spraying. Checkpoint: even finish, no cloudiness.
Products that work well with metal miniatures
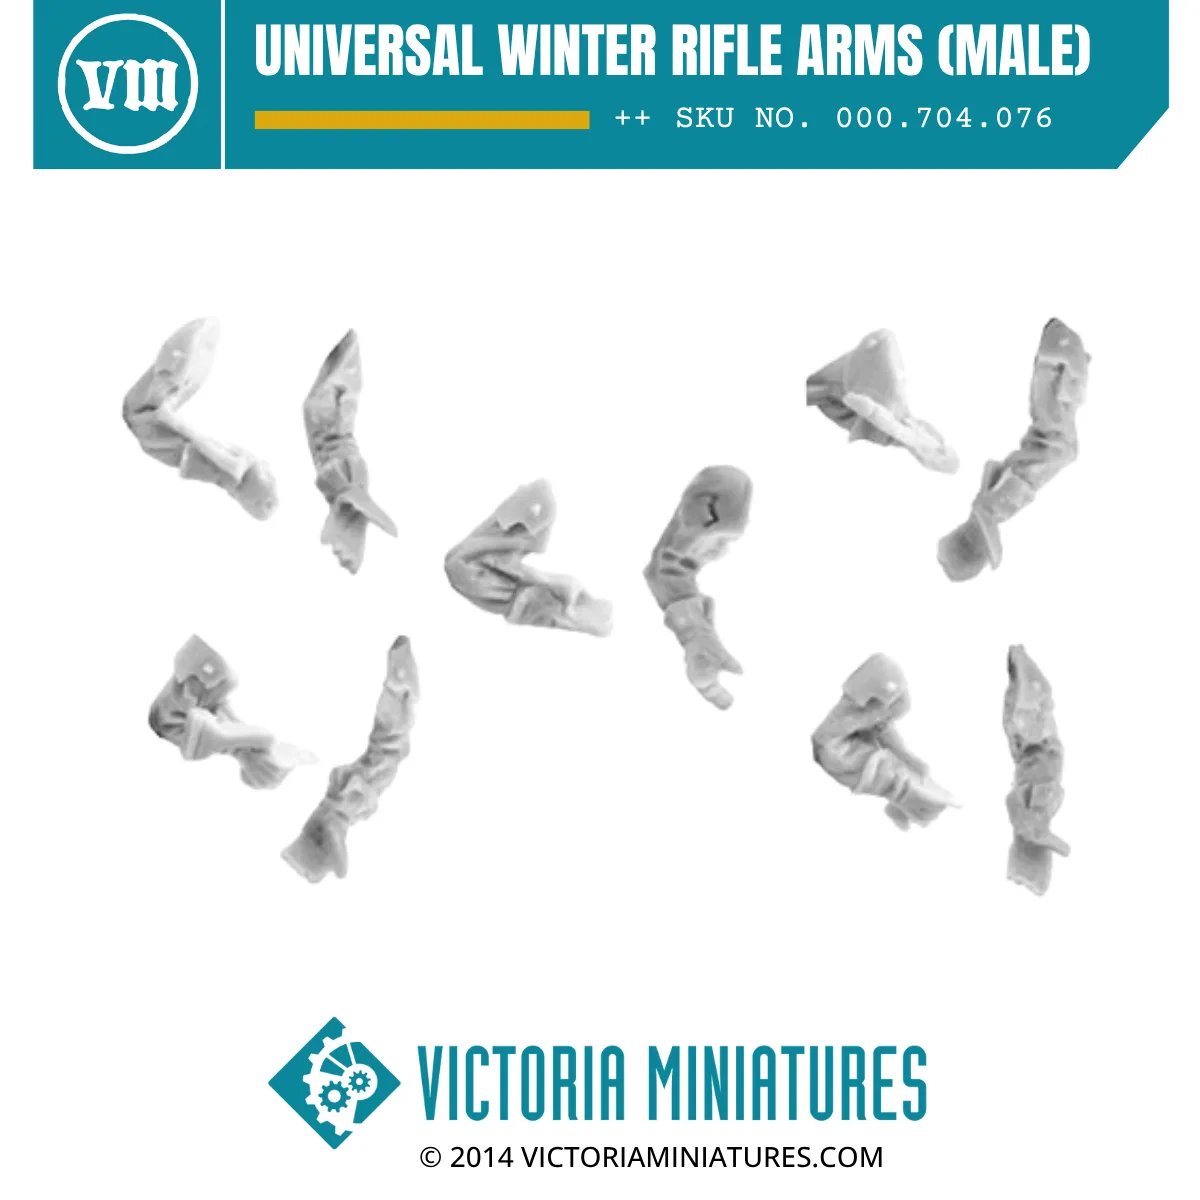
- Universal Winter Rifle Arms (Male): 5 different pairs of Empty Universal Male arms gloves for 28mm heroic scale troops. These arms will fit Victoria Miniatures pistol grip rifles, and popular plastic sci-fi rifles. Hand cast in high quality resin. These resin arms can be used to convert metal miniatures, but remember that resin and metal have different weights. You may need to pin heavier parts for stability.
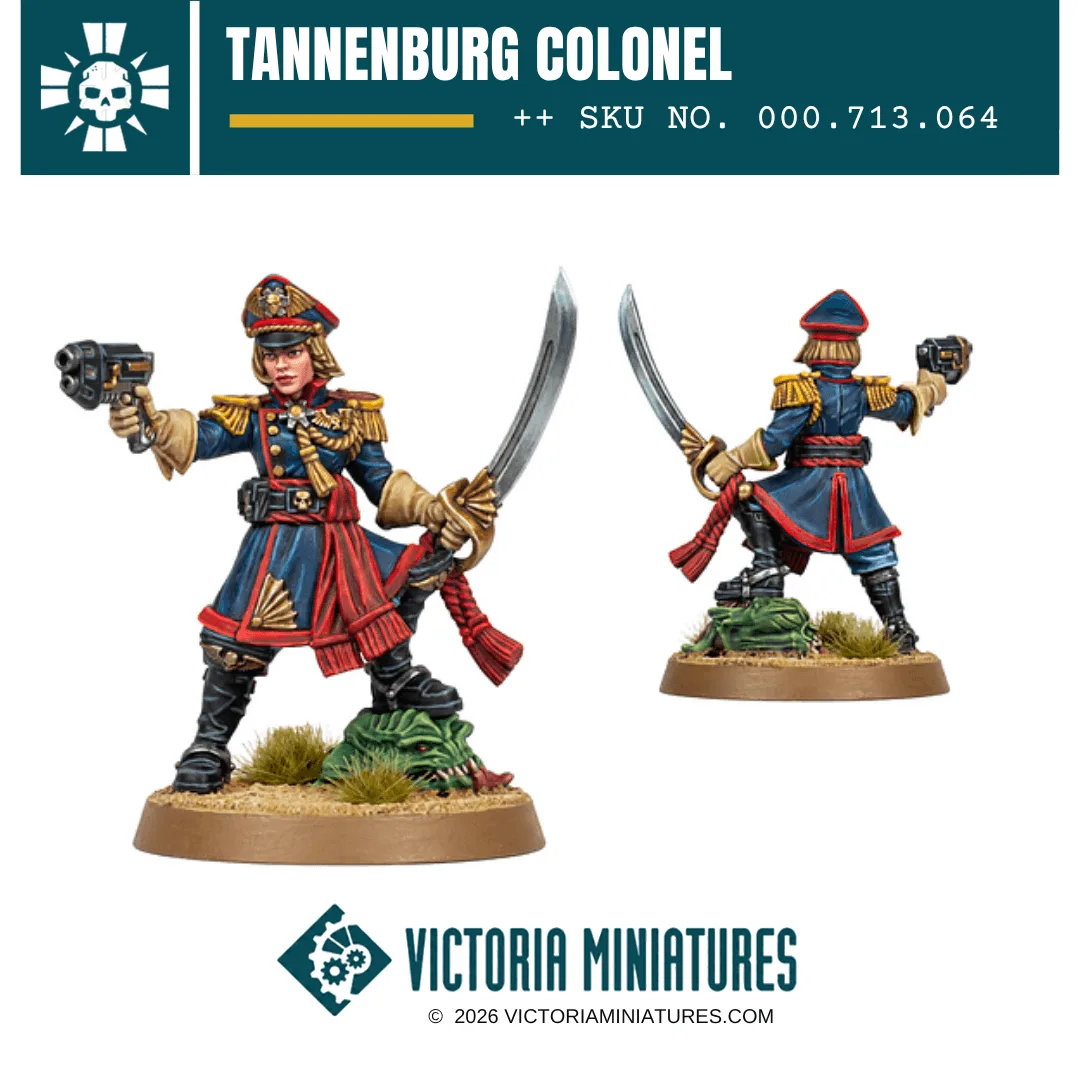
- Female Tannenburg Colonel: This kit includes: 1x Tannenburg Colonel body, 1x Tannenburg Colonel right arm, 1x 25mm round plastic slotta base. Modular Miniatures are compatible with popular plastic 28mm troops. This miniature is a 3D print. This is a 3D printed resin miniature, not metal. The painting techniques for metal can apply to resin, but resin is lighter and more fragile, so handle it carefully.
Painting metal miniatures is a rewarding process that rewards patience and preparation. By following these steps, you will get durable, detailed results that stand up to handling. Remember to clean, prime thinly, layer your paint, and always varnish. With practice, you will develop a rhythm that works for your entire collection.