Quick answer
Paint the background and branch first, then the cardinal, then pine needles and snow last. This order keeps the red bird crisp and stops dark branch strokes from muddying its feathers.
Why the painting order matters for a red cardinal
A cardinal sits at the center of attention, but it is not the first layer. If you paint the bird before the sky and pine branch, you will spend extra time cutting in around feathers and risk dark green or brown streaks dragging into the red. Work from the largest background shapes to the smallest foreground details.
The same logic applies to the snow. Falling snow is a final accent, not a base layer. Adding it early forces you to paint over it, which dulls the white dots and makes them look like smudges instead of fresh flakes.
What to check before you start
Set up with a flat surface and keep a scrap piece of canvas or paper nearby for testing strokes. Acrylics dry quickly, so squeeze out small amounts of each color rather than large puddles. If your kit includes a printed canvas, decide whether you will cover the outlines completely or let them guide you; either way, the steps below assume you are building coverage in layers.
Keep a cup of water and a rag for rinsing between colors. A common mistake is switching from dark green pine needles to red feathers without rinsing, which turns the red muddy. Rinse and blot the brush whenever you change color families.
Step-by-step cardinal painting process
- 1. Block in the winter sky: Paint the background sky with a thin, even wash, leaving the area where the pine branch and cardinal will sit mostly dry or lightly covered. Work from top to bottom and keep the paint thin so it dries flat. Checkpoint: if the sky looks streaky while wet, stop and let it dry before adding a second thin coat rather than scrubbing.
- 2. Paint the pine branch and pinecone: Use a small flat or round brush to lay in the branch shape and the pinecone with mid-tone browns and greens. Keep the edges loose at this stage; you will refine them later. Mistake to avoid: painting the branch too dark too soon. A mid-tone base lets you add darker accents without losing the shape.
- 3. Build the cardinal's body shape: Paint the main body and head with a medium red, leaving the beak, eye area, and wing tips unpainted for now. Use the tip of the brush to pull the chest curve and crest shape. Checkpoint: step back and confirm the bird's silhouette reads clearly before adding darker red shadows.
- 4. Add shadows and wing detail: Mix a darker red or a touch of brown into your red for the shadow under the wing and along the belly. Use a smaller brush to suggest wing feathers with short strokes that follow the wing's direction. Mistake to avoid: outlining the whole bird in dark red. Keep shadows on the underside and let the top stay bright.
- 5. Paint the beak, eye, and berries: Use a small detail brush for the beak, eye, and any berries. For the eye, a tiny dark dot with a smaller white highlight makes the bird look alert. Paint berries with a round stroke and a small highlight on one side. Checkpoint: the eye should sit slightly above the center of the head, not on the beak line.
- 6. Add pine needles around the branch: With a liner or small round brush, paint pine needles in clusters along the branch. Pull each needle outward from the branch in one quick stroke, varying length and direction. Mistake to avoid: painting needles evenly like a comb. Group them in twos and threes with small gaps.
- 7. Create falling snow: Load a small brush with thick white paint and tap it gently against your finger or a palette knife to spatter small dots across the sky and branch. Practice on scrap first to control the size and density of the flecks. Checkpoint: let the spatter dry completely before adding more; wet dots merge into blobs.
Kit details that help
-
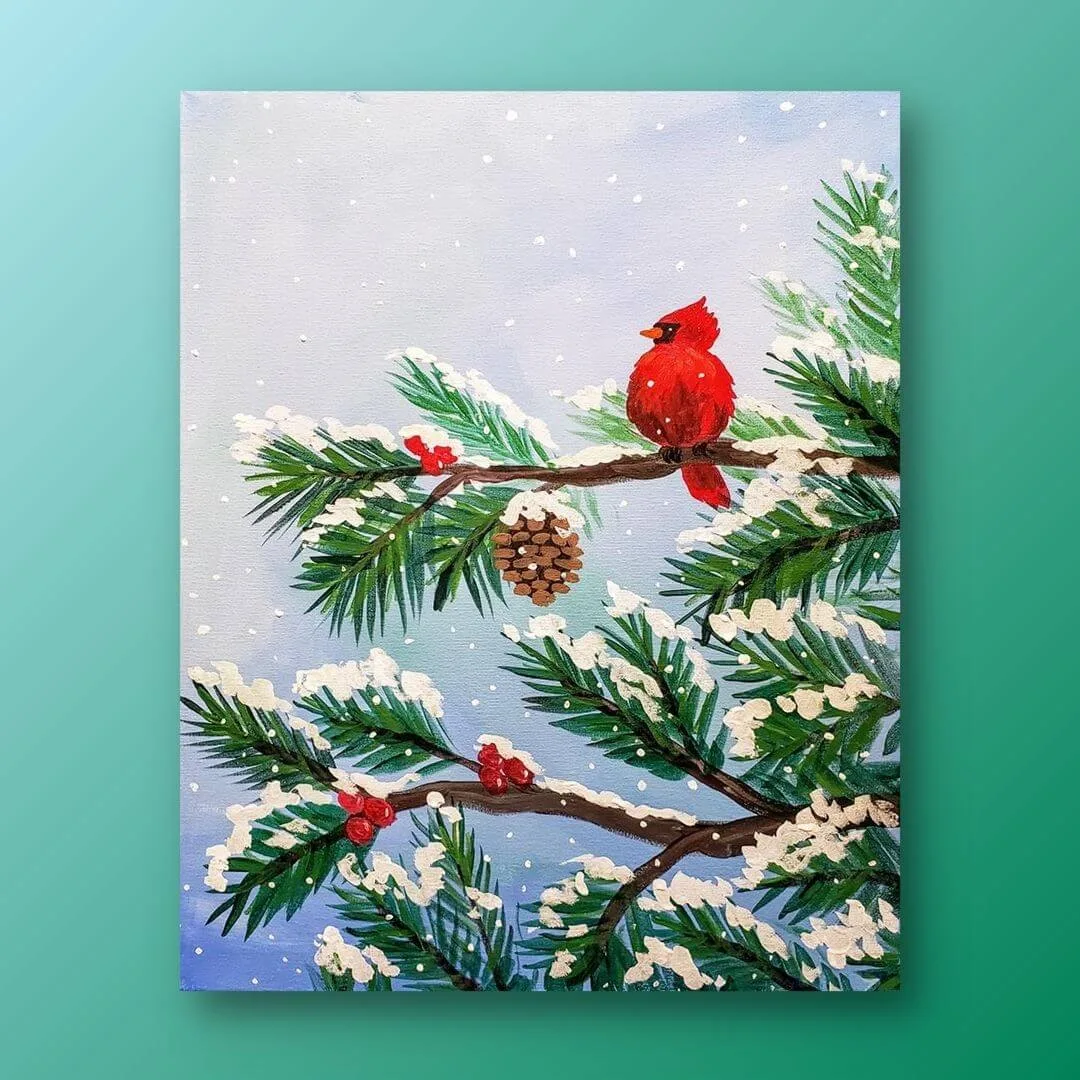
Red Cardinal: The Red Cardinal kit includes a winter scene with a cardinal on a pine branch, snow, berries, and a pinecone, plus a sample tutorial. The sample tutorial gives you a visual reference for the finished arrangement, so you can check your layer order against it before adding final details.
Red Cardinal