Start with the ROGUE as supplied
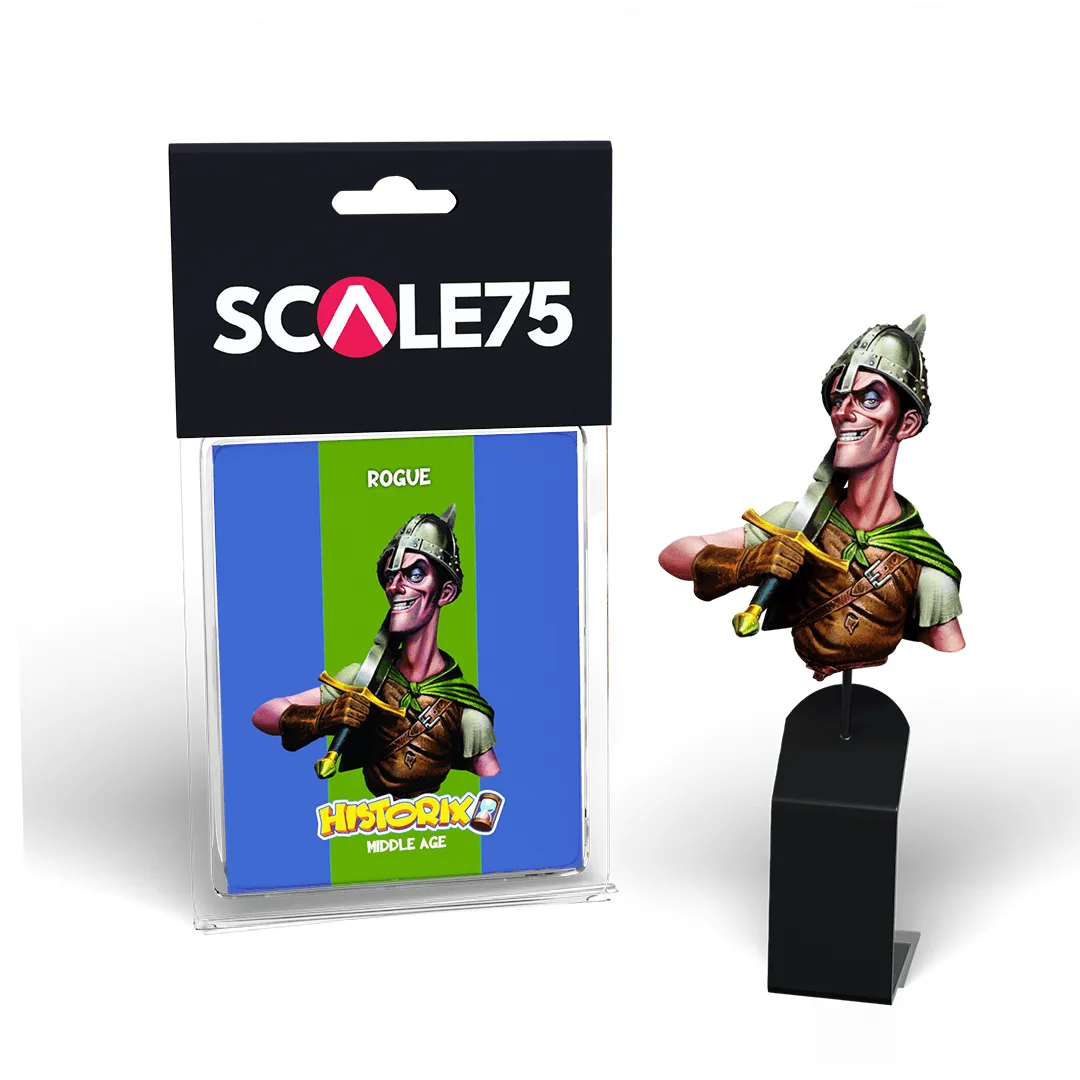
The SCALE75 ROGUE miniature arrives unpainted and requires assembly and painting. That means your first painting session begins with preparation, not color: clean and assemble the parts, then decide how the figure will be used—historical diorama, wargaming, or display—because that choice shapes how much contrast and detail you need.
The ROGUE is part of the HISTORIX range with a medieval theme and the product code SHX-008. The supplied information does not specify scale, material, or part count, so check the parts in hand before planning sub-assemblies or basing.
What the ROGUE record confirms
-
ROGUE: Unpainted miniature (requires assembly and painting). Plan time for assembly and priming before any paint touches the model.
ROGUE
-
ROGUE: Suitable for historical dioramas, wargaming, or display. Your intended use decides whether to prioritize tabletop readability or close-up detail.
-
ROGUE: Listed under the HISTORIX range with a medieval theme. A medieval palette of muted cloth, leather, and steel will look more coherent than bright fantasy colors.
A practical painting sequence for a medieval rogue
The steps below assume the figure is assembled and primed. Adjust drying times to your own paints and conditions; the supplied record does not give specific paint recommendations or drying times.
- 1. Prime and check the surface: Apply a thin, even primer coat. Look for mold lines or gaps that need attention before painting. A neutral grey or black primer gives you a predictable base for both dark cloth and metal.
- 2. Block in the cloak: Choose a mid-tone base color for the cloak—deep green, burgundy, or brown all suit a medieval rogue. Thin the paint and apply two thin coats rather than one thick one, letting each dry fully.
- 3. Basecoat leather and cloth: Paint belts, pouches, and boots in a dark brown, and the tunic or trousers in a muted earth tone. Keep these areas slightly darker than the cloak so the figure reads clearly at a distance.
- 4. Paint skin and hair: Use a flesh tone for the face and hands, then add hair in a dark brown or black. Keep the paint thin around the eyes and mouth; a small brush and a light touch preserve the sculpted detail.
- 5. Add metal and accents: Paint any dagger, buckle, or chainmail in a metallic silver or steel tone. If the model includes a hood or scarf, use a contrasting muted color to separate it from the cloak.
- 6. Layer and highlight the cloak: Mix a lighter version of your cloak base color and apply it to the raised folds. Build up two or three thin layers, keeping each highlight smaller than the last. This layering approach gives depth without obscuring the sculpt.
- 7. Shade recesses and finish the base: Use a dark wash or thinned dark paint in the deepest folds of the cloak, under the chin, and around pouches. Once dry, tidy any overflow with your base color. Finish the base with a texture or paint that matches your collection.
Choosing a cloak color scheme for a medieval rogue
A rogue figure benefits from a cloak that reads as practical rather than flashy. Deep forest green, muted burgundy, or charcoal grey all fit a medieval setting and contrast well with leather browns. If you want the cloak to stand out on a tabletop, pick a mid-tone base and push the highlights two steps lighter; for display, keep the highlight range narrower and focus on smooth transitions.
The supplied record does not specify a particular color scheme or paint range, so treat these as starting points rather than instructions. Test your chosen colors on a spare piece of primed plastic or on the underside of the base before committing to the cloak.
Checkpoints before you call the ROGUE finished
- Cloak reads as one piece: Step back and check that the highlights follow the folds rather than sitting on flat areas.
- Face is clear at arm's length: The eyes and mouth should be visible without looking muddy; if not, thin your skin tones and repaint the smallest features.
- Metal contrasts with cloth: A dagger or buckle should catch the eye without overpowering the cloak. If it looks flat, add a thin edge highlight.
- Base suits your use: A gaming base can be simpler; a diorama base may need texture and muted colors that tie into the scene.
What the supplied information leaves open
The ROGUE record confirms the figure is unpainted, requires assembly and painting, and is listed under the HISTORIX medieval range. It does not specify scale, material, number of components, or whether a base is included. Those details matter for assembly and for choosing a painting approach, so verify them against the parts you receive.
The record also does not list paints, brushes, or drying times. The sequence above is a general workflow, not a manufacturer's instruction. Use the paints and tools you already trust, and adjust the number of layers to the effect you want.