Panel lining is one of the most rewarding steps in building Gunpla. It’s the technique of filling the recessed lines on your kit’s plastic with ink or paint to add depth and definition, making the model look more detailed and dynamic. For beginners, it’s an easy way to elevate your build from plain to impressive with minimal effort and cost.
In this guide, we’ll walk you through everything you need to know about gunpla panel lining—from choosing the right tools to mastering the techniques. Whether you’re working on your first High Grade or a Master Grade, these tips will help you achieve clean, crisp lines that make your model stand out.
Why Panel Line Your Gunpla?
Panel lining is a form of detailing that emphasizes the engraved lines and panel separations on your Gunpla. By adding a darker color to these recesses, you create contrast that mimics the look of a real mechanical machine, with shadows and depth. This simple step can transform a flat, toy-like appearance into a more realistic, model-quality finish.
Beyond aesthetics, panel lining also helps you understand the design of your kit. As you trace each line, you’ll notice the clever engineering and panel layouts that make each Gundam unique. It’s a great way to connect with your model and build confidence in your skills.
- Adds depth and realism to your model
- Enhances the overall look without painting
- A forgiving technique that’s easy to correct
Essential Tools for Panel Lining
You don’t need a lot of expensive equipment to start panel lining. The most common methods are using a fine-tipped Gundam marker, a panel line accent color (a liquid that flows into the lines via capillary action), or a mechanical pencil. Each has its pros and cons, but for beginners, a Gundam marker or panel line accent color is recommended for ease of use.
If you choose the accent color method, you’ll also need a cotton swab or eraser to clean up excess, and optionally a hobby knife to scribe lines that are too shallow. Always work in a well-ventilated area and protect your work surface with a mat or newspaper.
- Gundam markers: quick and easy, available in various colors
- Panel line accent color: gives a sharp, crisp line with minimal effort
- Mechanical pencil: great for light gray lines on white parts
Step-by-Step Panel Lining Techniques
Start with a clean, assembled kit (or parts on the runner) free of dust and grease. If using a panel line accent color, shake the bottle well, then touch the tip of the brush to the line. The liquid will flow along the groove naturally. Let it dry for a few minutes, then use a cotton swab lightly moistened with thinner or isopropyl alcohol to clean up any smudges.
If you prefer using a Gundam marker, simply draw along the line, then use your fingertip or a cotton swab to wipe away excess before it dries. For a more precise approach, you can use a fine-tipped pen or a pencil. Practice on a spare runner first to get a feel for the flow and cleanup.
- Work in small sections to avoid smudging
- Use a light touch when cleaning to avoid removing the line
- Let the accent color dry completely before handling
Common Mistakes and How to Fix Them
One of the most common mistakes is applying too much accent color, which can overflow and leave stains. If this happens, don’t panic—let it dry, then gently rub with a cotton swab dipped in thinner. For stubborn stains, a soft eraser can help. Another mistake is panel lining on bare plastic without a topcoat; while not mandatory, a clear coat before and after lining can protect the plastic and make cleanup easier.
Some builders also find that lines are too shallow for the ink to flow. In that case, you can use a hobby knife to gently scribe the line deeper, but be careful not to cut too much. Alternatively, you can use a mechanical pencil for a subtle effect on white parts.
- Always test on a hidden area first
- Use a topcoat to protect the plastic and ease cleanup
- Scribe shallow lines with a hobby knife if needed
Taking Your Detailing Further
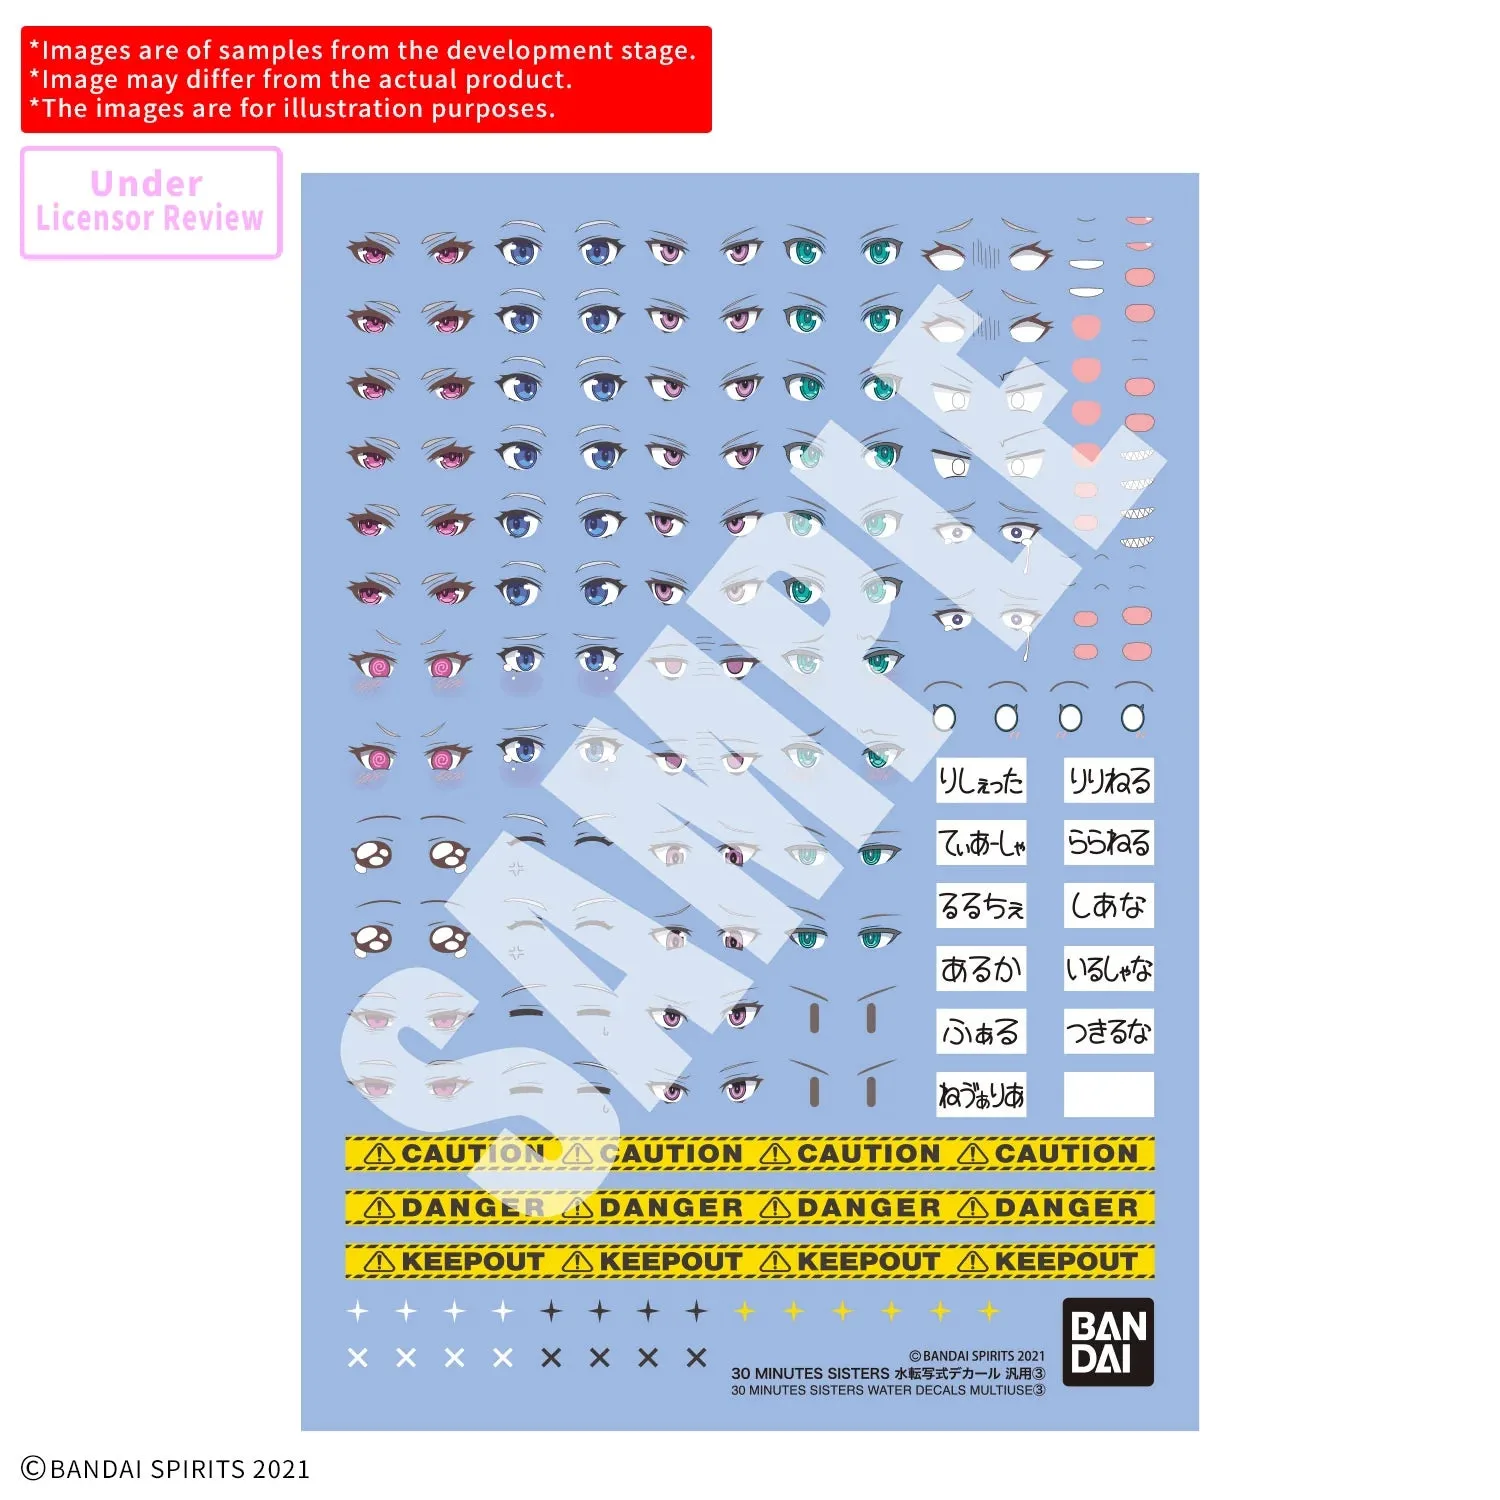
Once you’ve mastered basic panel lining, you can explore other detailing techniques like applying decals, using weathering powders, or even painting. Panel lining is just the first step in making your Gunpla uniquely yours. Many builders combine panel lining with custom paint jobs to create stunning displays.
For example, you might want to add a touch of realism to your build with a [HC48] 1:24 DATSUN 240Z 1971 SAFARI RALLY WINNER model, which features intricate lines that benefit from careful panel lining. Similarly, the 30MS OPTION PARTS SET 19(DASH UNIT) [COLOR A] offers additional parts that can be detailed to match your style.
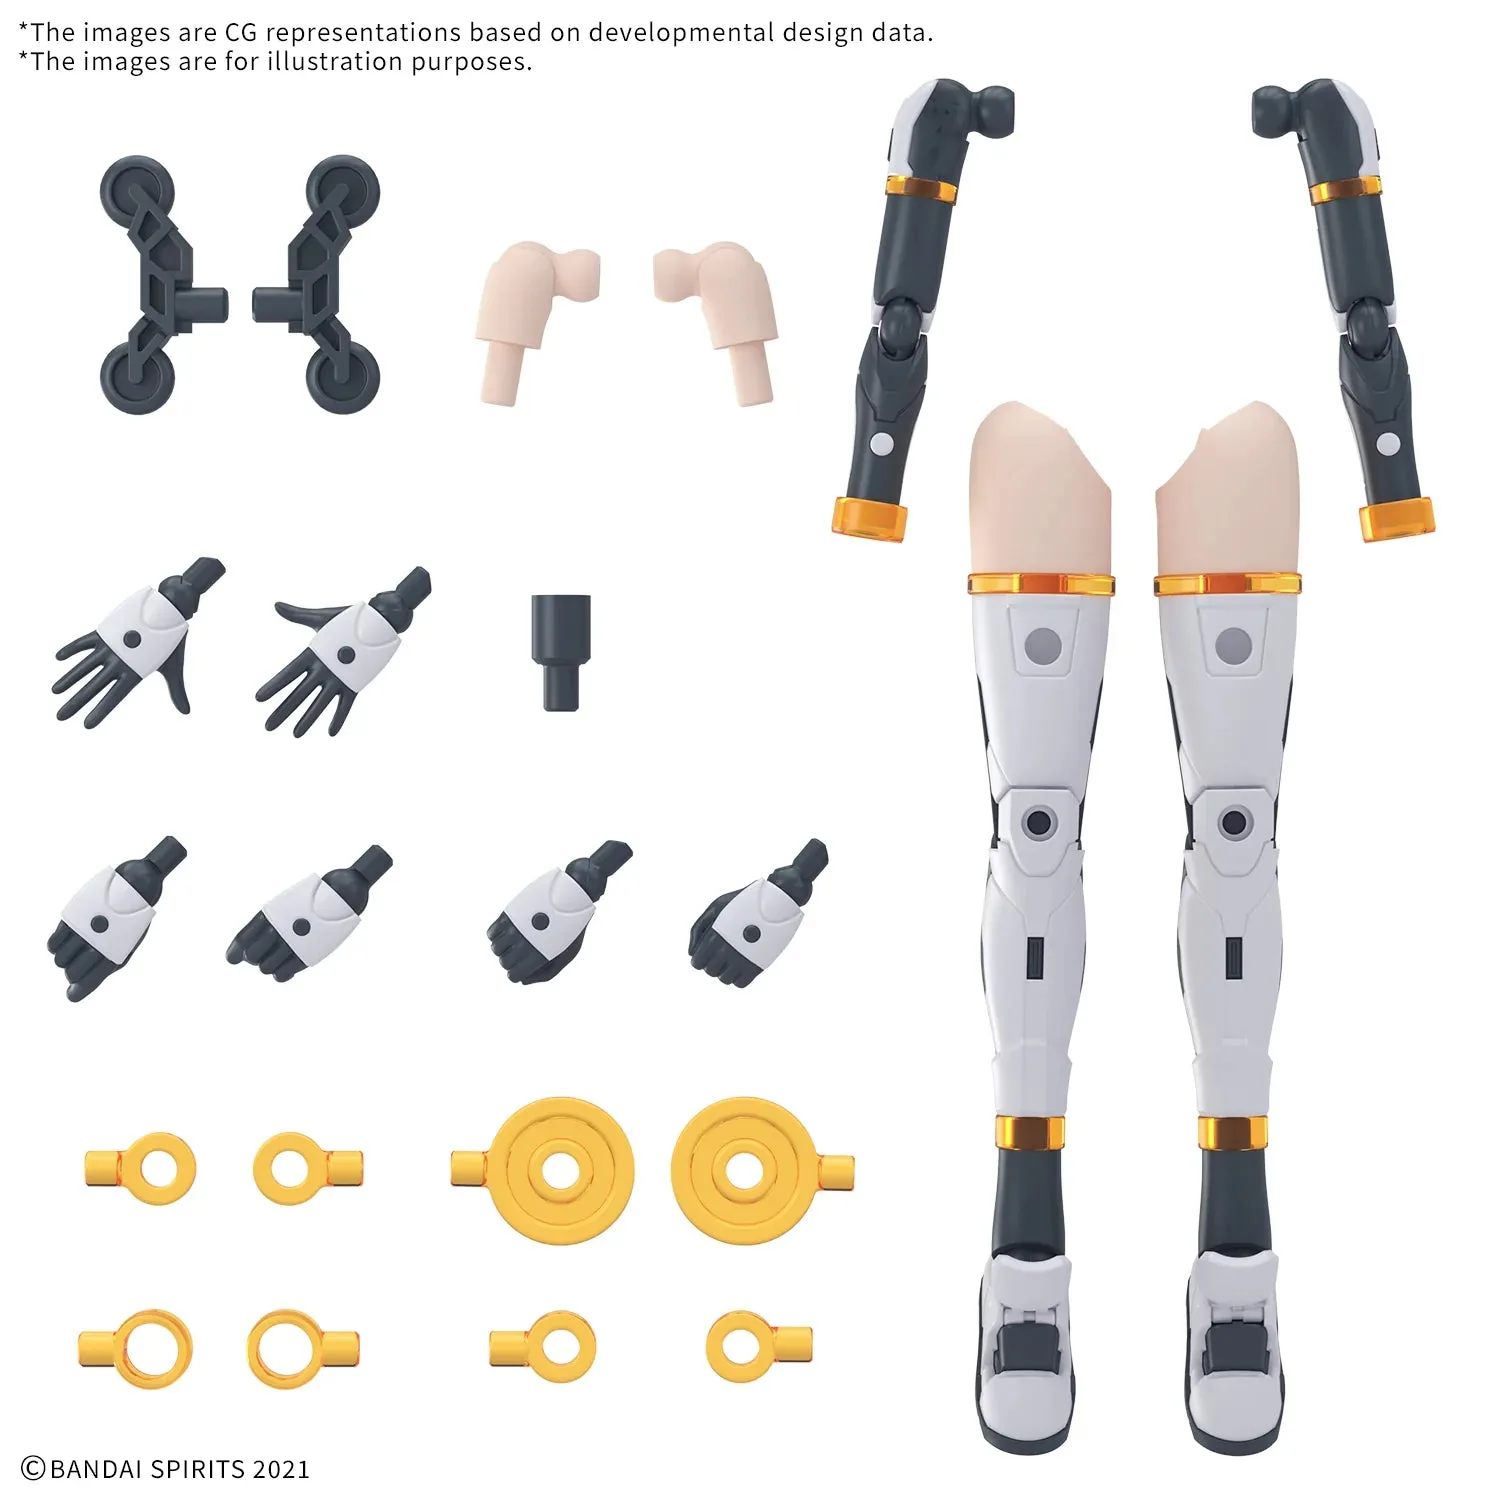
30MS OPTION PARTS SET 19(DASH UNIT) [COLOR A]
- Experiment with different colors like gray, brown, or black
- Combine panel lining with decals for a complete look
- Practice on inexpensive kits before tackling your favorite
Panel lining is a simple yet transformative technique that every Gunpla builder should learn. With the right tools and a little practice, you can achieve professional-looking results that make your models pop. Start with a kit you love, and don’t be afraid to experiment. For your next project, consider the 1/144 Millennium Falcon (The Rise of Skywalker)—it’s a fantastic kit that will benefit greatly from your new panel lining skills.