Quick answer
The best approach for a unique personalized canvas work apron is to choose a high-quality canvas apron with functional pockets, then add simple, bold embroidery—such as a name, monogram, or hobby-related icon—on the front bib or pocket edge. The earthy olive green version from Weddingstar is an excellent starting point.
Why personalize a canvas work apron?
A canvas work apron is already a practical gift for anyone who grills, gardens, or works in a workshop. Adding a personal touch, like a custom embroidered name or a small icon, makes it feel special and less like a generic tool. The rugged, olive green canvas has a neutral look that pairs well with many thread colors, so the embroidery really stands out.
What to look for in a base apron
Not all aprons are easy to embroider. Look for a heavy-weight canvas apron with a smooth bib area large enough for lettering or a design. The Custom Embroidered Canvas Work or Grilling Apron – Olive Green from Weddingstar is a solid choice: it has two front pockets, a bottle opener keychain, and faux leather accents, giving it a rugged look that suits most DIY or cooking environments. The canvas fabric holds thread well without puckering.
Step-by-step guide to personalizing your canvas apron
- Choose the right apron fabric: Pick a heavy cotton or cotton-blend canvas apron. Thinner cotton can pucker under embroidery, while a sturdy canvas like the olive green option holds stitches cleanly. Avoid synthetic blends if you plan to machine embroider, as they can melt under the needle. Canvas aprons with a smooth front bib (no pre-printed logos) are easiest to embroider.
- Select the embroidery placement: Common spots: upper center bib (for a name or monogram), lower pocket edge, or the top center of the chest pocket. The bib is most visible and works best for names. The pocket edge is great for small icons or initials. Make sure the area is flat and at least 3 x 3 inches so the design doesn’t get lost. Avoid placing embroidery over seams or pocket openings that will see heavy use.
- Choose thread color and font: For an olive green apron, white, cream, or gold thread produces high contrast. Darker threads like navy or black work too but will be more subtle. Pick a bold, sans-serif font for readability. Script fonts can look delicate but may be harder to read from a distance. Test a sample stitch on a scrap of canvas to confirm the thread color shows up as you expect.
- Prepare the apron for embroidery: Wash and iron the apron to remove any sizing or wrinkles. This prevents the fabric from shifting during stitching. If using a home machine, stabilize the area with a cutaway or tear-away stabilizer to prevent puckering. For a professional finish, use a hoop that fits the bib section snugly. Always stabilize canvas—even heavy canvas can distort under dense stitching.
- Stitch the design and finish: Embroider your chosen name or icon using your preferred method. After stitching, trim any loose threads. Press the apron again from the back side to set the stitches. Let the recipient know the apron can be machine washed on gentle and hung to dry to preserve the embroidery. If you aren’t experienced with machine embroidery, consider ordering a custom embroidered apron from a service that uses commercial machines—they can handle canvas more easily.
Product to consider
-
Custom Embroidered Canvas Work or Grilling Apron - Olive Green: bib apron with a rugged style, faux leather accents, and earthy olive green color; has 2 front pockets and a built-in bottle opener keychain. The olive green canvas offers a clean, professional backdrop for embroidery, and the pockets keep tools or utensils handy—making it both a personalized and functional gift.
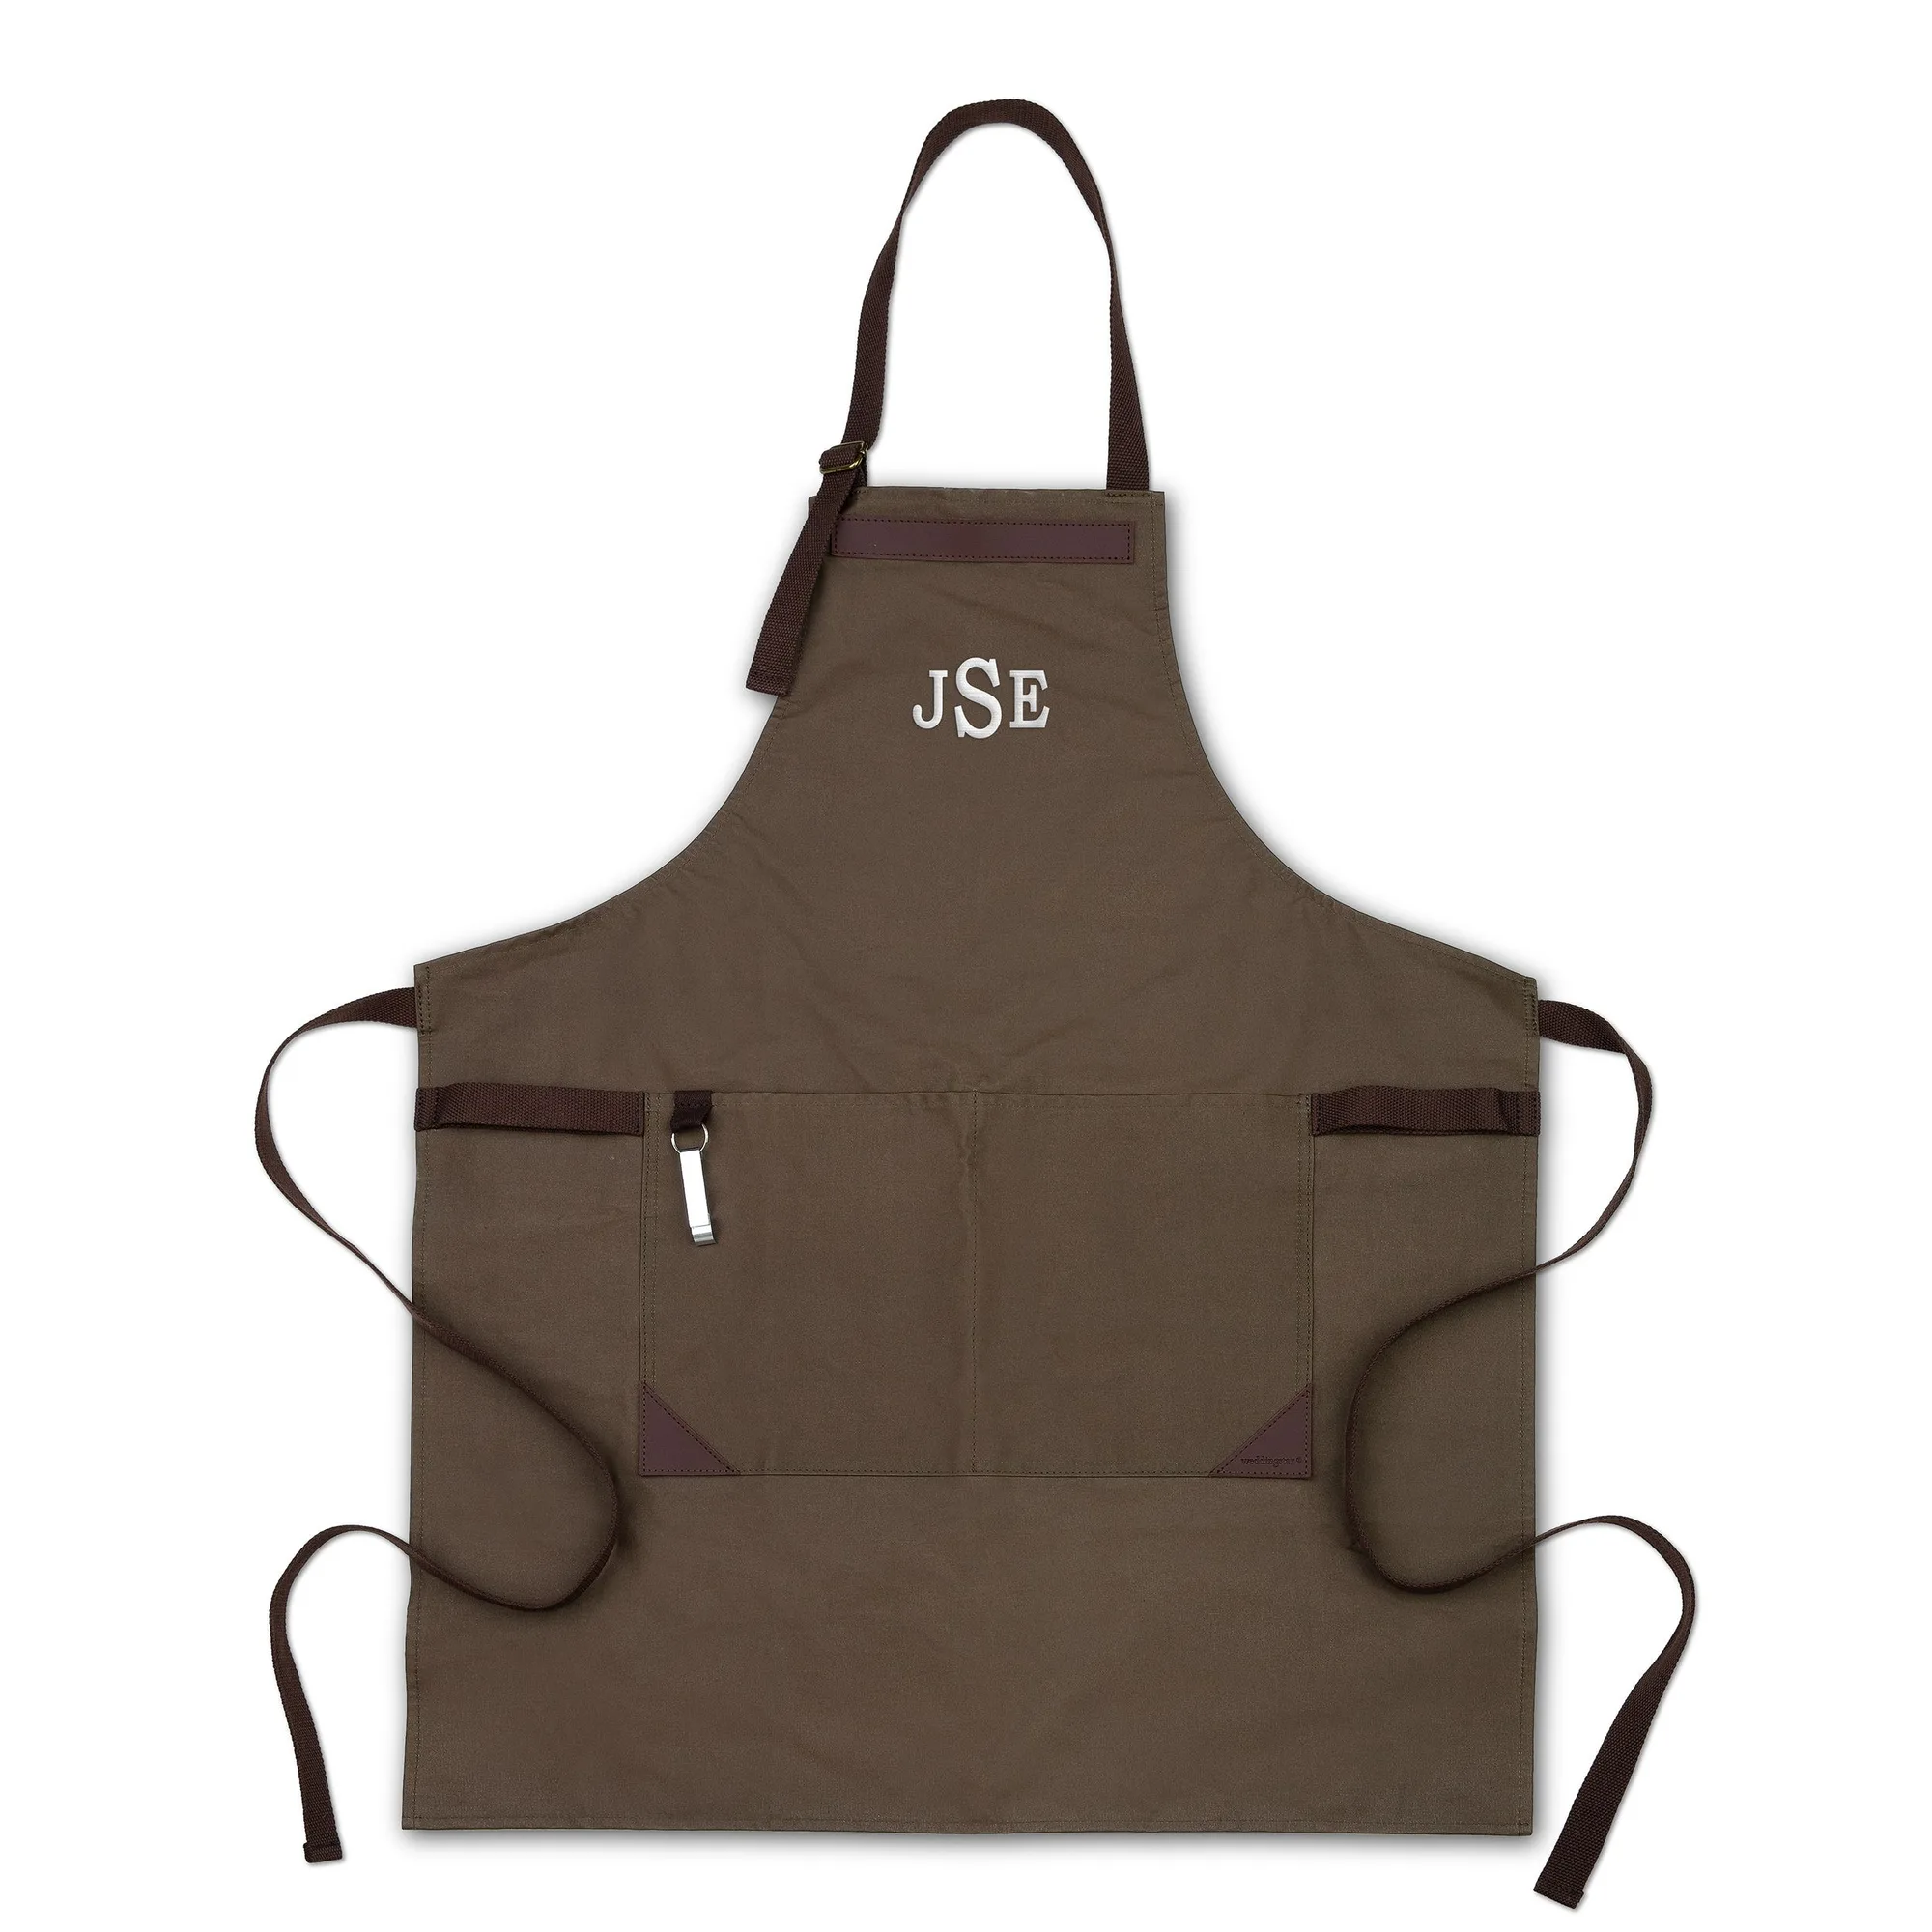
Custom Embroidered Canvas Work or Grilling Apron - Olive Green