Quick answer
Personalize with stickers by starting with one clean, dry, smooth surface, planning your layout before peeling anything, and pressing from the center outward. Waterproof vinyl stickers like the Midsommar | waterproof Vinyl Sticker handle bottles and laptops well, but keep them out of long UV exposure because they will fade. For walls, choose low-traffic, painted areas and test one sticker first.
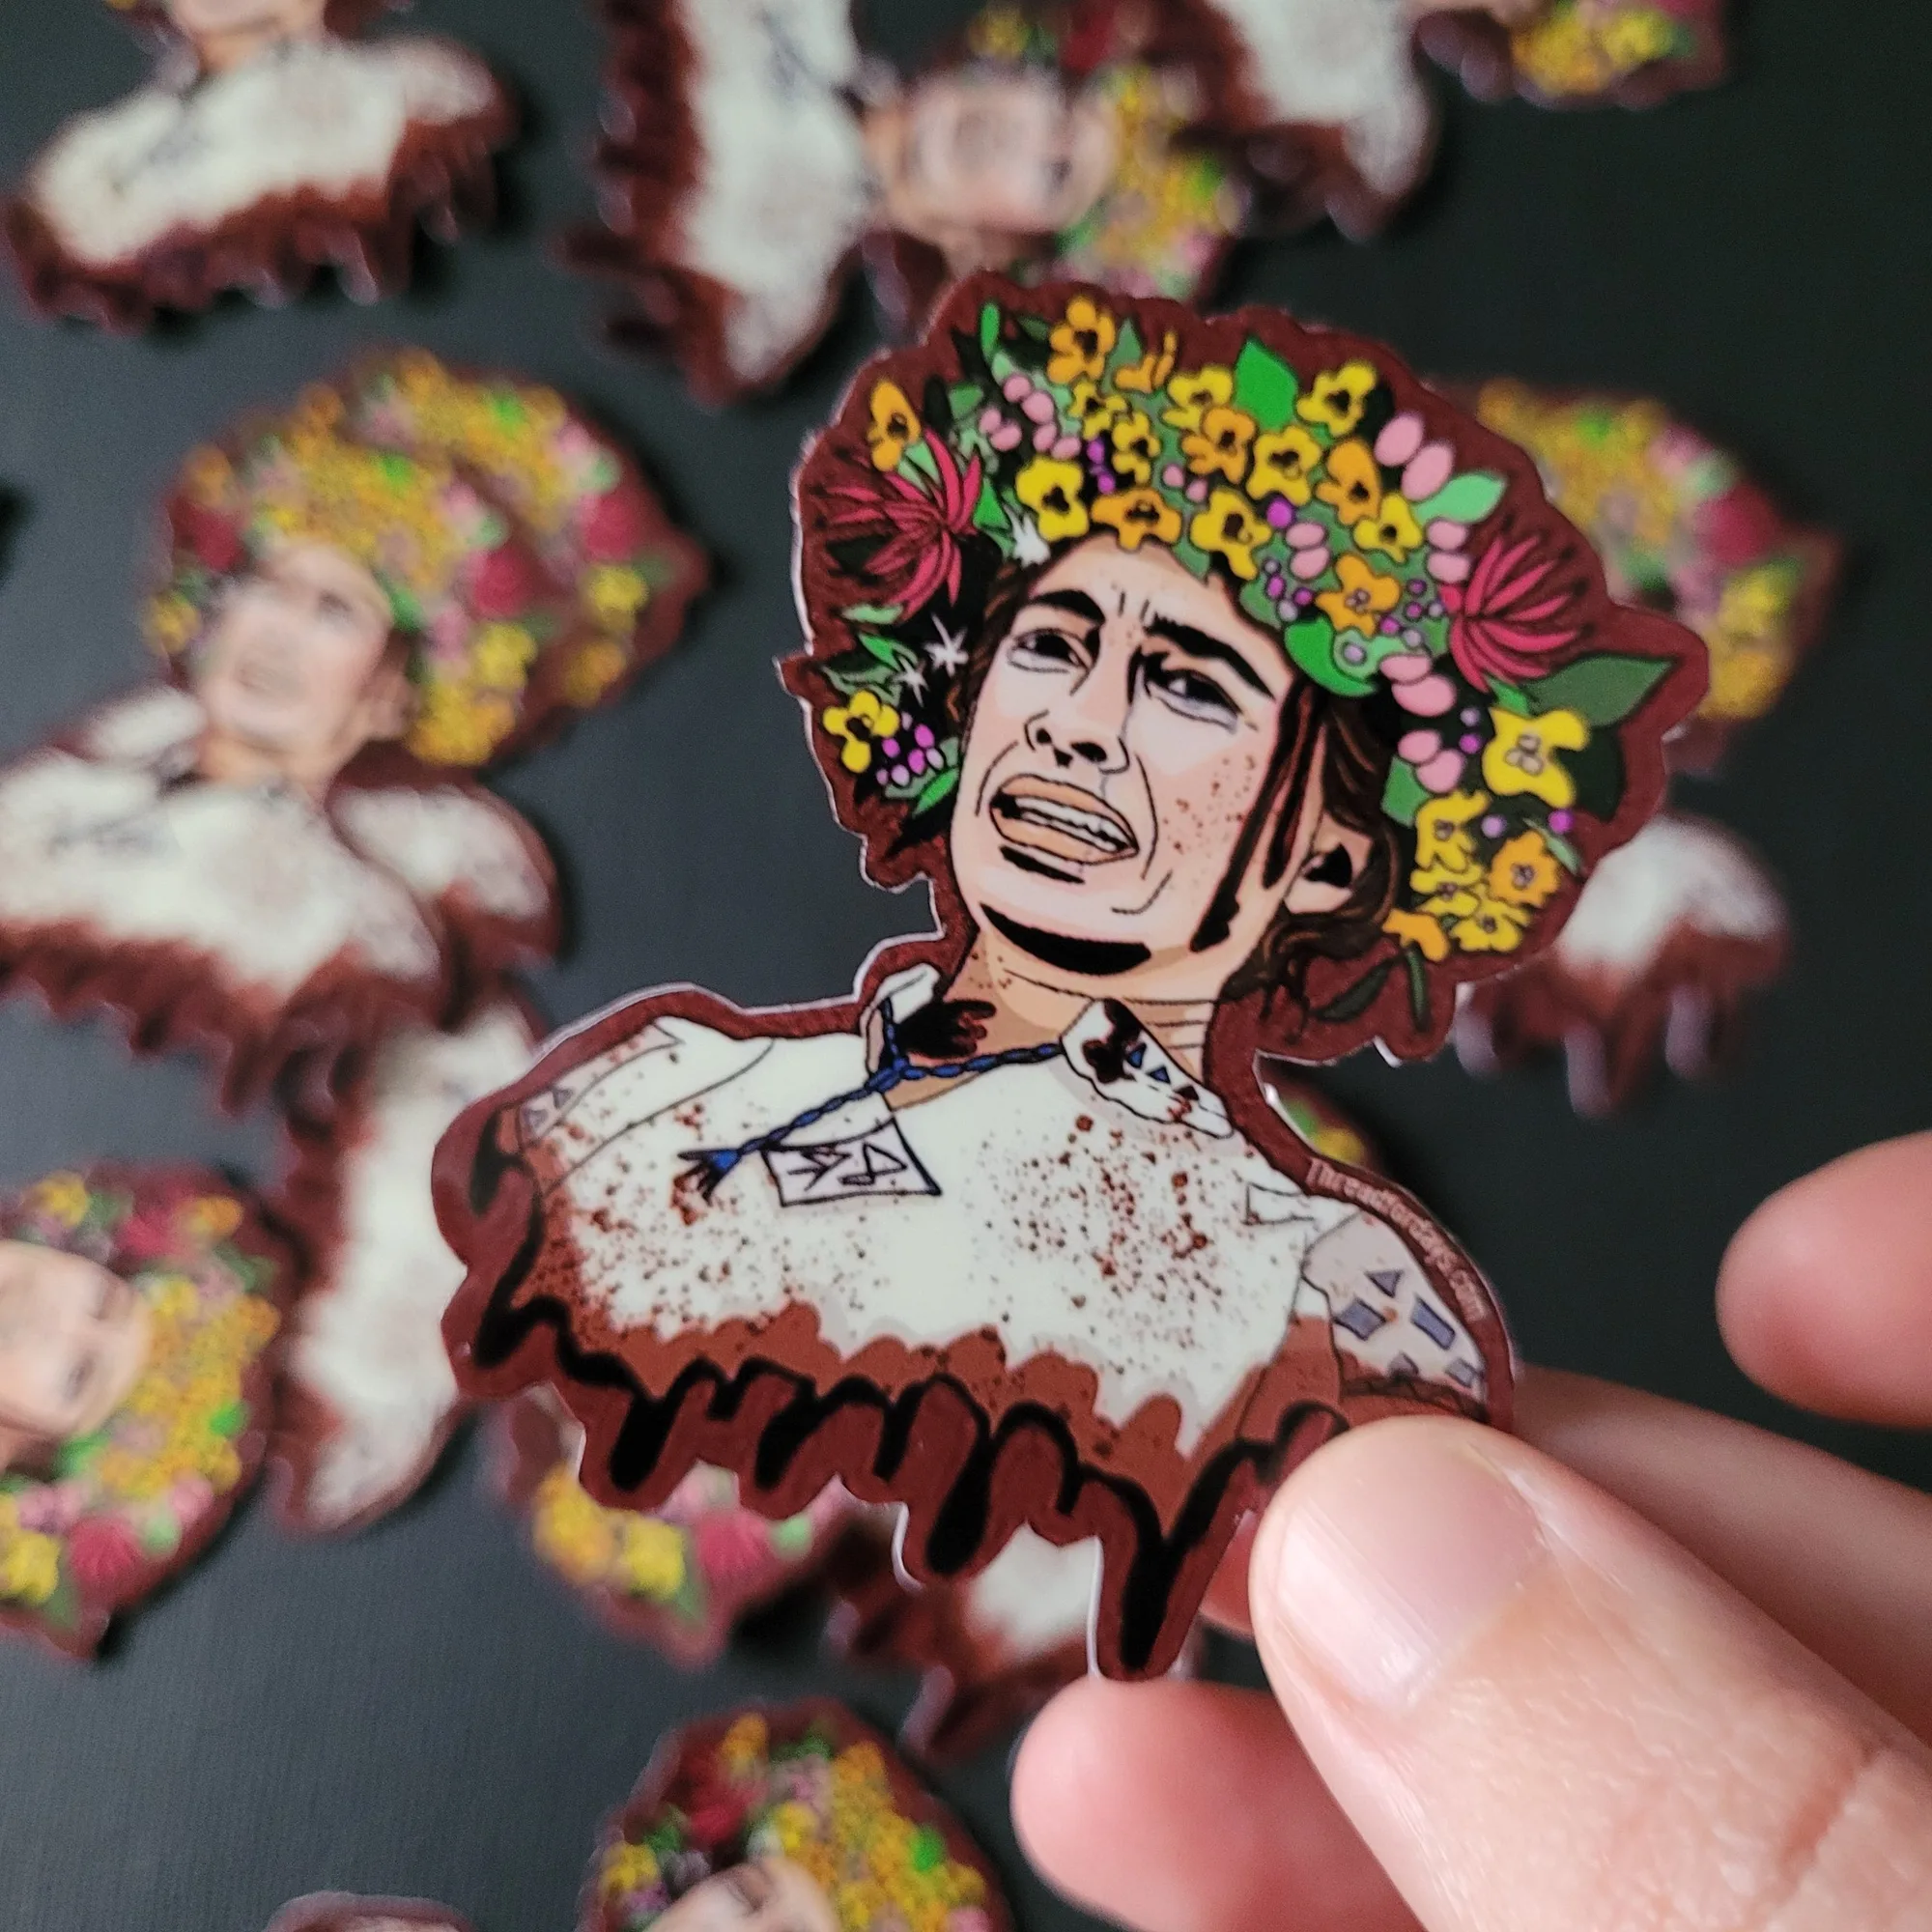
Midsommar | waterproof Vinyl Sticker
Stickers are the cheapest way to make a rental, dorm room, or desk feel like yours. The catch is that most peeling, bubbling, and fading happens in the first week, not the first year. This guide walks through the exact order of operations so your decorative stickers ideas survive real life.
You do not need a craft room or a design degree. You need a clean surface, a few minutes of planning, and realistic expectations about where vinyl belongs. I will use real stickers from the T.F.D. Thread For Days catalog to show what different finishes and sizes actually mean for placement.
Why sticker decor fails (and what to do instead)
Most sticker decor problems come from three causes: dust under the adhesive, curved or textured surfaces, and UV exposure. A sticker applied over a crumb or a fingerprint will lift at the edge within days. A sticker pressed onto a bumpy wall or a fabric-covered notebook will never fully bond. And any vinyl left in direct sun will fade, even waterproof vinyl.
The fix is not a special tool. It is choosing the right surface and accepting that some stickers are seasonal. If you want a long-term look, put your favorites on items that stay indoors and out of direct sun, like a laptop lid, a planner cover, or a water bottle you keep in a bag. For walls, treat stickers as a rotating display rather than a permanent mural.
- Clean with alcohol or soapy water, then let the surface dry completely before applying.
- Avoid raw wood, rough brick, and fresh paint for at least a week.
- Keep a spare sticker for testing on a hidden corner first.
Pick a surface that matches the sticker finish
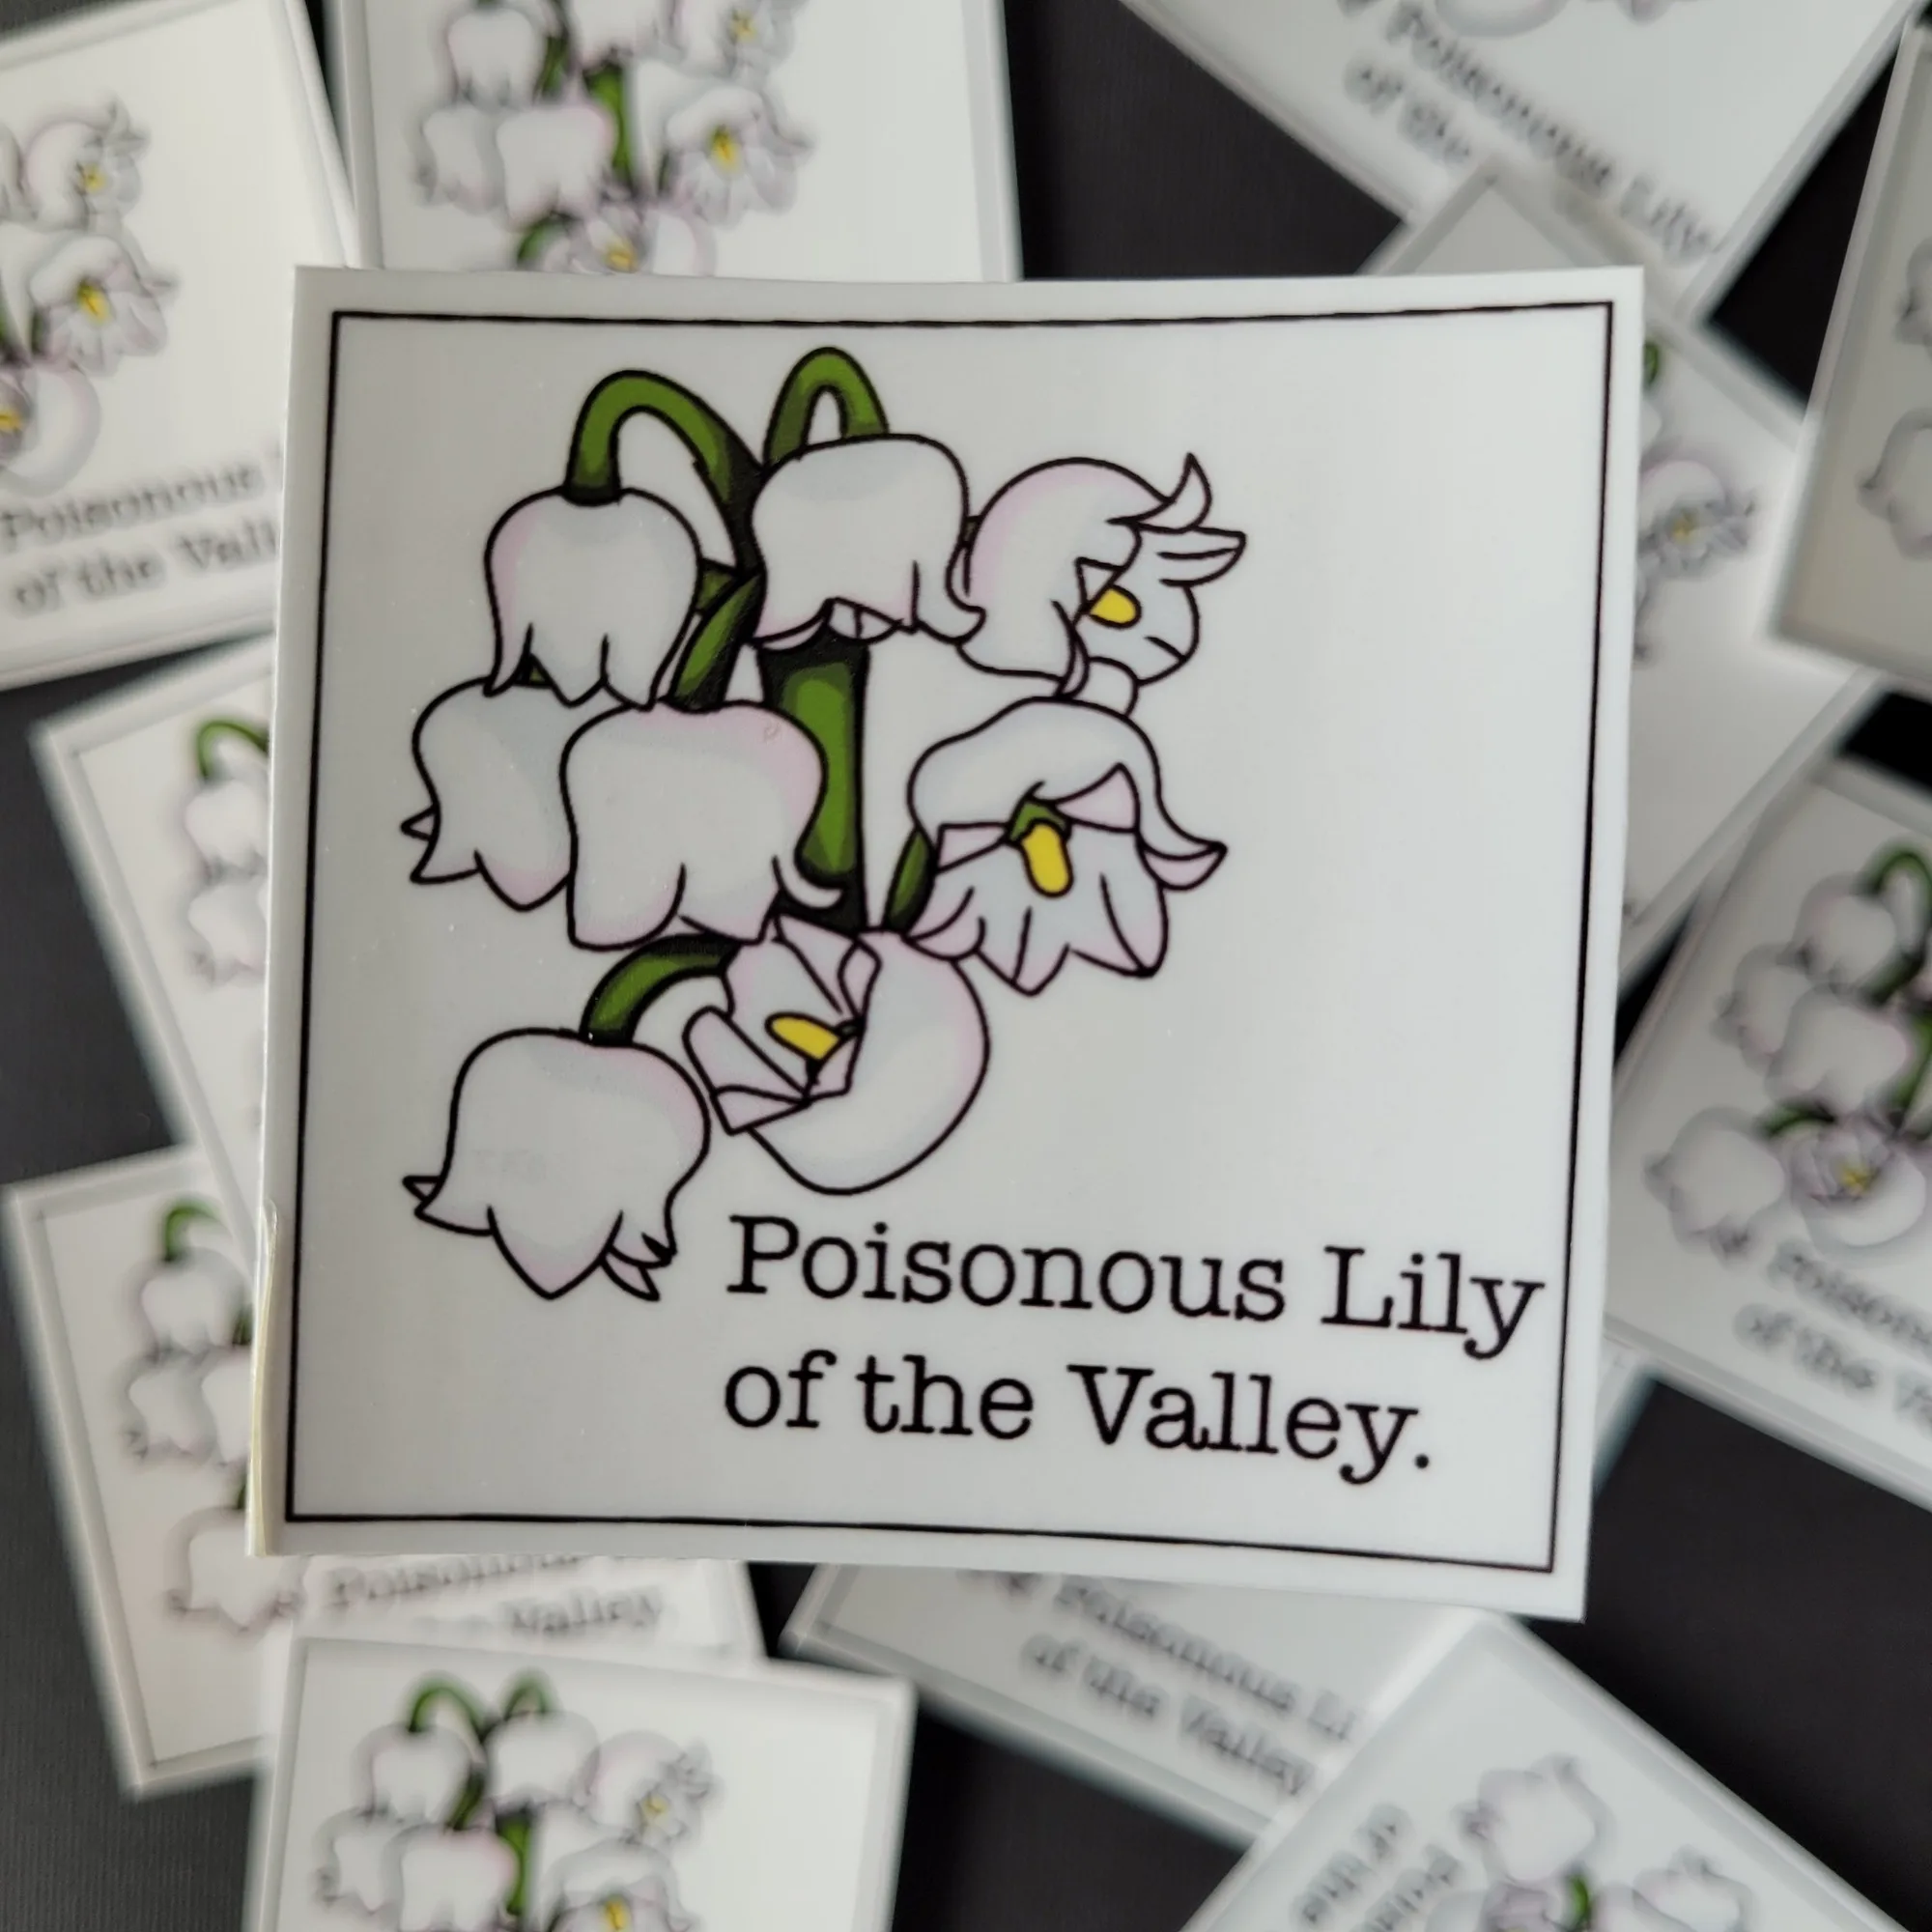
Glossy vinyl and holographic vinyl behave differently. Glossy waterproof stickers, like the Lily of the Valley | Waterproof Vinyl Sticker, show color clearly and wipe clean easily, which makes them good for water bottles and laptop lids. Holographic stickers, like the Rick and Evy Made Me Bi | Holographic Vinyl Sticker, shift color as you move, so they stand out on flat, dark surfaces where the rainbow effect is visible.
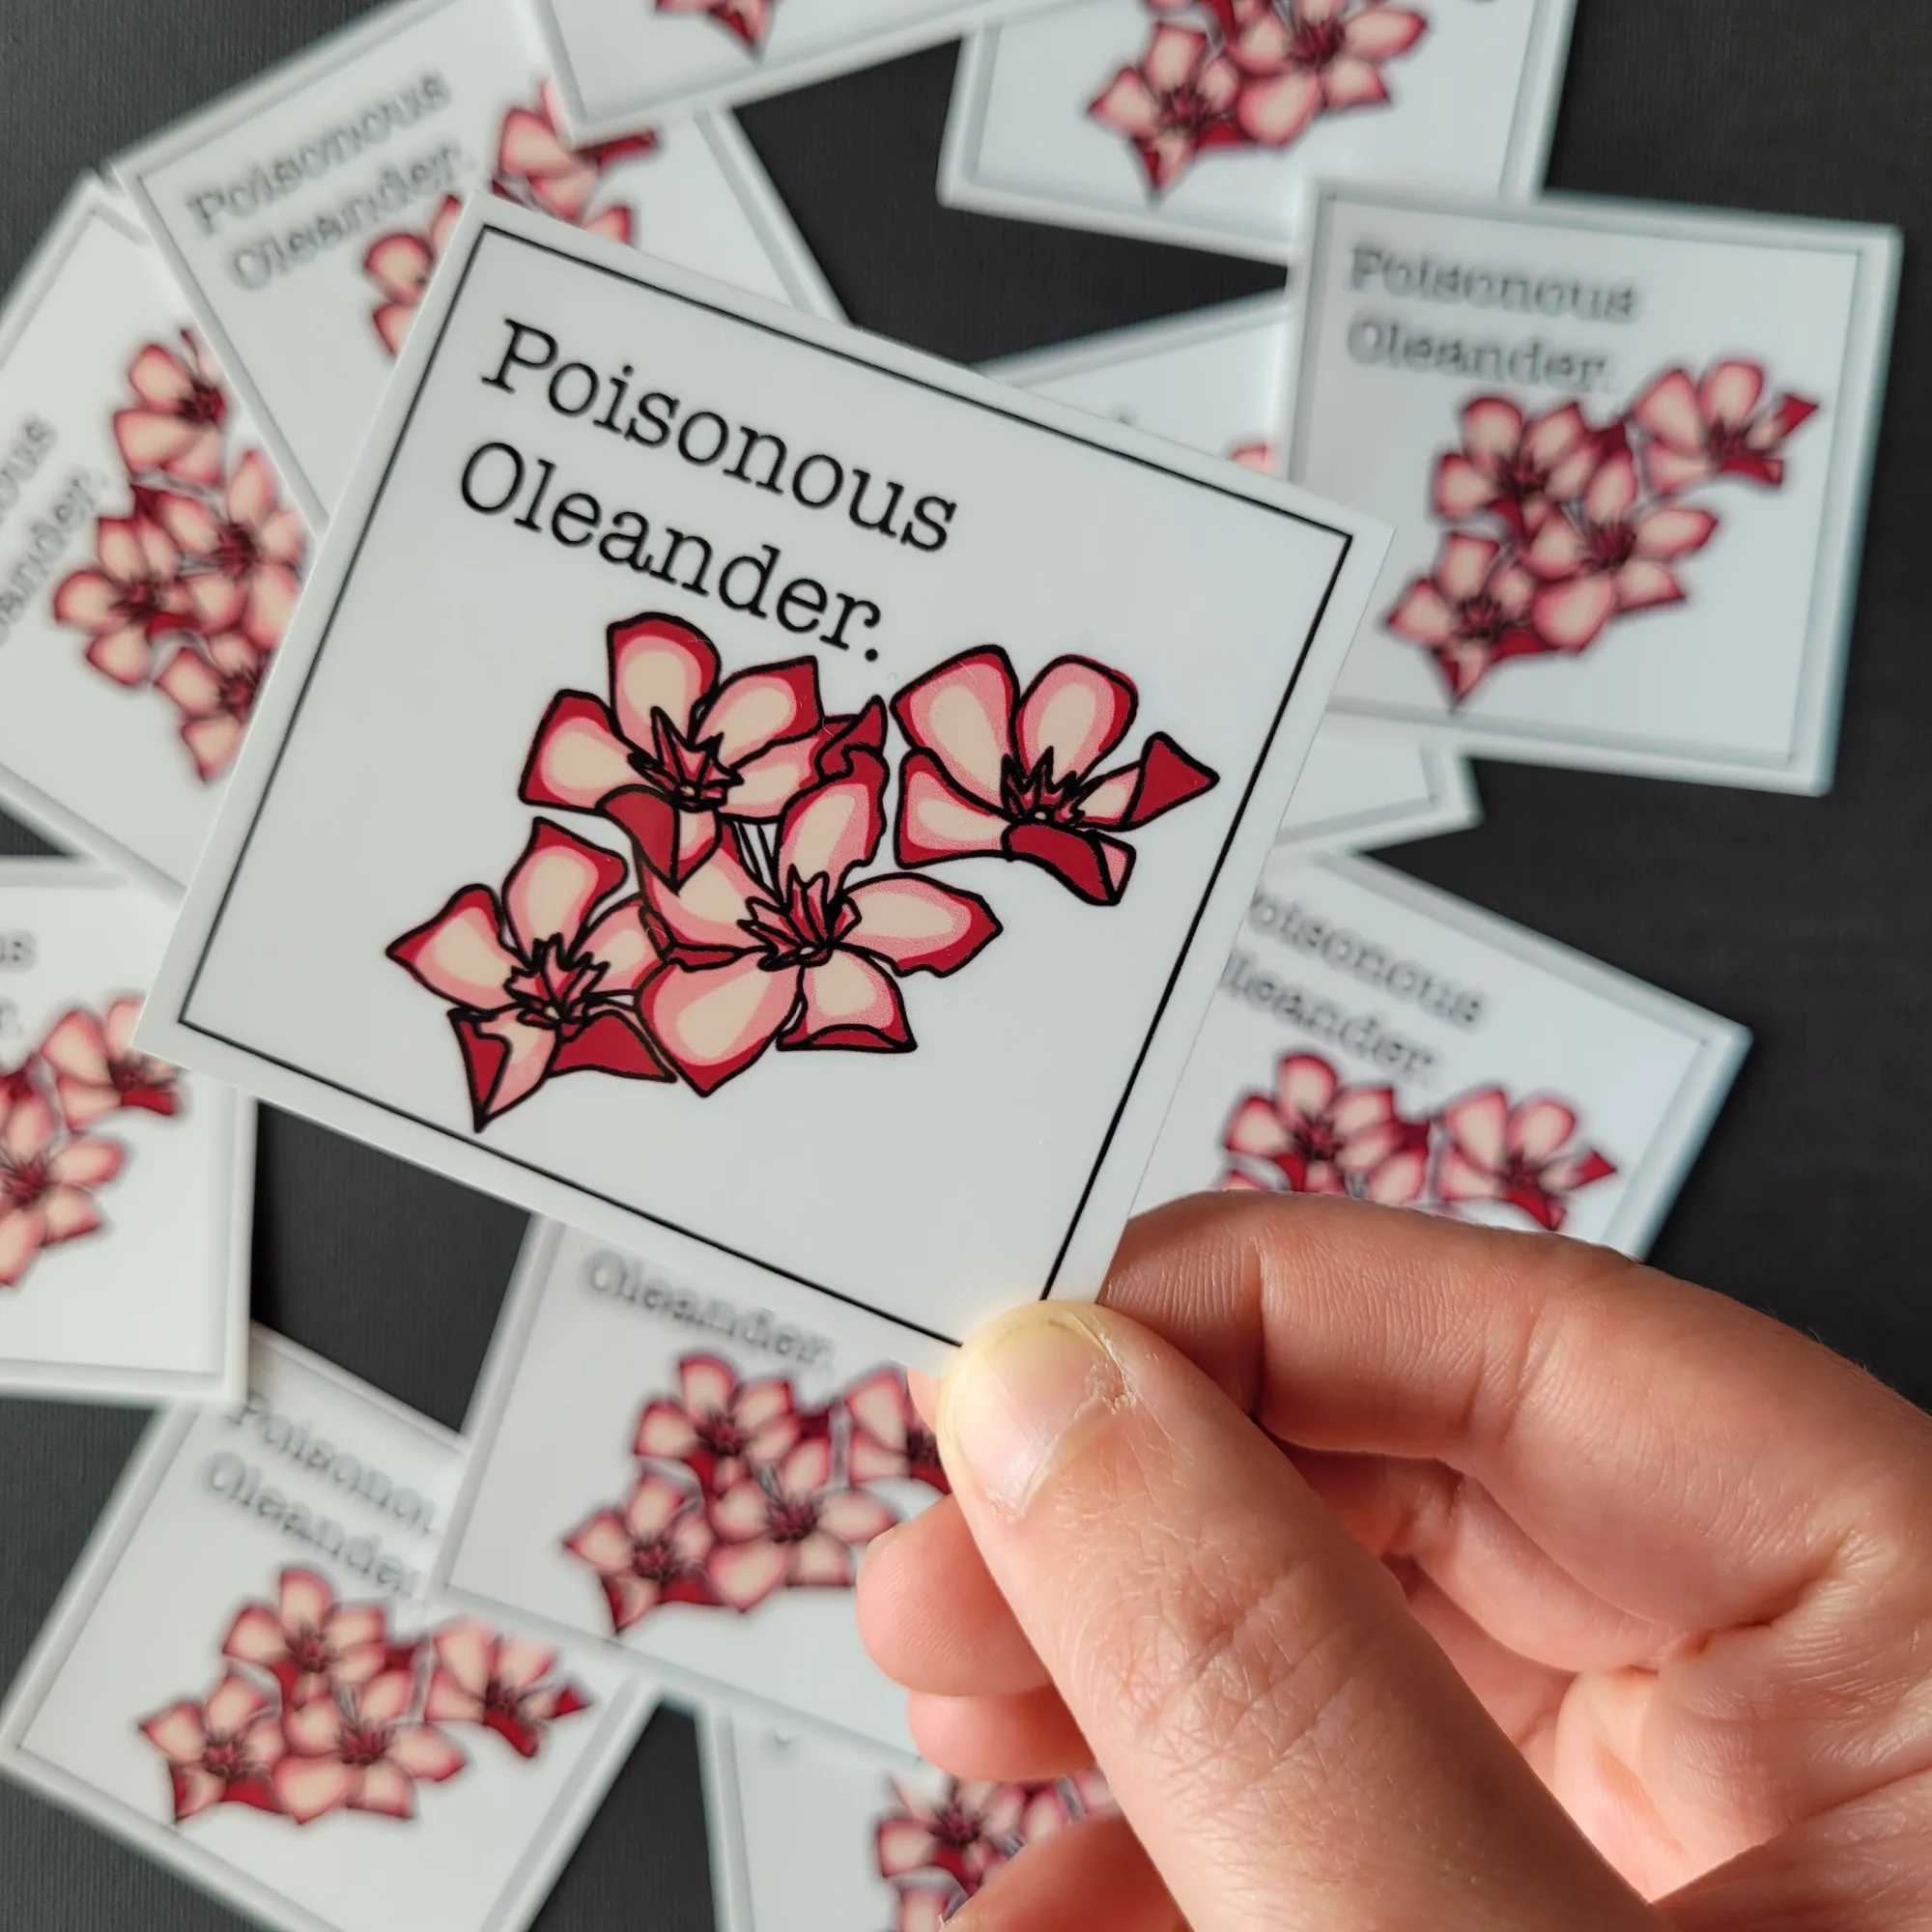
Both finishes are laminated for extra protection, but neither is UV proof. That means a sticker on a car window, a sunny windowsill, or an outdoor mailbox will fade over time. If you want a bold look in a bright room, place the sticker on a surface that gets indirect light, or plan to replace it each season. The Oleander | Waterproof Vinyl Sticker is a good example of a design that works well on a journal or laptop because it is meant to be seen up close, not from across a room.
- Glossy vinyl: best for bottles, laptops, and smooth plastic.
- Holographic vinyl: best for dark, flat surfaces where the shift is visible.
- Avoid direct sun on any vinyl sticker if you want the colors to last.
Plan your layout before you peel
The biggest mistake in sticker decoration tips is peeling first and arranging later. Once a sticker touches a surface, you have limited chances to reposition it before the adhesive weakens. Instead, cut out paper templates or use the sticker backing paper to mock up the whole arrangement. Step back and look at it from the distance you will actually see it.
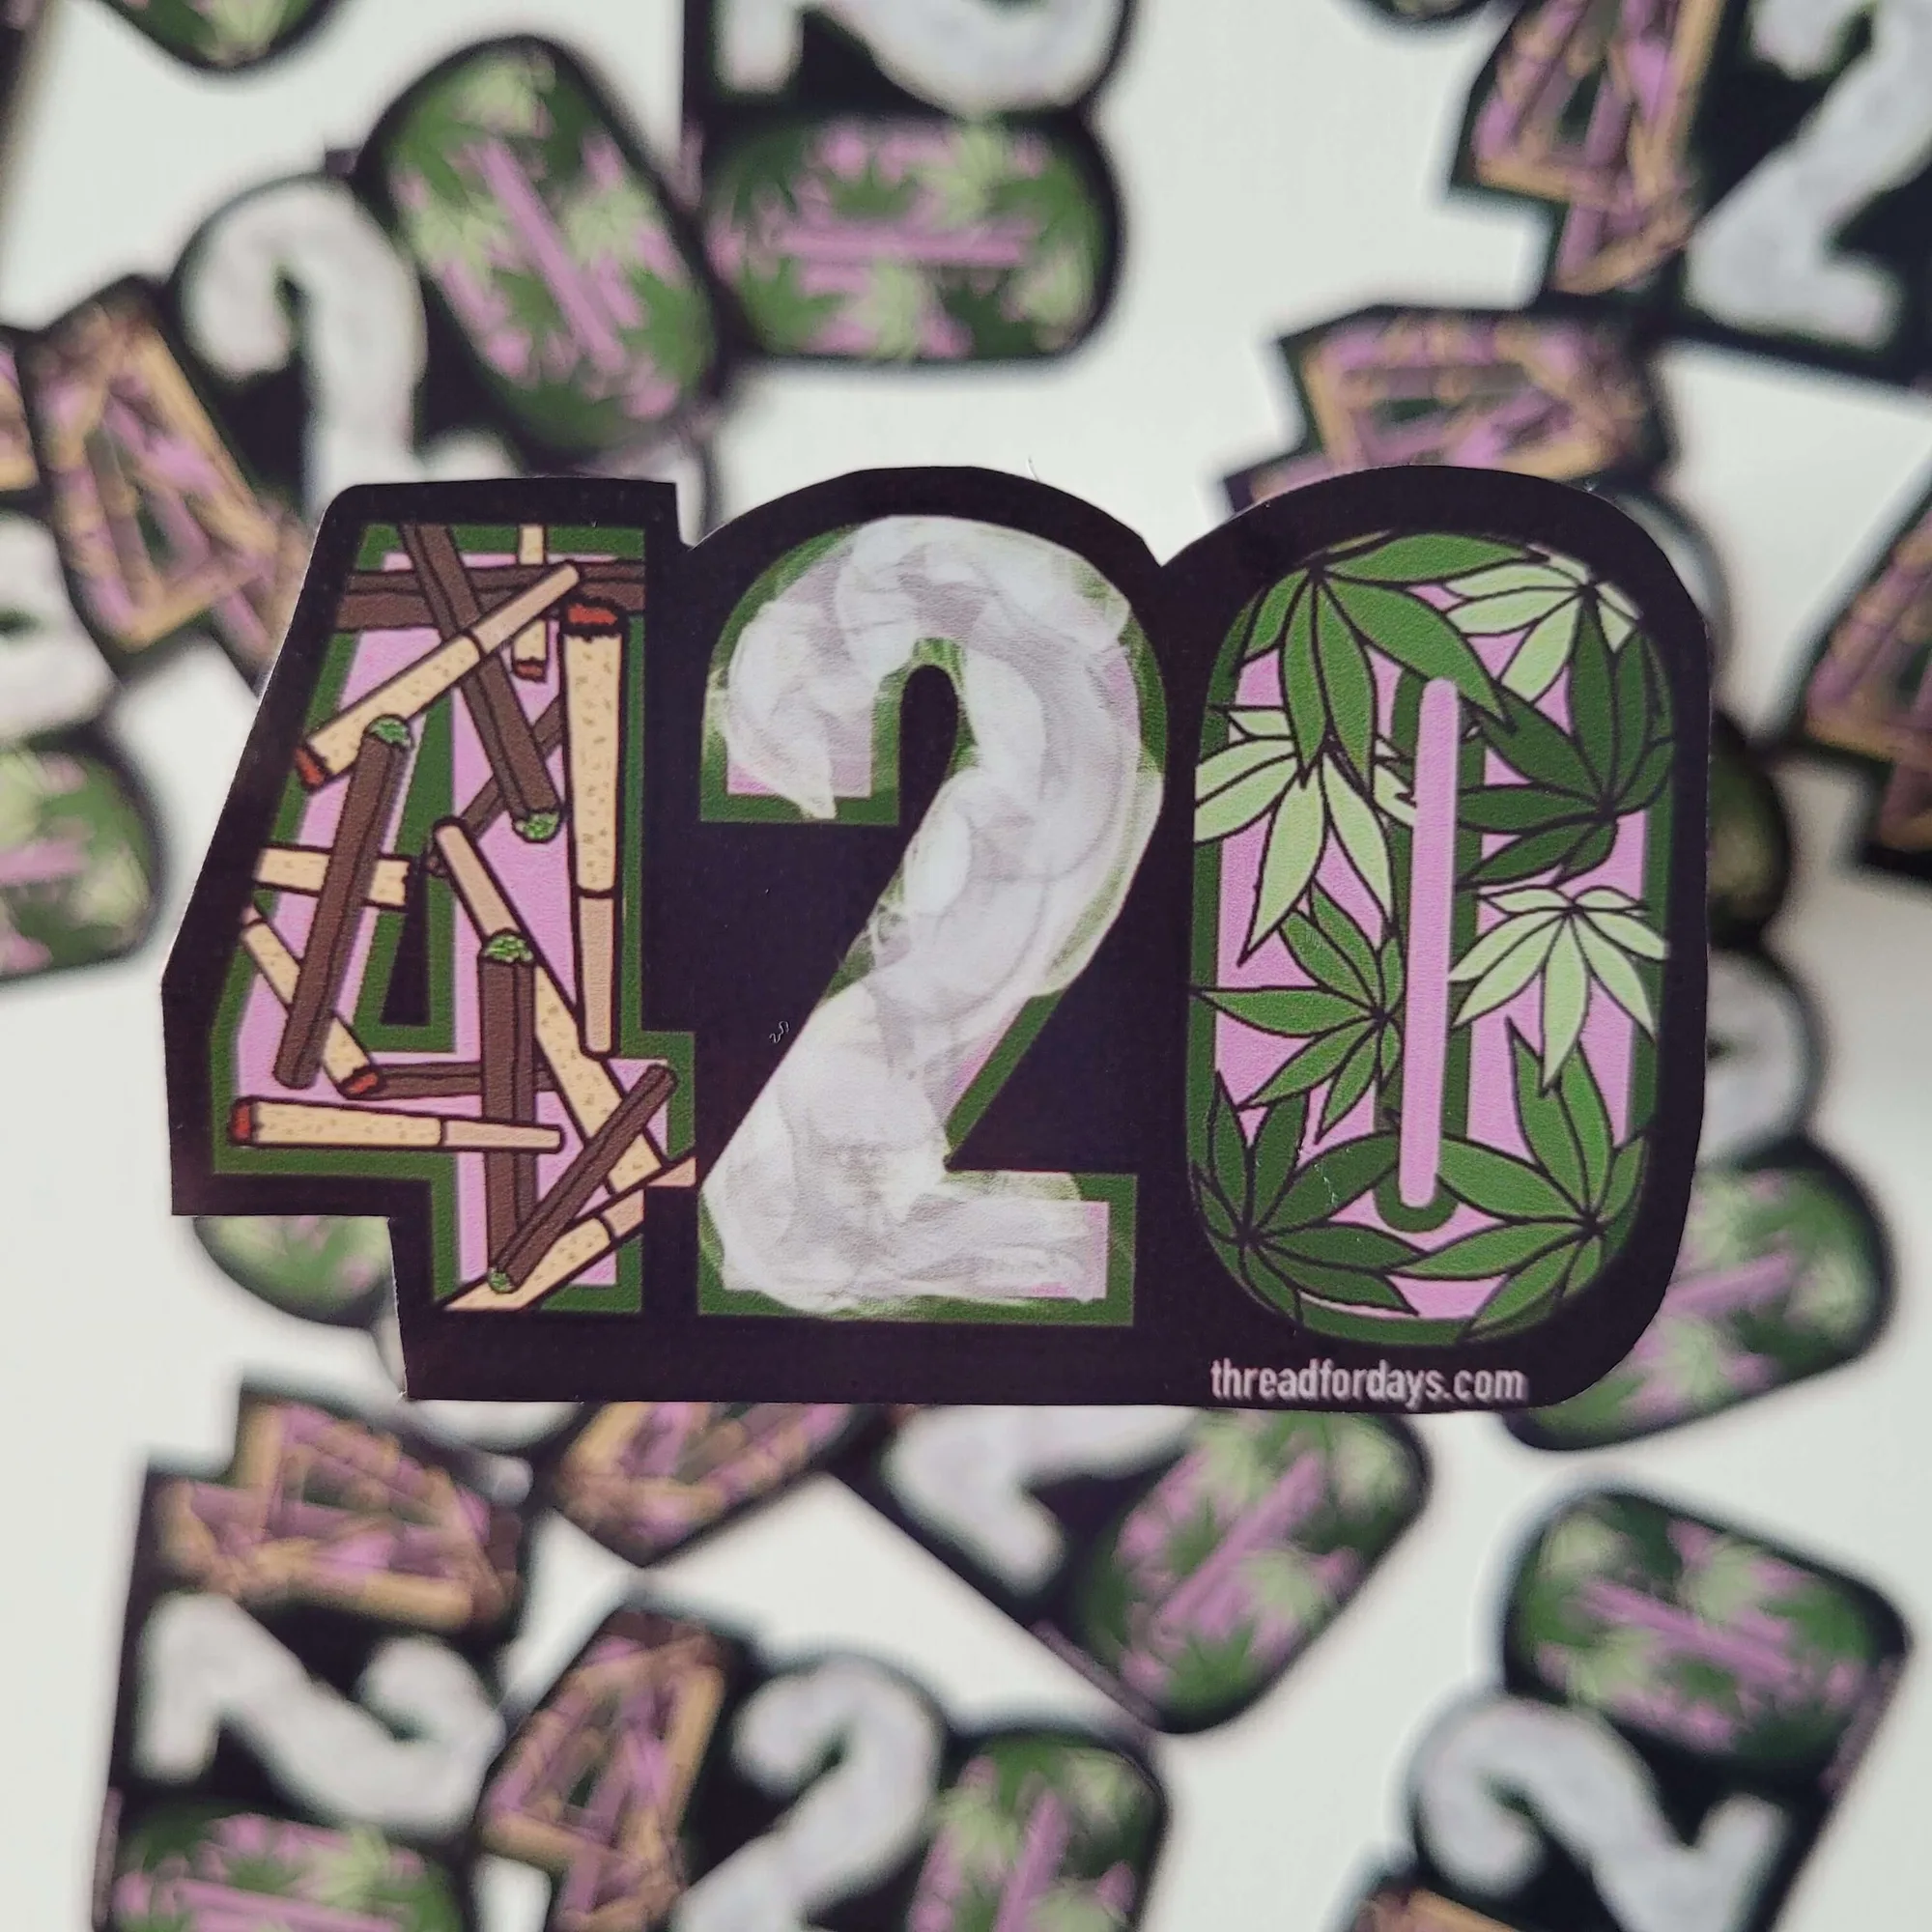
Group stickers by theme or color rather than scattering them randomly. A cluster of three to five stickers on a laptop lid reads as intentional; ten small stickers spread edge to edge reads as clutter. If you are working on a wall, start with one anchor sticker at eye level and build outward. The 420 | Waterproof Vinyl Sticker is about 2.7 by 1.8 inches, so it works as a small accent, not a centerpiece.
- Use painter's tape to mark a boundary if you are decorating a wall.
- Leave at least a finger-width of space between stickers on high-touch items.
- Photograph your layout before you commit so you can recreate it later.
Apply stickers without bubbles
Start at one edge and press down with a credit card or your thumb, moving slowly toward the opposite edge. This pushes air out instead of trapping it. If a bubble forms, lift the nearest corner just enough to smooth the vinyl back down. Do not press the entire sticker flat and then try to chase the bubble to the edge; that usually stretches the vinyl.
For curved surfaces like a water bottle, apply the sticker when the bottle is at room temperature and dry. Cold plastic can make the adhesive less tacky. Press firmly around the edges, especially on the corners, because that is where lifting starts. If you are applying a sticker to a laptop, avoid covering screws, vents, or rubber feet, and do not place it over a hinge.
- Apply in a warm room, not a cold garage.
- Press from the center outward on flat surfaces.
- Wait 24 hours before washing a water bottle with a new sticker.
Protect and refresh your sticker decor
Once applied, stickers on high-touch items need occasional care. Wipe them with a damp cloth rather than scrubbing with abrasive cleaners. For water bottles, hand washing is safer than a hot dishwasher cycle, which can soften the adhesive and curl the edges. If a corner lifts, press it back down while the vinyl is warm, or use a tiny piece of clear tape as a temporary fix.
For wall stickers, expect that removal may affect paint. Low-tack vinyl is easier to remove, but any adhesive can pull loose paint if the wall was not primed well. Warm the sticker slightly with a hair dryer on low, then peel slowly at a sharp angle. If you want to change your wall display often, use a framed board or a metal cabinet instead of painted drywall.
- Hand wash decorated bottles to extend sticker life.
- Remove wall stickers slowly and at an angle, not straight out.
- Keep a few spare stickers for rotating seasonal displays.
Your 5-step sticker decor routine
- Clean and dry the surface: Wipe with alcohol or soapy water to remove dust and oils, then let it dry completely. Common mistake: applying over a damp surface, which traps moisture and causes bubbles. If the surface feels cool or slick, wait another minute.
- Mock up the layout with templates: Trace the sticker shapes onto paper or use the backing paper to arrange the design before peeling. Common mistake: starting with the largest sticker in the center without checking how the edges will balance. Step back three feet and check the balance.
- Peel and place from one edge: Peel only the top inch of backing, align the sticker, and press that edge down first. Common mistake: peeling the whole backing and letting the sticker fold onto itself. If it touches the surface wrong, lift immediately and try again.
- Smooth from the center outward: Use your thumb or a credit card to push air toward the edges. Common mistake: pressing the center first and trapping a bubble under the middle. Small bubbles often disappear after a day; large ones need a corner lift.
- Set and protect: Press all edges firmly, then avoid washing or heavy use for 24 hours. Common mistake: putting a decorated water bottle in the dishwasher right away. Hand wash decorated items and keep them out of direct sun.
Catalog facts that affect placement
- Midsommar | waterproof Vinyl Sticker: Printed on glossy waterproof adhesive vinyl sticker paper and laminated for extra protection; not UV proof and will fade with prolonged UV exposure. Great for a laptop or water bottle that stays indoors, but keep it out of direct sun if you want the colors to stay bright.
- Rick and Evy Made Me Bi | Holographic Vinyl Sticker: Limited edition, printed on glossy waterproof holographic adhesive vinyl and laminated; not UV proof and will fade with prolonged UV exposure. The holographic finish shifts color, so it looks best on a dark, flat surface like a laptop lid or notebook cover.
- 420 | Waterproof Vinyl Sticker: About 2.7 x 1.8 inches, printed on glossy waterproof adhesive vinyl and laminated; not UV proof and will fade with prolonged UV exposure. A small accent size that works well on glass pieces, laptops, or notebooks without taking over the whole surface.
Sticker decor works best when you treat it as a small design project, not a random act. Clean the surface, plan the layout, apply slowly, and protect the finished piece from heat and direct sun. Start with one or two stickers from the T.F.D. Thread For Days catalog, live with them for a week, and then build from there.