If you collect 1/12 scale action figures, you know the thrill of unboxing a new addition and the desire to capture that excitement in photos. Whether you're sharing on social media, documenting your collection, or just want to admire your figures in a new light, learning how to photograph them like a pro can make a world of difference. In this guide, we'll walk you through essential techniques, from lighting and posing to equipment choices, that will elevate your 1/12 scale photography.
The beauty of 1/12 scale figures, such as the intricate S.H.Figuarts line or the highly detailed Amazing Yamaguchi series, lies in their articulation and sculpt. With the right approach, you can make them look larger than life. Let's dive into the practical steps that will transform your photos from snapshots to stunning showcases.
Why 1/12 Scale Photography Is Unique
1/12 scale figures are about six inches tall, which puts them in a sweet spot for photography. They are small enough to be manageable but large enough to capture fine details. However, their size also means that small flaws become more apparent in close-ups. Understanding the scale helps you choose the right lens and camera settings to emphasize the best features of your figures.
Unlike larger statues, 1/12 scale figures are highly articulated, allowing for dynamic poses. This versatility is a photographer's dream, but it also requires patience and a steady hand. Whether you're photographing the menacing LPZZ / UPF Arkham Knight 1/12 scale Collectible Action Figure or the energetic Dragon Ball Super S.H.Figuarts Super Saiyan God Super Saiyan Goku, nailing the pose is half the battle.
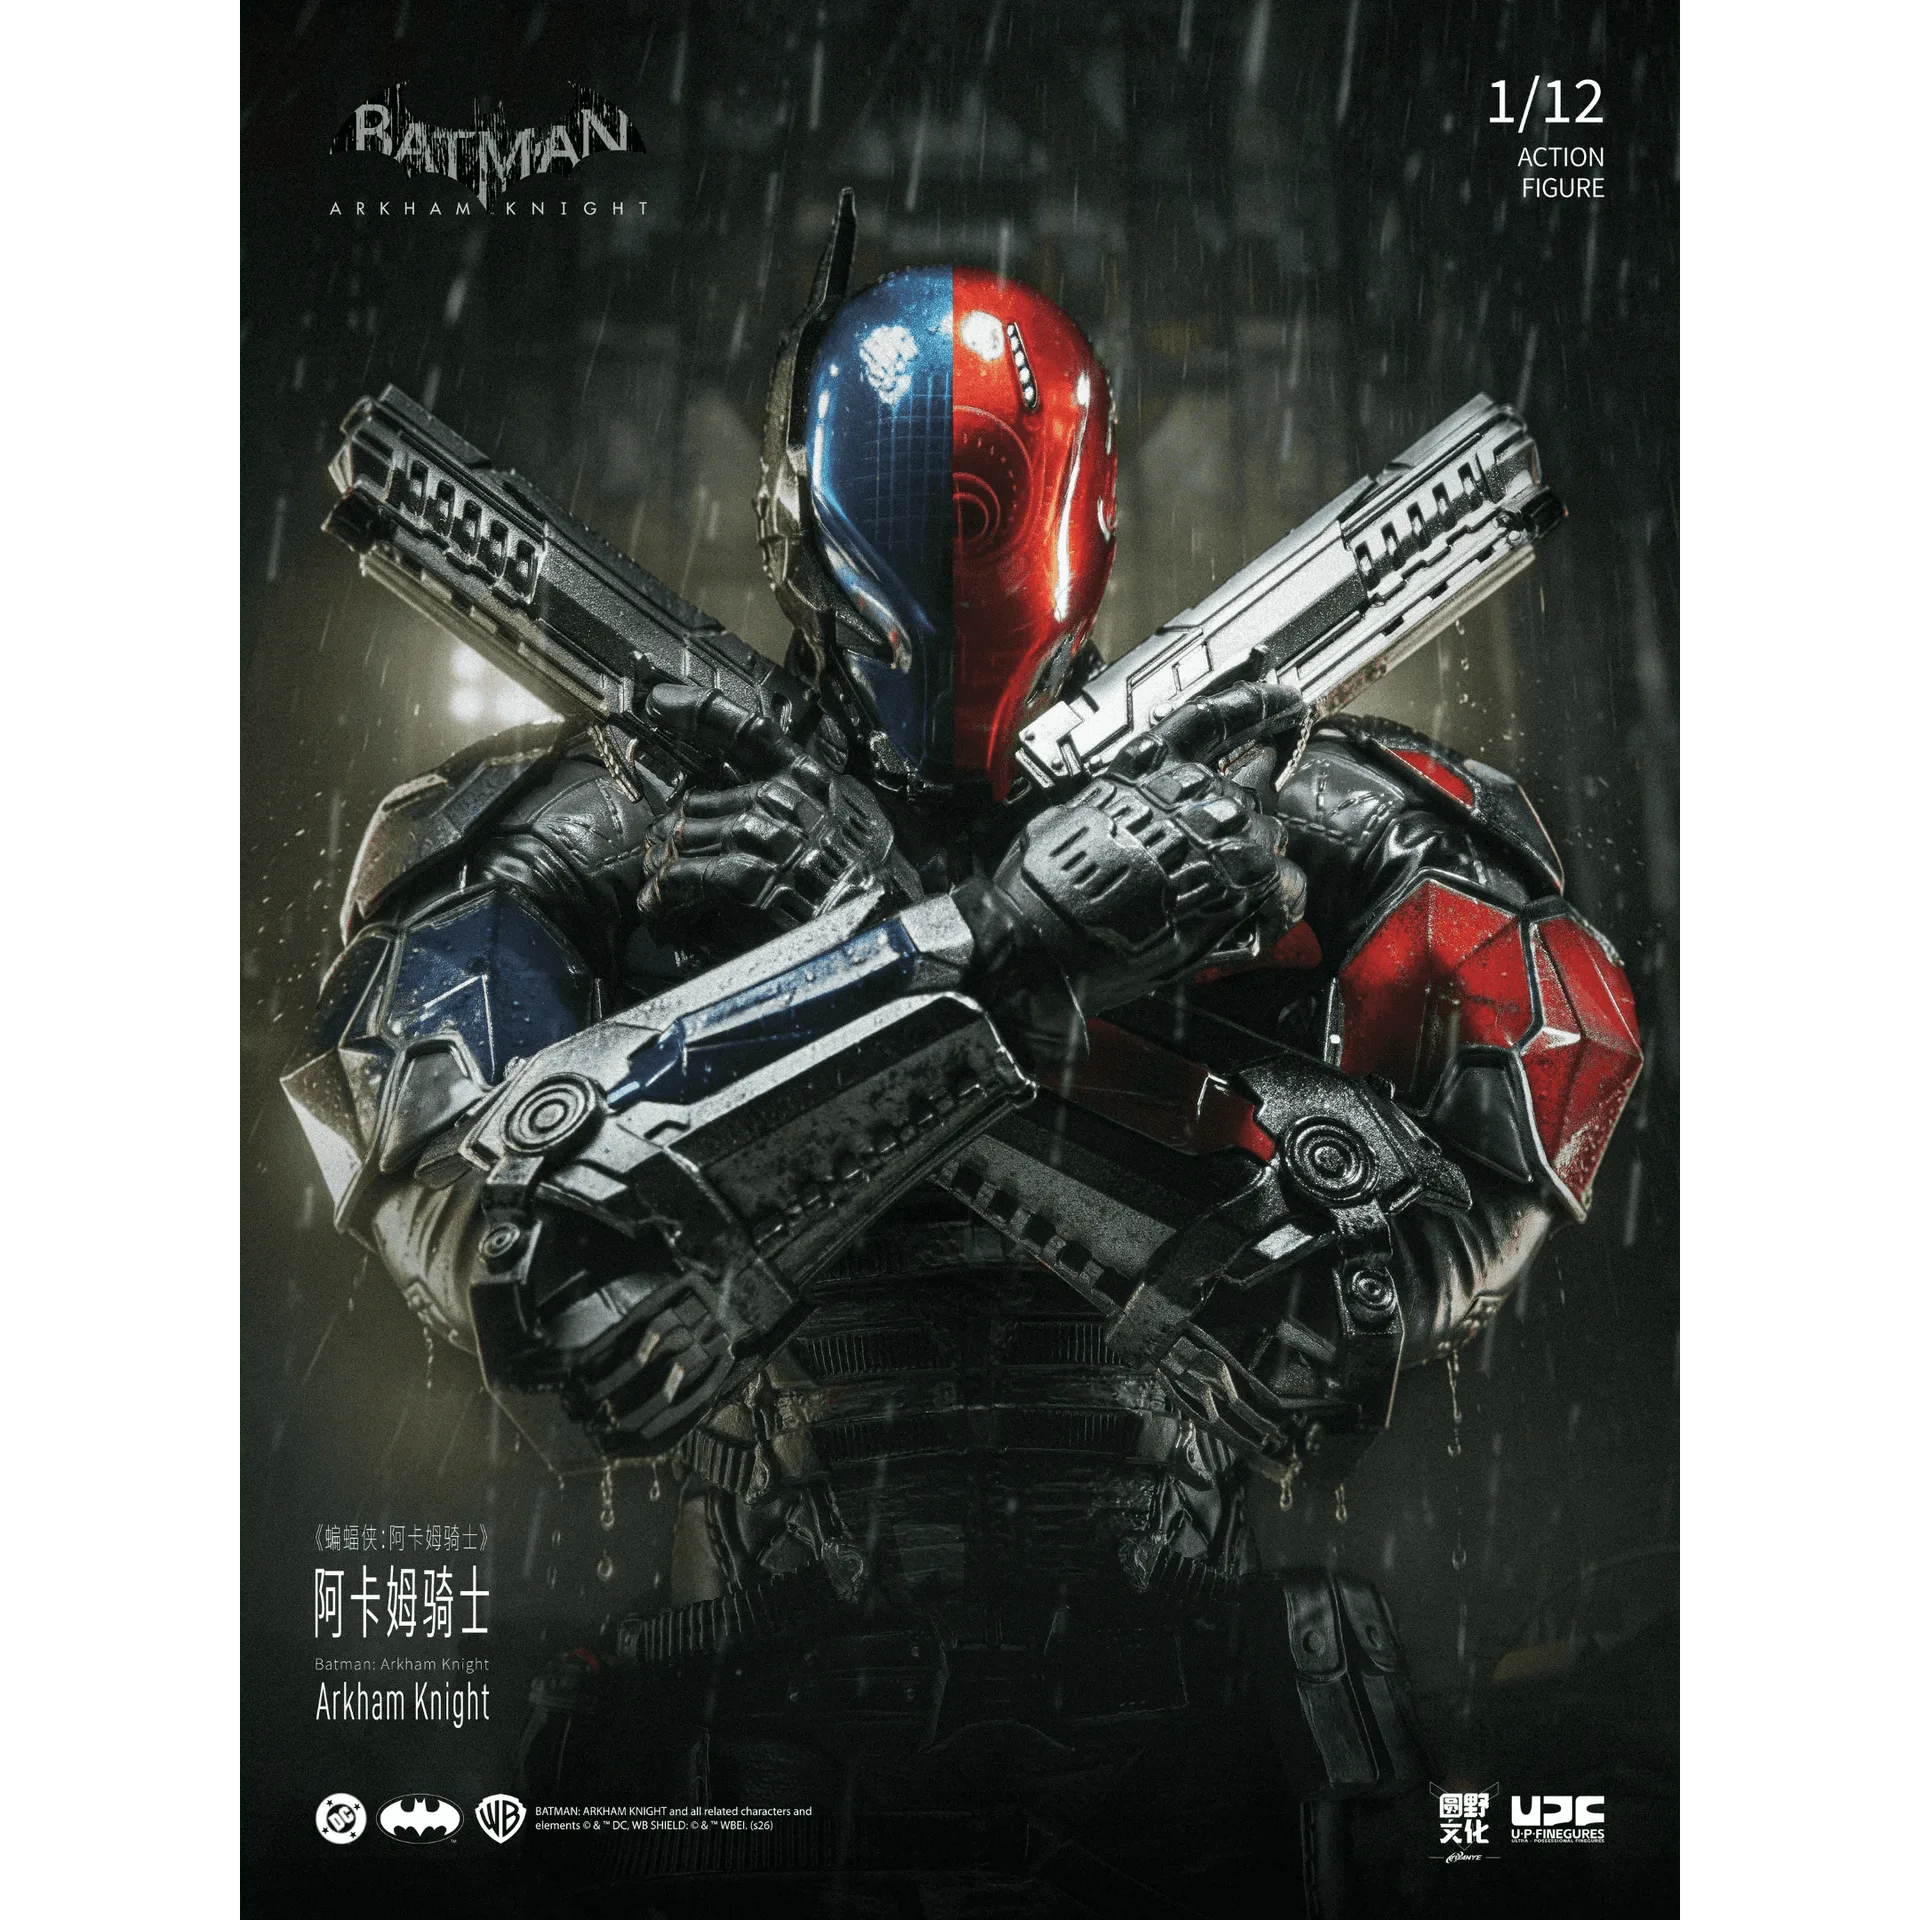
LPZZ / UPF Arkham Knight 1/12 scale Collectible Action Figure
- Use a macro lens or a camera with a good close-up mode to capture details.
- Shoot in RAW format for maximum editing flexibility.
- Stabilize your camera with a tripod to avoid blur.
Essential Lighting Techniques for Action Figures
Lighting is the most critical element in figure photography. The wrong lighting can wash out colors or create harsh shadows that obscure details. For 1/12 scale figures, soft, diffused lighting works best. You can achieve this by using a lightbox or by placing a white sheet between your light source and the figure. Natural window light is also a great option if you shoot during the day.
Consider using two light sources: a key light to illuminate the front and a fill light to reduce shadows. For dramatic effects, you can use a single side light to create moody shadows, which works particularly well for figures like the INART Dark Nights: Metal InArt The Red Death 1/12 Scale Action Figure. Experiment with different angles to see how light plays on the sculpted muscles and armor.
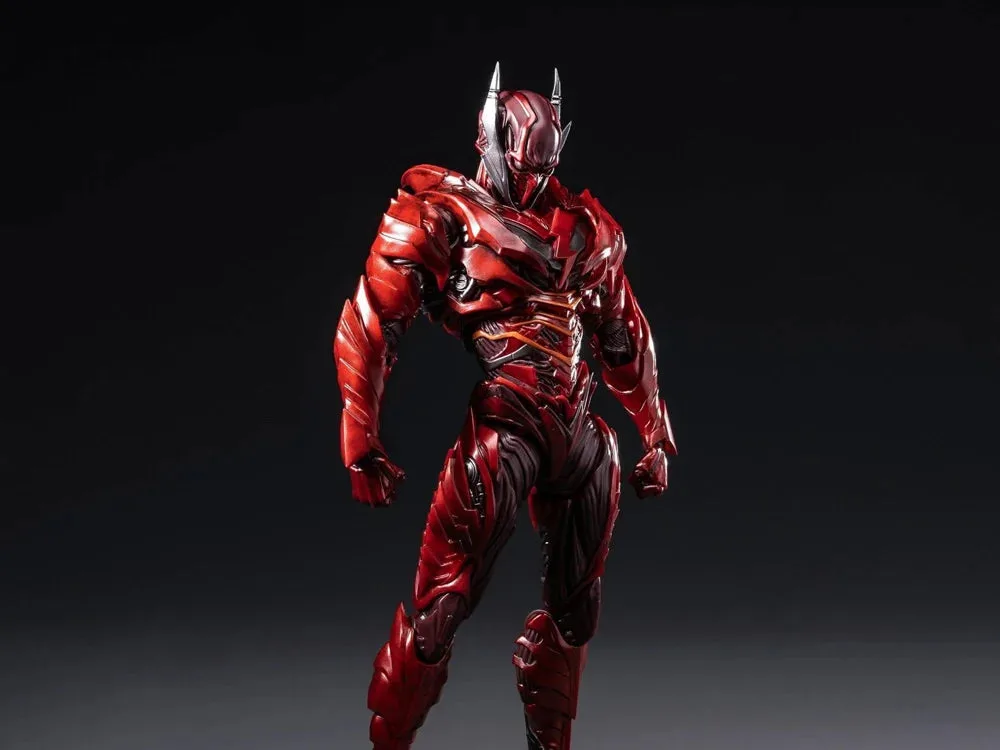
INART Dark Nights: Metal InArt The Red Death 1/12 Scale Action Figure
- Invest in a small LED light panel or a ring light for consistent illumination.
- Use a reflector (even a piece of white cardboard) to bounce light into shadow areas.
- Try colored gels to add atmosphere, but keep them subtle.
Posing Your Figures for Maximum Impact
A great pose can tell a story and make your figure look alive. Start by studying the character's personality and iconic moments. For instance, if you have the One Piece S.H.Figuarts Roronoa Zoro (The King of Hell) Exclusive Action Figure, you might want to capture his three-sword stance. Use the articulation to your advantage, but avoid over-posing, which can look unnatural.
Balance is key. Ensure your figure's center of gravity is stable, especially in dynamic poses. You can use a stand or a clear acrylic rod to support the figure if needed. For figures like the Marvel Comics Amazing Yamaguchi Revoltech NR106 Symbiote Suit Spider-Man (Purple Ver.) Action Figure, try mid-air poses with a wire or stand to create a sense of action.
- Practice with a few figures to understand their articulation limits.
- Use small adjustments to make poses look more natural.
- Take multiple shots from different angles to find the best composition.
Choosing the Right Background and Props
The background can make or break your photo. A cluttered background distracts from the figure, while a clean, simple one helps it stand out. Use a seamless paper roll in neutral colors like gray, white, or black. You can also create a diorama using foam boards or printed backdrops to set the scene.
Props can add context, but they shouldn't overwhelm the figure. For example, the Tamashii Effect Wind (White Ver.) is a perfect prop to create dynamic wind effects around your figures. Or, if you're photographing the PRE-ORDER - Elden Ring S.H.Figuarts Festering Fingerprint Vyke Action Figure (Reissue), a rocky base can enhance the fantasy vibe.
- Keep backgrounds simple to avoid distraction.
- Use props that complement the figure's theme.
- Consider using a turntable to capture multiple angles easily.
Camera Settings and Equipment for Sharp Photos
You don't need a top-of-the-line camera to get great results, but understanding your settings is essential. Use a small aperture (like f/8 or f/11) to ensure the entire figure is in focus. Adjust your ISO to the lowest possible to reduce noise, and use a fast shutter speed to freeze any movement. If you're shooting handheld, keep your shutter speed at least 1/125s.
A tripod is a game-changer for sharpness, especially in low light. For macro shots, consider using a dedicated macro lens or extension tubes. If you're using a smartphone, use the portrait mode and tap to focus on the figure's face to get a shallow depth of field effect.
- Set your white balance manually to avoid color casts.
- Use a remote shutter release or self-timer to prevent camera shake.
- Shoot in burst mode to capture the best moment of a pose.
Post-Processing Tips to Enhance Your Photos
Post-processing can take your photos from good to great. Start by adjusting exposure, contrast, and white balance. Use editing software like Adobe Lightroom or free alternatives like GIMP. Crop the image to improve composition and remove any distracting elements.
Pay attention to colors. You might want to increase saturation slightly to make the figure's colors pop, but be careful not to oversaturate. Use the clarity and sharpening tools to bring out details in the sculpt. For a more dramatic look, you can add vignettes or gradients.
- Always edit a copy of your original file.
- Use the spot healing tool to remove dust spots.
- Experiment with presets but adjust them to your specific image.
Photographing your 1/12 scale action figures is a rewarding hobby that lets you appreciate the craftsmanship of your collection. With the right techniques, you can create stunning images that showcase your figures in the best light. Ready to put these tips into practice? Explore our collection of 1/12 scale figures, such as the PRE-ORDER - One Piece S.H.Figuarts Tony Tony Chopper (Drum Island) Action Figure, and start capturing your own masterpiece.