Quick Answer
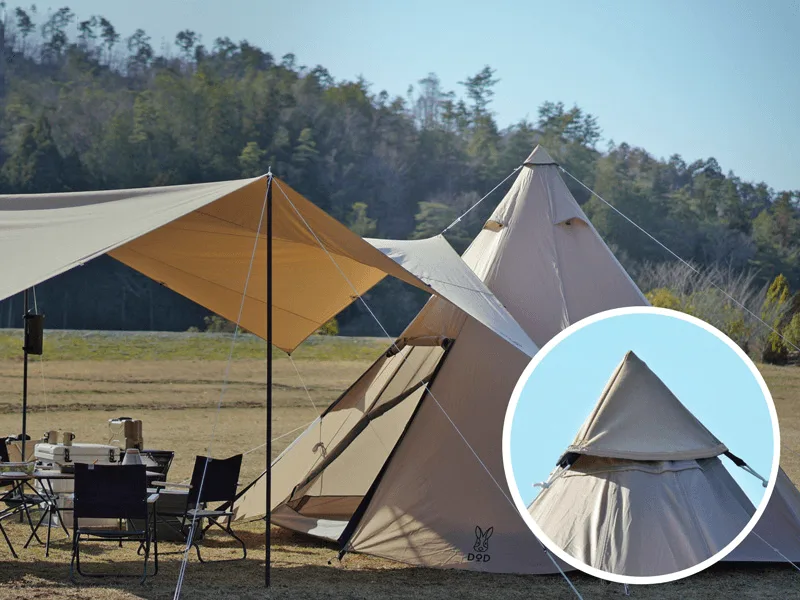
Pitching the DOD Kamaboko Solo Canvo tent is straightforward once you know the sequence: lay out the footprint, assemble the poles, raise the frame, and attach the fly. The key is to avoid twisting the poles and to tension the guylines evenly.
Before You Start: Choose a Level Spot
A flat, clear patch of ground saves time and prevents stress on the tent fabric. Look for a spot that is free of sharp rocks, roots, and debris. If the ground slopes, orient the tent so your head is uphill when sleeping.
Why the Kamaboko Solo Canvo Works for Solo Campers
This tent is designed for up to four persons, but its straightforward pole system makes it a practical choice for solo campers who want extra space for gear. The Canvo line from DOD Outdoors emphasizes dependable Japanese craftsmanship without unnecessary complexity.
Step-by-Step Pitching Guide
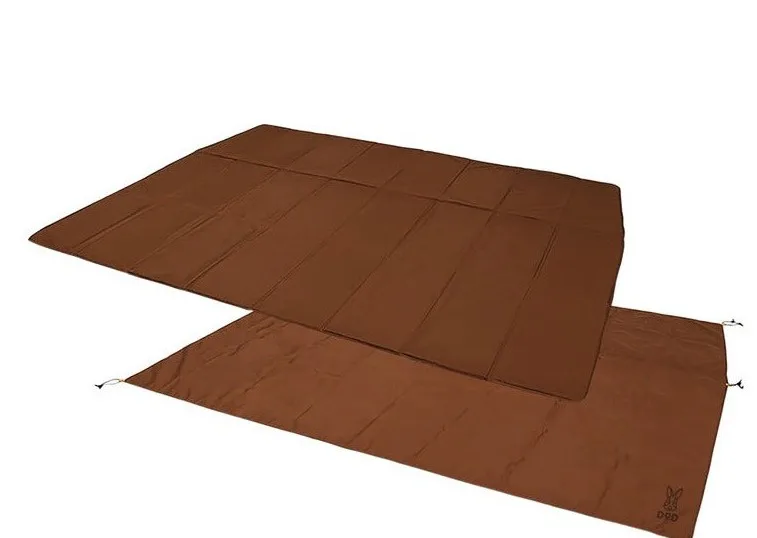
- 1. Lay Out the Footprint and Inner Tent: Unfold the footprint (if using) and place the inner tent on top, aligning the corners. Make sure the tent door faces your preferred direction—away from the wind if possible. Common mistake: Forgetting to orient the door before staking. Once stakes are in, it's harder to rotate the tent.
- 2. Assemble and Insert the Poles: Connect the pole sections and slide them through the pole sleeves on the inner tent. For the Kamaboko Solo Canvo, the poles are color-coded—match each pole to its corresponding sleeve color. Gently push, don't force, to avoid snagging the fabric. Checkpoint: Make sure no pole section is twisted. A twisted pole can cause the tent to sit unevenly.
- 3. Raise the Frame and Stake the Corners: Insert one end of each pole into the grommet at the corner, then bend the pole and insert the other end. Lift the tent by the center of the poles and stake down the four corners at a 45-degree angle outward. Common mistake: Staking straight down instead of at an angle. Angled stakes hold better in wind and are easier to remove.
- 4. Attach the Rainfly: Drape the rainfly over the top of the tent, aligning the attachment points with the pole ends. Clip or hook the fly to the poles and stake the fly's corners. Adjust the guylines to create tension without distorting the tent shape. Checkpoint: Leave the fly slightly loose on one side to allow ventilation. Over-tightening can reduce airflow and cause condensation.
- 5. Tension the Guylines and Adjust: Walk around the tent and tighten each guyline evenly. The goal is a taught, drum-like surface without wrinkles. Re-stake any corner that feels loose. Finally, check that the zippers run smoothly and the door closes properly. Final check: If the tent fabric flaps in the wind, add more tension to the guylines. If the poles bow excessively, loosen slightly to reduce stress.
Product Facts
-
Kamaboko Solo Canvo™: The Kamaboko Solo Canvo is designed for groups of four persons or fewer, offering a straightforward solution for small outings. For solo campers, this means you get generous interior space for your sleeping pad and gear without the hassle of a complicated multi-pole setup.
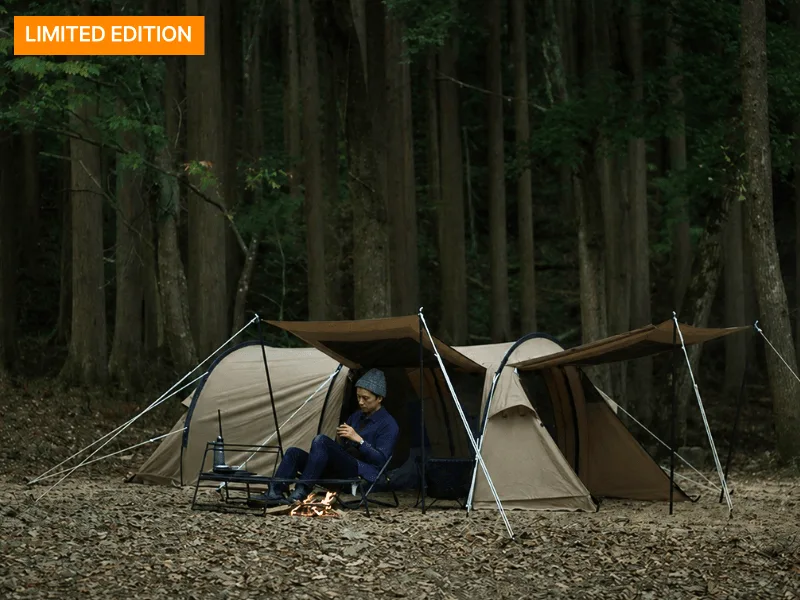
Kamaboko Solo Canvo™