Quick answer
Start by choosing one focal point for the page, then lay a washi tape border or divider to frame it. Add one or two stickers as accents, not as filler. Keep at least a third of the page blank for writing. The order matters: tape first, stickers second, writing last. This keeps the layout flexible and prevents crowding.
Decide the page's job before you decorate
A journal spread fails when decoration and function compete. Before you touch tape or stickers, ask what the page needs to do: capture a daily log, track a habit, or hold a single memory. That answer determines how much space decoration can take. A habit tracker needs a clear grid; a memory page can carry more visual weight. Write a one-line purpose in pencil at the top corner, then erase it later. This tiny step prevents the common mistake of covering the whole page with tape and stickers, then realizing there is no room to write.
Lay washi tape first to set the layout
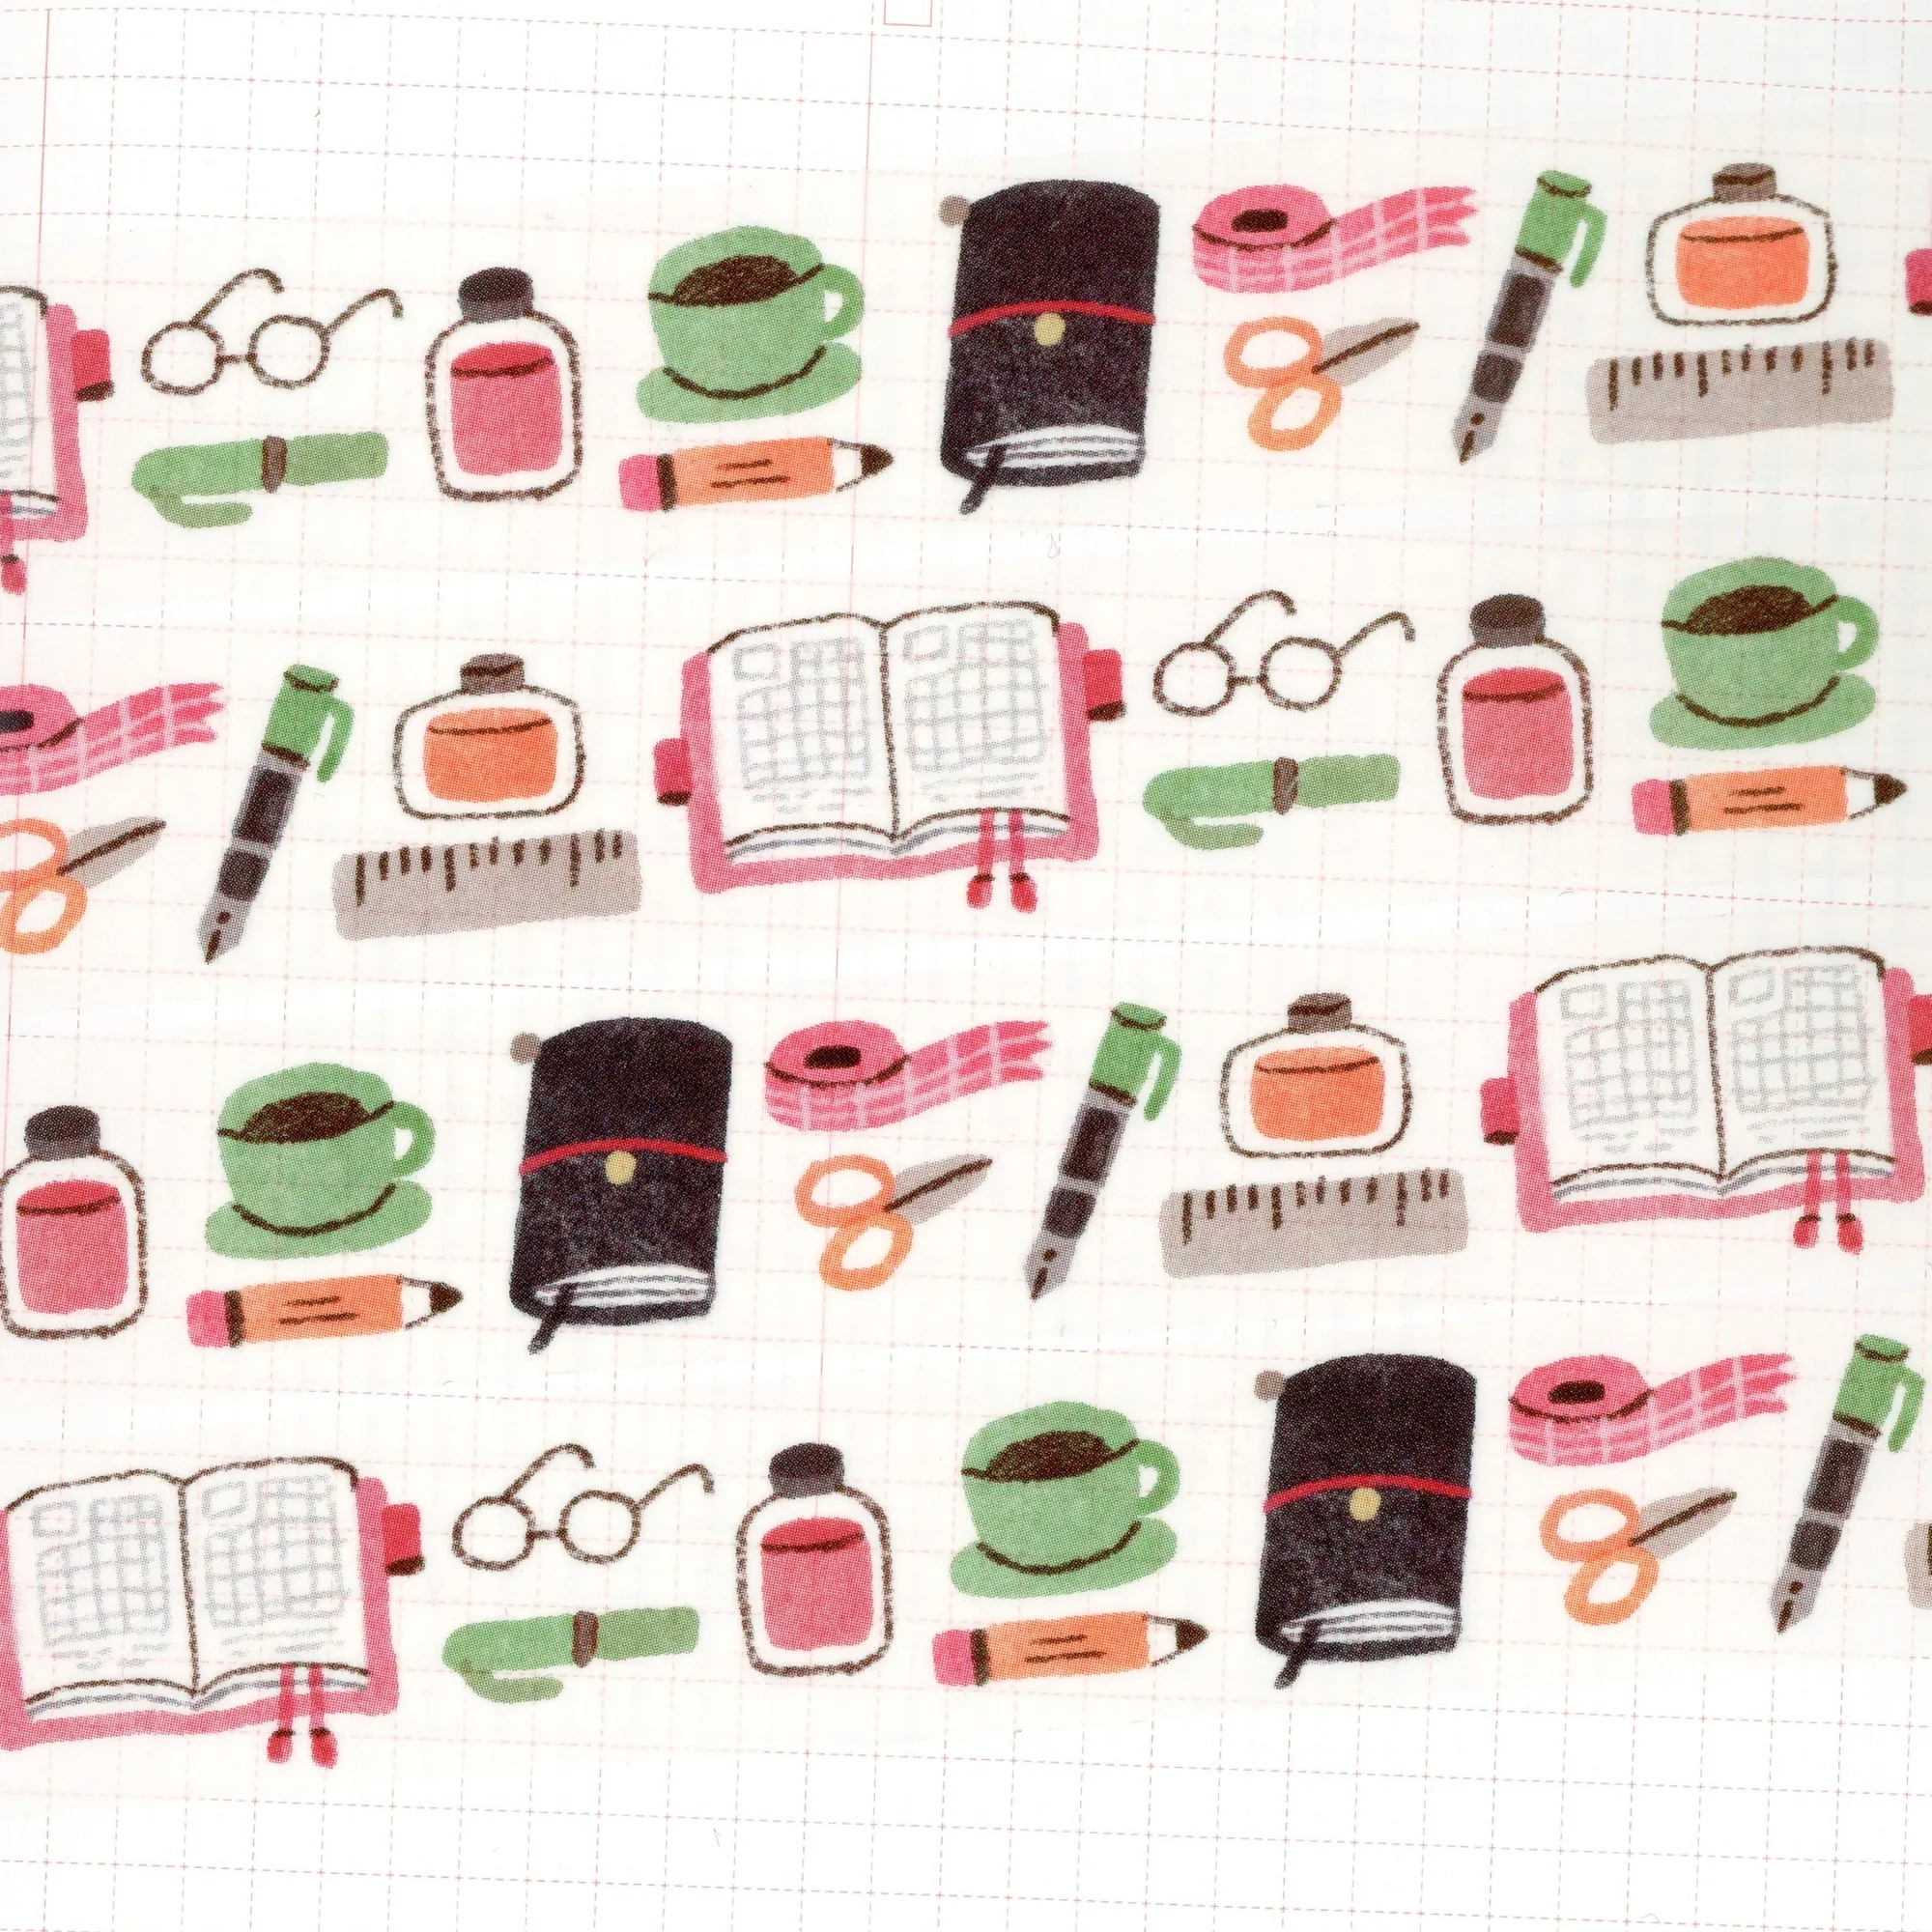
Tape is the structural layer. It can create a border, divide columns, or mark a header. Because washi tape repositions more easily than stickers, place it before anything adhesive and permanent. For a two-page spread, run a strip along the outer edges to frame the layout, or use a short strip as a header underline. The Stationery Washi Tape is 20mm wide, which suits borders and headers without dominating a standard notebook page. If you want a thinner line, tear the tape lengthwise. Tearing gives a soft, handmade edge; cutting gives a crisp line. Choose one and stay consistent across the spread.
Choose a sticker focal point, not a sticker pile
Stickers work best when they anchor one area. For a compact accent, the Journal Buddies Yellow Sticker is about 2.5 by 2 inches and its matte vinyl finish resists smudging, so it holds up under pen marks nearby. The Journal Besties Sticker is a similar 2 by 2.5 inches with the same matte surface. Pick one as the main accent and place it where the eye should land first, usually the top third of the page or the center of a two-page spread. If you add a second sticker, place it diagonally opposite to balance the composition. A common mistake is scattering five or six stickers evenly; that flattens the page and leaves no clear entry point.
Six-step journal spread planning sequence
- 1. Define the page purpose: Write one sentence in pencil at the top of the page stating what the spread is for, such as a weekly log or a single memory. This sets how much space decoration can take. Checkpoint: if you cannot state the purpose in one line, the page is not ready to decorate.
- 2. Block out writing space: Lightly pencil a rectangle or grid where text will go. Aim to leave at least one third of the spread blank. This is the step most people skip, and it is the main cause of unusable decorated pages. Checkpoint: can you fit the writing you planned without squeezing? If not, shrink the decoration zone.
- 3. Place washi tape as structure: Use tape for borders, headers, or column dividers. Press it down lightly first so you can lift and reposition before committing. Tear for a soft edge or cut for a crisp line, and keep that choice consistent. Checkpoint: smooth the tape from the center outward to avoid trapped air and lifted edges.
- 4. Add one sticker as the focal point: Choose a single sticker and place it in the top third or center of the spread. This gives the eye a clear starting point. Resist adding more until the page is written on. Checkpoint: if two stickers compete for attention, remove one.
- 5. Add a second accent only if it balances: If the page feels lopsided, place a second sticker diagonally opposite the first. Keep it smaller or equal in size. Stop at two unless the page purpose is purely decorative. Checkpoint: step back and squint. If the accents form a diagonal line, the balance is working.
- 6. Write, then adjust: Fill in the writing last. After the ink dries, remove any pencil guide marks and add a final small tape or sticker detail only if a gap looks empty. Do not fill every gap; white space keeps the spread readable. Next step: note which tape width and sticker size worked for this page so you can repeat the layout faster next time.
Product facts that affect your layout
- Stationery Washi Tape: Stationery Washi Tape measures 20mm x 10m per roll and is described as having good adhesion for papercraft and journaling. A 20mm width is wide enough for borders and headers but still fits inside a standard notebook margin, so you can frame a spread without covering writing space.
- Journal Buddies Yellow Sticker: Journal Buddies Yellow Sticker is a matte vinyl label approximately 2.5 x 2 inches with a smooth, non-gloss finish that resists smudging. At roughly 2.5 inches, it works as a single focal accent on a page rather than as a small filler sticker, and the matte surface stays clean if you write near it.
- Journal Besties Sticker: Journal Besties Sticker is a matte vinyl sticker approximately 2 x 2.5 inches with easy peel-and-stick application. Its compact 2 x 2.5 inch size fits most journal pages and balances a larger accent without crowding the layout.