Alocasia plants, with their dramatic arrow-shaped leaves and striking veining, have become a favorite among indoor plant enthusiasts. Known for their bold foliage and sometimes finicky nature, these tropical beauties can be a rewarding challenge. One of the most exciting aspects of owning an Alocasia is learning how to propagate it, allowing you to expand your collection or share plants with friends.
While Alocasia propagation might sound intimidating for beginners, it is actually a straightforward process once you understand the plant's growth habits. Unlike many houseplants that can be rooted from stem cuttings, Alocasias grow from rhizomes or tubers underground. This guide will walk you through the entire propagation process, from identifying the right time to divide your plant to potting up new divisions. Whether you are a first-time plant parent or a seasoned collector, these steps will help you multiply your Alocasia with confidence.
Understanding Alocasia Growth and Propagation Basics
Alocasia plants grow from a central rhizome or tuber system, which stores energy and nutrients. Over time, the mother plant produces offsets, often called pups, that emerge as separate stems. These pups are genetically identical clones of the parent and can be separated once they develop their own root system. Unlike stem cuttings, Alocasia propagation relies on dividing these rhizomes or removing offsets that have at least one leaf and a few roots attached.
The best time to propagate Alocasia is during the active growing season, typically spring through early summer. During this period, the plant is producing new growth and can recover more quickly from division. Avoid propagating in winter when the plant is dormant, as this increases the risk of rot. Healthy, well-established plants with multiple stems are ideal candidates for division. If your Alocasia looks crowded in its pot or has pups pushing up through the soil, it is time to consider propagation.
- Look for pups that are at least 2-3 inches tall with their own leaves and visible roots.
- Water the plant thoroughly 24 hours before dividing to reduce transplant shock.
- Use clean, sharp tools to minimize damage to roots and rhizomes.
Step-by-Step Alocasia Propagation Process
Start by gently removing the Alocasia from its pot. Shake off excess soil so you can see the root system clearly. Identify the natural divisions where pups connect to the mother rhizome. Using a sterile knife or pruning shears, carefully cut through the connecting rhizome, ensuring each division has at least one stem and a portion of roots. If you are working with a tuber that has no visible roots, you can still attempt propagation by placing the tuber in a moist medium like sphagnum moss or perlite.
After separating the divisions, allow the cut surfaces to callus over for a few hours. This helps prevent rot. Then, pot each division in a small container with well-draining potting mix. Water lightly and place the pots in a warm, humid location with bright, indirect light. Avoid direct sun, which can scorch the new leaves. A humidity dome or a clear plastic bag can help maintain moisture levels during the first few weeks. New growth is a sign that the division has rooted successfully.
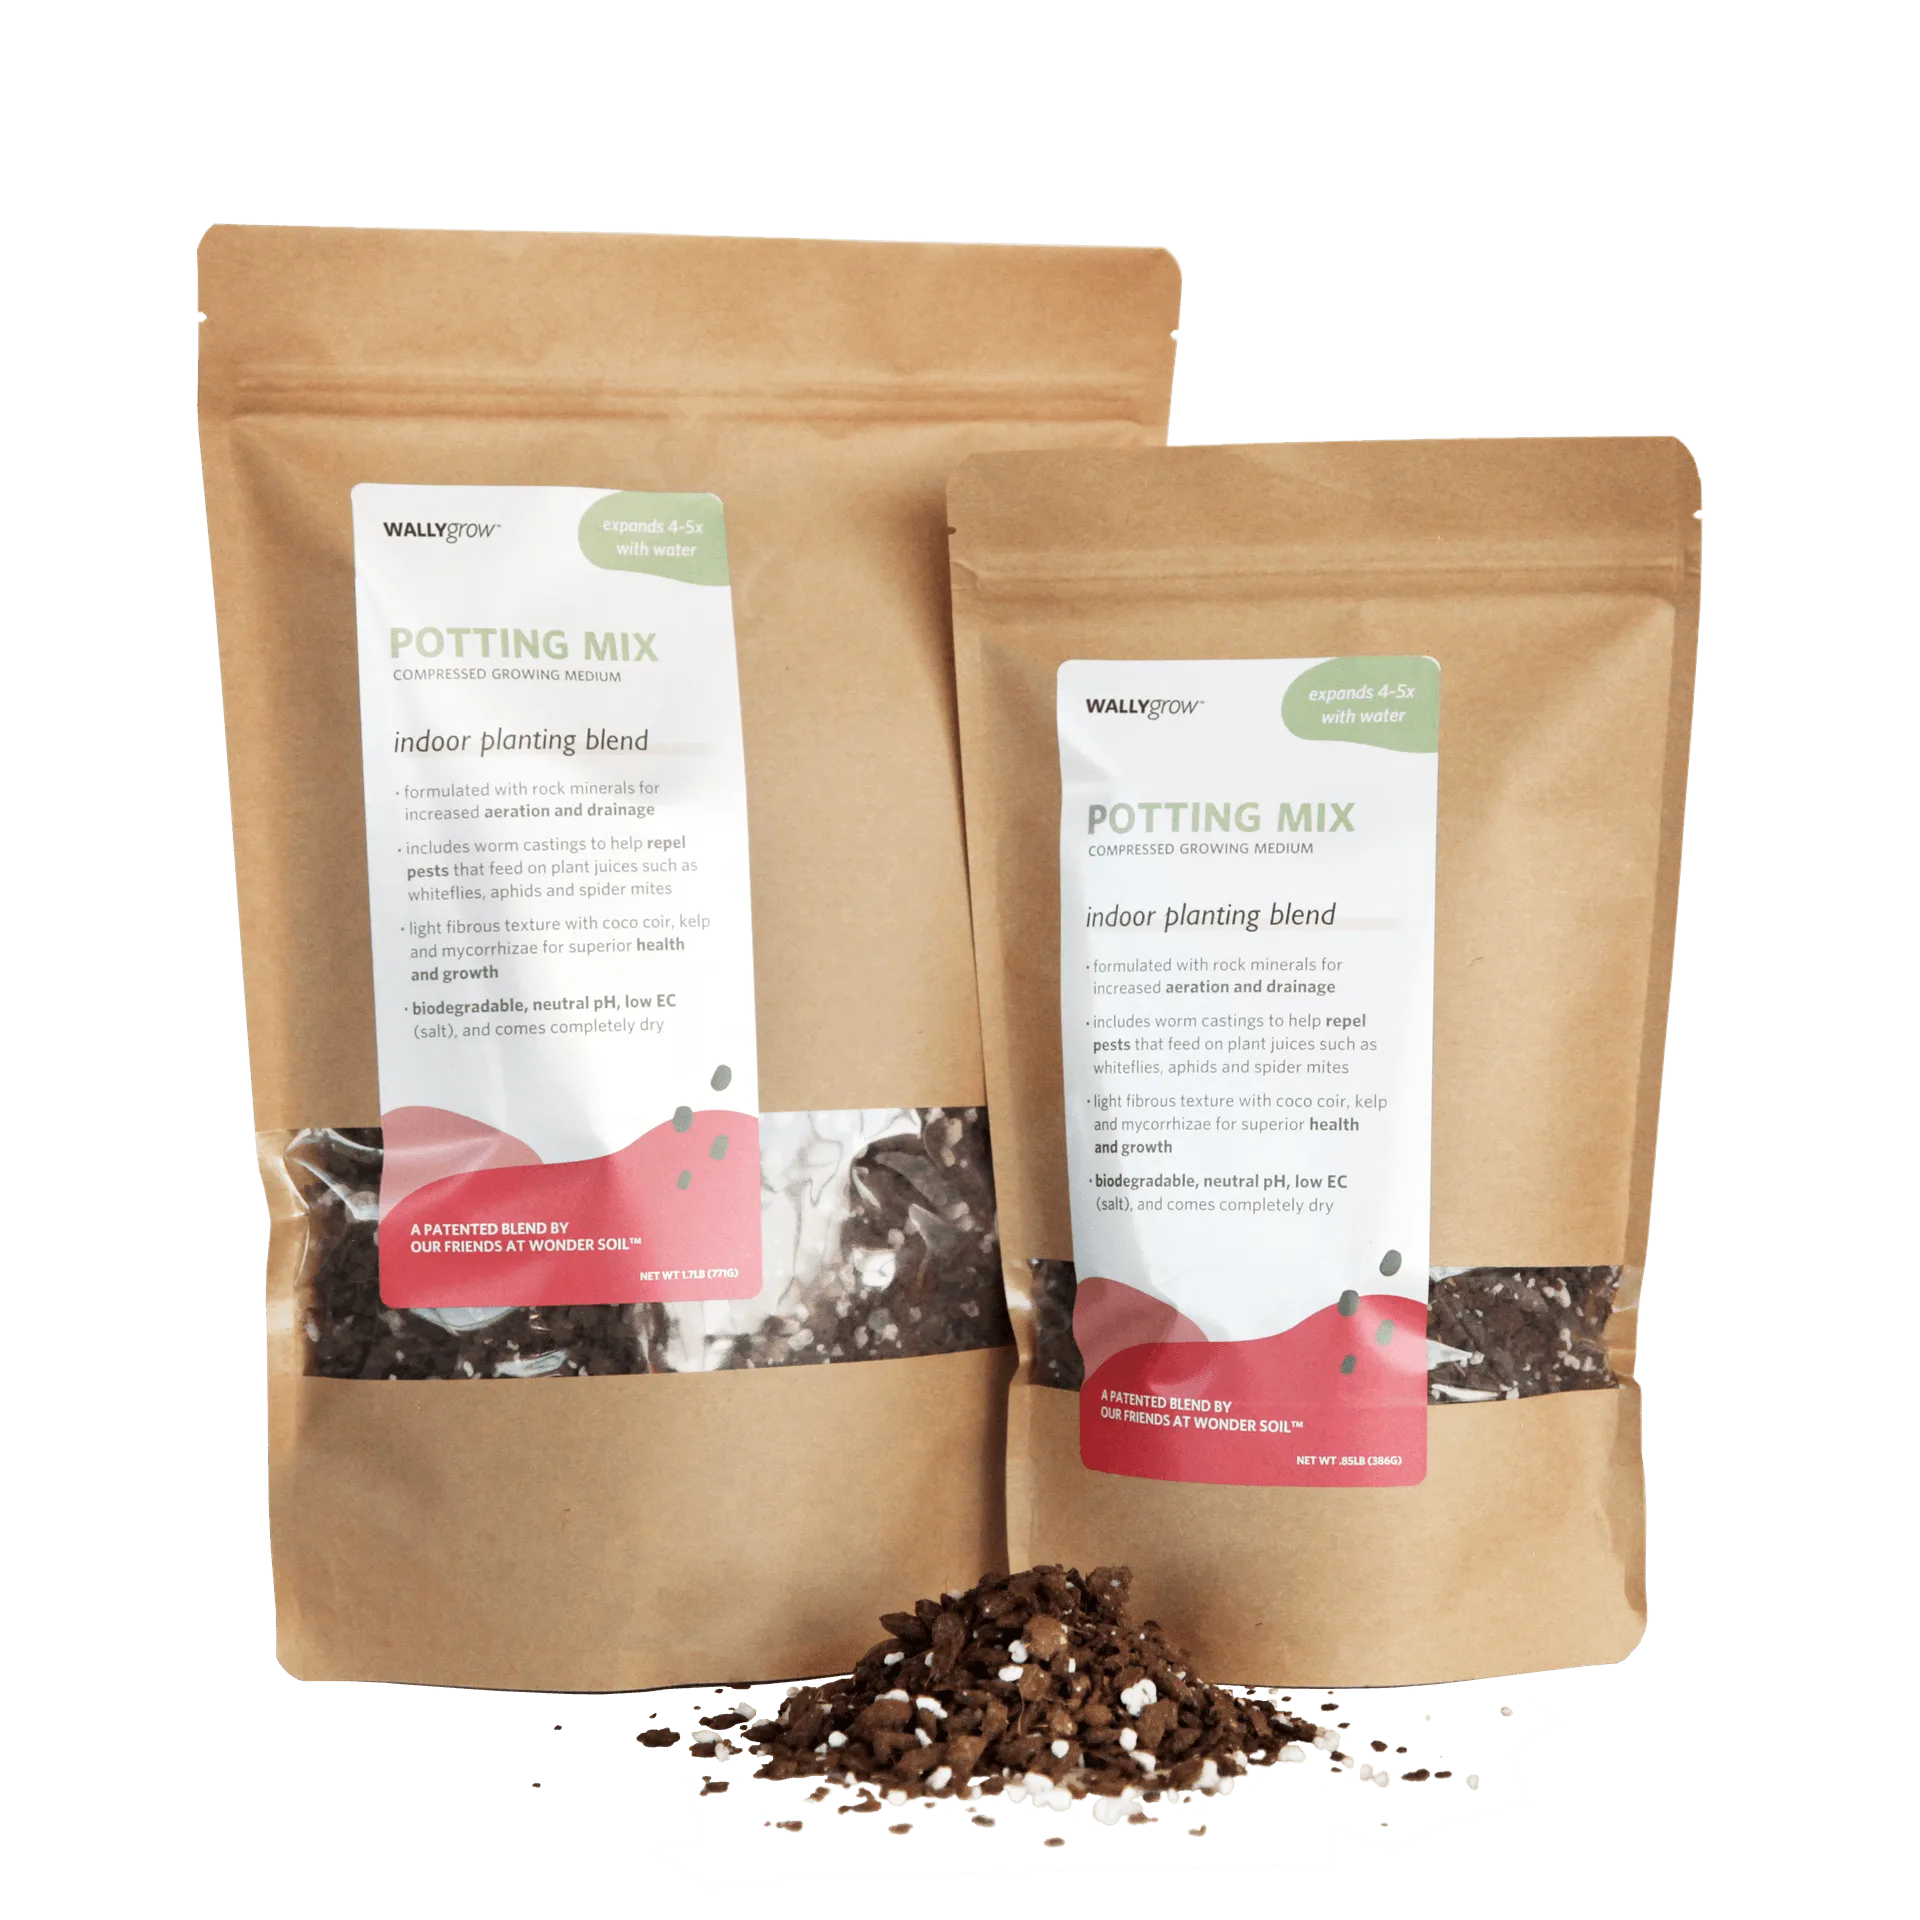
potting mix
During the recovery period, keep the soil consistently moist but not waterlogged. Overwatering is the most common mistake in Alocasia propagation. Check the soil with your finger before watering; if the top inch feels dry, it is time to water. You can also use a moisture meter for accuracy. Providing bottom heat with a heat mat can speed up root development, especially for tubers that are slow to sprout.
- Use a well-draining mix of potting soil, perlite, and orchid bark for best results.
- Mist the leaves daily or use a pebble tray to increase humidity around new divisions.
- Do not fertilize until you see new growth, as the roots need time to establish.
Common Alocasia Propagation Mistakes and How to Avoid Them
One of the biggest challenges beginners face is root rot caused by overwatering or using a pot that is too large. Alocasia pups have small root systems and need snug pots to prevent excess moisture from sitting around the roots. Always choose a pot that is only slightly larger than the root ball. Another common issue is dividing a plant that is too small or weak. Wait until your Alocasia has at least three to four healthy stems before attempting propagation.
Pests like spider mites and fungus gnats can also stress newly propagated plants. Inspect your Alocasia before dividing and treat any infestations with an organic solution like neem oil or a product such as Arber Plant Protectant, which is gentle on young plants. Additionally, avoid exposing new divisions to drafts or temperature swings. Consistent warmth and humidity are key to successful propagation. If leaves yellow or drop after division, do not panic—this is often a normal stress response. Reduce watering and ensure the plant is not sitting in cold or dry air.

Arber Plant Protectant
- Always sterilize your cutting tools with rubbing alcohol to prevent disease spread.
- If a tuber does not sprout after several weeks, move it to a warmer location (75-80°F).
- Patience is essential; some Alocasia varieties may take months to show new growth.
Caring for Your Newly Propagated Alocasia Plants
Once your Alocasia divisions have established roots and are actively growing, you can transition them to a regular care routine. These plants thrive in bright, indirect light and high humidity. Place them near an east- or north-facing window, or use a grow light to supplement if your home is dim. Keep the soil consistently moist during the growing season but allow the top inch to dry out between waterings in winter. Fertilize monthly with a balanced, water-soluble fertilizer diluted to half strength during spring and summer.
As your Alocasia grows, you may notice it producing more pups. You can repeat the propagation process every year or two to keep the plant healthy and prevent overcrowding. If you prefer to keep your Alocasia as a single specimen, simply remove the pups and pot them separately. Displaying your new plants in stylish containers can enhance your home decor. Consider pairing them with a decorative planter like the Loop Lavender Hanging Planter for a pop of color, or the Loop Forest Hanging Planter for a natural, earthy look that complements the bold foliage.
- Rotate your Alocasia every few weeks to encourage even growth and prevent leaning.
- Dust the leaves regularly with a damp cloth to keep them photosynthesizing efficiently.
- If leaves develop brown edges, increase humidity or check for mineral buildup in the soil.
Propagating Alocasia is a rewarding way to expand your indoor jungle and share your love of plants with others. With the right timing, tools, and a little patience, even beginners can successfully multiply these stunning foliage plants. Ready to give your new Alocasia pups a beautiful home? Explore the Loop Forest Hanging Planter for a stylish and functional display that complements your growing collection.