Quick Answer
To properly install a custom car bra, start by thoroughly cleaning and drying the front of your vehicle, then carefully position the bra over the hood and fenders, securing all fasteners evenly. Always follow the manufacturer's instructions and avoid installing in extreme temperatures to ensure a snug, wrinkle-free fit that protects your paint without causing damage.
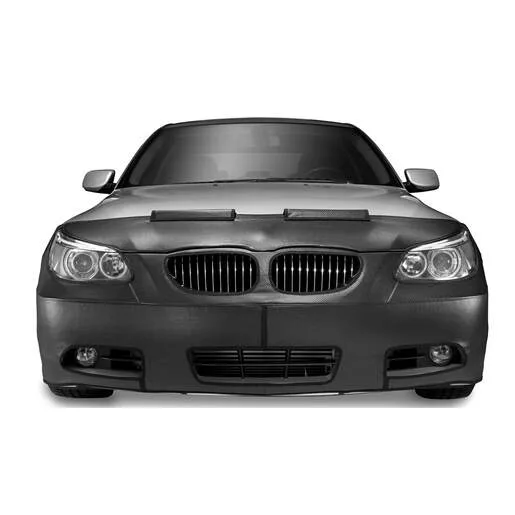
A custom car bra is a smart investment for protecting your vehicle's front end from rock chips, bug splatter, and road debris. Unlike universal bras, a custom-fit bra like the Colgan T-Style Hood Bra is molded to your vehicle's exact contours, ensuring a precise fit that looks great and provides maximum protection. However, proper installation is key to avoiding paint damage and ensuring the bra stays securely in place.
In this guide, we'll walk you through the step-by-step process of installing a custom car bra, from prepping your vehicle to securing the final fasteners. Whether you're a first-time installer or just need a refresher, these tips will help you achieve a professional-looking result that keeps your paint pristine.
Why Choose a Custom Car Bra?
Custom car bras are specifically designed to fit your vehicle's make and model, offering a level of protection and aesthetics that universal bras can't match. The Colgan T-Style Hood Bra, for example, is manufactured from 25 oz. flannel-backed vinyl with double stitching for added strength and a body-hugging fit. This means it contours perfectly to your hood and fenders, reducing the risk of flapping at high speeds and preventing dirt and moisture from getting trapped underneath.
Moreover, custom bras are engineered to allow full access to the hood, so you can perform routine maintenance without removing the bra. They also feature no-drill installation, which means you won't have to modify your vehicle. With proper installation, a custom bra can last for years, providing ongoing protection and preserving your vehicle's resale value.
- Precise fit eliminates gaps that can cause paint wear.
- No-drill design keeps your vehicle unmodified.
- Durable materials withstand harsh weather and road conditions.
Tools and Preparation
Before you begin, gather the necessary tools: a microfiber towel, mild automotive soap, water, and perhaps a hairdryer (on low) to help soften the material if it's stiff. Ensure your vehicle is parked in a shaded area or garage to avoid direct sunlight, which can make the bra material more pliable and harder to position accurately.
Thoroughly wash the front end of your vehicle to remove any dirt, bugs, or wax that could interfere with the bra's adhesion or cause scratches. Dry the surface completely. If the bra has any pre-attached fasteners or hooks, inspect them to ensure they are in good condition and free of debris.
- Use a pH-neutral soap to avoid stripping protective coatings.
- Avoid installing in freezing temperatures; the material may crack.
- Check the bra for any manufacturing defects before installation.
Step-by-Step Installation
Now, let's get to the installation. Follow these steps carefully to ensure a secure and damage-free fit.
Start by laying the bra over the hood, aligning it with the hood's edges and the headlights. The bra should sit symmetrically, with equal gaps on both sides. Once aligned, attach the hooks or fasteners along the top edge of the bra to the underside of the hood. Work from the center outward, pulling the bra taut but not overstretching it.
Next, secure the side fasteners around the fenders and the lower fasteners near the grille. Ensure each fastener is snug but not overly tight, as this can distort the bra or damage the paint. Finally, double-check all fasteners and adjust the bra as needed to eliminate any wrinkles or gaps.
- Use a credit card or similar tool to tuck edges neatly.
- If the bra has a license plate cutout, ensure it aligns perfectly.
- After installation, leave the bra on for a few hours to conform to the vehicle's shape.
Installation Steps
- Step 1: Prepare the Vehicle: Wash and dry the front end thoroughly. Remove any wax or polish that could prevent the bra from sticking. Park in a shaded area to avoid heat-related stretching. A clean surface ensures a secure fit and prevents scratches.
- Step 2: Align the Bra: Position the bra over the hood, aligning it with the headlights and body lines. Ensure it is centered and symmetrical before proceeding. Take your time; proper alignment prevents wrinkles and gaps.
- Step 3: Secure Top Fasteners: Attach the hooks or fasteners along the top edge to the underside of the hood. Work from the center outward, pulling the bra taut. Even tension prevents distortion and ensures a smooth fit.
- Step 4: Secure Side and Lower Fasteners: Fasten the side and lower attachments around the fenders and grille. Ensure each is snug but not overly tight to avoid paint damage. Check for any sharp edges that could scratch the paint.
- Step 5: Final Adjustments: Inspect the entire bra for wrinkles or misalignment. Use a soft tool to tuck edges neatly. Allow the bra to sit for a few hours to conform. A well-fitted bra should look seamless and stay secure.
Product Facts
- Colgan T-Style Hood Bra - Black Crush Fabric: Hood-piece only bra for cars, trucks, vans and SUV's. Hood opens with bra in place. Manufactured from 25 oz. flannel-backed vinyl with double stitching for added strength and body-hugging fit. No tools or drilling required. This bra offers a secure, custom fit without the need for drilling, making installation quick and reversible. Its durable construction ensures long-lasting protection.
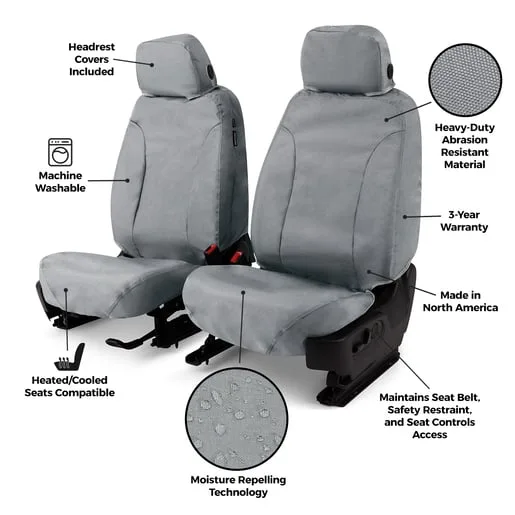
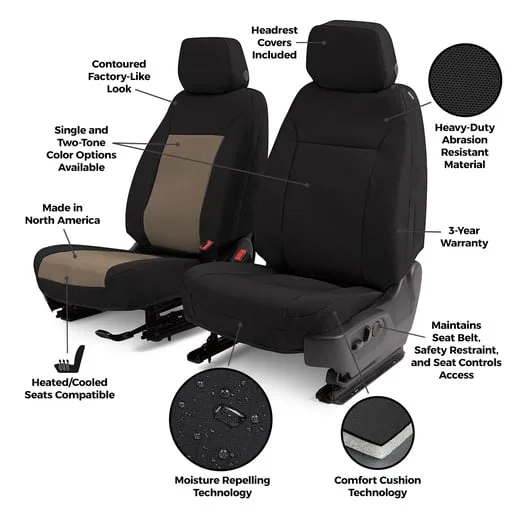
- Endura PrecisionFit® Custom Seat Covers: This custom seat cover provides a premium fit with the durability and style you desire. Crafted with a smooth, durable finish, it stays comfortable even in direct sunlight. Designed for a snug, custom fit, these covers are foam-backed for added comfort, airbag safe, and offer full seat coverage. While not directly related to bra installation, these seat covers complement your vehicle's protection by safeguarding the interior from wear and tear, ensuring a cohesive look.
Installing a custom car bra is a straightforward process that yields significant protection for your vehicle's front end. By following these steps and avoiding common pitfalls, you'll ensure a perfect fit and long-lasting performance. If you're in the market for a high-quality custom bra, check out the Colgan T-Style Hood Bra - Black Crush Fabric for a durable, no-drill solution that fits your vehicle like a glove.